Supporting Studs
Six months. It has been six months since the garden was removed and the Dwelling was started. Footings were erected, windows were framed, electrical and water lines were dug, boxes were placed, and inner walls were installed. Six months!
For the last two months since the boxes were Adjoined and Joined, entrance into the boxes has been by climbing inside, standing on a chair, or usage of a ladder either through the front door or through the double back doors. Exit required one to sit down and soot out, balance precariously on the chair, or wobble on the ladder. Tools were carried over the threshold, lifted onto tractors and forklifts and placed inside through doors and windows, or simply thrown in when frustrated. Well, after too many weebles, I finally fell out the door. Again.
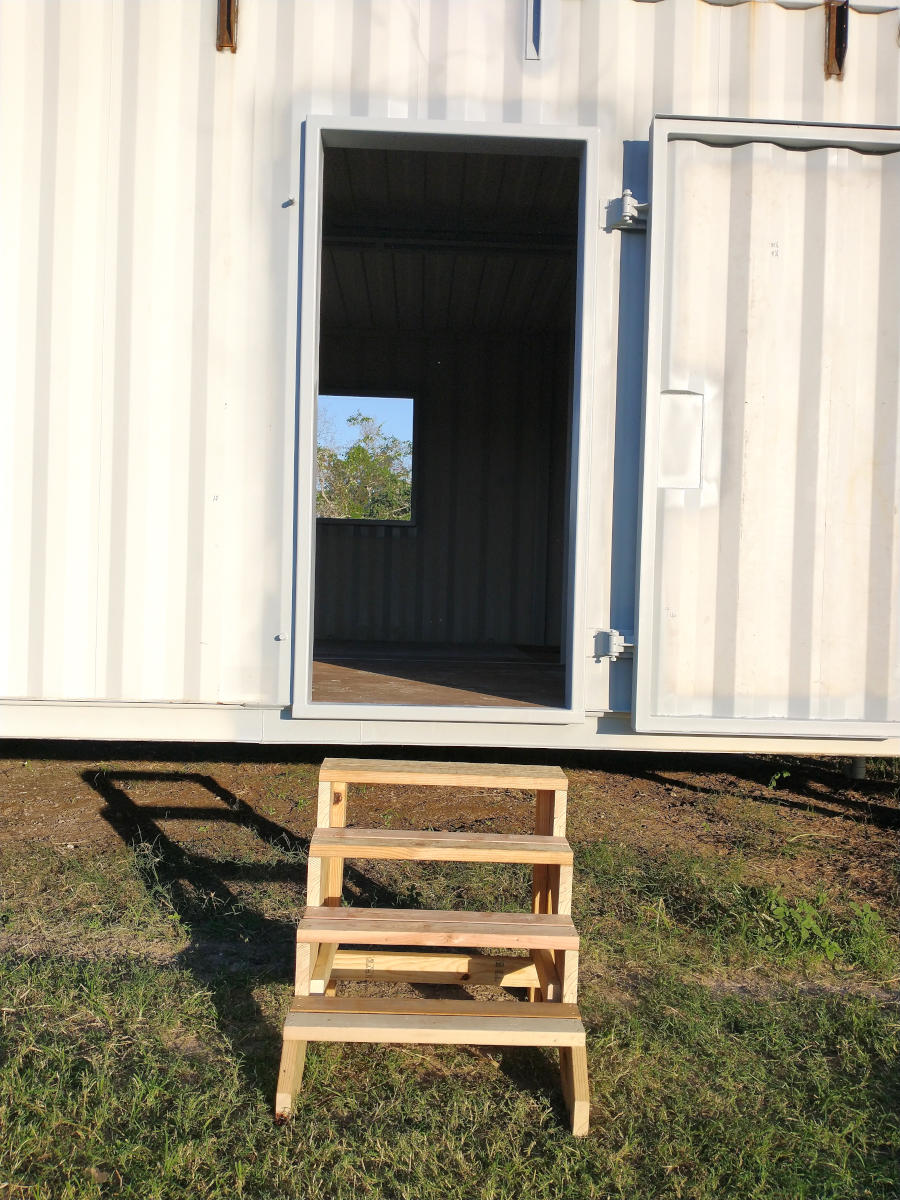
We have all tripped coming in and out at least once. Cussed and carried on about the lack of easy access on more than one occasion. After todays’ tumble, and the upcoming work scheduled, the Planner built a set of “temporary” steps. I say “temporary” because both the Work Box and the Shop Box had “temporary” steps built way, way back. The Work Box had the original steps from April 2018 rebuilt in August of 2021 and the Shop Box still has the original set from the end of 2018. Temporary or not, these are some great steps! Up and down without issue. Oh, sure they could use a hand rail but these are a vast improvement.
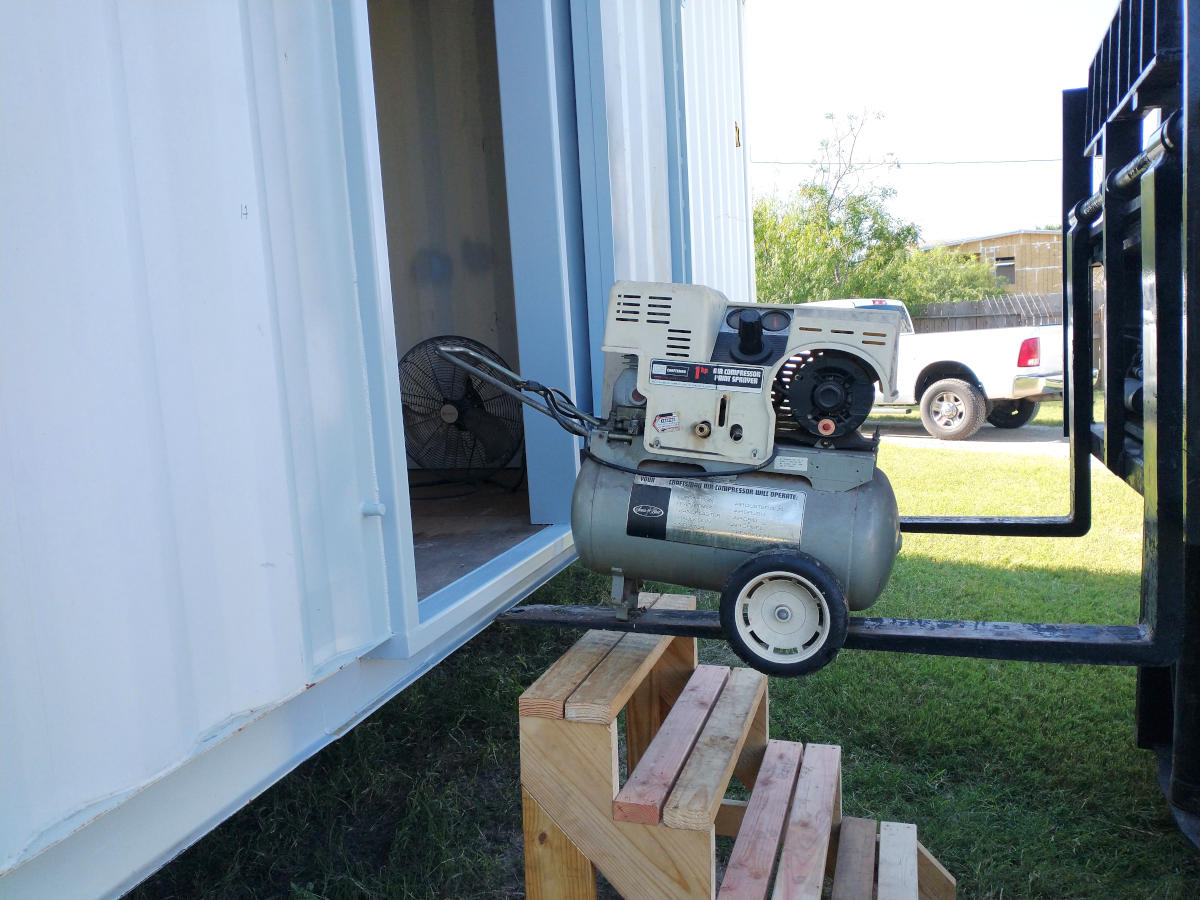
Of course having steps does not eliminate the need to use the forklift or tractor to carry over tools and equipment. Hauling up the air compressor on these very steep steps is a tricky endeavor. Why risk damaging the compressor that is at least 40 years old when the forklift does the job easier? Why carry over 2×4’s or 2×6’s one at a time when the forklift can lift the entire stack and place them the doorway as one bundle?
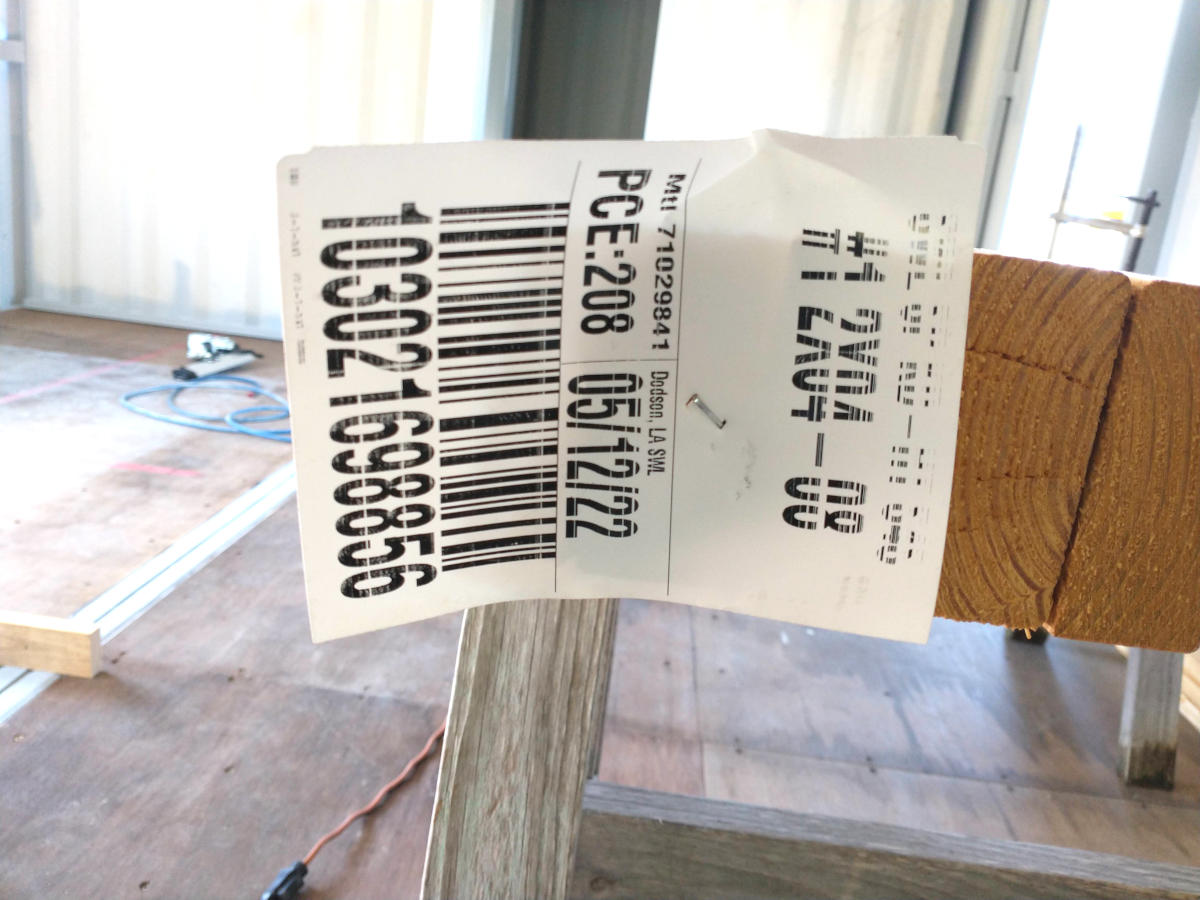
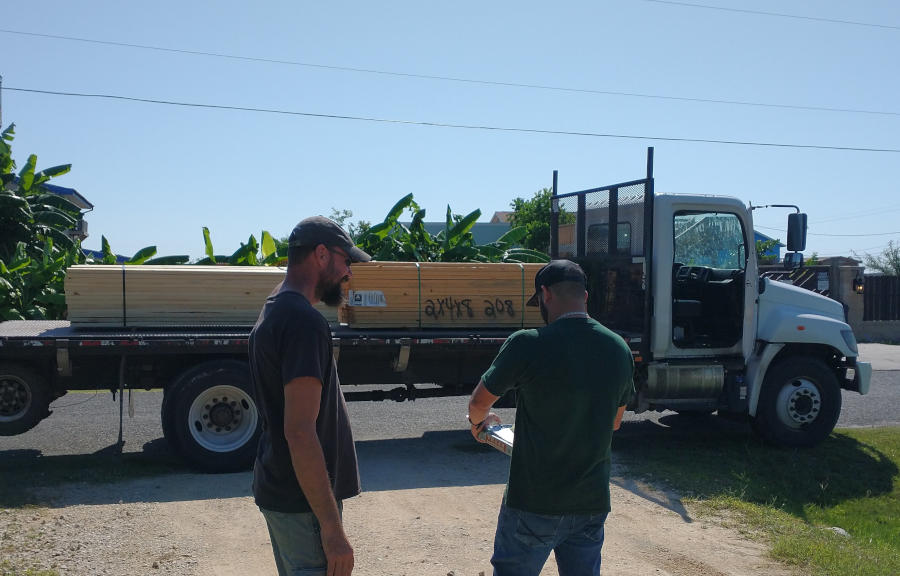
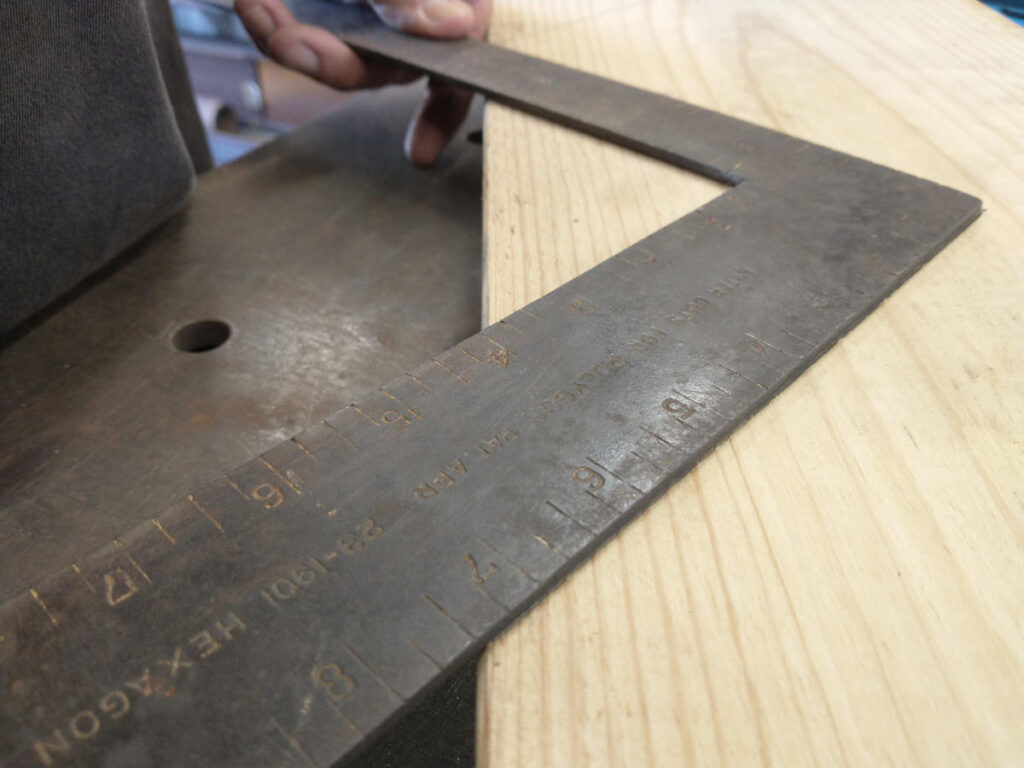
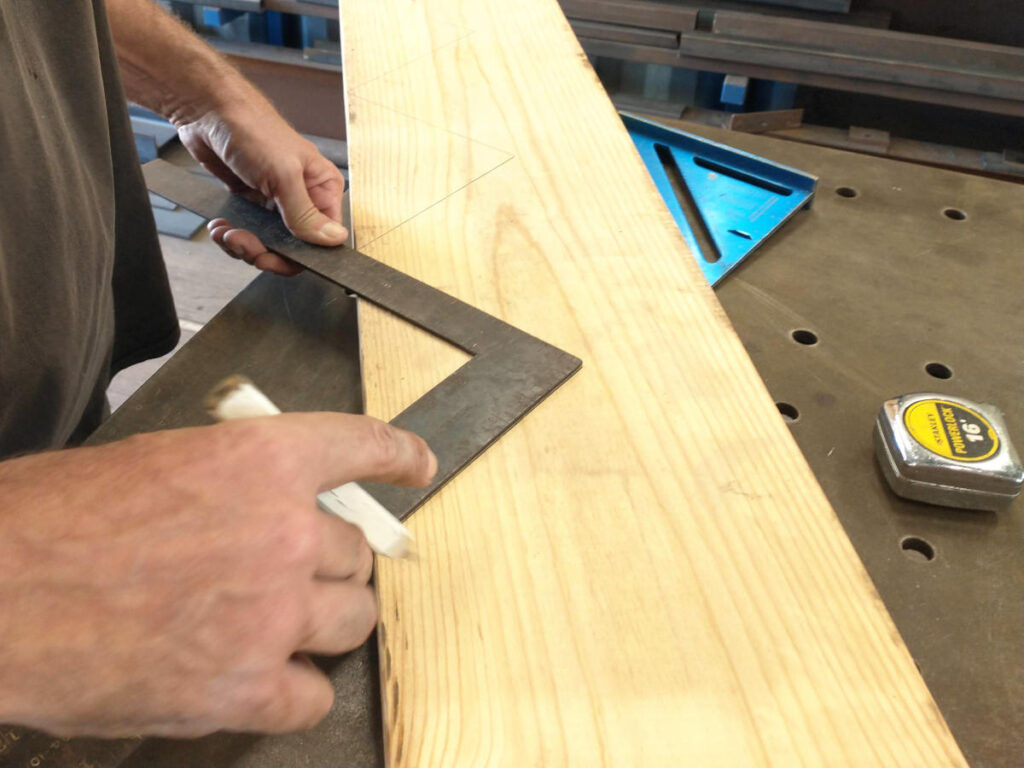
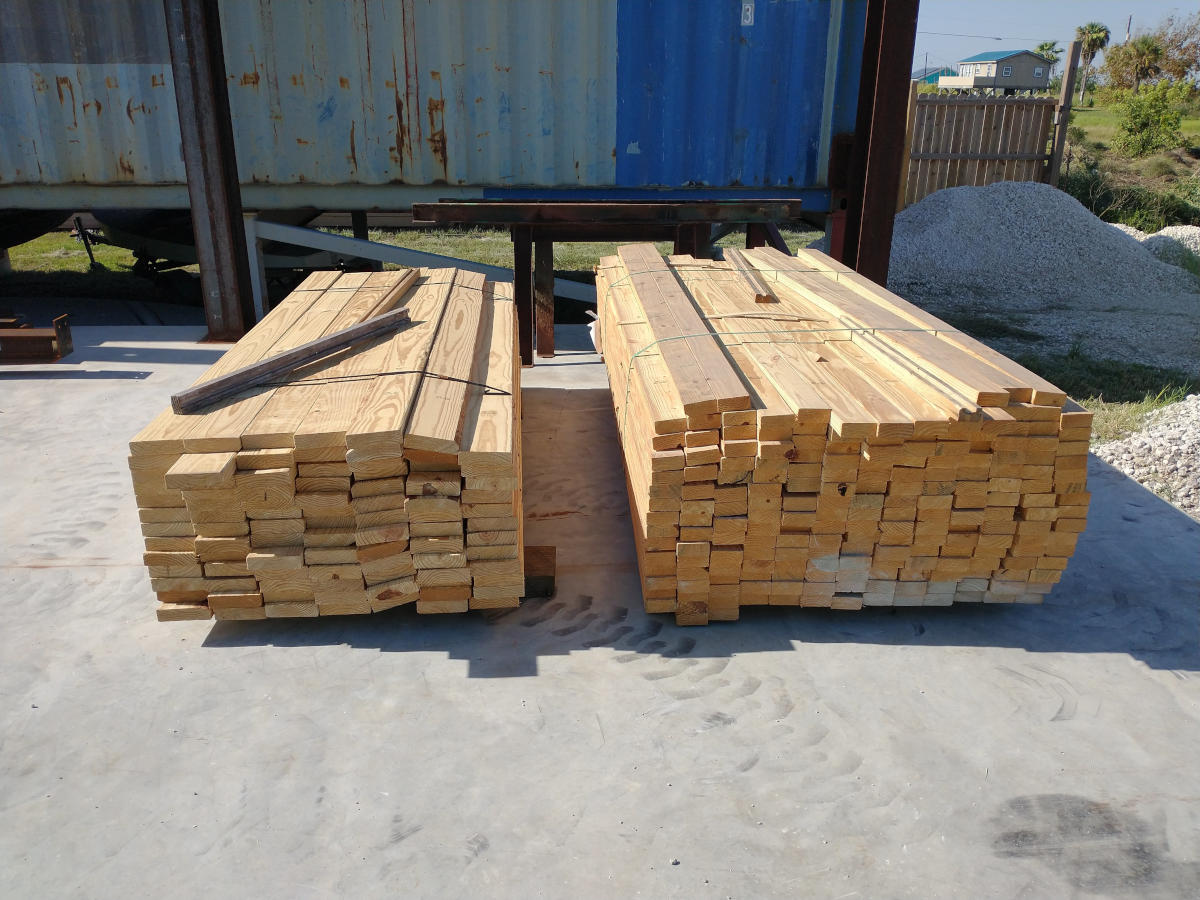
Since lumber at the local hardware store looks like it was formed from tree roots instead of tree trunks, and the Planner has standards, #1 grade framing lumber was purchased to ensure the walls are as straight as possible. Even then there were categories for the 2×4’s depending upon the knots, warps, and twists. Every single 2×4’s was checked and assigned as top and bottom boards, uprights, or discards. Ends were squared, walls were assembled on the floor, and sections were erected.

Since box panel walls are not perfectly flat or square or plum or even or smooth or etc…. the framed walls were installed using a line on the floor with a laser. Any inconsistency in the spacing between the framed walls and the box wall will be filled in insulation later. Using the drawn floor line ensured the final wall was straight and square to the room itself.

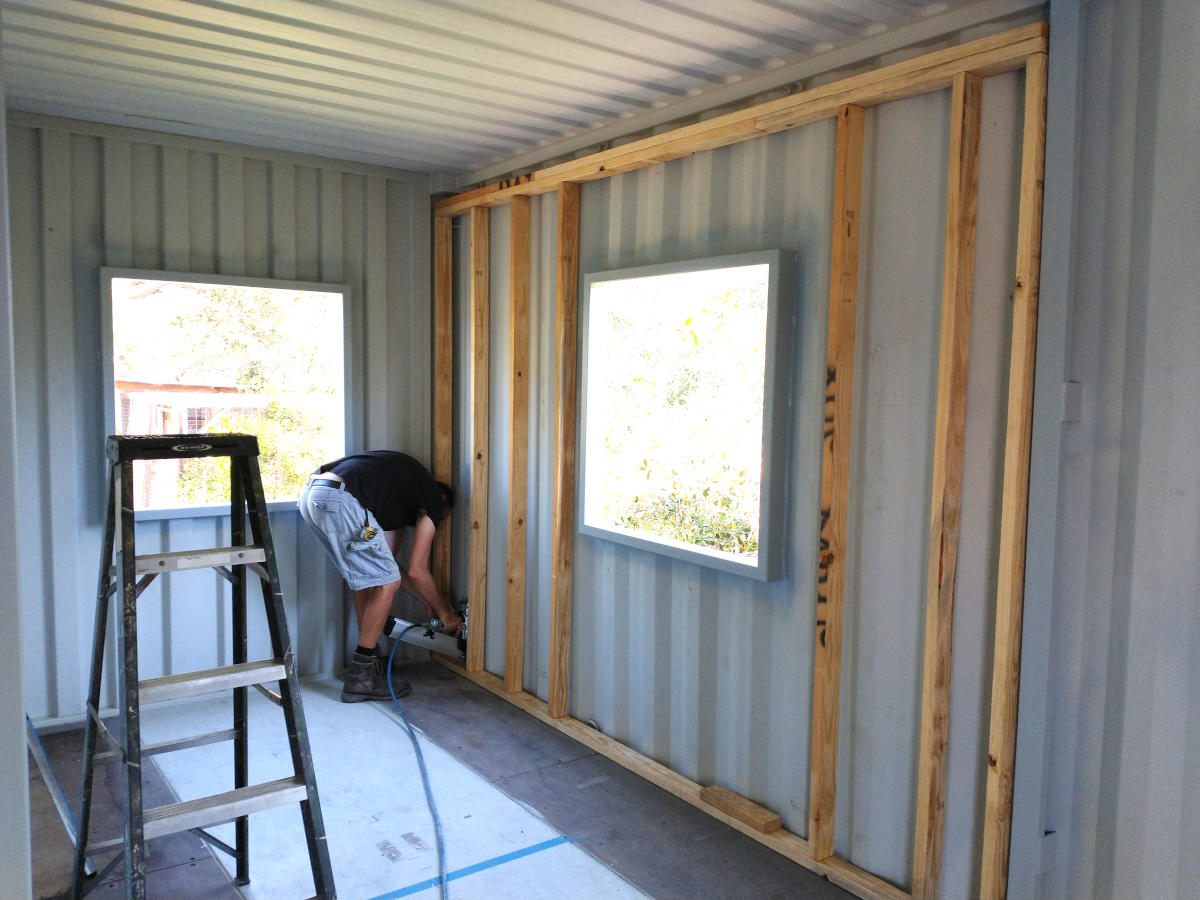
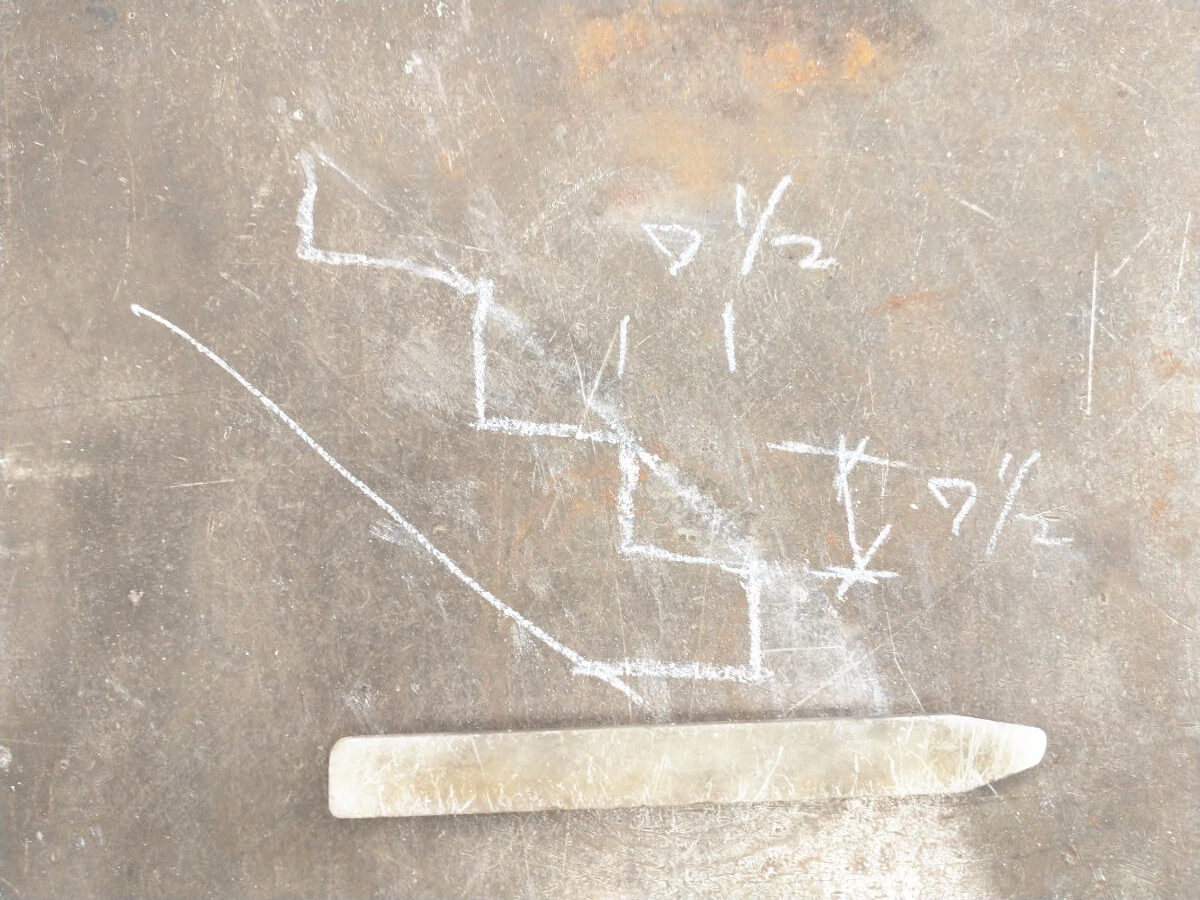
Every section of wall was measured with notes written on the metal wall for reference. This reference not only helped with the corresponding framed wall but it also helped subsequent walls. It especially helped when neither the Planner nor myself could remember the numbers from the point of measurement to the point of assembly. Brain tired. TIRED. First framed wall was installed in the bedroom. Figured any errors that occurred would be less noticeable than in the main living portion. This gave us three walls to find out what worked best. Three walls to work out the kinks of building inside a shipping container.

Kinks like how to attach the framed walls to the box wall itself. If the boxes are not attached and there is a hurricane there is a chance the walls will vibrate. Technically, the walls both inside and out will vibrate as we already experienced this with Hurricane Harvey, but hopefully attaching one wall to the other will help mitigate some of the vibration.
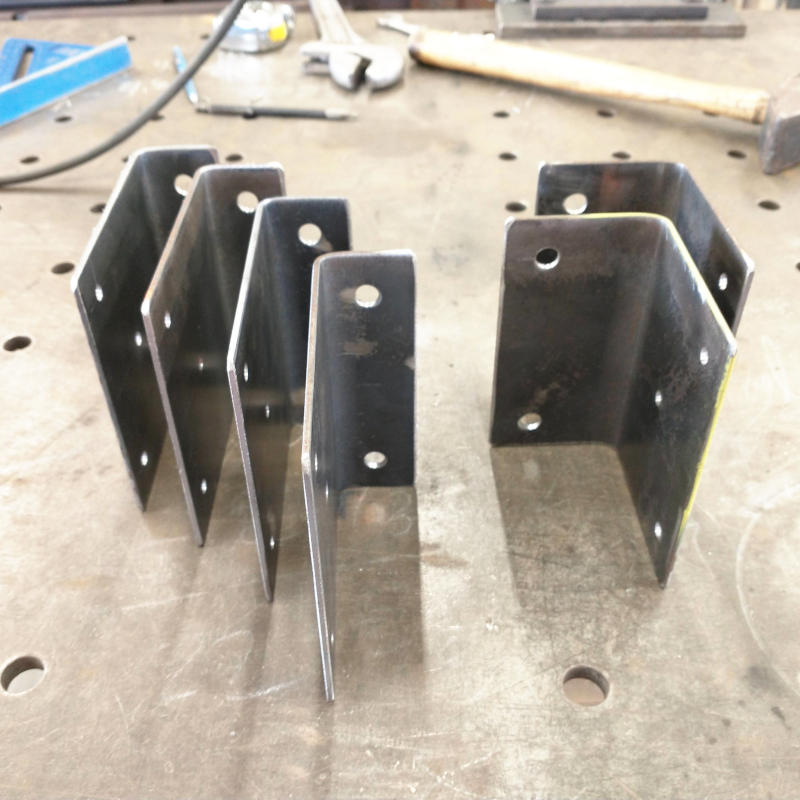
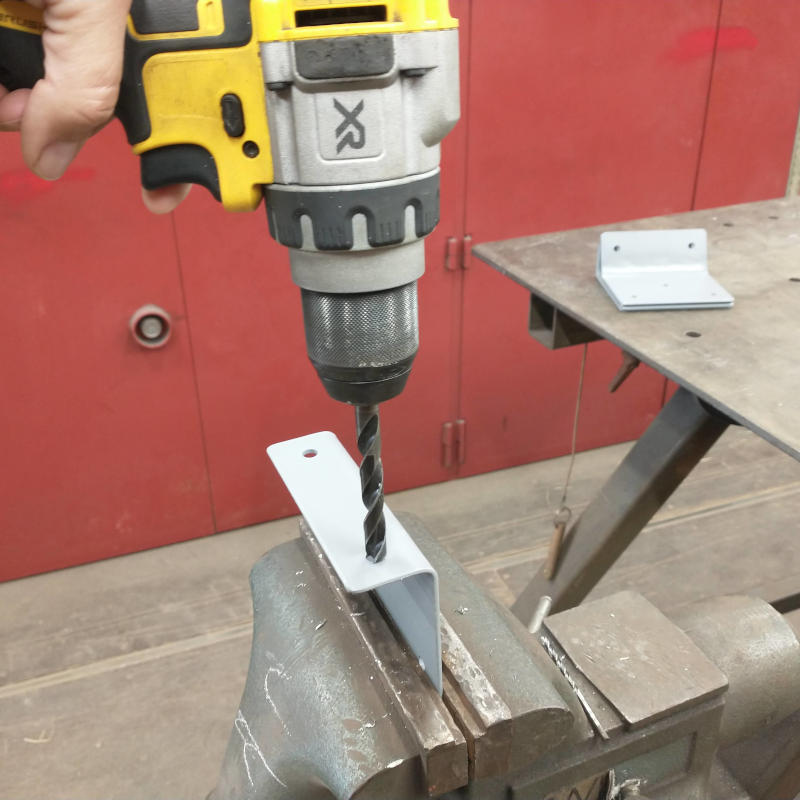
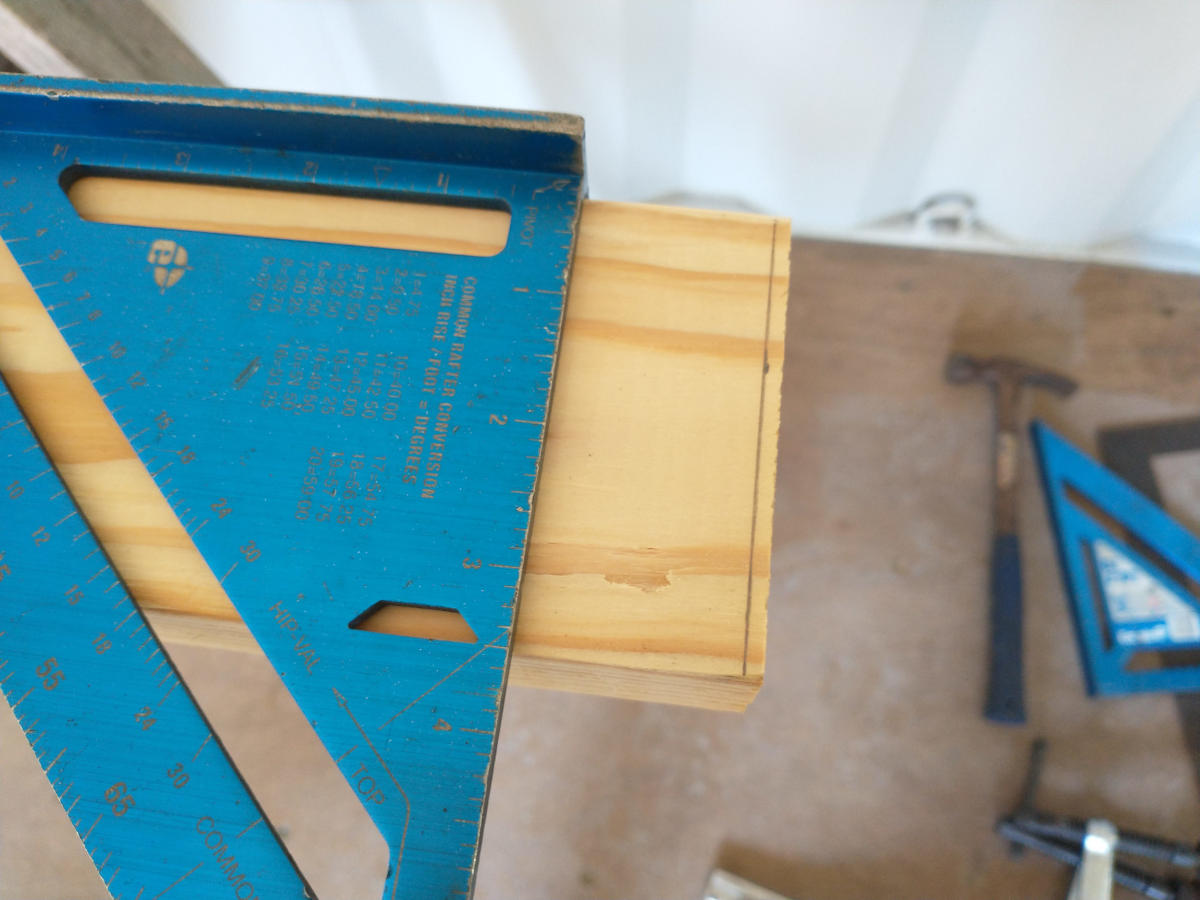
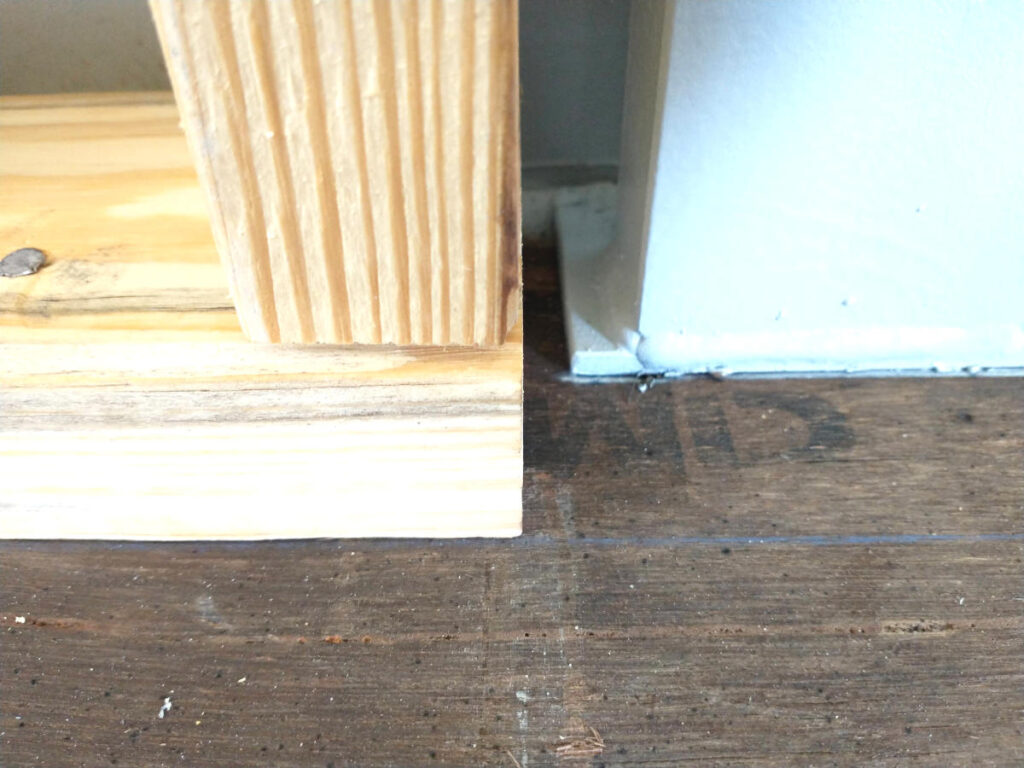
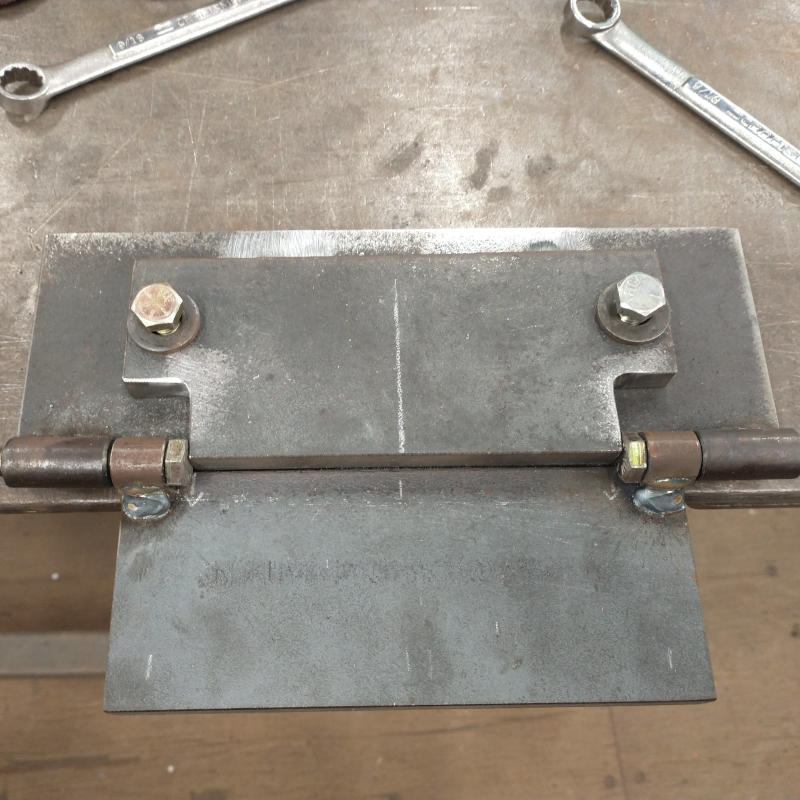
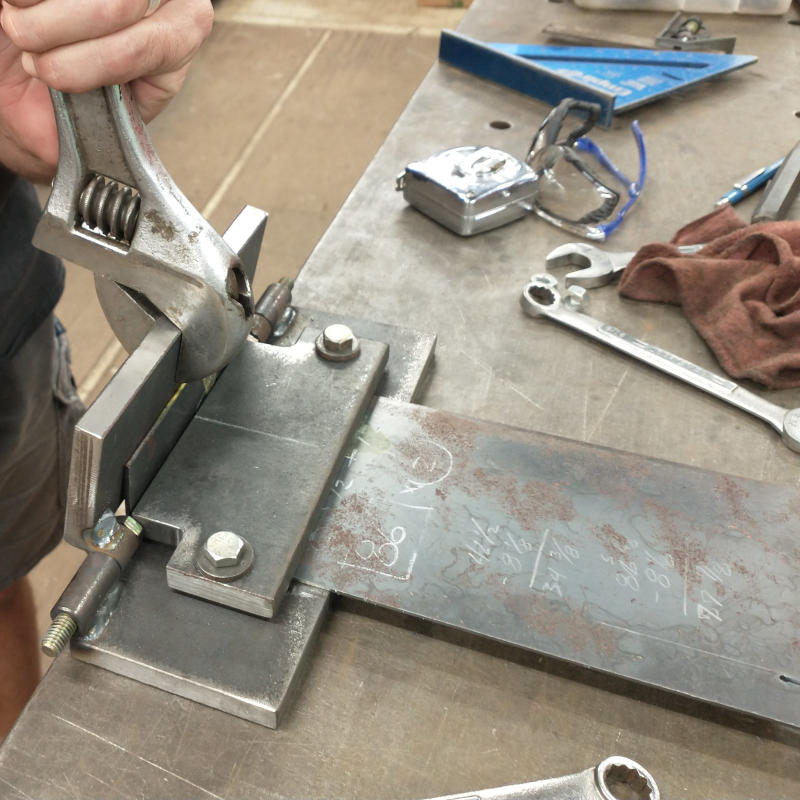
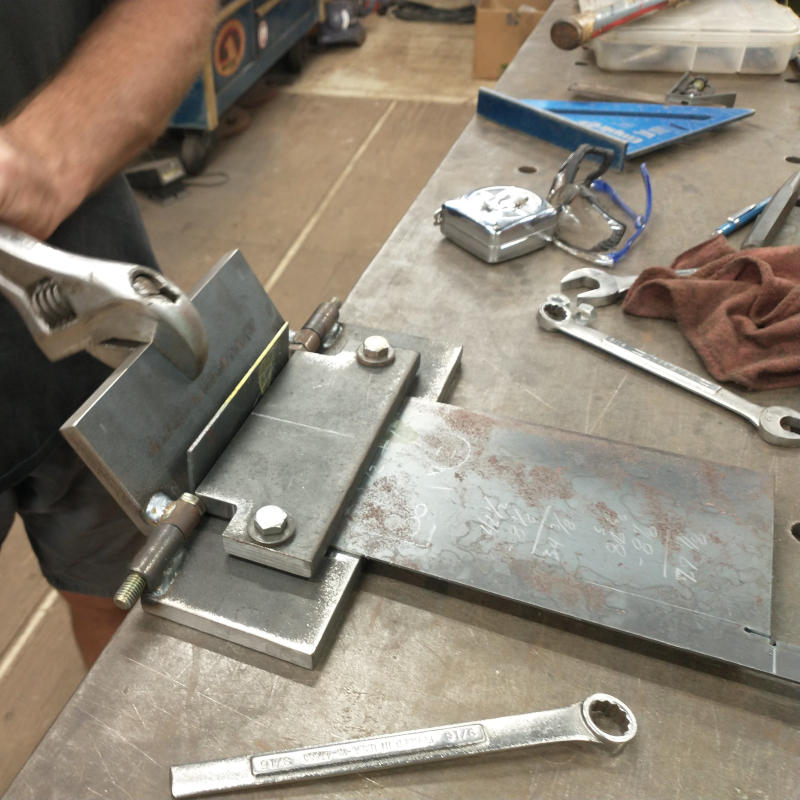
Since there were going to be lots and lots of attachment points, the Planner built a mounting tab bender making bending the 1/8″ plate easy peasy. In fact, drilling the holes took longer than the cutting and bending as each hole had to be marked, predrilled, and then drilled again with a larger bit than the the studs ensuring there was a small amount of wiggle room to make installation easier.
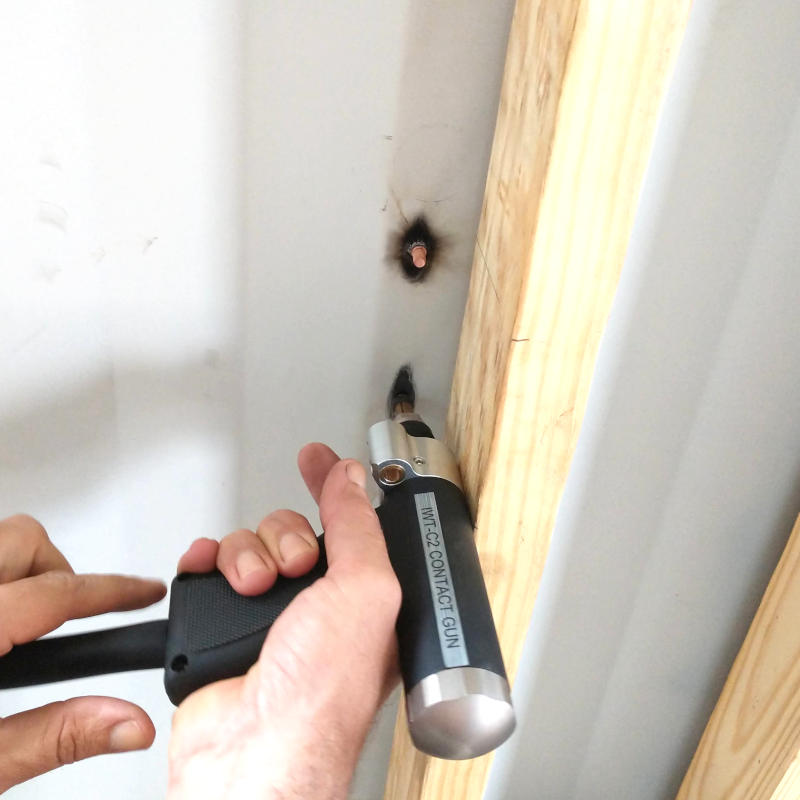
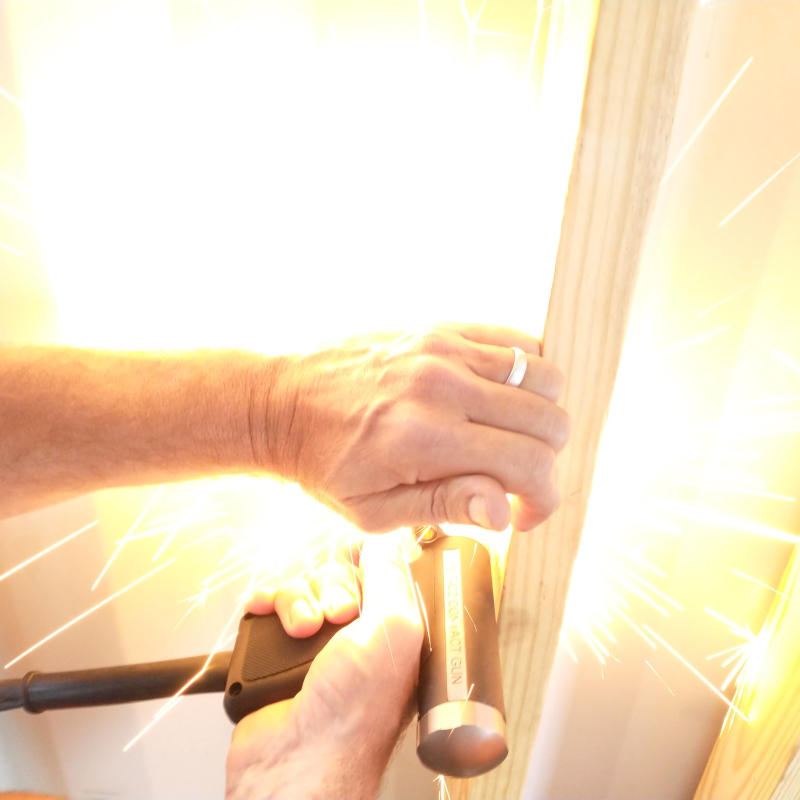
Securing the erected walls to the box walls was the same process as used on the support beams from the roof. Use of the stud welder on the box panel side and lag screws on the frame side.
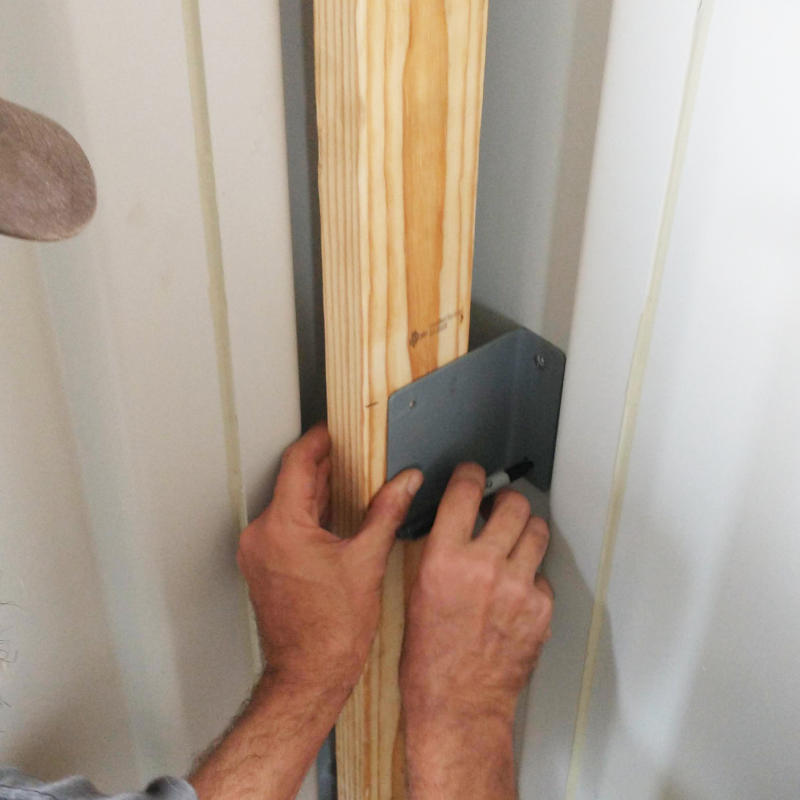
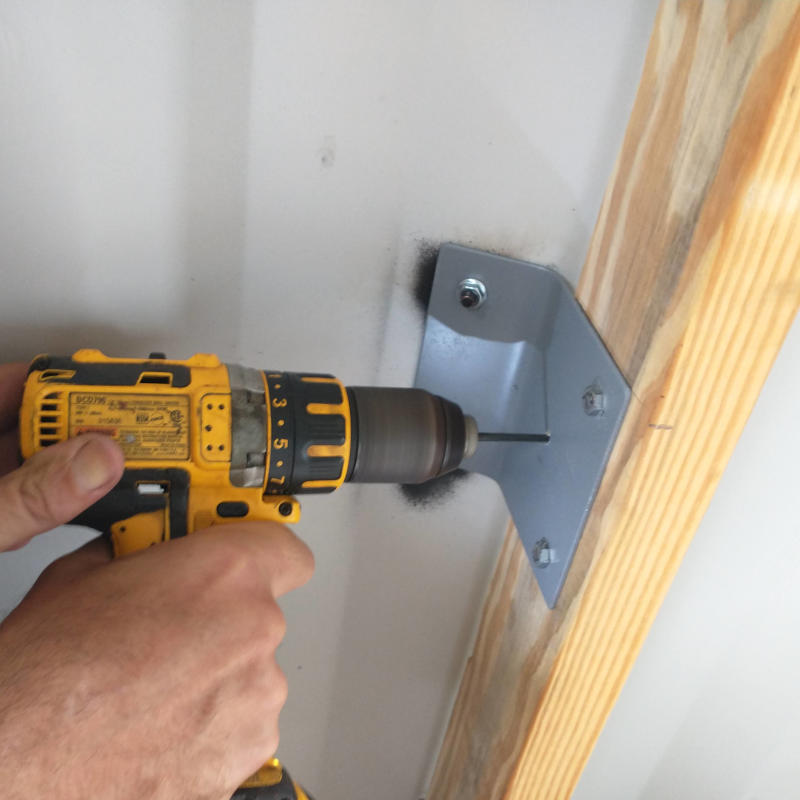
And of course, to ensure the 2×4’s did not split, each and every lag screws was predrilled before installing. As it turned out, mounting tabs could not be built in mass production as the spacing between the framed wall and the box wall was too different. By looking at these two pictures, you can see the distance from the end of the 2×4 to the start of the tab is less on the left tab than the distance on the right tab. This distance differences resulted in each tab having to be measured and bent to match accordingly. No mass production allowed.

One room complete with framed walls. Now to the ceiling joists!