Back to the Nipples
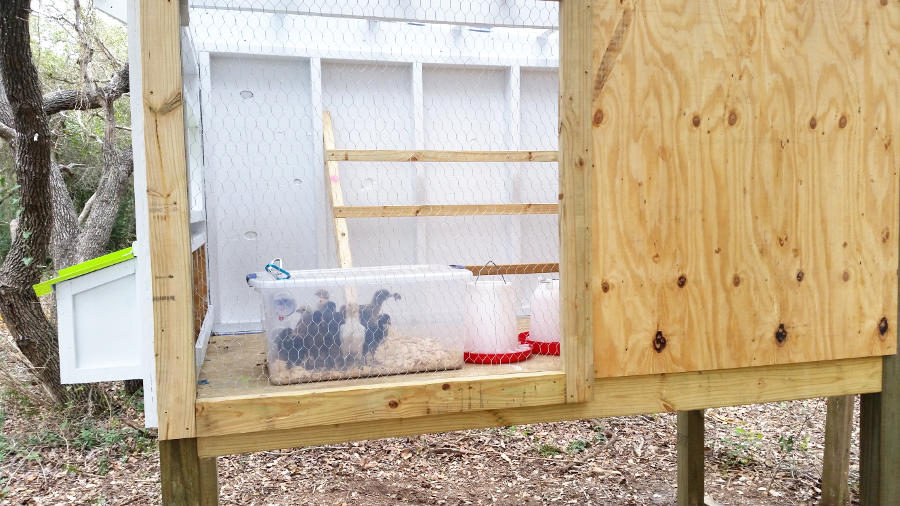
Not two days after being placed in the brand new chicken coop did I decide the standard chicken waterer and feeder had to go. I know, I know. I even ranted about why I used chicken nipples in the first place several posts ago but I thought maybe little peepers wouldn’t be as messy as chickens.
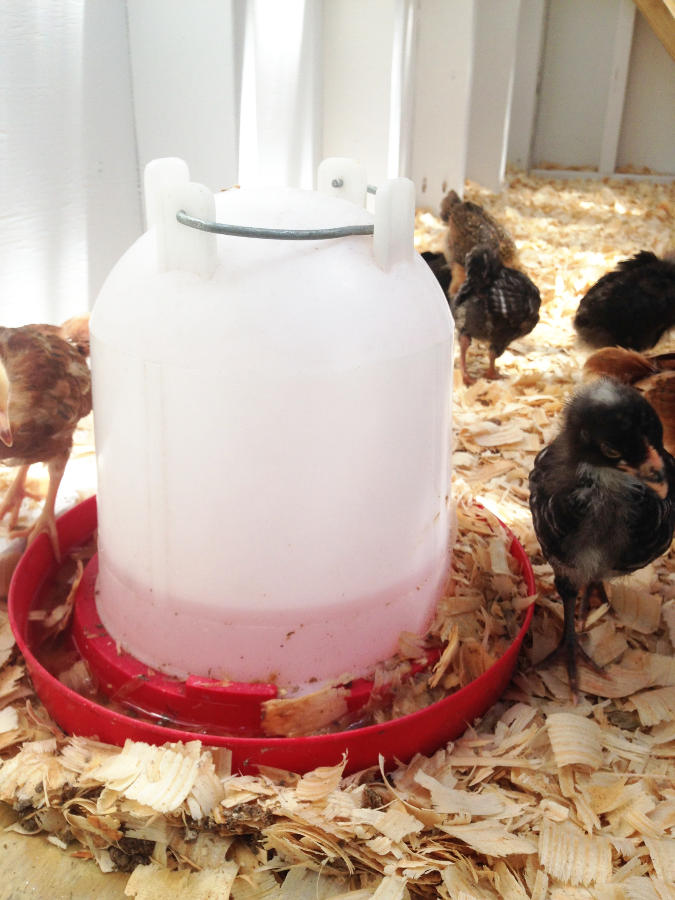
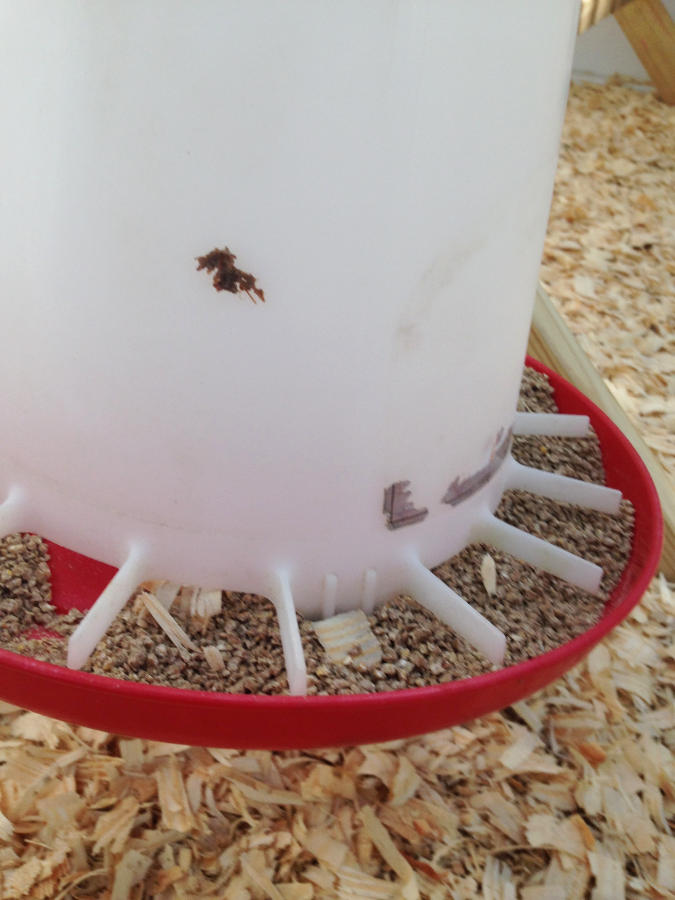
Wrong, wrong, wrong. If anything, they are messier. Their little feets can stand within the water ring meaning when they poop it lands directly into the water. Not only is this gross, it is unsanitary. And gross. And stinky. And gross. Did I mention gross? The chicken feeder was not as messy or unsanitary but was wasteful. Unlike the waterer which attracted all kinds of nastiness, the feeder would be dumped out. This chicken endeavor is expensive enough, no need for wasting feed too.
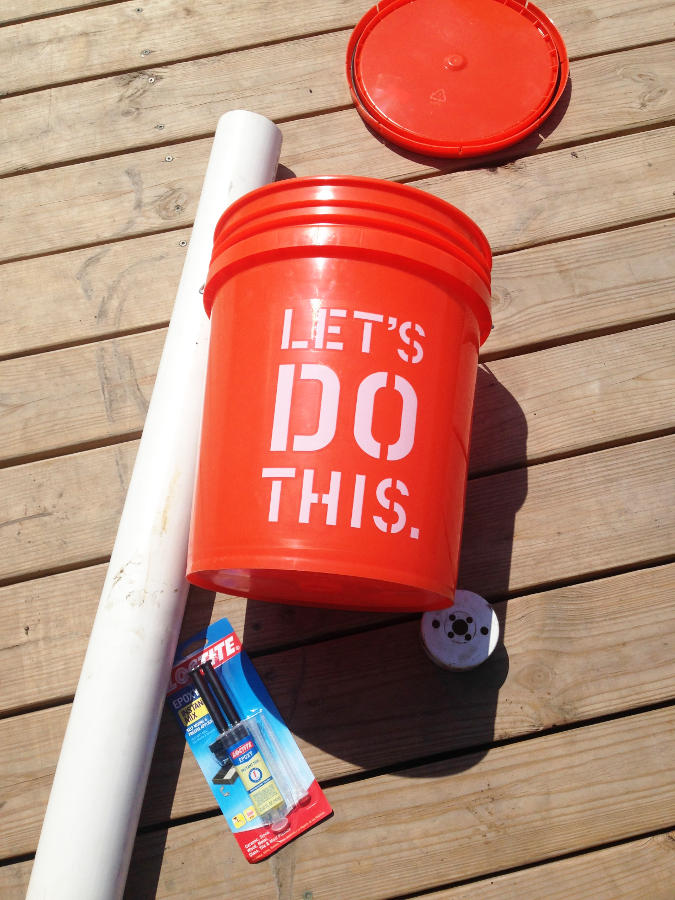
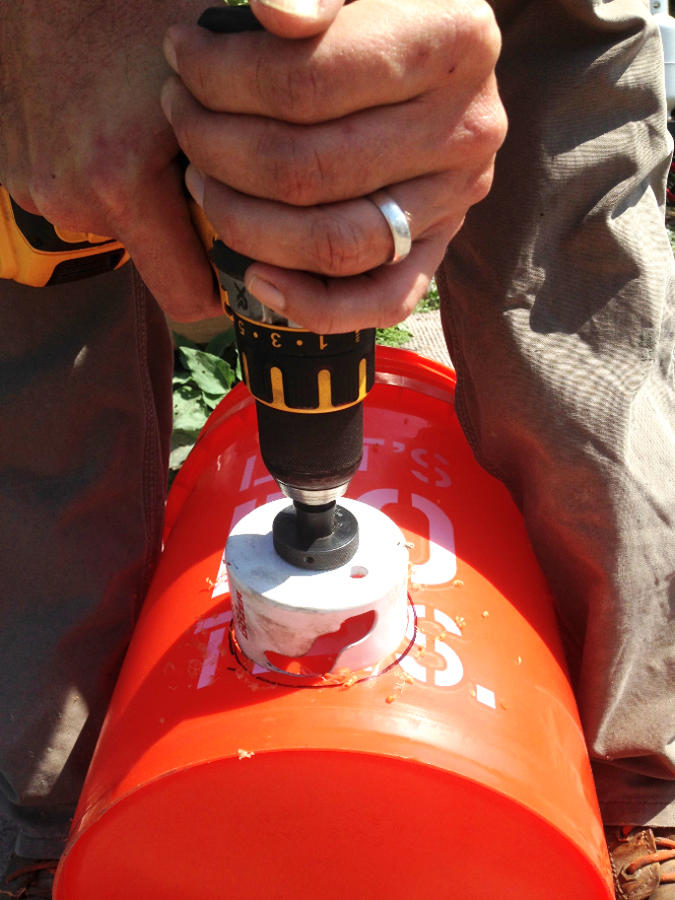
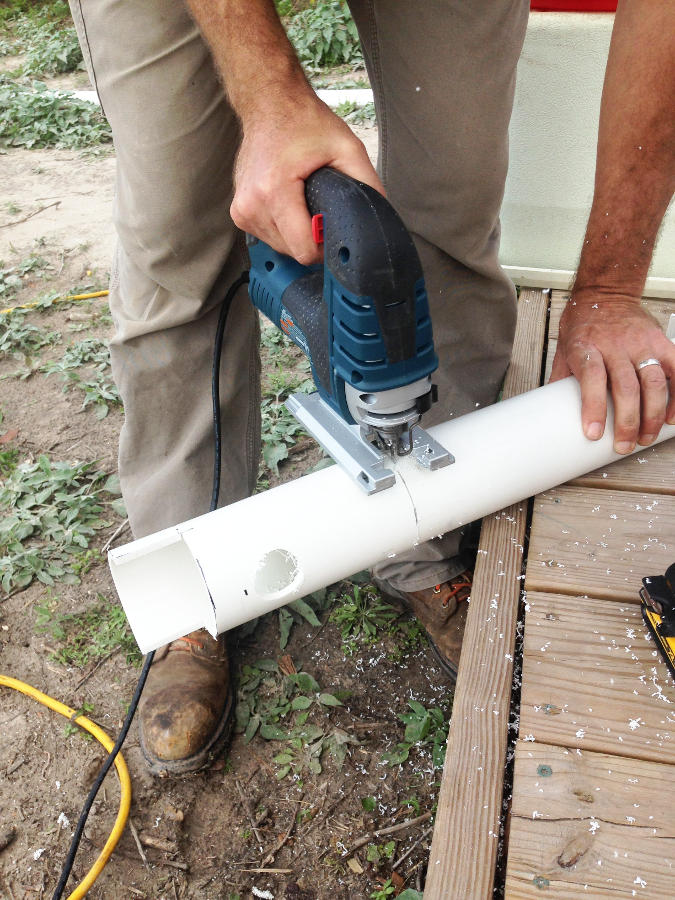
With the usage of more leftover PVC tubing, a bucket, and some epoxy, and a few simple tools, a new feeder was made. Of course, this job also required the assistance of the Planner. Armed with an extra large hole saw, the Planner made quick work of cutting a 3″ hole into the bucket.
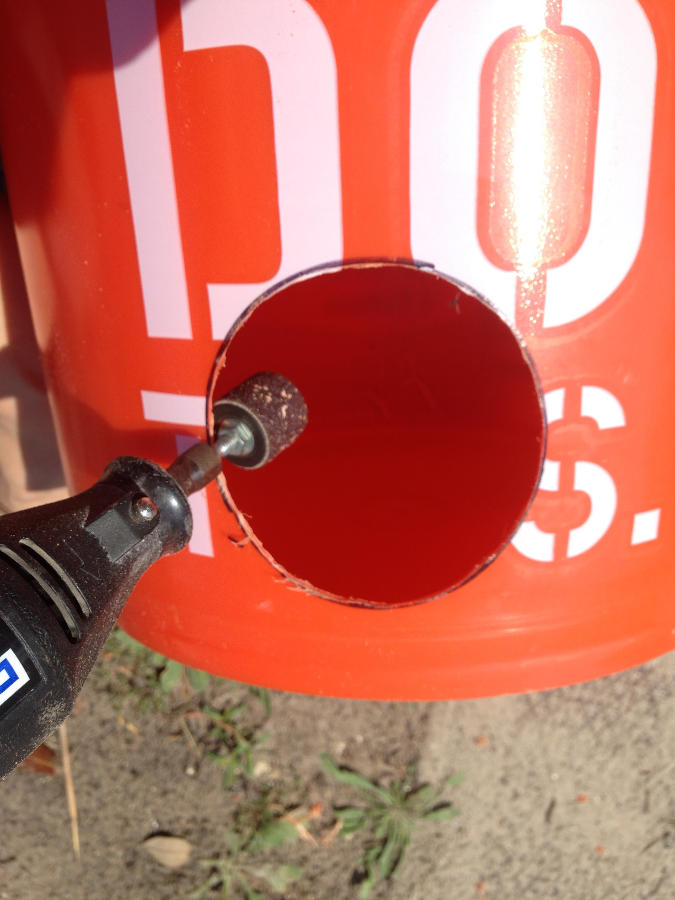

In the building of Boxes in Fields, I am really going to have to get over my fear of power tools. But come on, sawed off arms and legs or mangled fingers is just not my version of fun. Ok, maybe I am being a tab bit irrational. A tad bit. It is not all power tools. I used this Dremel tool to smooth the edges out just fine. Of course, I had on pants, gloves, and glasses. Safety first. As it turns out, Dremels are learned skill. If you look closely, you can see how much was “trimmed”. In order for the PVC fit it will require a little more epoxy than planned.
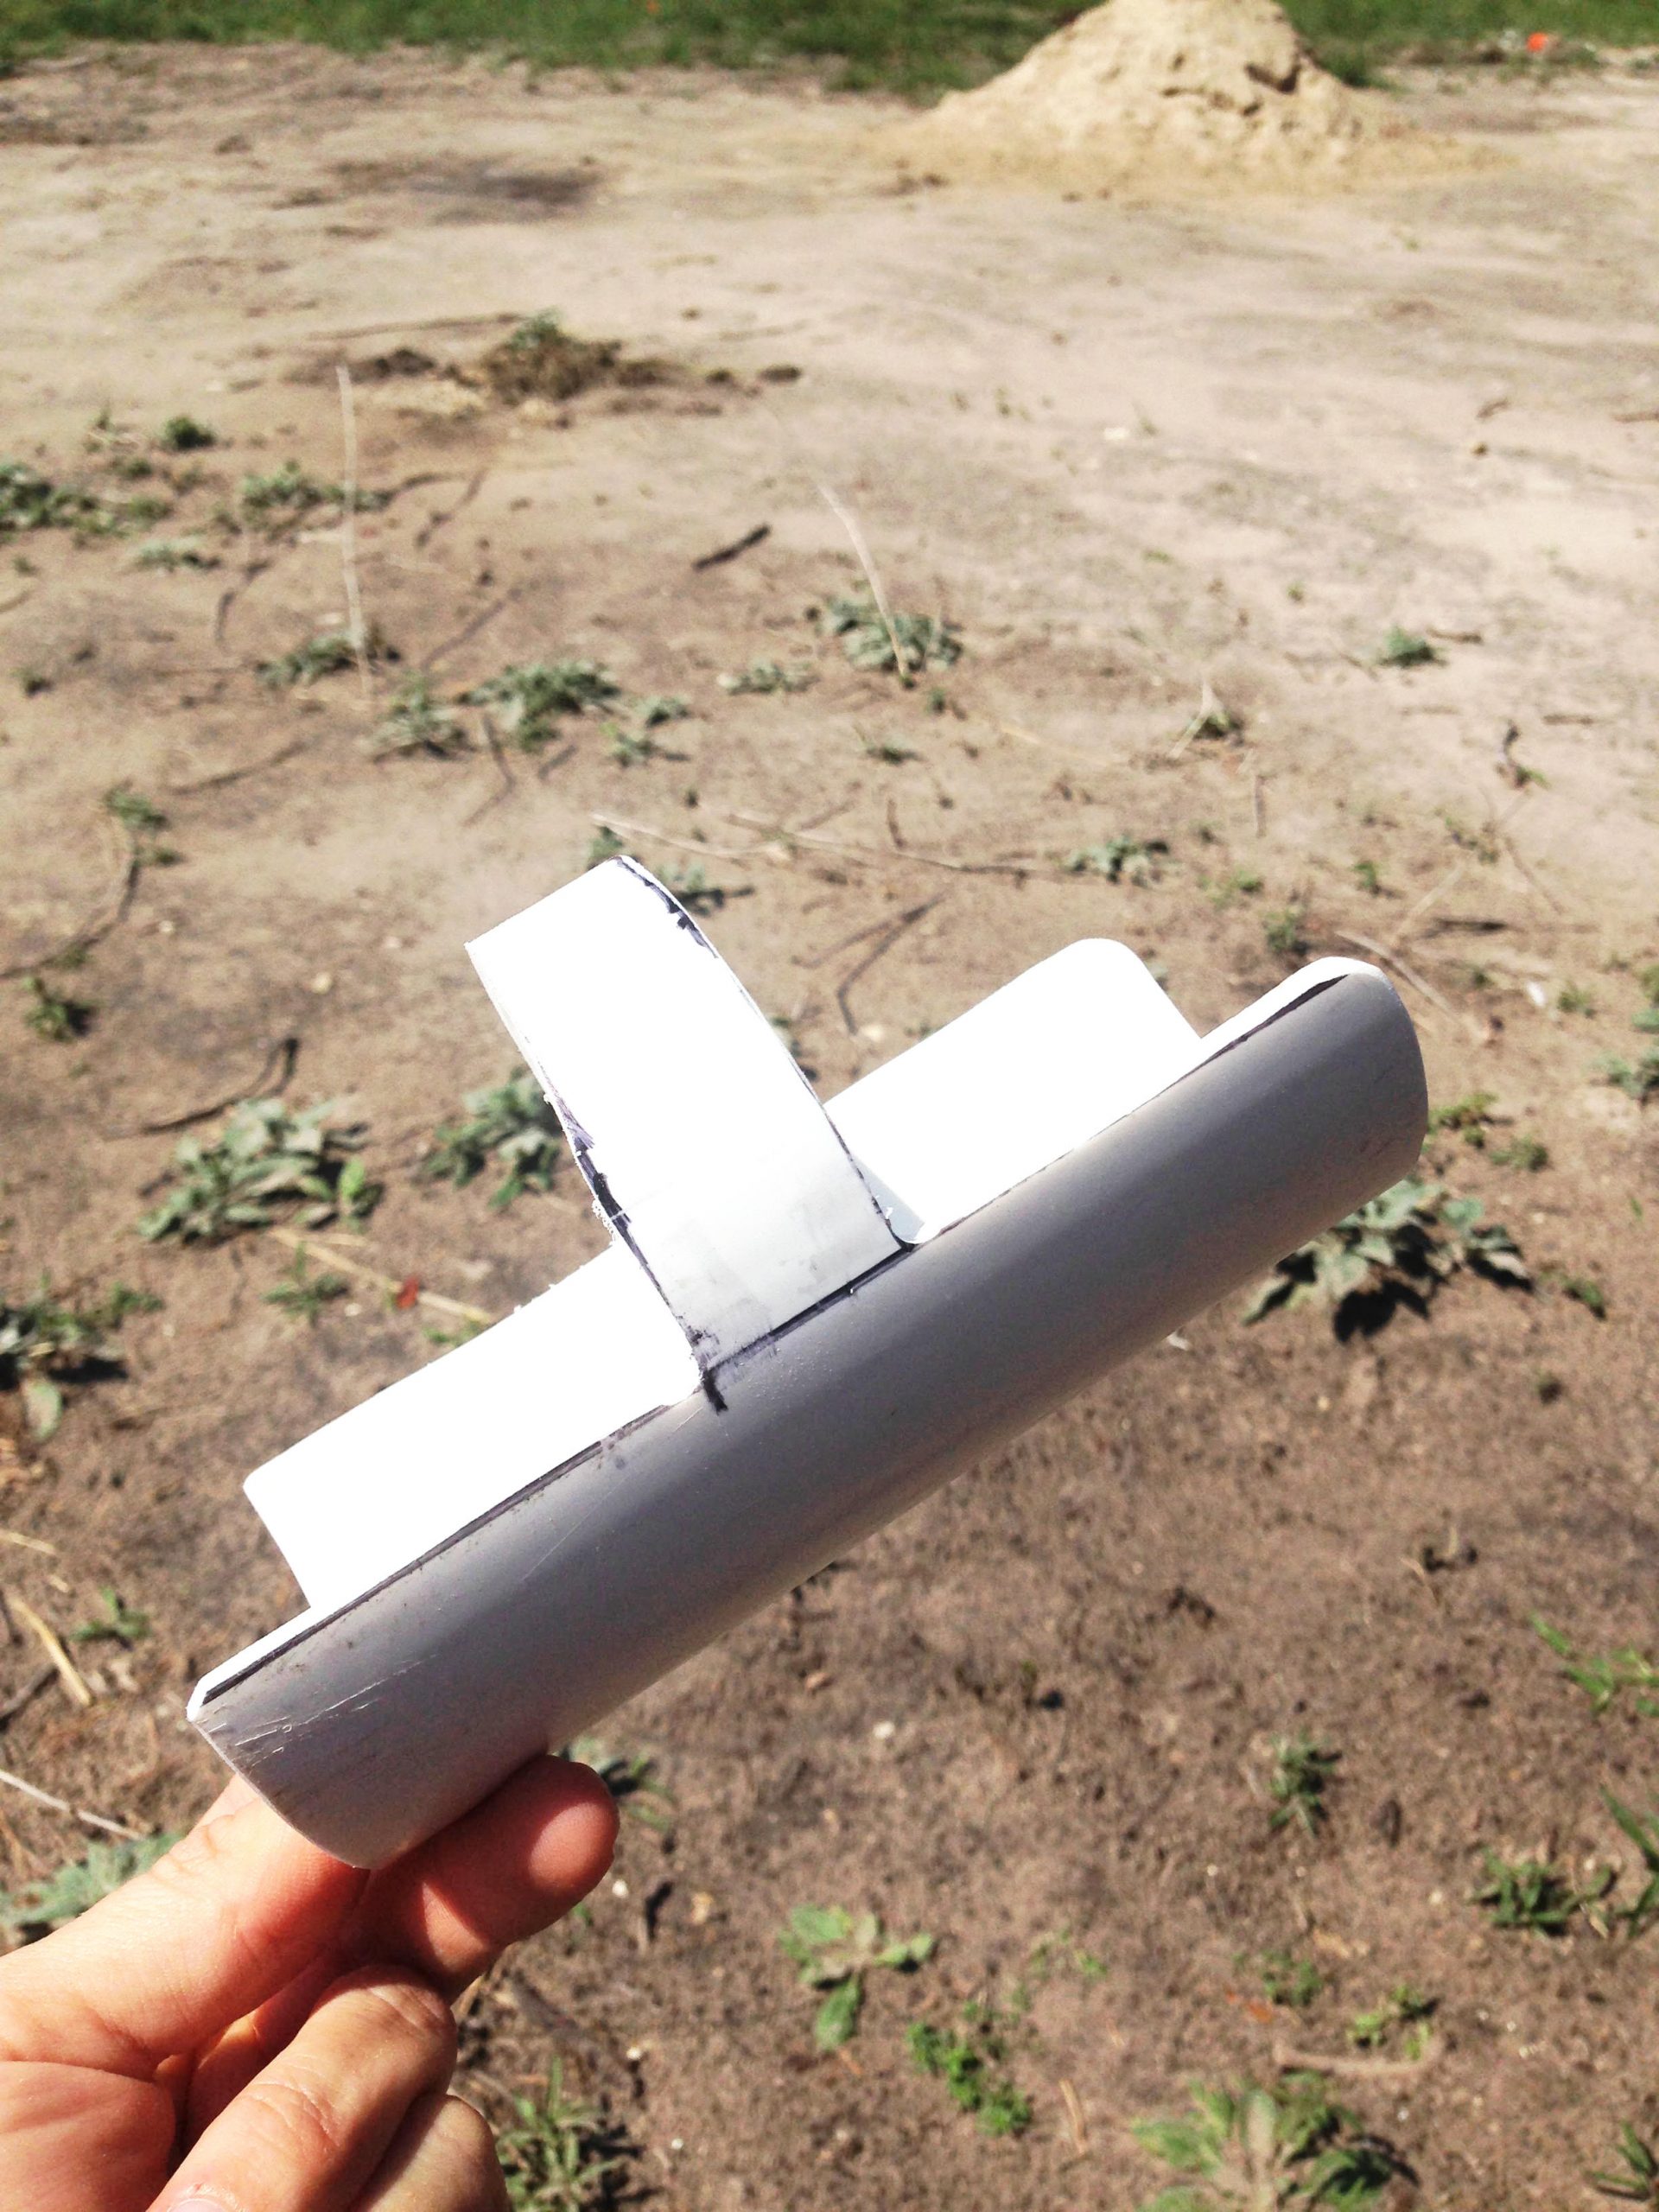
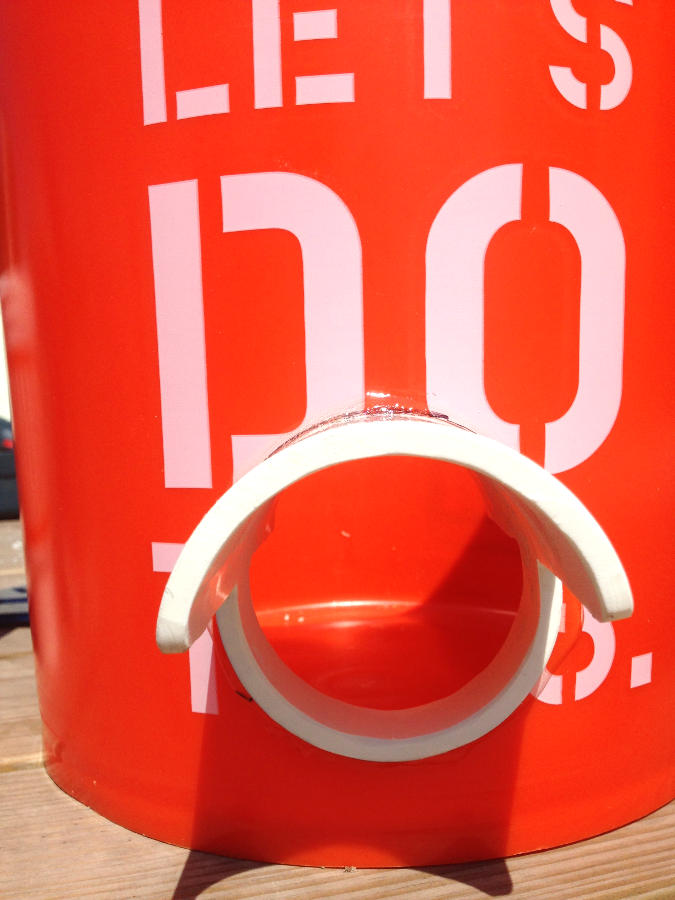
With the PVC feeder cut and round nicely, it was secured into place. Not too close to the bottom, not too far from the bottom either. Just right.
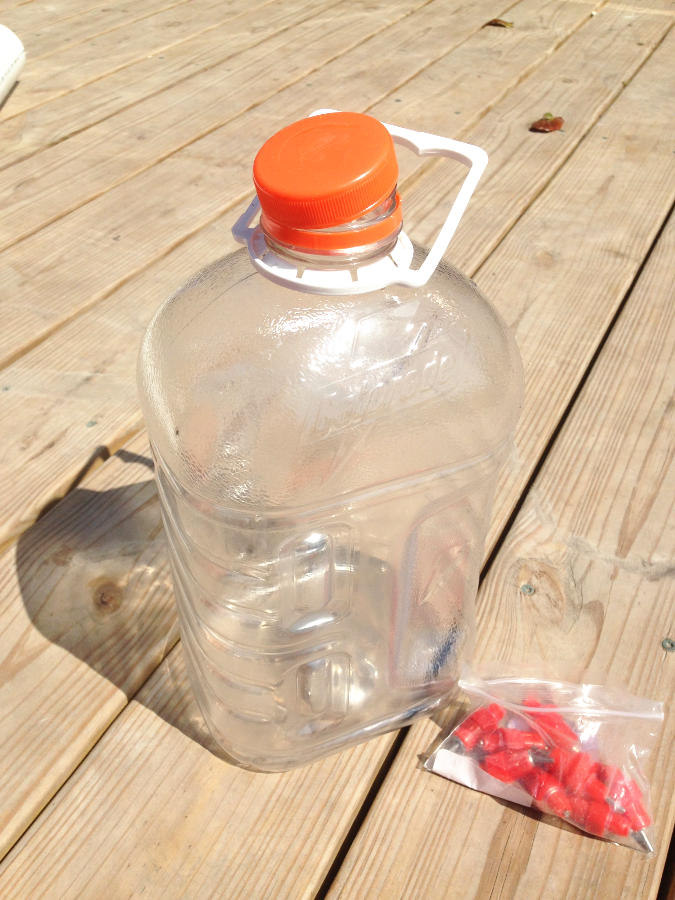

For the new waterer, all that was needed was a much larger water container. After scouring various local grocers, this one gallon Gatorade bottle was found with an extra duty handle, heavy walled sides, and a flat bottom for up to four nipples. After much debate, it was decided to add only two nipples to the bottle as this is just a temporary fix. The more permanent waterer will come later and requires the use of an IBC tote, more PVC, and more nipples.
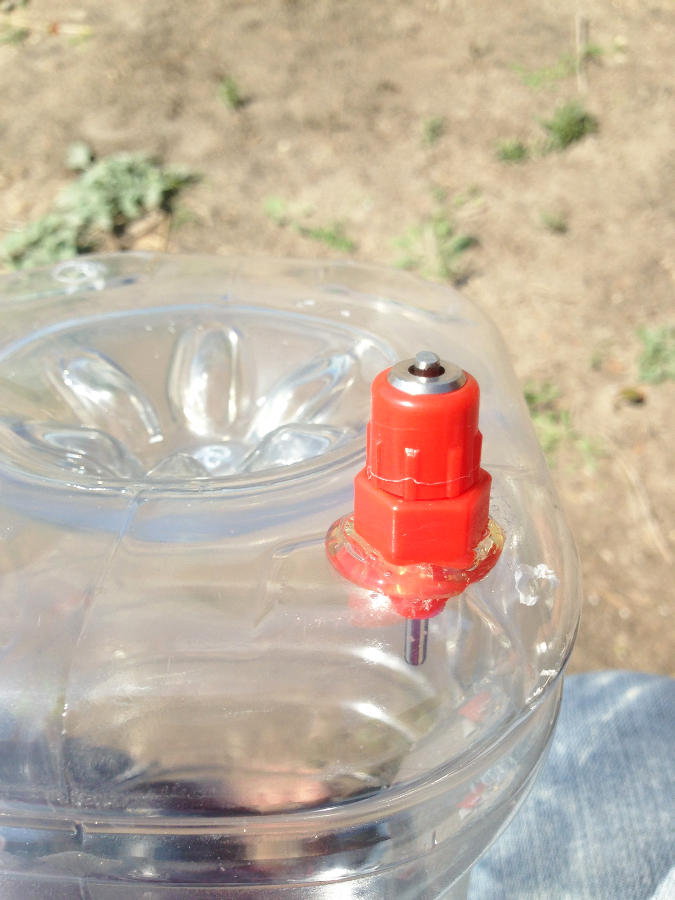
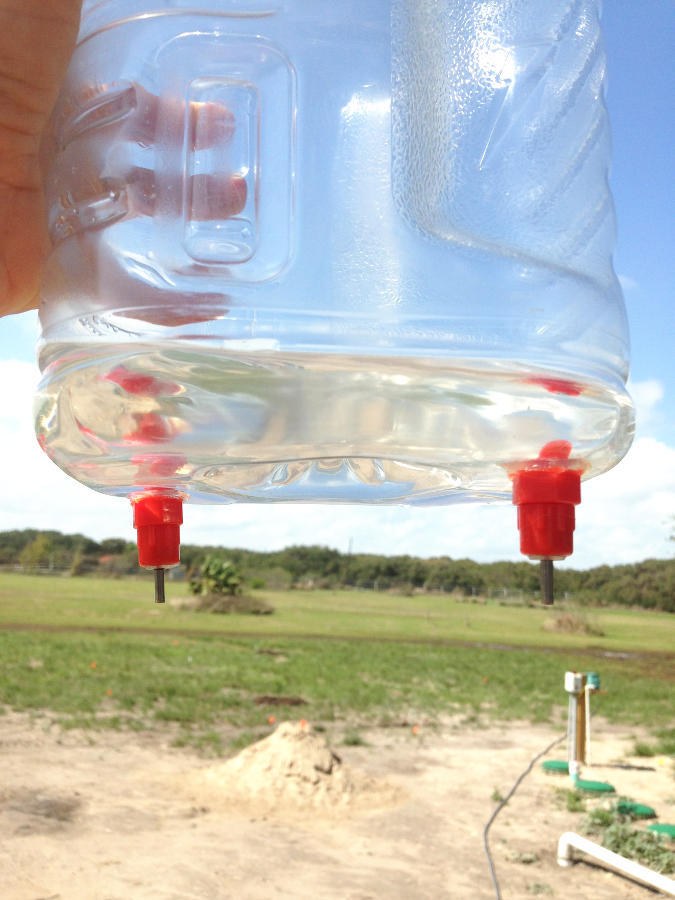
Once again holes were drilled and nipples were sealed into place. In case you are wondering, and I mention there is a debate on this, hot glue was used to secure nipples into place. Some chicken nuts say the glue is harmful. Well, if you are verifying the feeder jugs being used are BPA free, then maybe hot glue is not for you. With two nipples in place , the waterer looks great. Now, add the water and hang in the coop.
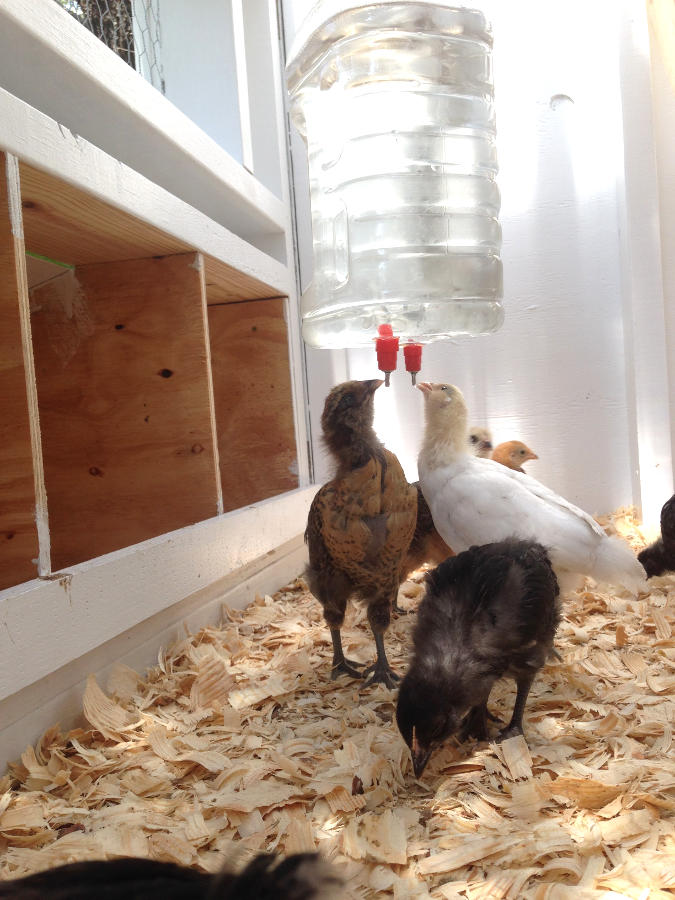
Success! The waterer was hung with some versatile paracord to allow for adjustment. Attached to the end of the paracord was a carabiner clip allowing for easy water jug removal.
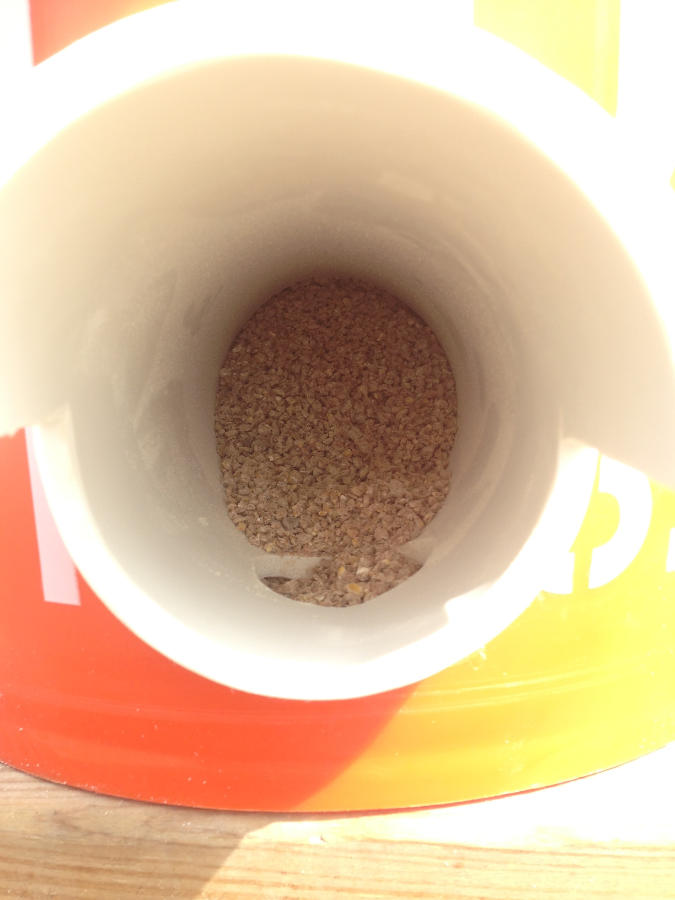
The feeder was not a success. Somewhere in my readings, I miss read the plans and all the feed fell out when the five-gallon bucket was bumped. After further inspection by the Planner, a new modified version was created. Removal of the first feed spout was easy as the glue had not dried. This second spout was attached with hot glue and it held up better than the epoxy. Go figure. Chicken feed was once again poured into the bucket and when shifted side to side gently no feed fell out. Success!
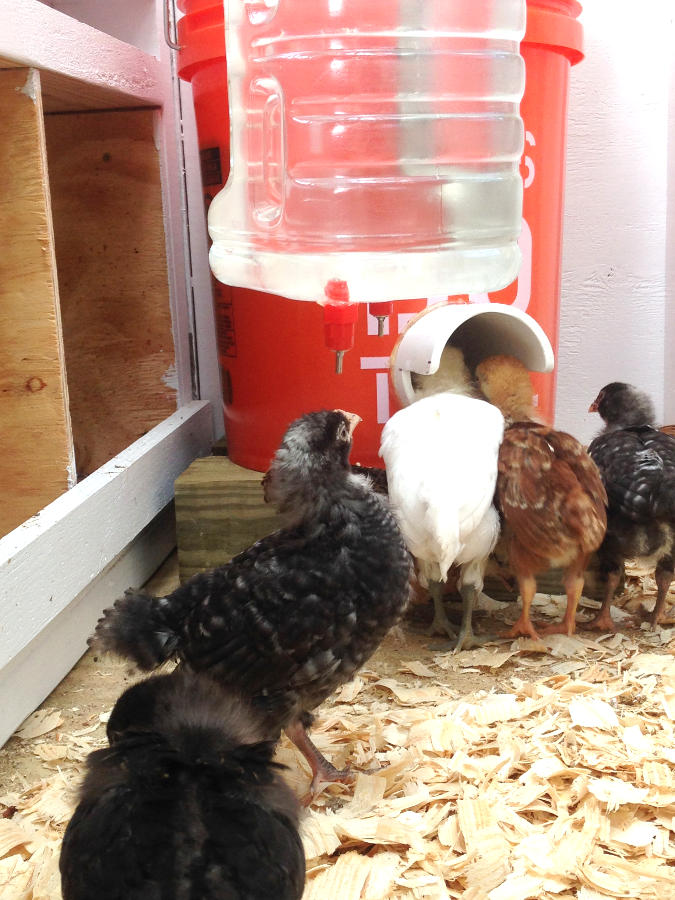
To accommodate for chicken height, the bucket was placed on two 4×4 posts leftover from the coop. This method can be added to as the chickens grow. Nothing permanent was created as the final version will be placed outside the coop when chickens are older. No food or water should be placed in the roosting areas. Gross.
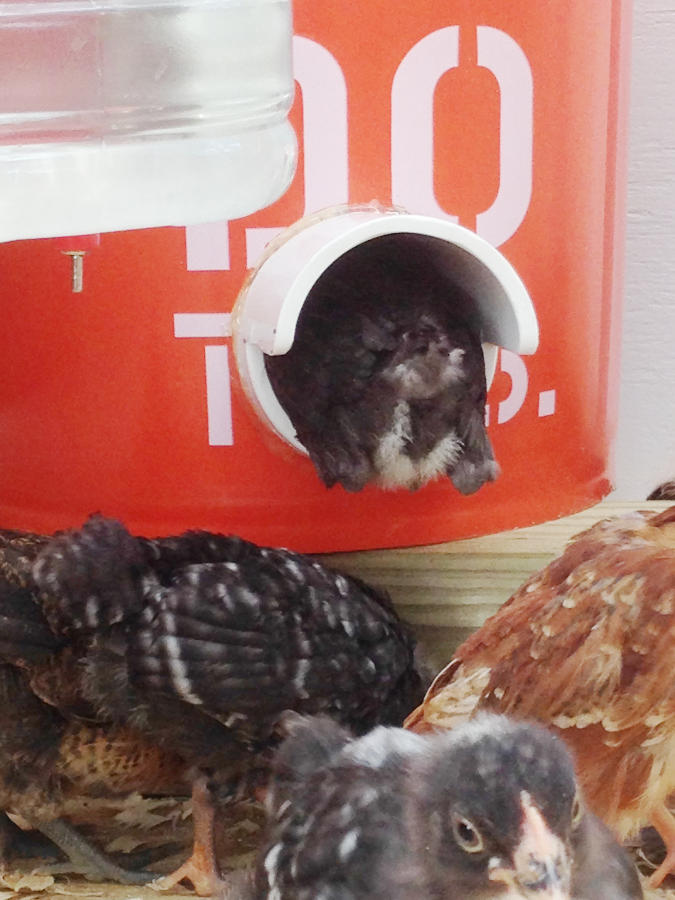
While it seemed at first that the smallest of the little peepers would not be able to reach, it became apparent chickens are adaptive. Whoever said “chickens are dumb” must be dumb. Isn’t fluffy chicken butts the cutest thing ever!