Stepping Up The Chickens
Holiday projects. As a student in college many (way to many) years ago, I hated assignments due over holiday breaks. Not that there are many since by Xmas in college you are done with your classes and summer break are filled with just more classes, but still. Teachers love their breaks just as much as the students do so why assign more work. Besides work produced will be just enough to complete the requirements, nothing more.
However, as a parent and teacher, I completely understand the need for projects due over the holiday break. Especially summer holidays. If I were queen, summer holidays would go the way of the Dodo and year round school (like many other developed countries) would be implemented. That, however is a rant for another day.
Middle school so far has not lived up to my standards (no surprise there). However, the “mean” teacher did assign a holiday project for all of her 6th science students. A homemade, useful, recycled project. Not art, not shop, not math, not science. An open platform with few stipulations. It was brilliant!
Unless, that is of course, if you are 6th grade science classes and the Kid. Lord how he moaned about it for a week. Knowing he would delay until the Monday before school returned to start his project (he is his fathers child and excels at his young age in the art of procrastination), I demanded the project be started immediately upon return from visiting with family for the holidays.
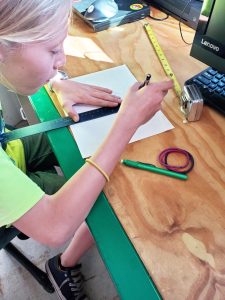
Building instructions from the Planner and myself were of course added to the rubric. Yes, he actually received a rubric from the teacher for the project. There is hope for humanity, yet. Our instructions were simple. The Planner requested the project to be fully drawn/sketched with sizing and dimensions before assembly as all engineer work starts with drawings. I requested a step for the chicken coop as he and I were both tired of climbing into the coop to clean it. Then together, the Planner and I both added one additional stipulation to the project: the materials used must be able to manipulated by the Kid himself. This meant there would be no welding, or grinding, or any manipulation of metal.
Showing him countless ideas and plans, he created his own step based upon recyclable items he had on hand that could be handled and manipulated by his onesies. For his teachers requirements he used one pallet, one wire basket, and one rubber tire. Not one material extra. Why use four when three was all that was required?
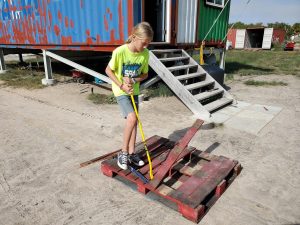
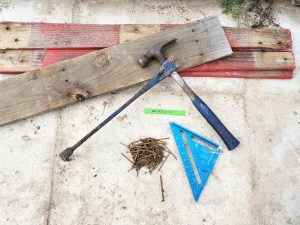
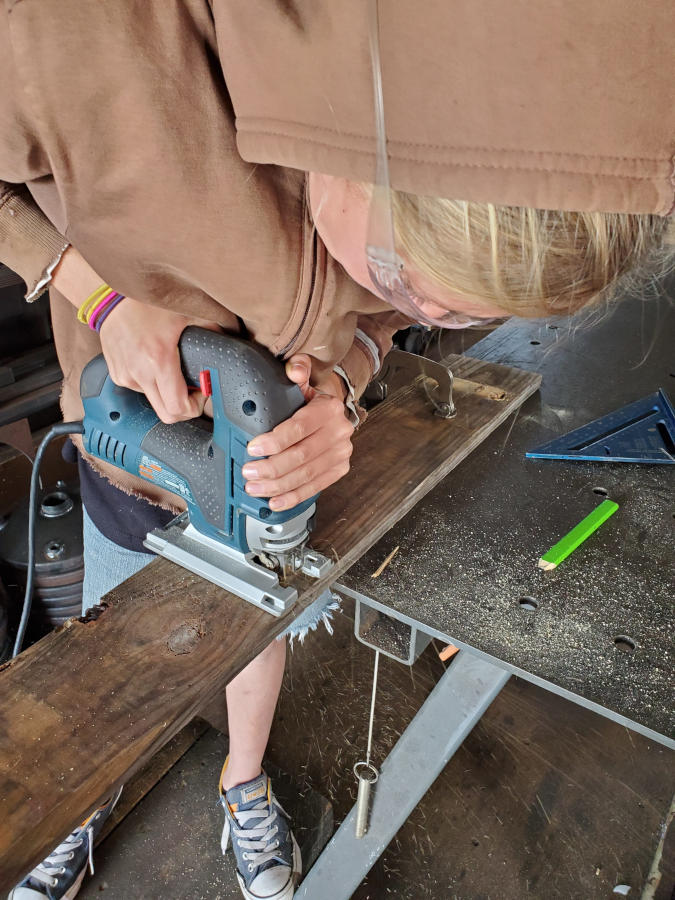
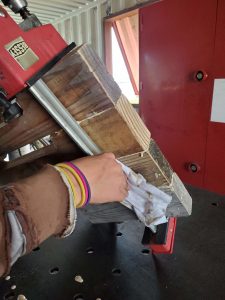
Having little assistance with the entire project, I would venture to say the most help received was disassembling the pallets. They are hard wood with vicious twisted nails. After some suggestions how to break apart without breaking the boards, all I had to do was stand on the pallets for counterweight. Easy enough.
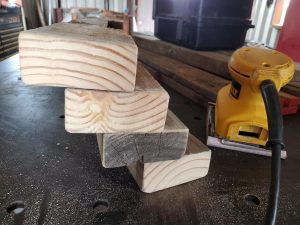
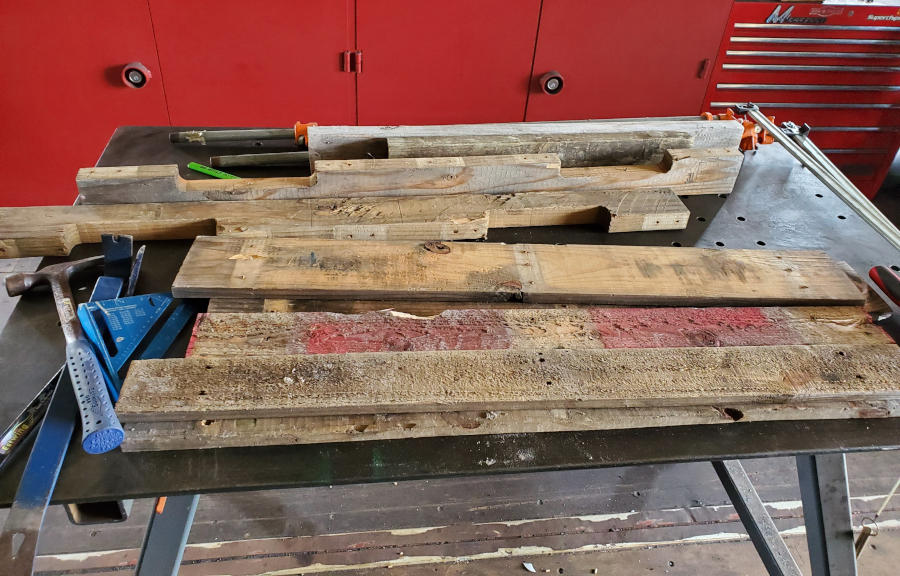
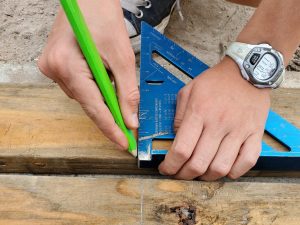
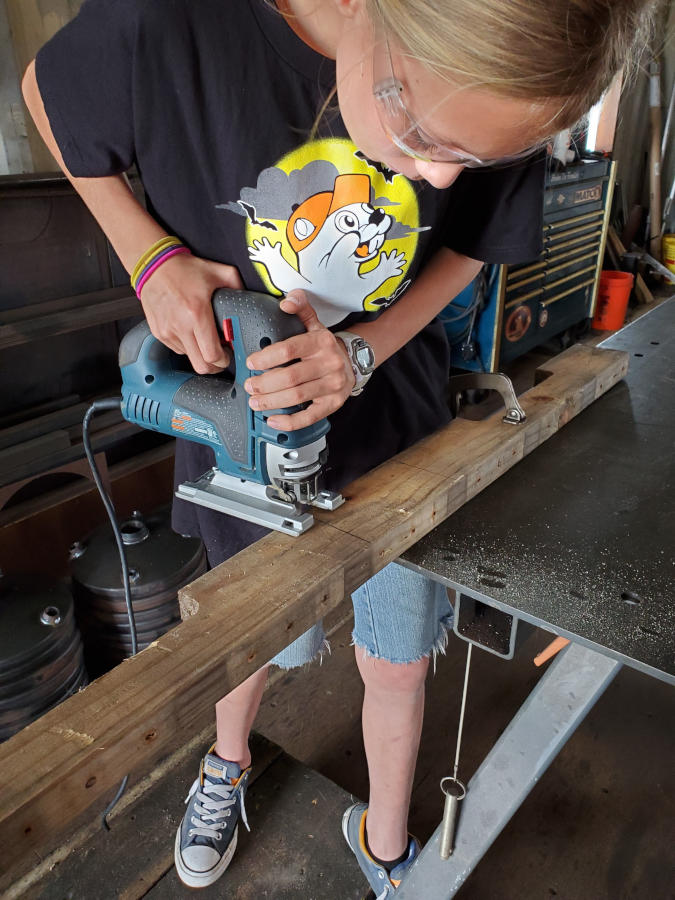
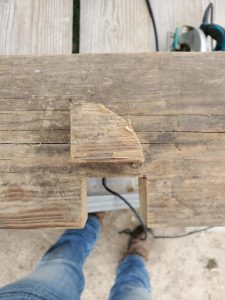
After cleaning up the pallet mess, the saved boards were then measure accordingly. Using his plans, there were 2×4 for the sturdy base and 1×4 for the steps and bracing. Not knowing exactly how the steps would lay out even with hand drawn designs, extra boards were cut.
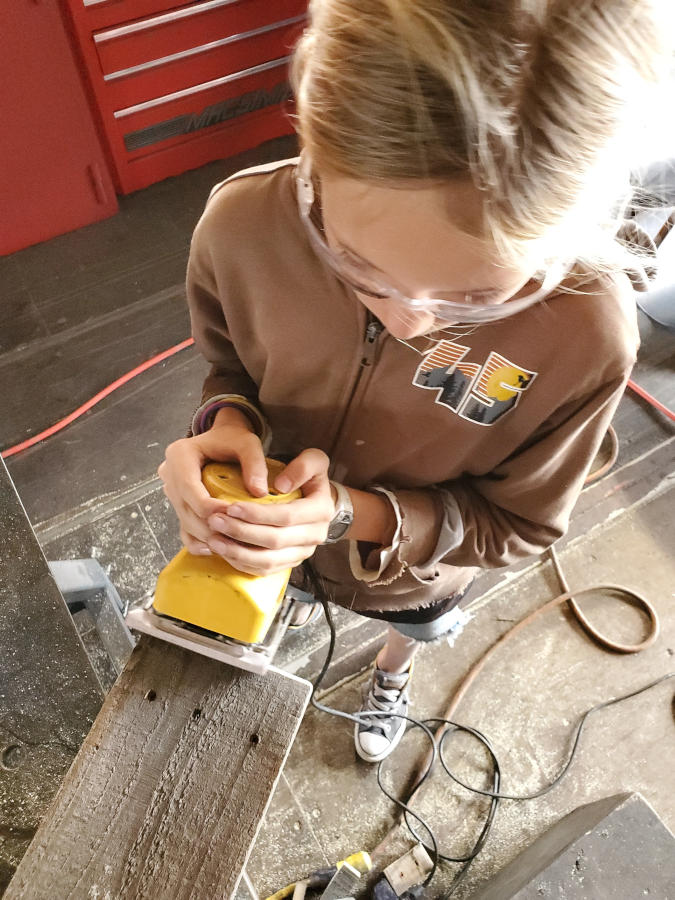
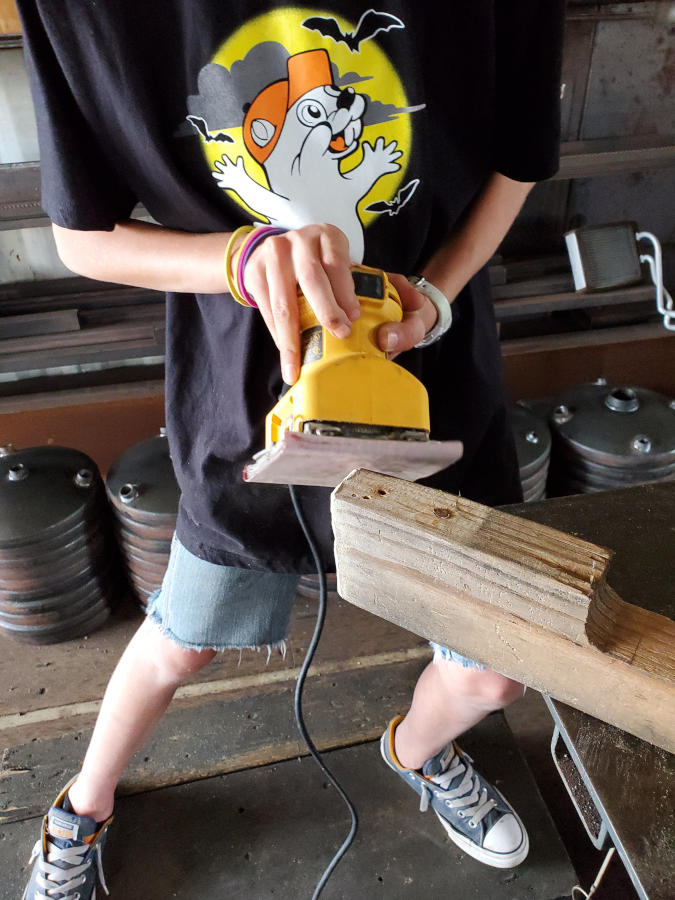
With all the boards cut, the Kid then sanded the corners for safety. He did not want to snag his shirt or get splinters while assembling the steps. And, he said, it took the project to the next level of professionalism.
Measuring, cutting, and sanding are easy. The poor Kid and I stood around trying to decide how to assemble with no plan of action that seemed easy. Plans got more and more crazy and complicated. In relent, assembly required further assistance from the Planner.
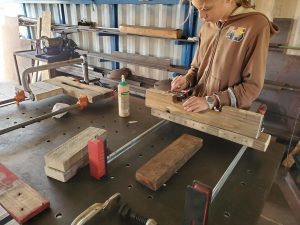
Using extra large clamps from when the Rainstream was being built, the Kid quickly glue the side boards of the steps together. Wanting to ensure safety, he kinda got carried away with the gluing. Left to dry, the Kid was feeling accomplished at the end of his first days worth of work.
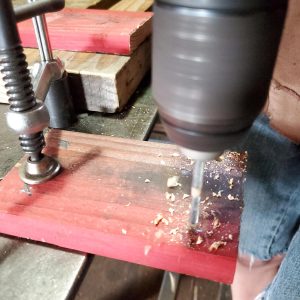
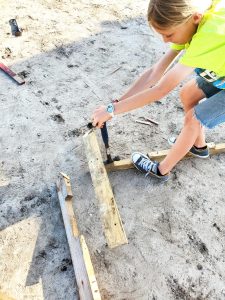
Day two, the Kid predrilled and screwed on the inside bracing. It was important that all boards were predrilled as pallet wood has a tendency of splitting. Split boards are not step worthy material.
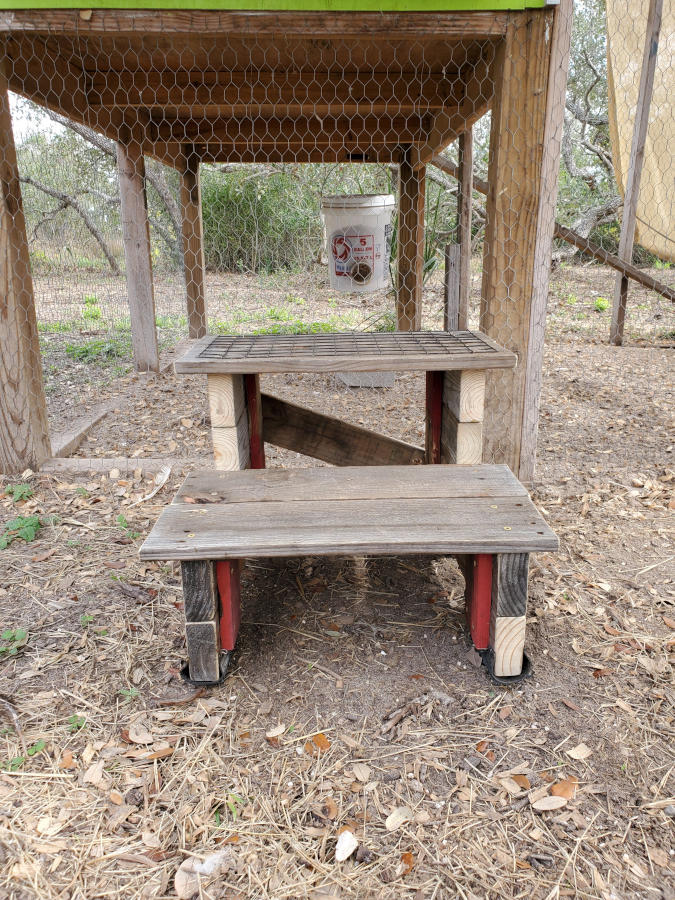
Red was chosen from a different pallet so it stood in contrast to the wood from the first pallet.

I have to admit, I did not think the red would stand out as much as it did against the weathered pallet boards. But, I was wrong. Very wrong. Even with the brace boards being on the inside of the step, they will be visibly noticeable.
Attachment of the step boards was the point were the plans went out the window. Originally, they were to have a skinny board sandgwiched (yes, sangwiched) between two wider boards. Upon layout, the skinny step caused too much of an over hang on the front on back. Neither the Kid nor I like this. He wanted flat surfaces, I was afraid they would crack under my weight.
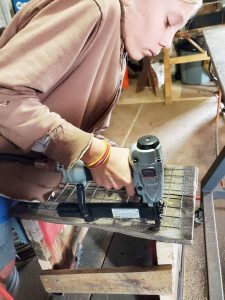
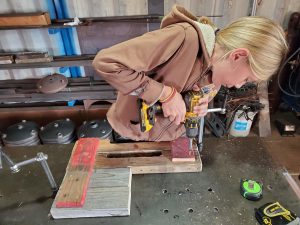
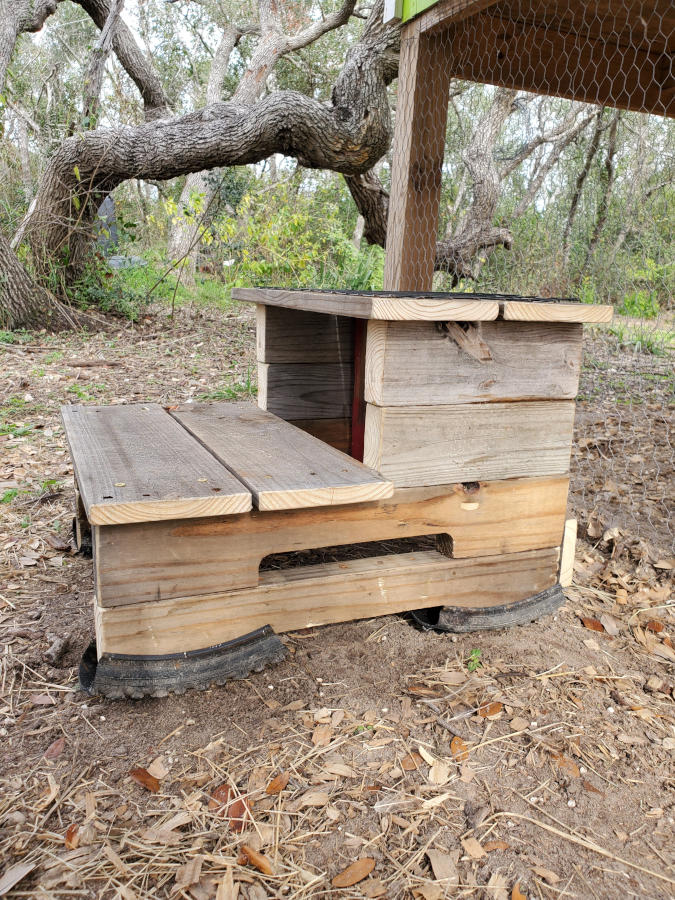
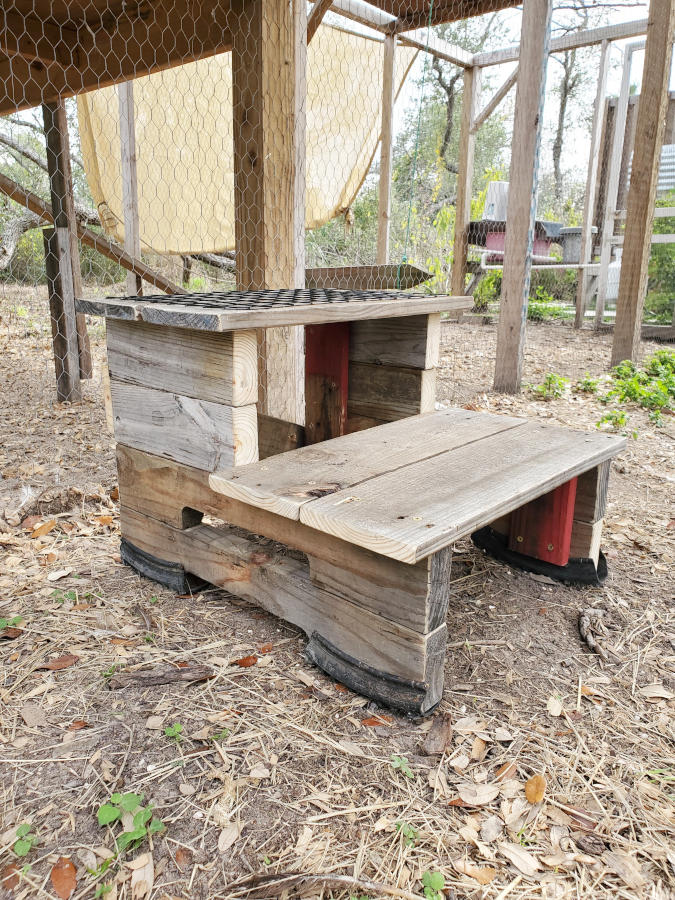
Having finally attached the step boards, next came the gripton (yes, gripton) via usage of an old wire basket. It was cut to fit just the top step and then stapled down. The Kid was concerned that if shoes were muddy when attempting to step out of the coop, the top step could become slippy.
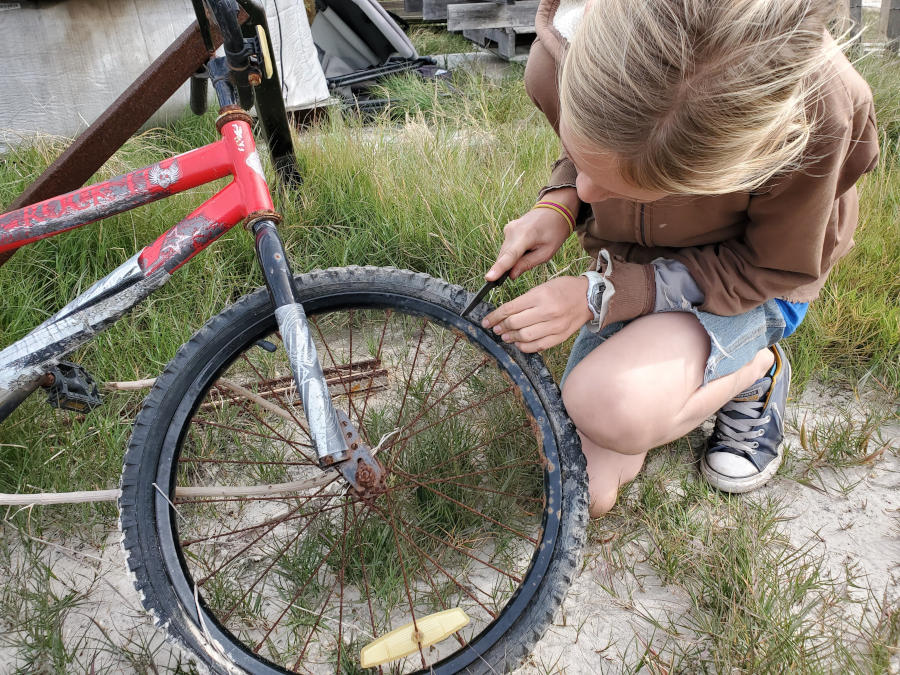
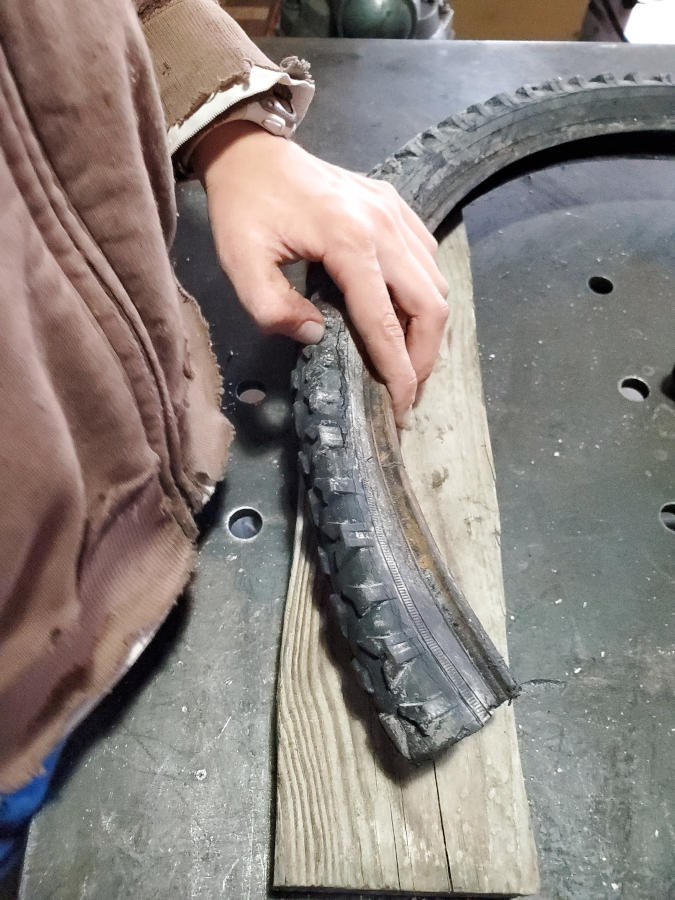
Third in the list of materials to be recycled and repurposed was the rubber feet. Not wanting the pallets to rot when wet as the steps will remain outside, tread off an old bicycle tire was used. It was a perfect usage of rotting tires.
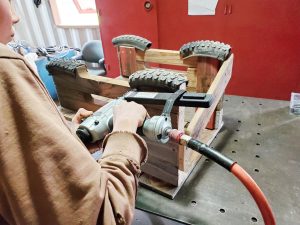
What was so surprising was that the tires were the exact width of the pallet. It was as if the tires were made for this purpose. Upon cutting to the correct length, the tightness of the tire held itself to the wooden pallet.
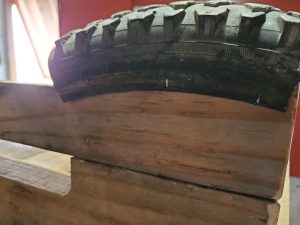
For further safety, the tires were stapled to the pallet feet. The brads might rust with time, but the rubber will remain. Boards may rot, mold, and breakdown, but the rubber will remain. Unless that is of course if the Planner doesn’t take it off. He says the rubber feeties will cause the step to become unstable. Only time will tell…
And what better way to tell than to test.
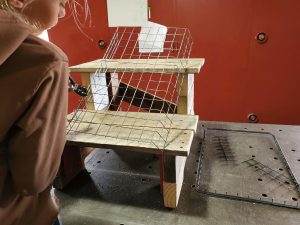
In design the step was planned to aide our entrance and exit into the coop for cleaning of the pine mulch. Current entrance requires the use of a four step folding step ladder. While it gets the job done, the ladder has to be drug out from one of the various work boxes each and every time it needs to be used. Getting out of the coop is easy, just jump. Then inevitably, chicken poo has to be washed off the steps causing a bigger mess. Don’t get me wrong, this has been how we have always gotten into the coop. It just would be nice to have a step that stays there and now we do.
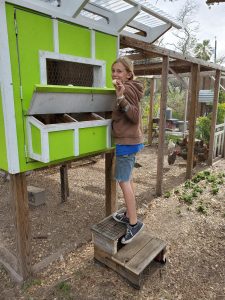
Testing the steps produced an additional benefit. The Kid can collect the eggs without having to open the coop door. Instead, he can open the nesting box lid and see inside for eggs. This bonus was an exciting moment for all as the coop door can hard to close in wet weather, humid weather, windy weather, all weather.
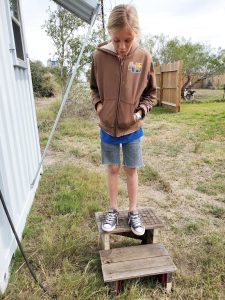
Test 1: Stable steps for kid usage.
Result: Pass
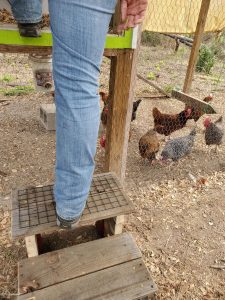
Test 2: Stable steps for adult usage.
Result: Pass
Not wanting to waste this moment and wanting to further enhance the Kid’s feeling of euphoria, I decided now was the time to further upgrade the chicken coop. New nesting bar layout.
Before the addition of the new hens this past March, the previous residents all had their assigned pecking spots. Nightly routines were, well routine. Since then there are squabbles, rusting, and fights. Not nightly, but too often for happy hens.
After months squabbling, I have decided the chickens are never going to develop a new pecking order, therefore, I came about with a solution to their problems. A one level roosting bar.
All chickens, hen and rooster alike, want to be on the top bar of the roosting ladder. The ladder was originally designed to allow for the little peppers a way to step up to the top. Since installation, I have learned the chickens just fly to the top bar, they don’t step up at all.

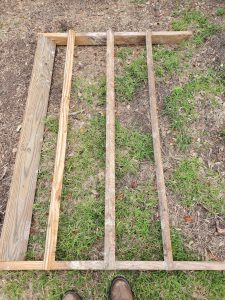
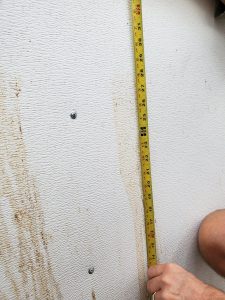
Using the height of the top bar based upon the poop line on the wall, support 2×6’s with 1×1 cutouts were attached to both sides of the coop. The old roosting bars were disassembled from the original ladder roosting bar and were modified to length.
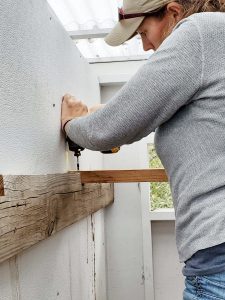
Not knowing if the bars would dance when a chicken lands on it, they were screwed down. Also, in event of a drated hurricane again, the screws will hold the bars in place.
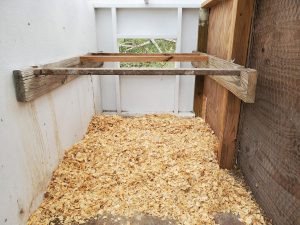
Three roosting bars spread out evenly across the 4×8 coop and one new bag of clean dry pine mulch, the chicken coop was complete.
It was a very productive weekend, very productive. All because the Kid had a holiday break homework assignment. Sometimes, just sometimes, this Kid of mine amazes me. Just look at this step! It is FABULOUS. Even more fabulous that I did not have to build it either. FABULOUS!!!
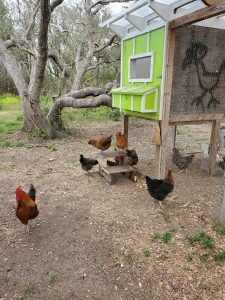
And yes, before you ask yourself, the chickens officially fabulously commenced their acceptance of the new step.