Electrical Wire and a Vacuum
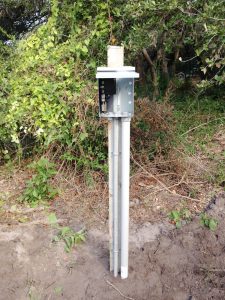
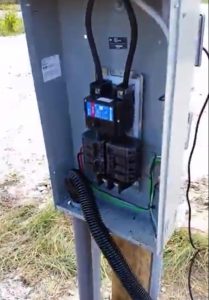
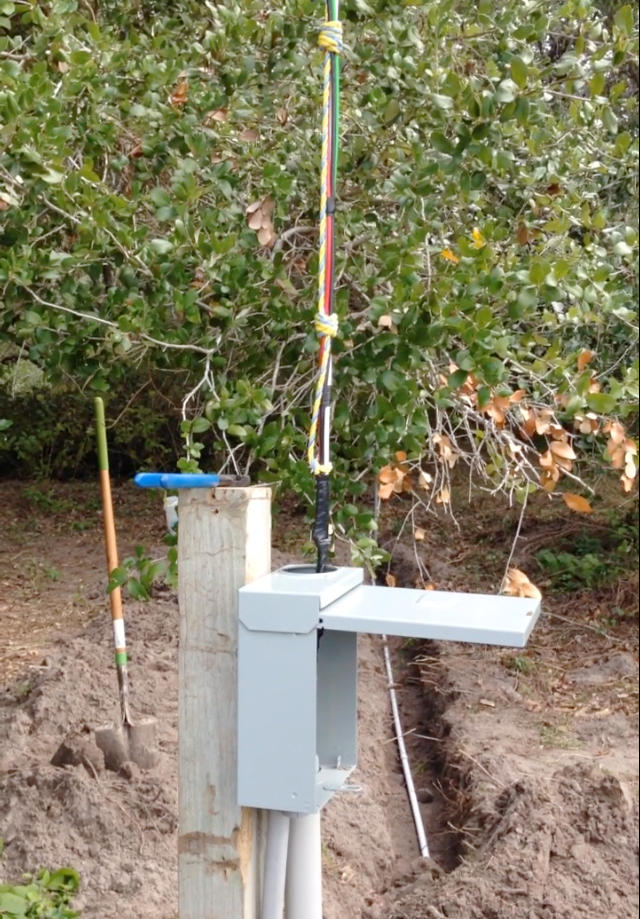
Compared to yesterday, today was an easy day. It was just the installation of the RV power pole and the running of the electrical lines. Simple, right? Right, simply taking all day to complete these two simple tasks.
Last week while the Planner was in big city #1, he gained some insights on how to easily pull electrical wiring through the conduit. This advice did not come the 35+ year master electrician. No, this advice came from a 35+ year welder who loves to read home improvement manuals. His advice is so simple and easy it sounds too good to be true. Remember what I said last time, if it is too good to be true, then it is. His advice, run the electrical line with the use of a shop vac. Yup, a shop vac. And boy howdy, let me tell you, it worked like a charm.
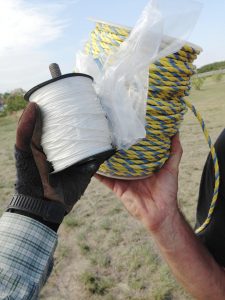
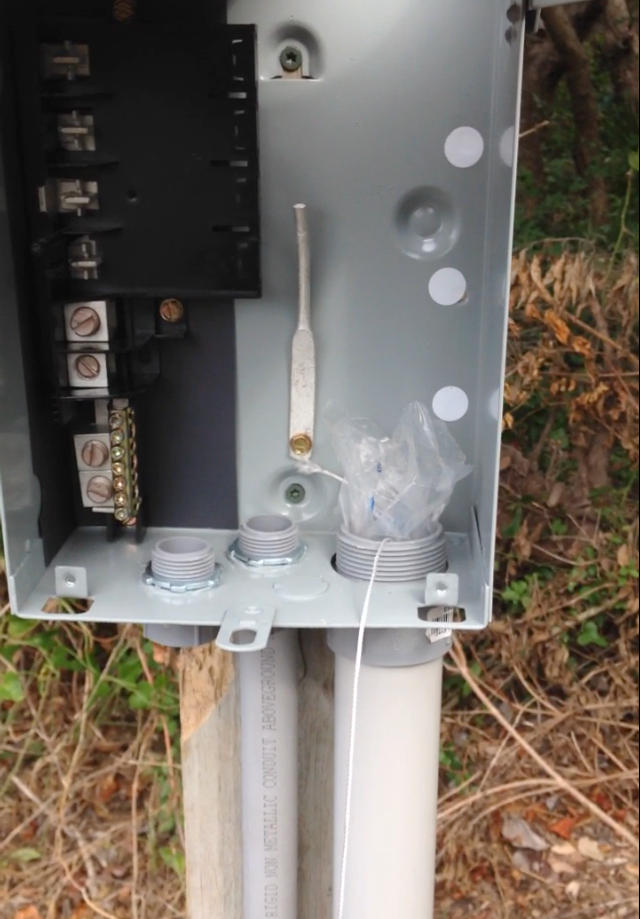
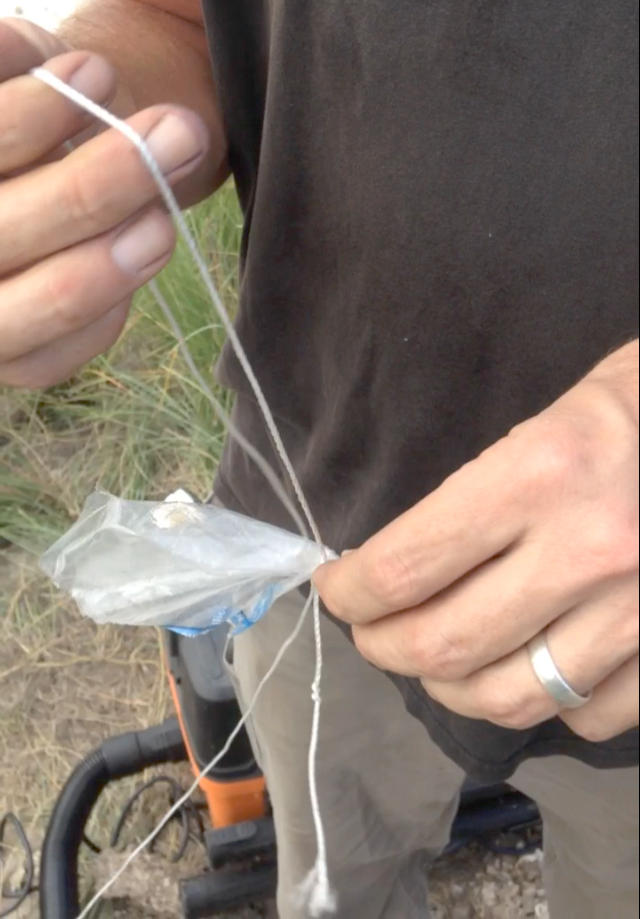
First. Tie a piece of plastic to 500 feet of string. Not fancy string, either. Just plain ol, jane ol’ kite string. The same kind found in the hardware section of the box store. It comes in pink, green, yellow, red, white, and orange. Of course, colors represent weight and this jobs only requires the light weight stuff. Once the plastic is tied, stuff it into the electrical conduit at one electrical box.
Second. Attach a shop vac to the electrical conduit pipe at the other electrical pane;. And yes, just a plain old, jane ol’ shop vac purchased at any big box store. Nothing fancy, nothing special. Turn on the shop vac and just a few seconds later, out comes the string and plastic tie. Now for the RV electrical panel, the string was pulled around 150 feet. Later on, this same process will be used to run the electrical lines to the well for a distance of 250 feet. It will be interesting to see if this process works just as well on the kinda distance.
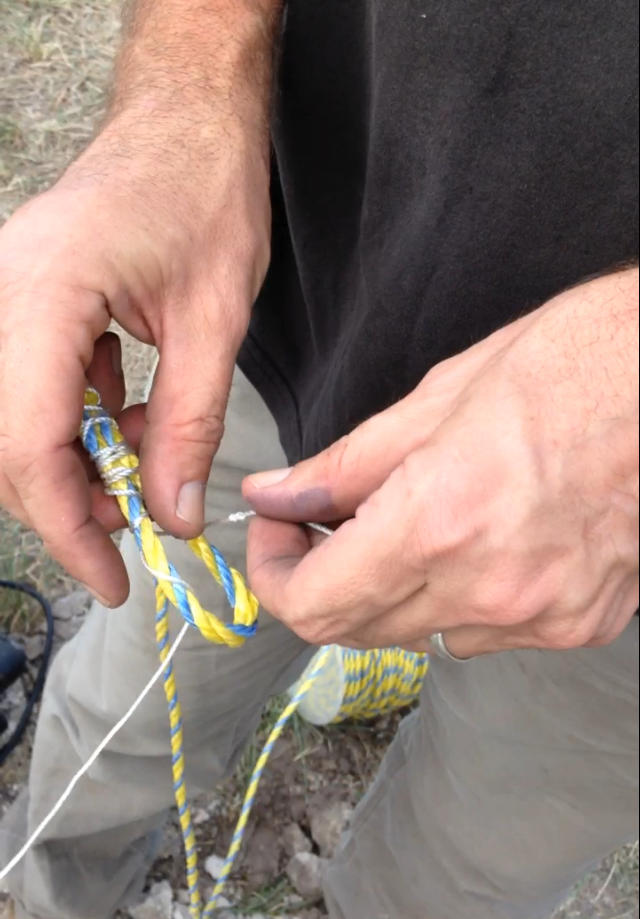
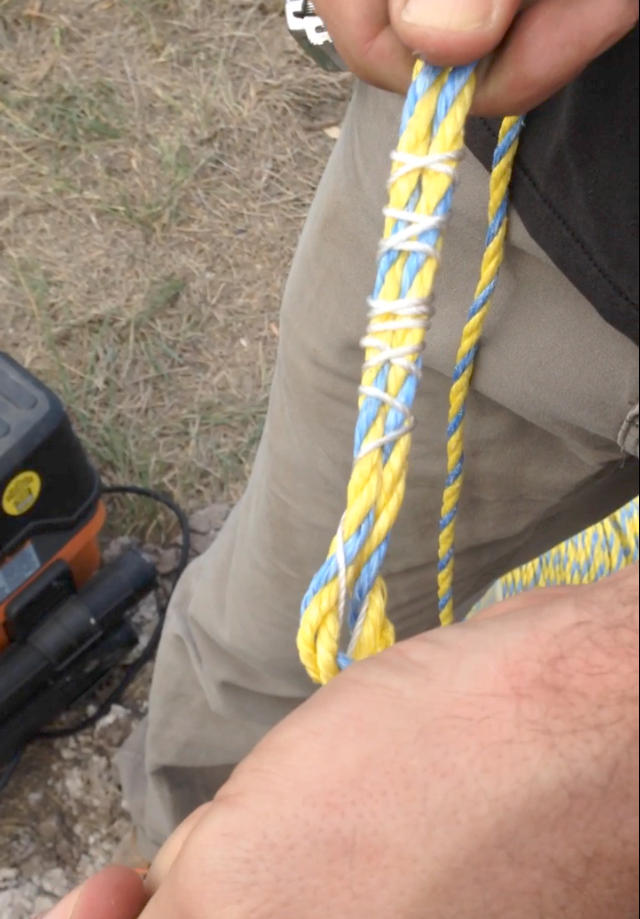
Third. Remove the plastic and attach the kite string to the nylon rope and secure with electrical tape. And no, it was not fancy rope either. This was the nylon twisted, frays at the end, rope. From the first electrical panel, pull the kite string back dragging the nylon rope as you pull. This step takes more than a few seconds but it is easily done.
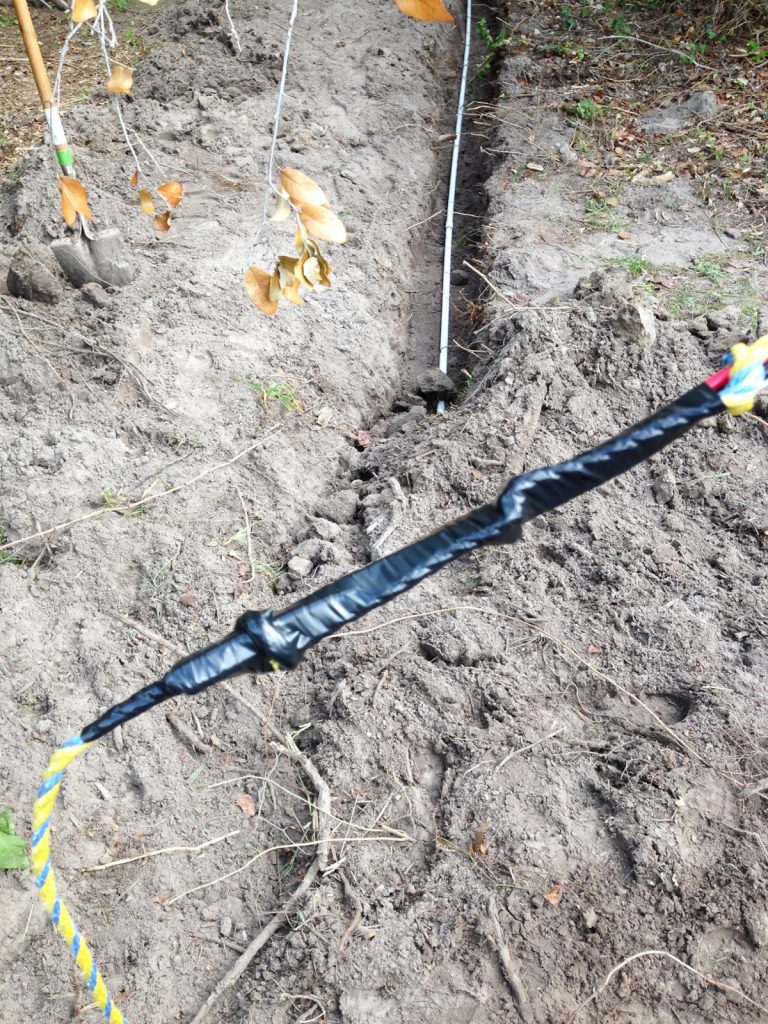
Fourth. Remove the kite string from the nylon rope and attach electrical wires. Secure with lots and lots of electrical tape to ease the pulling process. From the second electrical panel (the main panel) pull the nylon rope back dragging the attached wires as you pull.
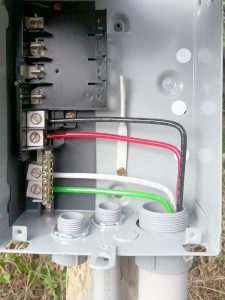
Last. Install electrical wires. Tee-dee, electrical panel to the RV completed. Easy peasy, just like the advisor said it would be. As it turned out, it was NOT too good to be true. Fancy that.
And, yes it really was that easy. Time-consuming but easy all the same. Once the panels were completed and electricity was tested, the poles were firmly secured with the tractor. All that was left was to smooth out the RV pad site for the Airstream placement tomorrow. If it doesn’t rain, that is. I’m telling you, it doesn’t rain unless there is an outside event taking place that cannot be pushed back. Of course, it didn’t take long for the Kid to realize what was going on with the tractor and here he came a running. “The backhoe! Cool! It’s my turn, right?” And on and on and on the badgering went.
There was nothing better than the joy on his face when playing with the backhoe attachment. Have no doubt in my mind he will dream of backhoes in his sleep tonight. It was a proud parent moment.
