Shop Box Repairs Cont.
Sometimes a project comes about in a rash decision and is implemented immediately. Most of these rash decision implemented projects are the result of an immediate need. IE: holes in the ceiling, new chicken door, new water pump lines. Some projects are thought out in advance and done over a relatively short period of time. IE: storage boxes, work desk, outside shower. Sometimes a project is years in the making.
Way back in October 2017 when we were building out A Conex Half Box the Planner and I stood inside the local big box store trying to decide on lights for inside the box. Working inside boxes with four 4×4 windows, two full width/height shipping container back doors, and one mancave door would elude to plenty of natural light. And this would be true for fully sunny days, days where the weather is dry, and days where the wind isn’t blowing too hard to affect welding. All the other days including fully sunny, dry weather days there is a cheap drop light offering just over a candles brightness for clarity. After much debating and complaining and himhawing the Planner has finally decided he NEEDS lights. Good grief. Let the light shine down!
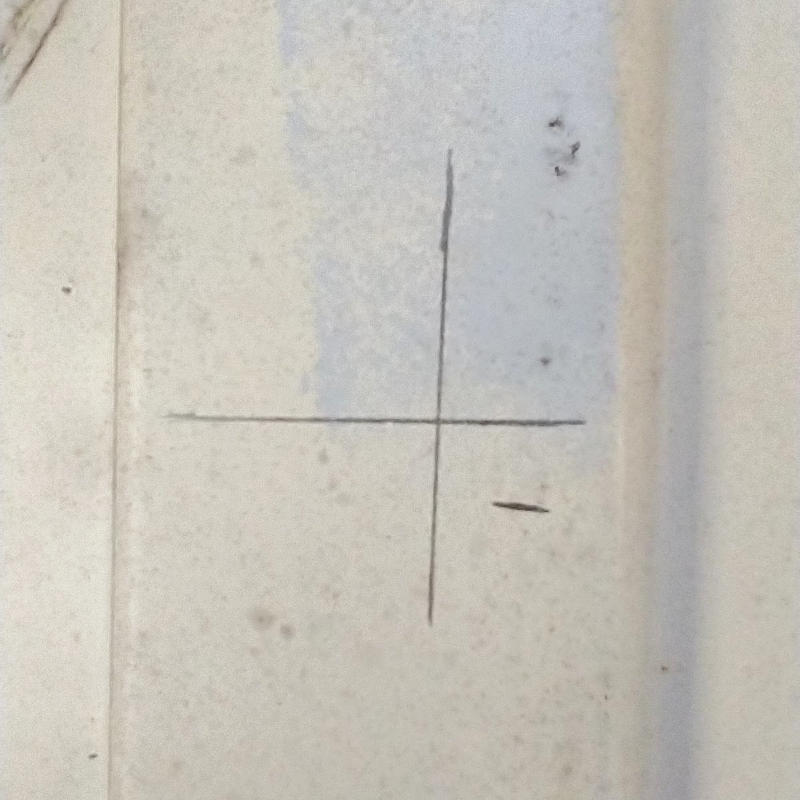
First it was the marking of the bolts for the lights. The lights are centered north to south and east to west. Damn, the one inch mark strikes again. Lines were remeasured and drawn fresh with blue sharpie.
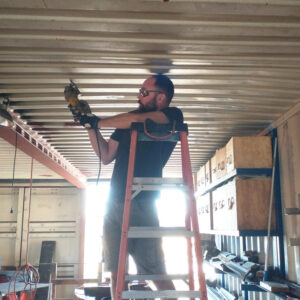
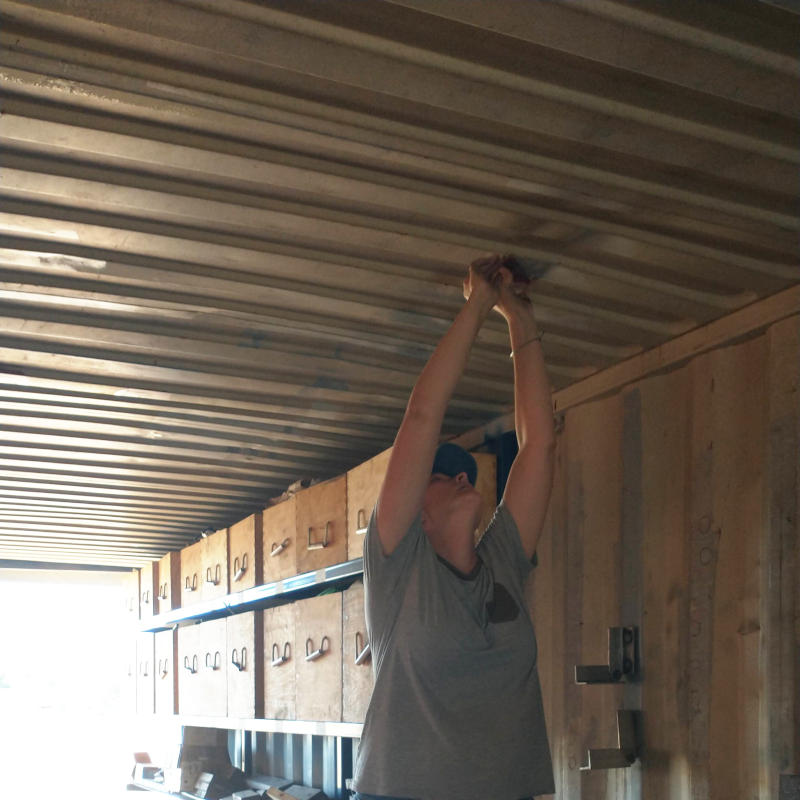
Next the Planner painstakingly ground off enough paint to allow for the bolts to be welded in place. Working over head is never easy. Working over head with no space for your actual head is a giant pain in the head and neck and shoulder. Eight lights on each side for a total of twenty four bolts.
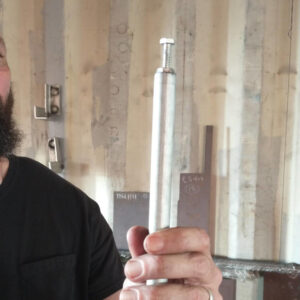
Needing an assistant to help hold the bolts in place while being tacked to the ceiling and myself busy in the Work Box, the Planner created a tool assistant. The EMT assistant also allowed to the Planner to ensure that the bolt was perfectly perpendicular to the ceiling. Crooked bolts will not line up to the light fixture. Crooked lights are not okay. As in NOT ok.
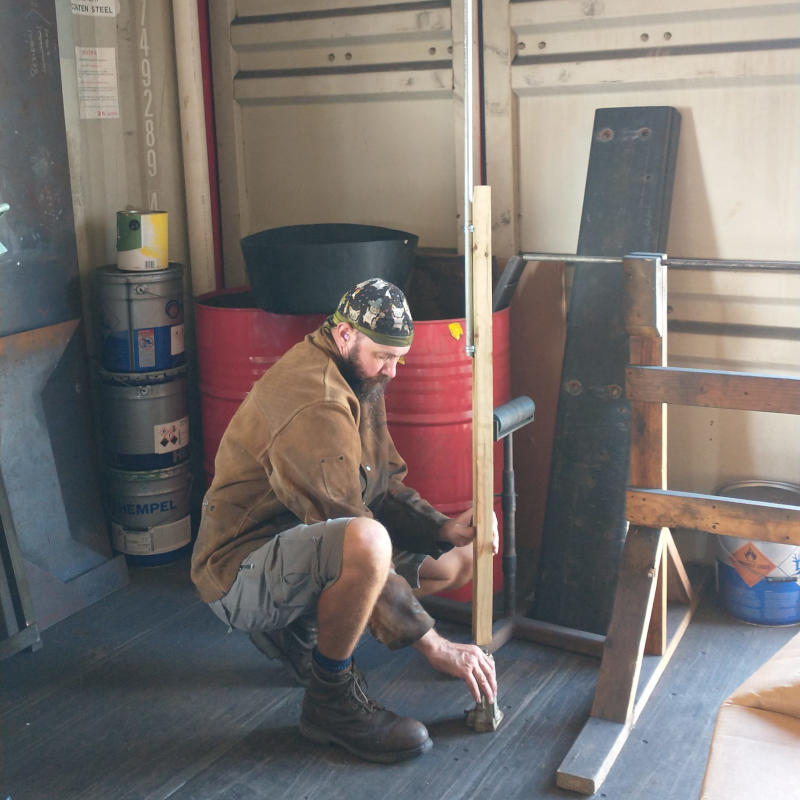
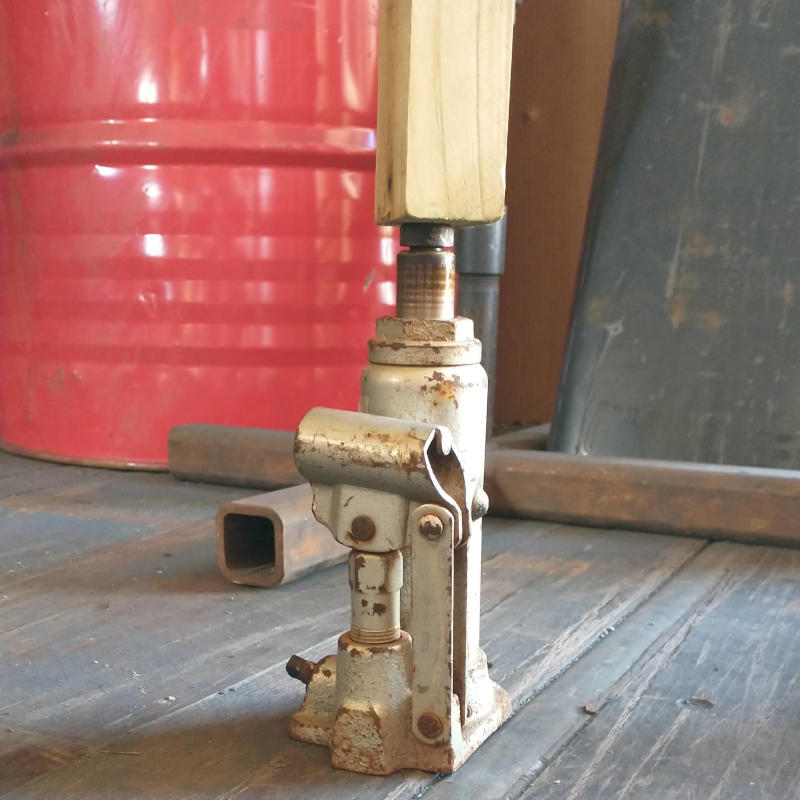
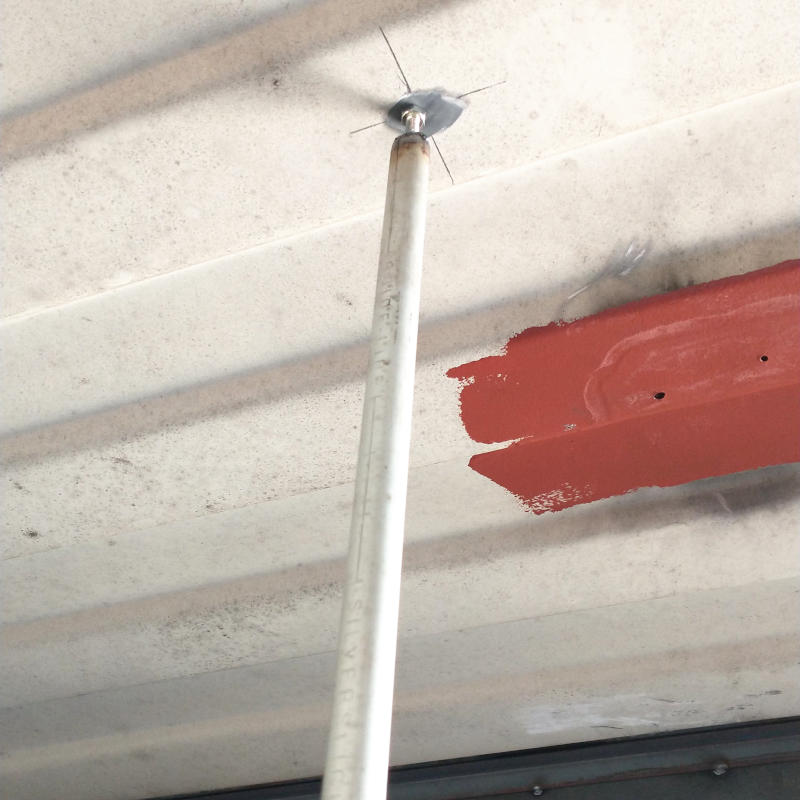
To a section of leftover 1/2″ EMT a 1/4″ nut was welded onto one end and to the other end the EMT was strapped to a 1″x1″ board. A bolt was screwed into the nut and the EMT assistant was held against the ceiling with the usage of a bottle jack.
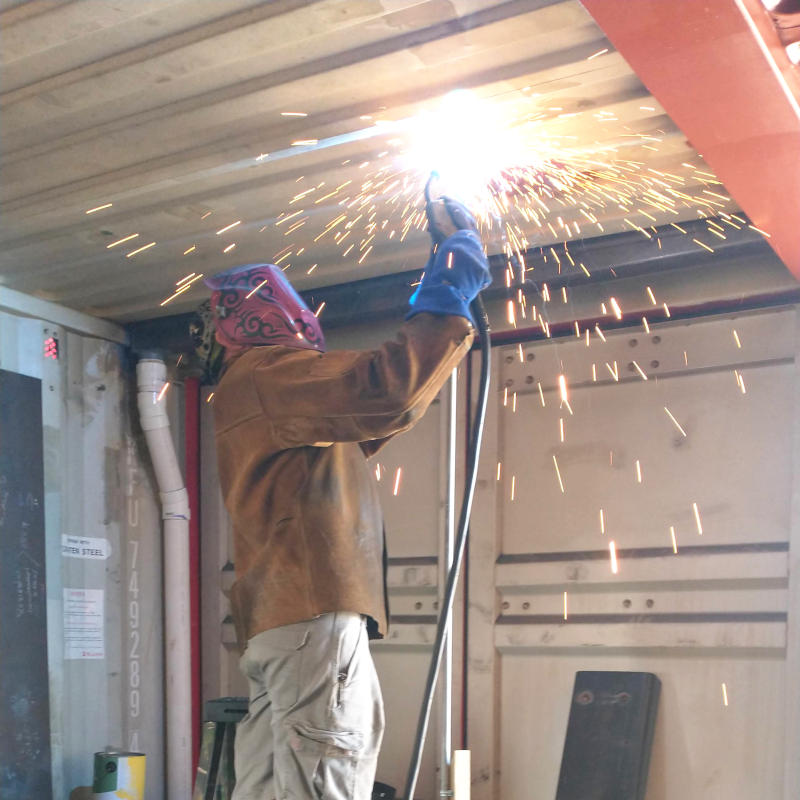
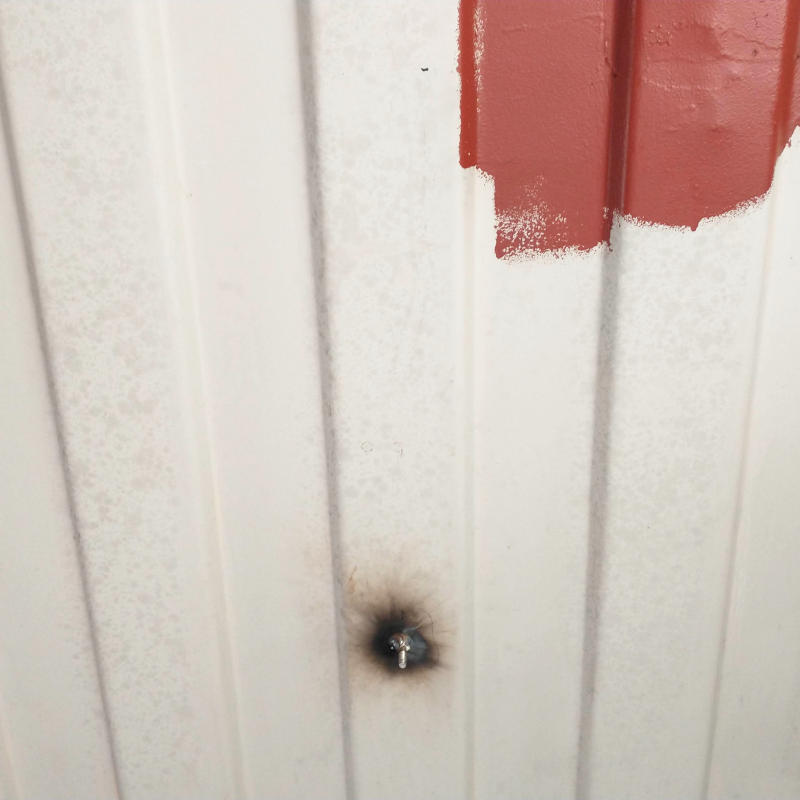
With gentle tapings, the bolt was secured into the correct placing and then quickly welded into place. The EMT assistant was eliminated welding spatter from being dripped onto my head, my neck, my shoulder, inside my shoes. And since I apparently cannot close my eyes and keep the bolt straight, the EMT assistant could be spattered with welding spray and not complain.
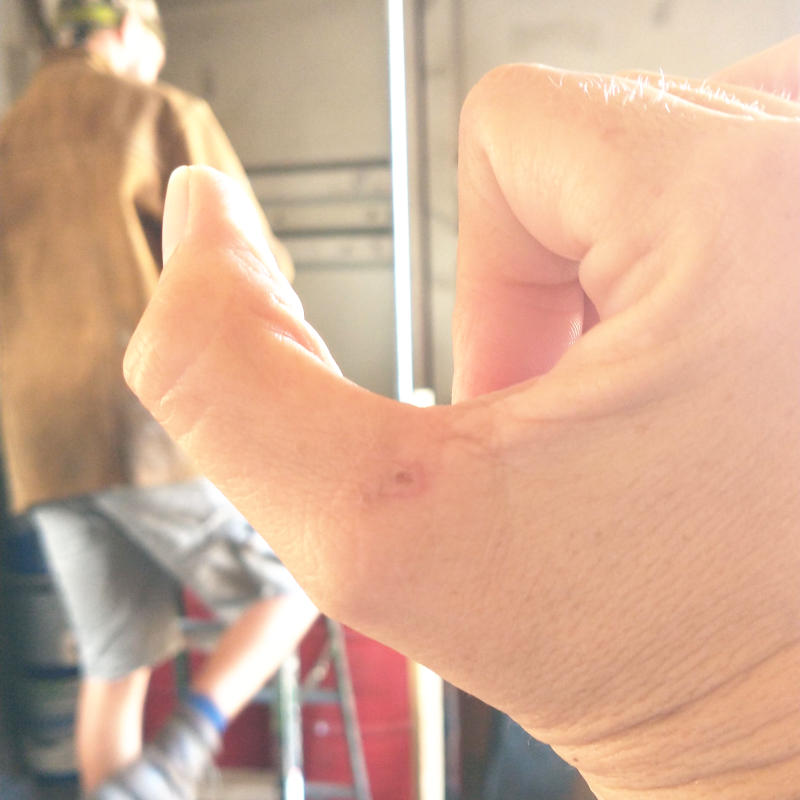
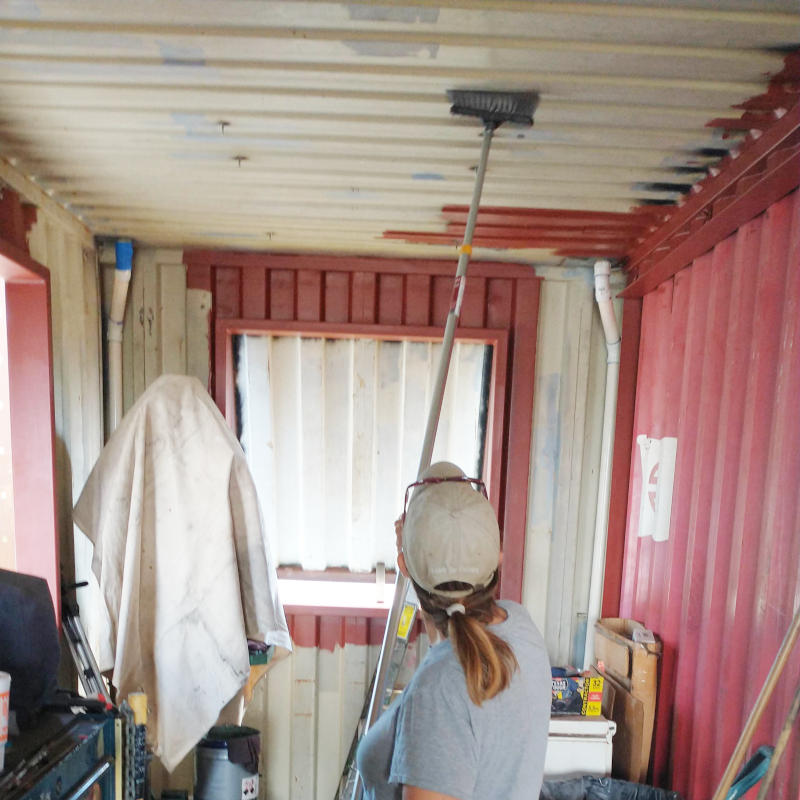
Welding leaves burn marks on the ceiling. In order to ensure the paint sticks, the bolts were swept cleaned of burn dust. Once I got started on wiping the ceiling down, it became apparent how dirty the ceiling was from years of grinding dust. Forty feet long by eight feet wide is 320 inches of sweeping overhead resulting in tired arms and a blister. Drat, knew I should have worn gloves. With a bandage applied, the second box was swept clean of dirt and grime.
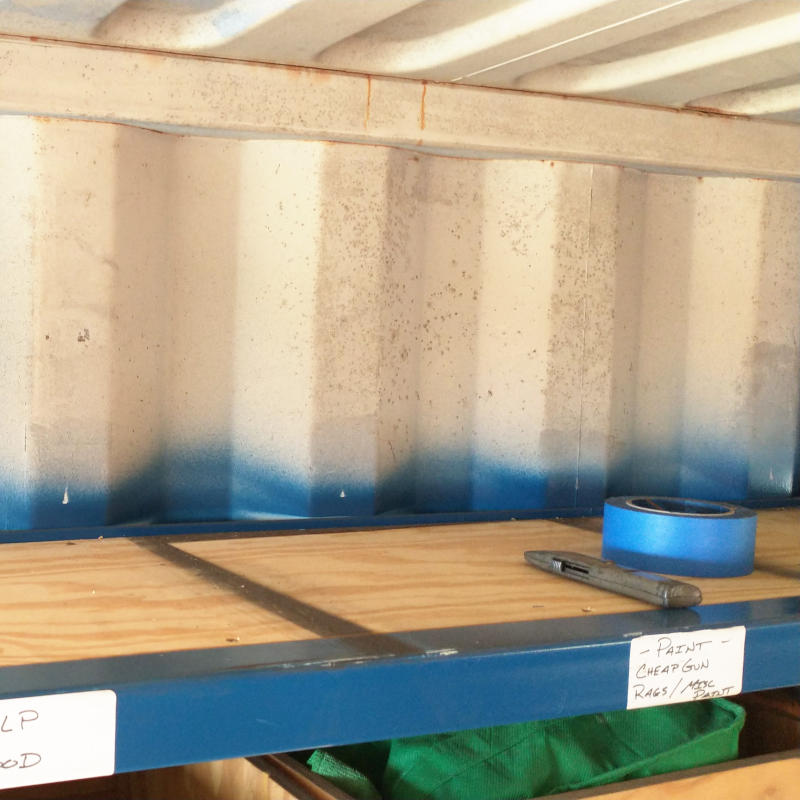
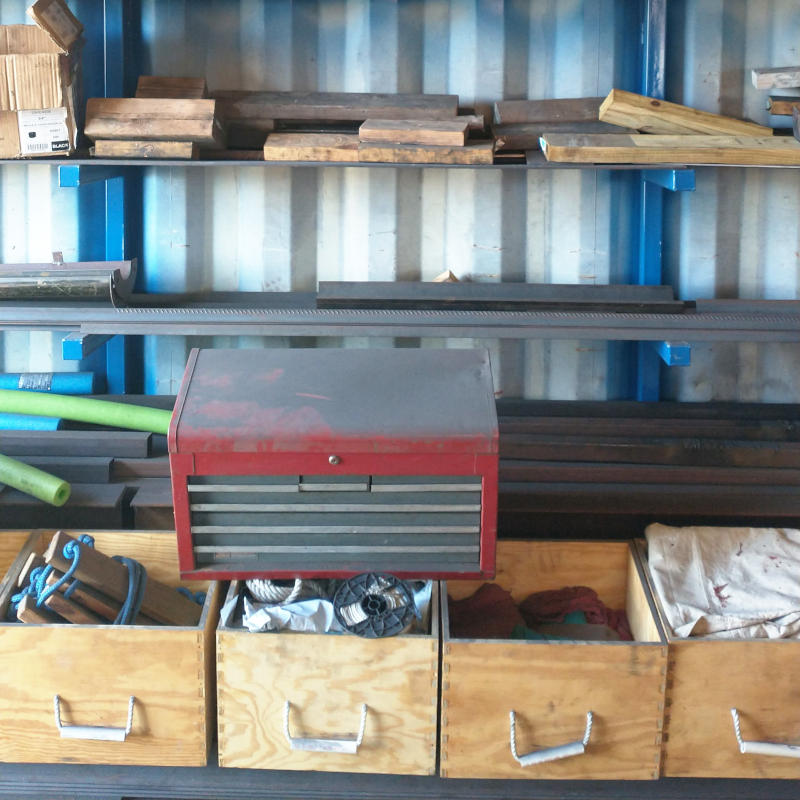
Cleaned ceilings were only the beginning of the prep work needed for roof painting. Storage boxes had to be removed from the top of the open shelving unit as well as all the tools stored on top of the red box storage unit. Dirt accumulation on top of the storage box shelf installed in January 2020 was not terrible but the contrast between the clean and grimy wood was striking. Dirt accumulation on top of the red box storage unit was absolutely disgusting as these tools have been sitting here since September 2018. The red tool box pulled off the red box storage unit was black in color. Gross.
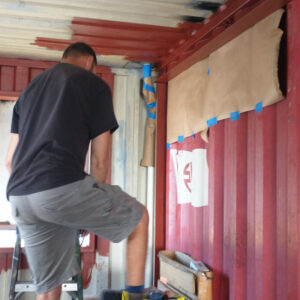
Ceilings are going to be a painted a gray closest the big box hardware store computer scanner could get to Rust-0leum primer gray. Walls on the other hand will continue to be painted whatever color they are already painted. This means the red wall will remain red and to ensure this the wall had to be covered with paper and tape. Besides, we like the look of the outside of the Conex box labeling. It is fun. PVC pipes were covered and taped and all tools were covered with drop clothes and plastic.
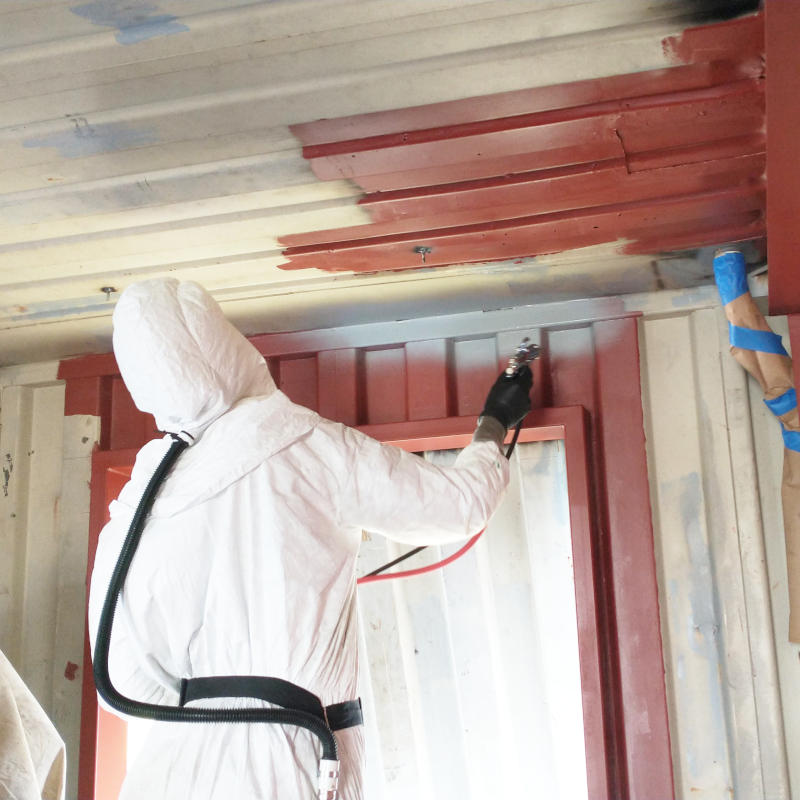
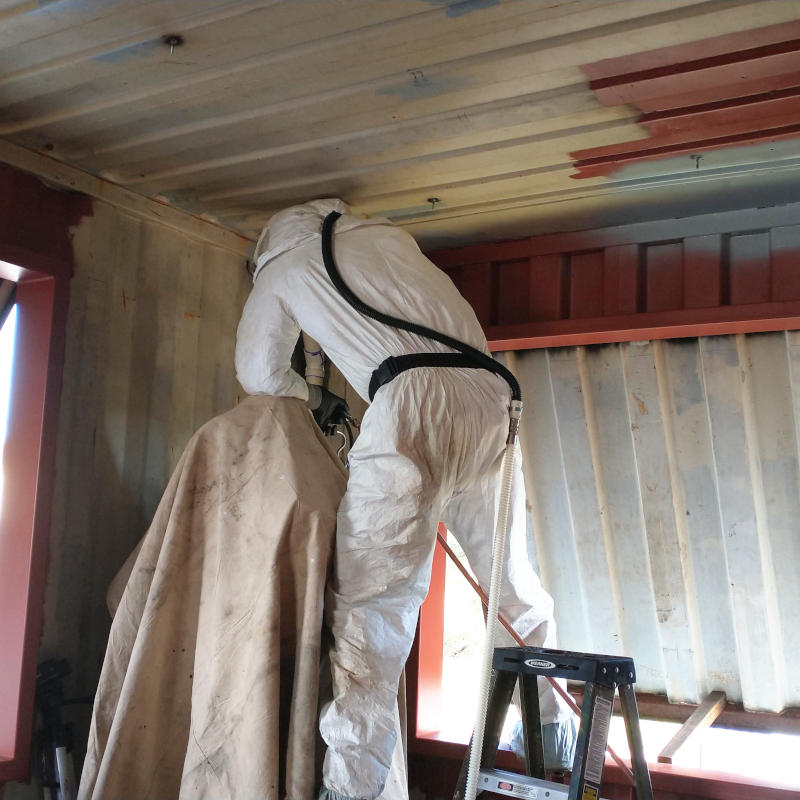
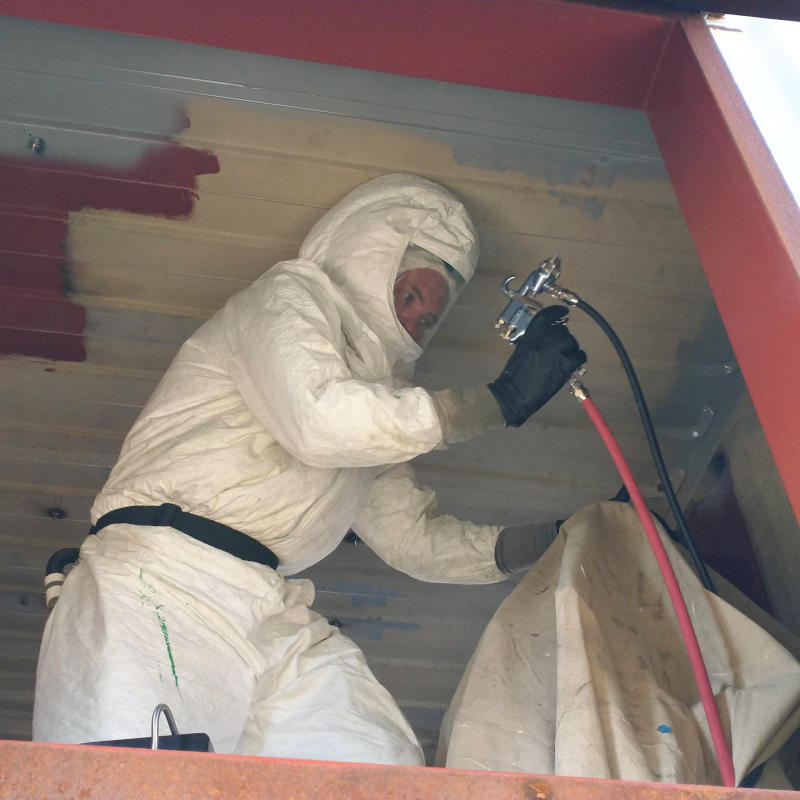
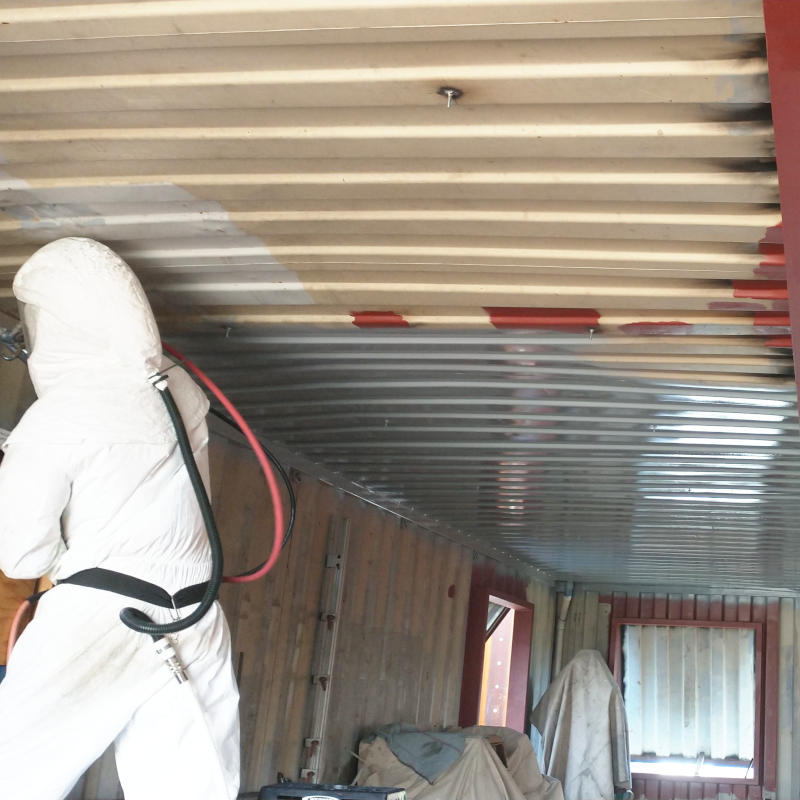
With a spray gun in hand and the Planner geared up in his breathing suit, the ceiling was painted from one end to the other and then repeated on the second side. If the Planner thought grinding the ceiling free of paint was challenging, he was completely unprepared for the painting job. He had to paint around machinery that could not be moved, wedge himself on top of the red box storage unit, and then crawl from ladder to ladder as he worked his way down and then back up.
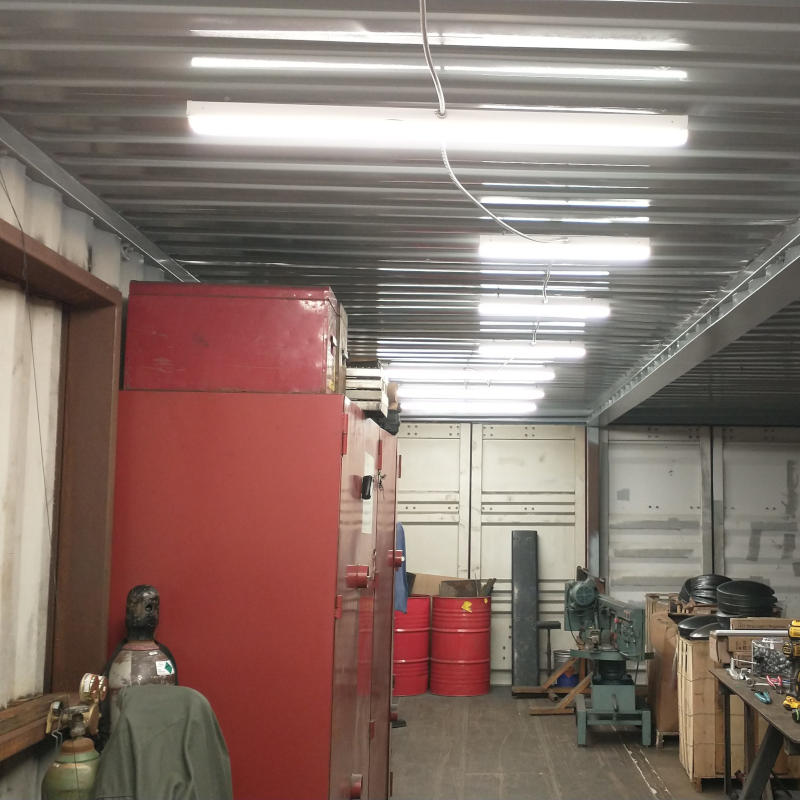
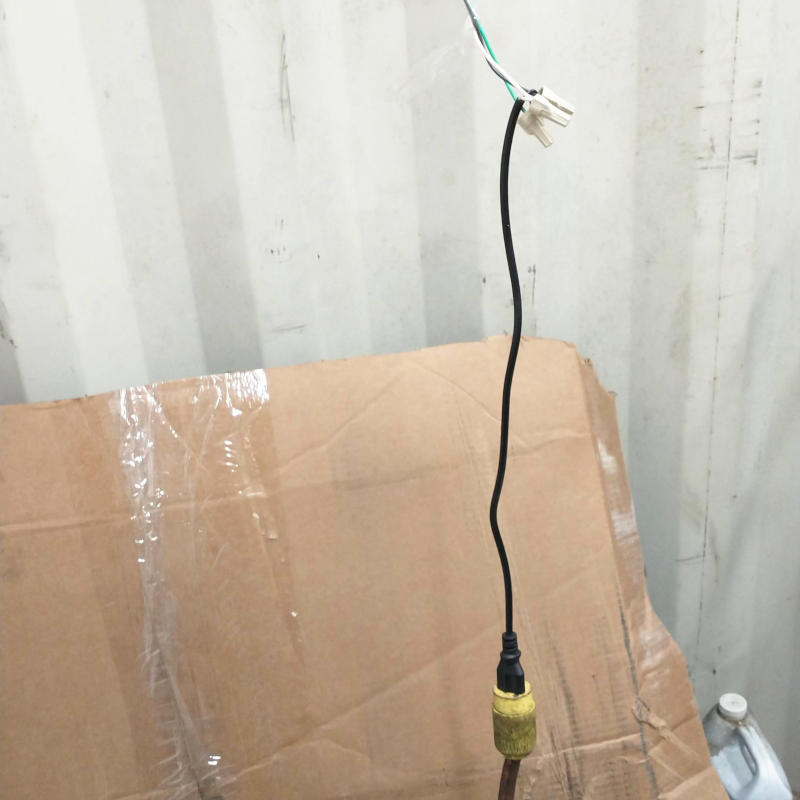
A week later, two rows of lights, eight on each side, were installed. Each side of the box will have its own light switch when the job is all done. For right now the lights are hardwired to a junction cord that then can be plugged into yet another extension cord. With just half the box lights wired together, we can now easily work all hours of the day and night.
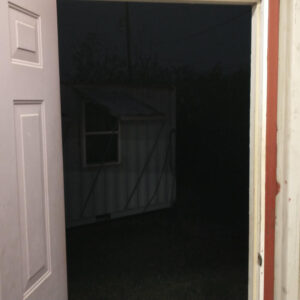
And into the night we did work, too. I am loving half this lighted box. Wish my Work Box was fully lighted. Just saying…. But first we have to finish the lights on the second half of the Shop Box, the electrical outlets, the roof coating, the water collection system, the list goes on and on.
