Hatched a Door
Sweet, sweet rain.

Who cares that it rained inside the Rainstream on both ends of myside of the bed, from the roof vent onto the living room floor onto my head when sitting at the table, from a light fixture in the bathroom that collected straight into the toilet, and from three of the five openable windows? Not me.
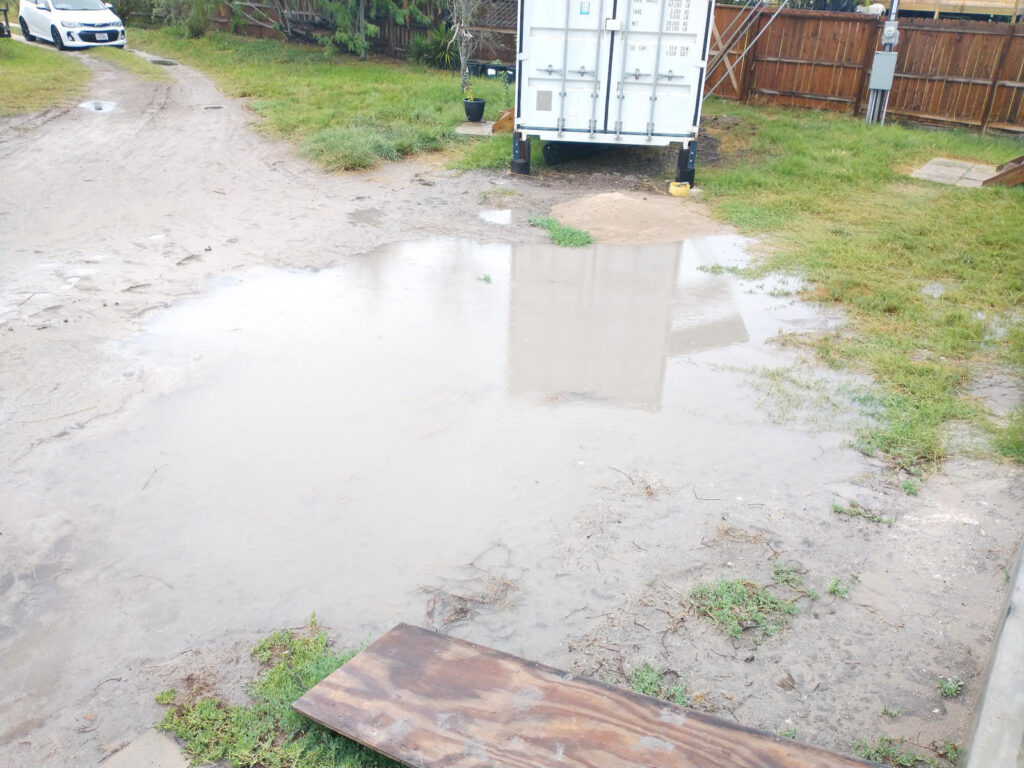
Who cares that the area between the Dwelling front door and the Work Box front door flooded and all inhabitants of Boxes in Fields needed 2x6x12 walking paths and mud shoes. Not me.
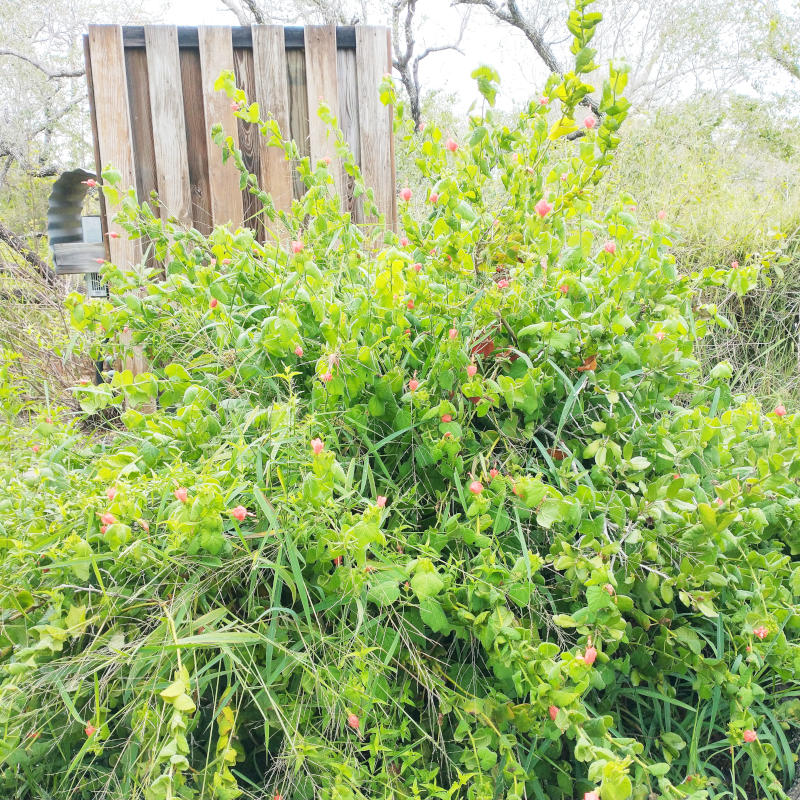

Who cares that the Turks cap are already blooming, that the cicadas and toads are so loud you can’t think straight, and that the native yaupon might just not die. I DO!
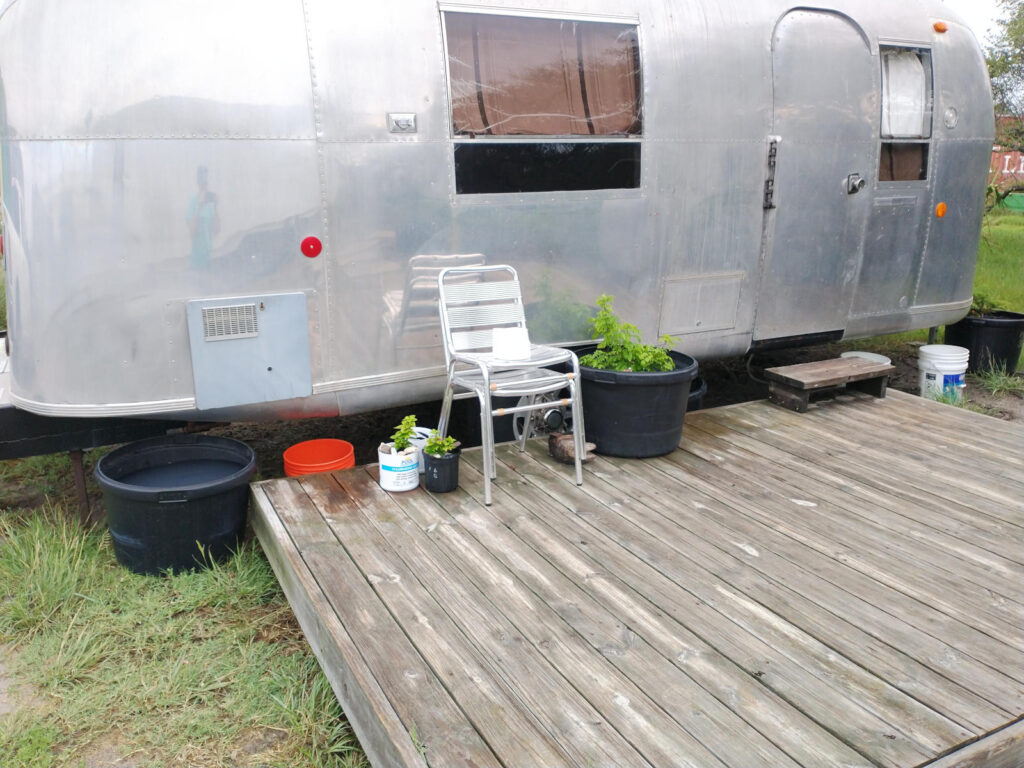

I loved every minute of rain, every five gallon bucket of water collected, every pump cycle of the water collection system running. If there had been more available water collection buckets, they would have been used. If the rain would have lasted three days instead of two, I would not have complained.

With the rain over and summer still in full swing, the weather will only become more unbearable with high humidity and the sweltering, simmering heat from the rains. Unlike the cat who can lay in the cool of the wet dirt under the truck, this means there is no time like the present to hatch a door.
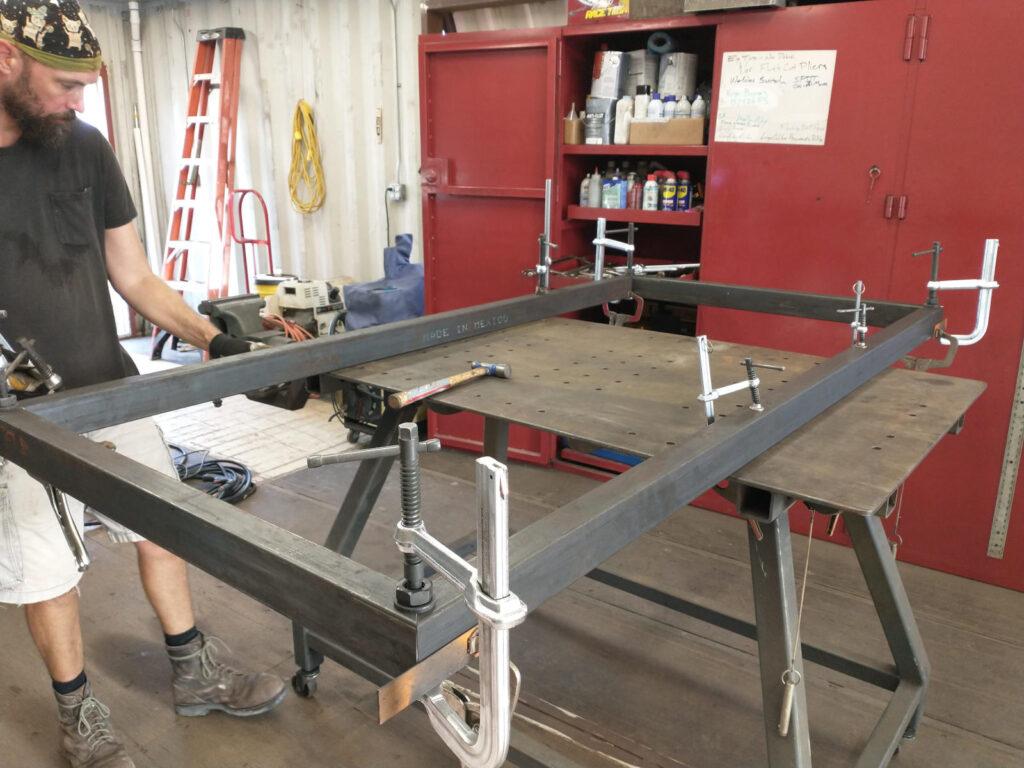
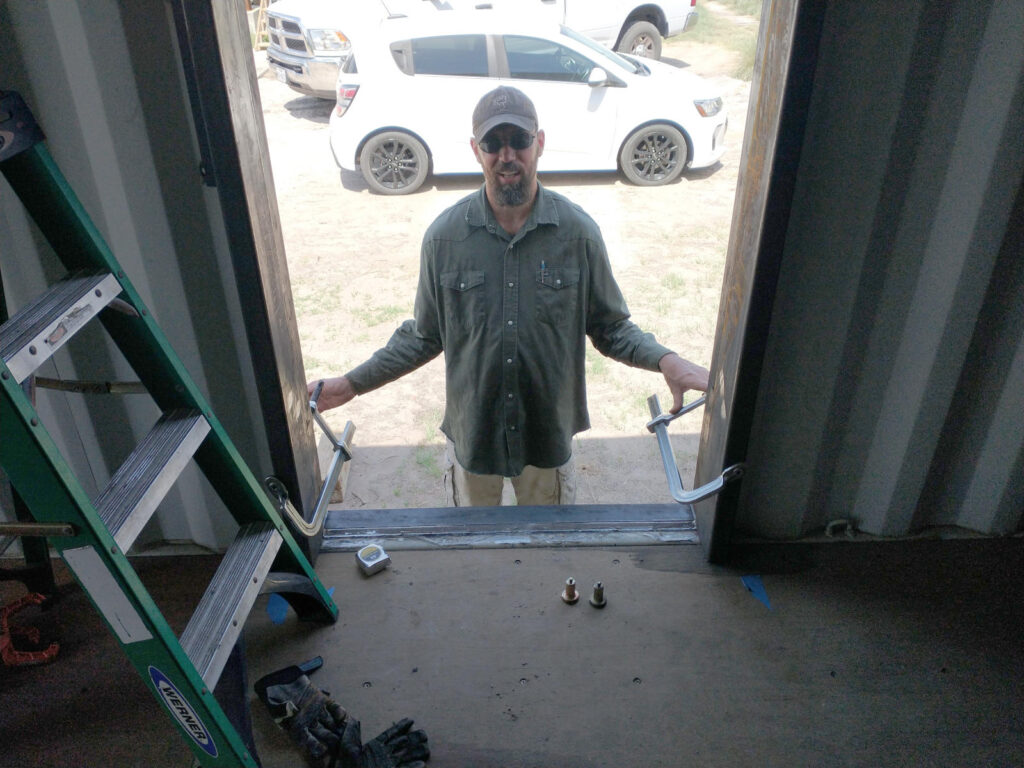
Building a door hatch is old news as this is the fourth the Planner has built. Four square tubing cut and welded into place, flat bar tacked to the outside, hinges tacked in place. Done.
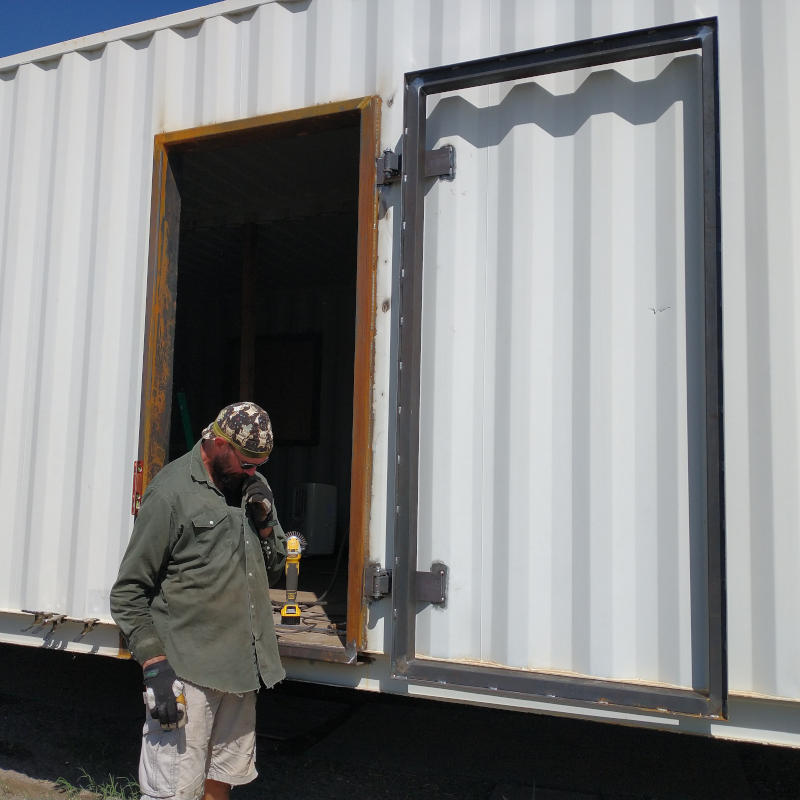
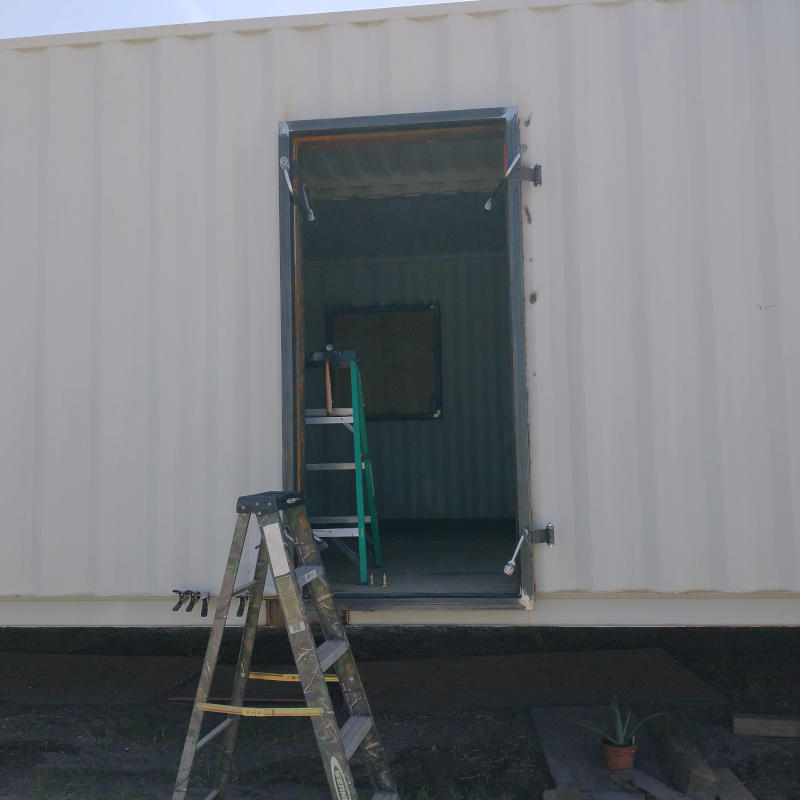
Therefore, the hatch frame was knocked out in just a few short hours and hung for a test fit. Only upon when the hatch had opened and closed to his satisfaction did it occur to the Planner that this door hatch would be different from all the others. Nothing is ever as easy as it originally seems.
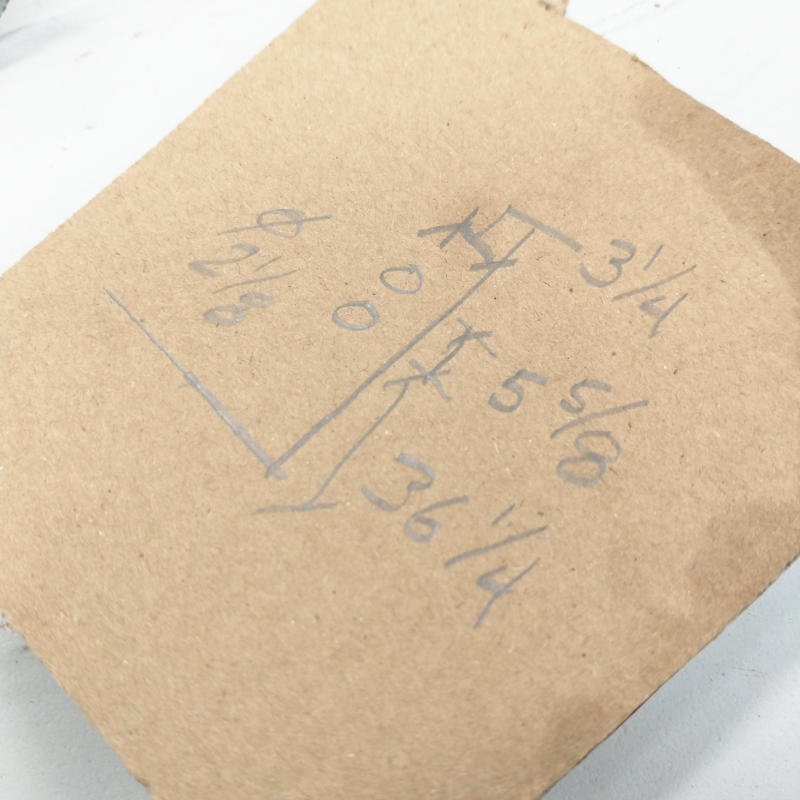
Unlike all the other doors on the Shop Box, Work Box, and Kid Box, this Dwelling front door will open outwards affecting how the hatch will close. This will require the door hatch to have a kick out giving room for the front door hardware. With a quick calculation drawn, the Planner was ready to start the cortex steel insert.
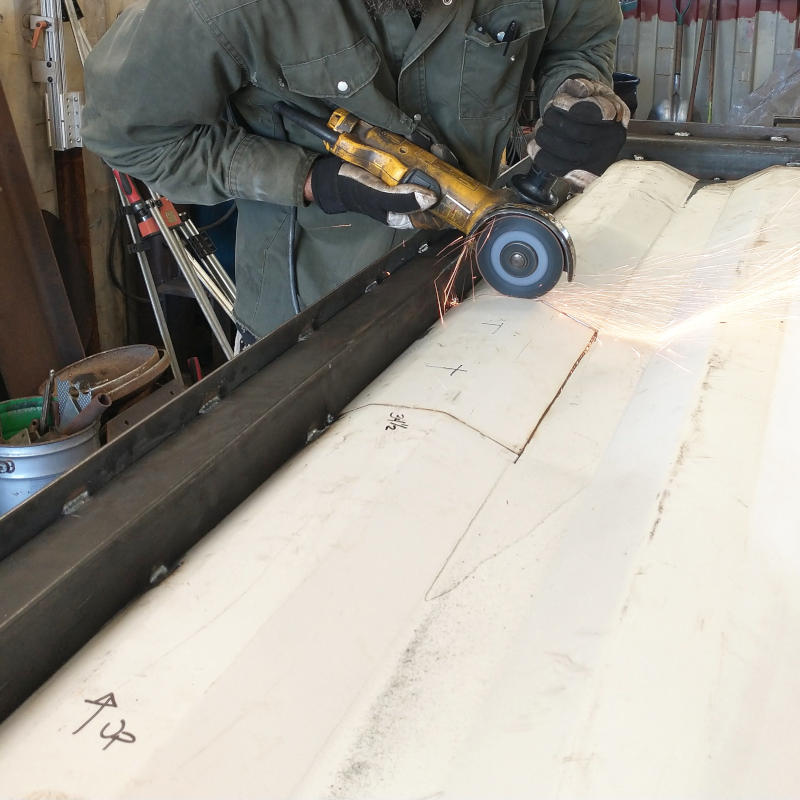
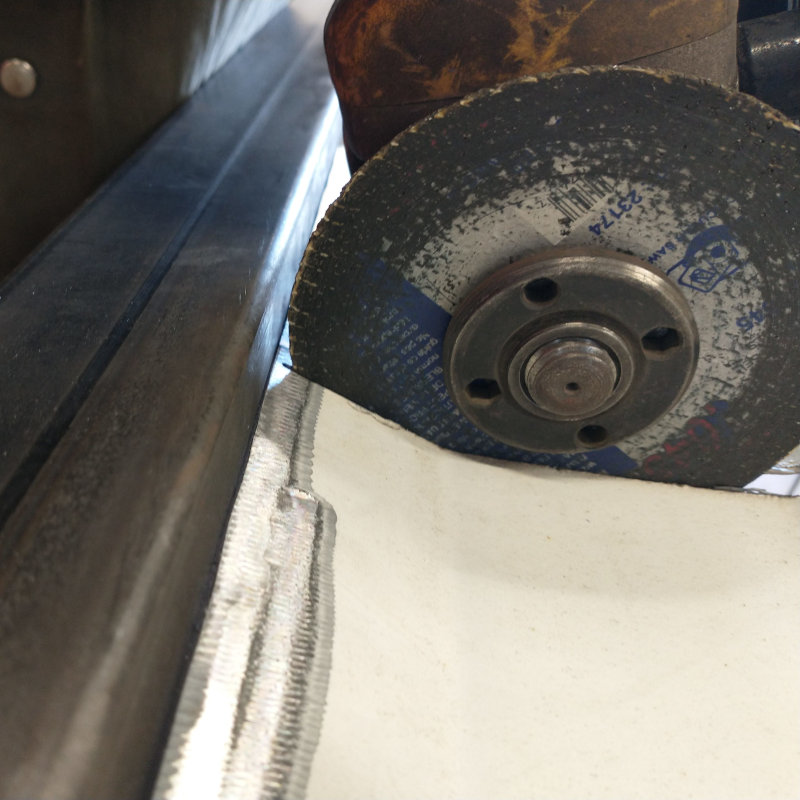
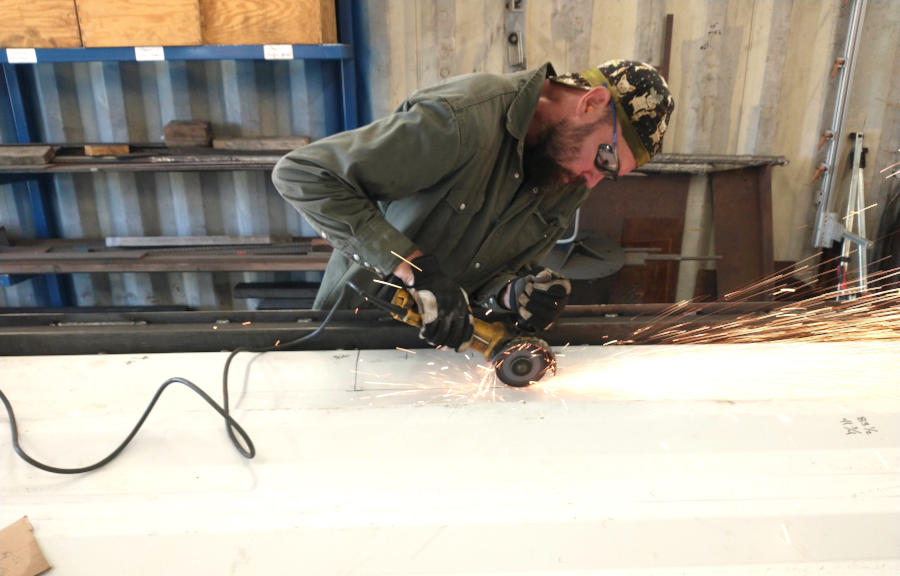
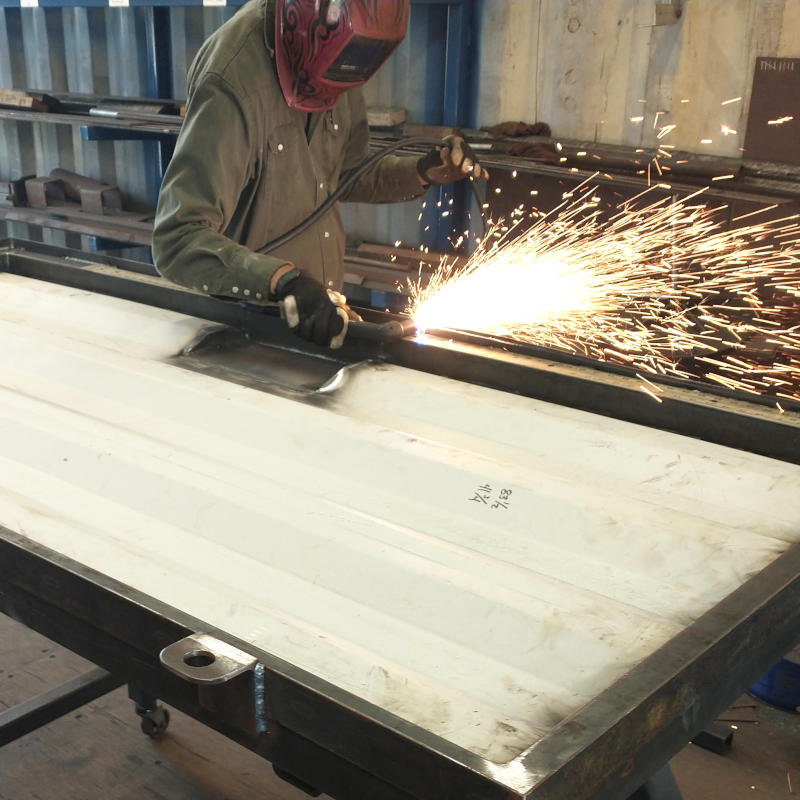
Panel was installed, tacked into place, and modification cut out. Carefully, very carefully the panel was cut out. Can’t nick the tubing then there will be a potential for leakage. The cutting disk had to be stopped just before the tubing. I was biting my nailbeds.
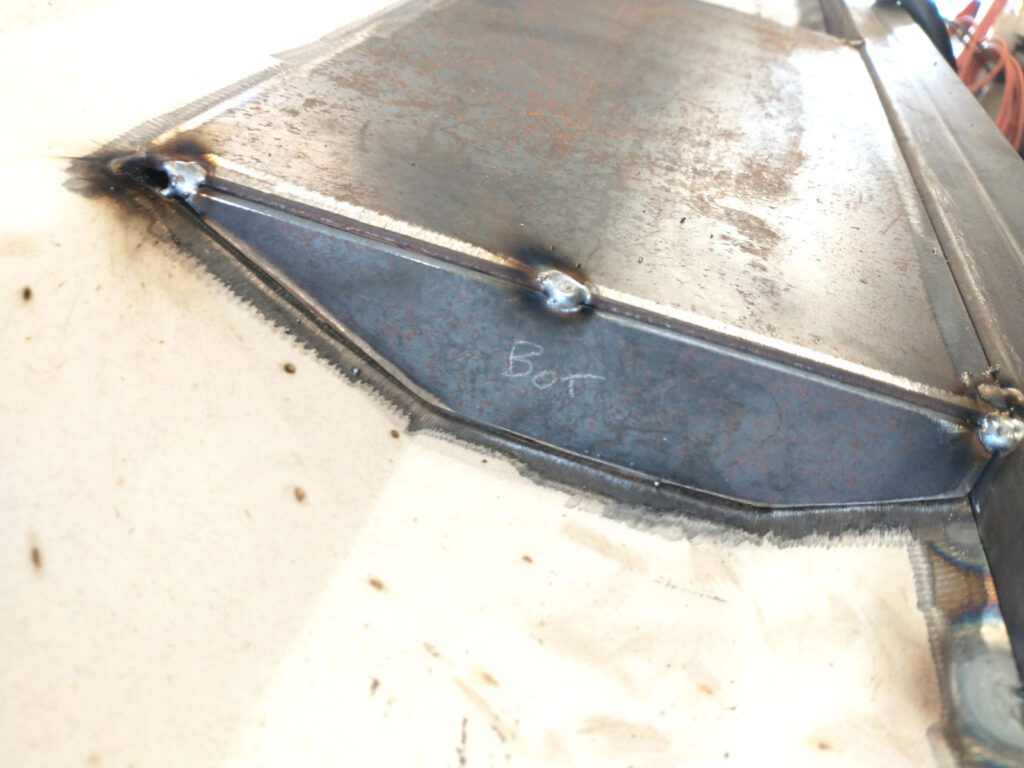
Using flat plate, the kick out for door handles were installed and tacked into place. Yes, each piece was labeled accordingly to ensure the right piece was placed correctly. Better to err on the side of caution and label first before mistakes are made.
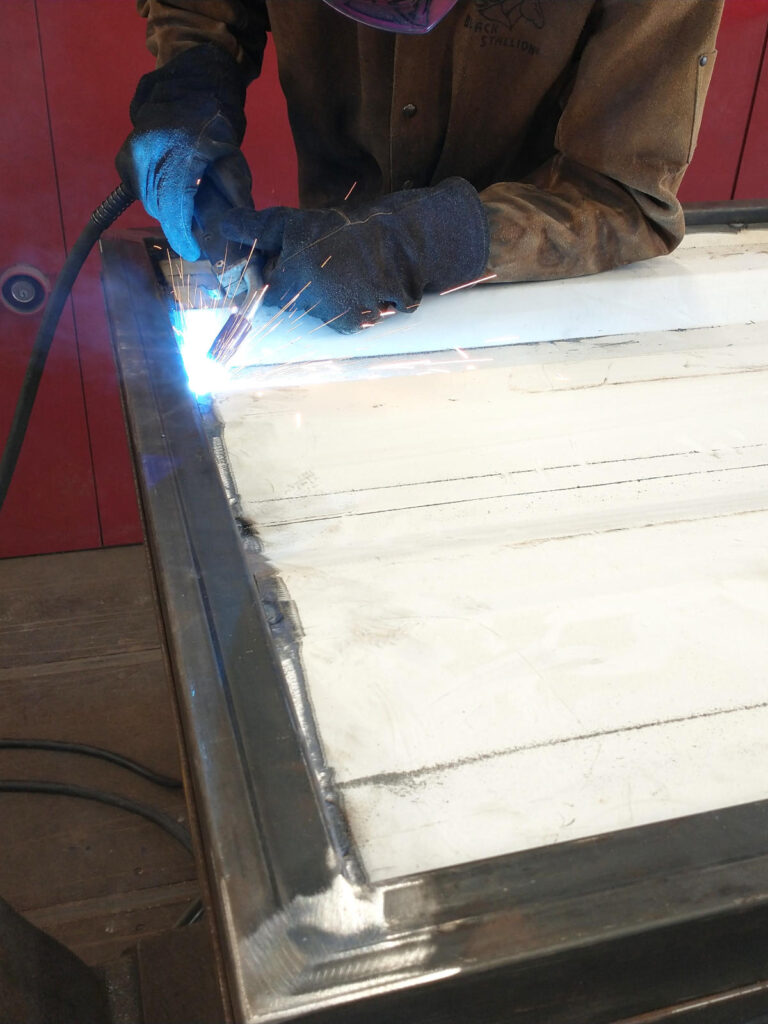
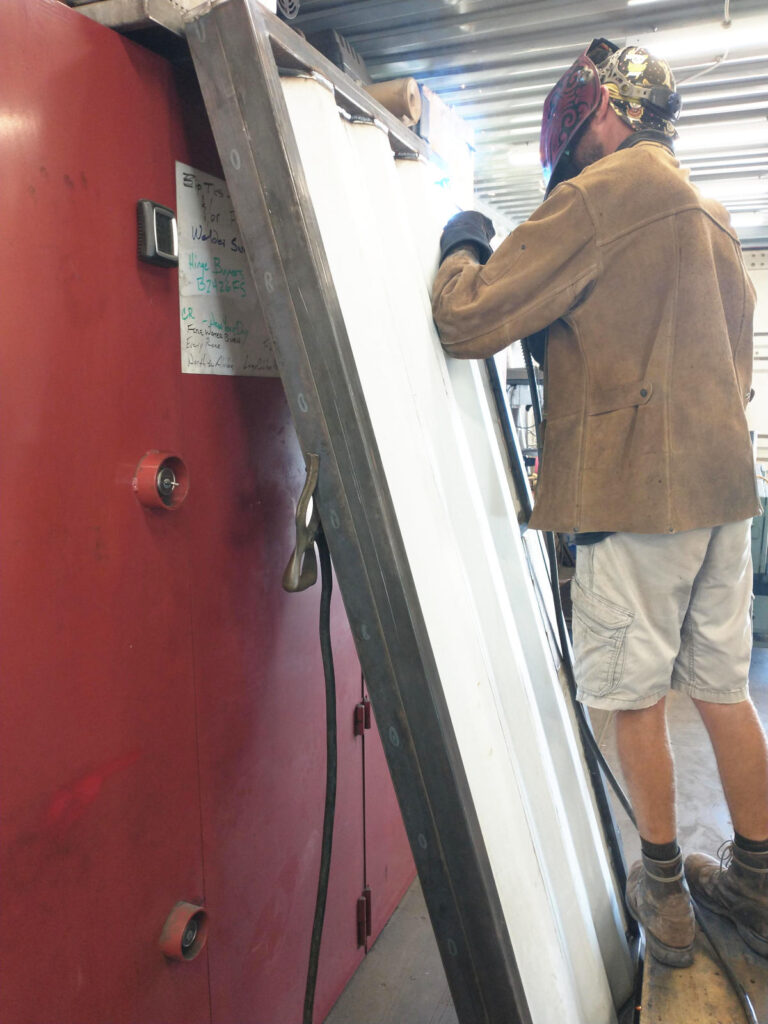
Panel was fully welded into place. This is a tedious, back breaking job. One can only bend over for so long at an odd angle. While cramping in his legs, it occurred to the Planner to stand the door hatch up and weld downhill making the welds nicer and the work easier.
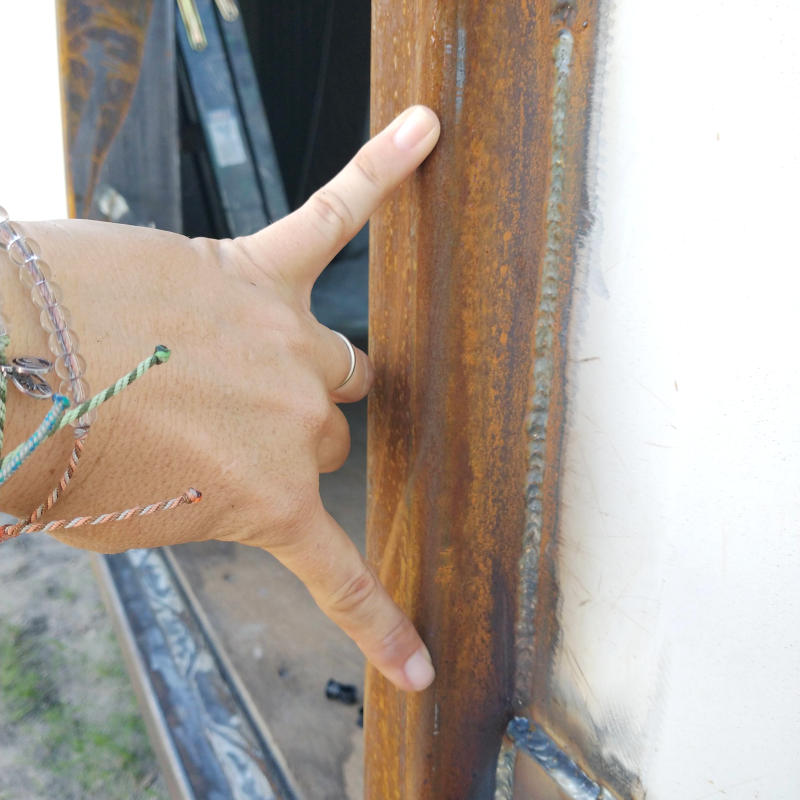
Hanging the hatch frame is easy peasy. Hanging the hatch with panel is heavy work. Add the door placement four feet in the air and it becomes heavy, cumbersome work. Luckily we have a forklift. Yeah. It’s a good thing too because not only did the hatch have to be hung up once, it had to be removed for modifications, and hung up again. Our hanging hatch had a hang up. The flat bar hung the door framework causing the hatch to stick. The Planner always builds to the tightest tolerances possible but this clearance was too tight. Not sure what went wrong, the easiest way to fix was to remove 1/4″ off the flat bar.
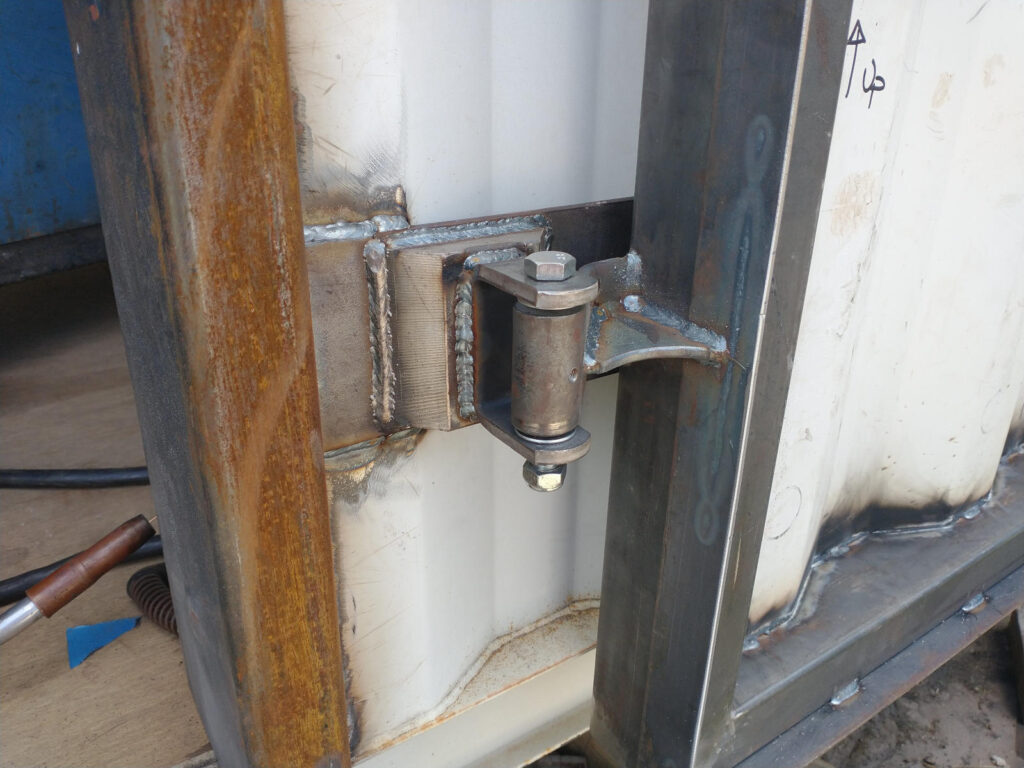
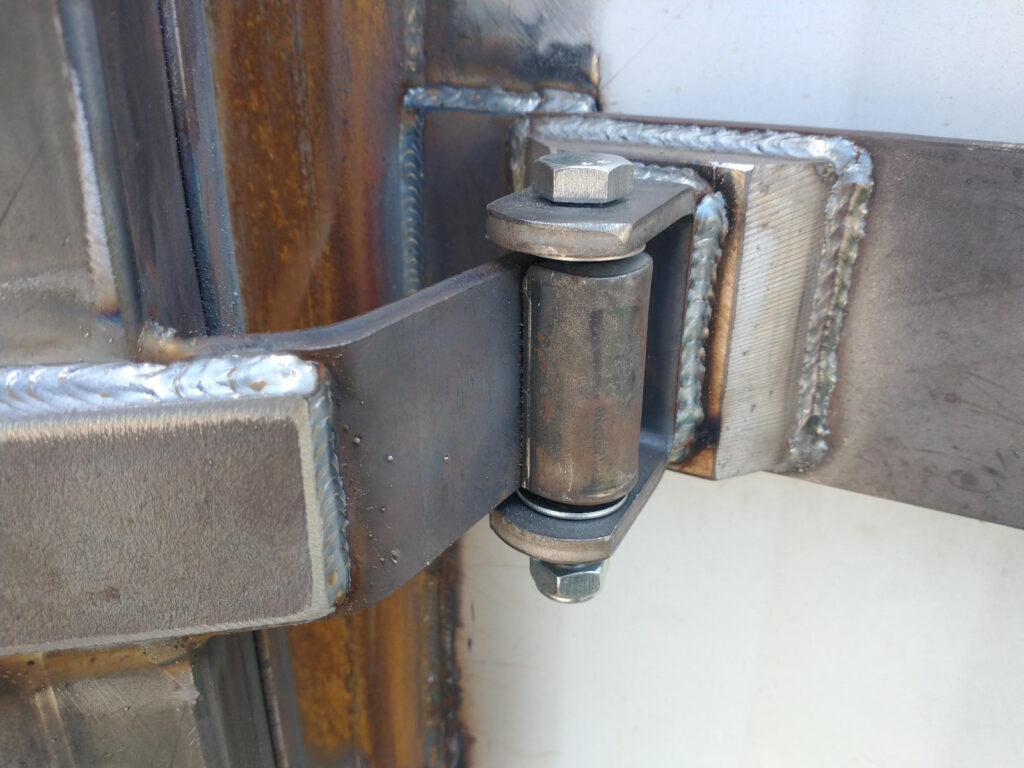
Reinstalled, the hatch was tested for opening and closing clearance. Upon the Planner’s satisfaction, the hatch hinges were welded fully into place. Very pretty welds. Very pretty indeed. Don’t you agree the Planner does very nice work? Very nice indeed.