Almost a Hatched Pantry
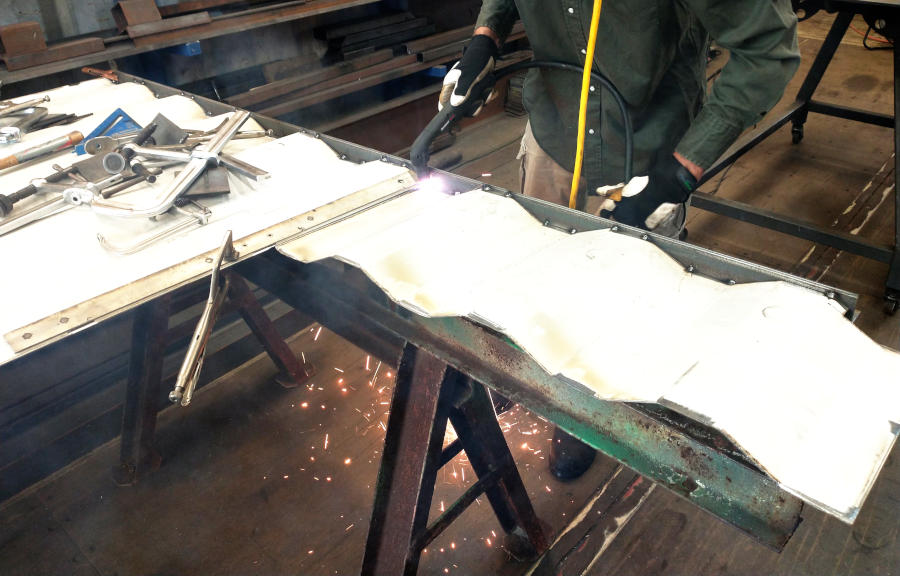
Fueled by the success of the erected bathroom wall, the pantry wall with doorway was started the very same day the bathroom wall was installed. A second salvaged panel was brought over using the forklift sling, edges were trimmed to correct length, framework built, panel installed, and ta-da one pantry wall. Well, sort of.
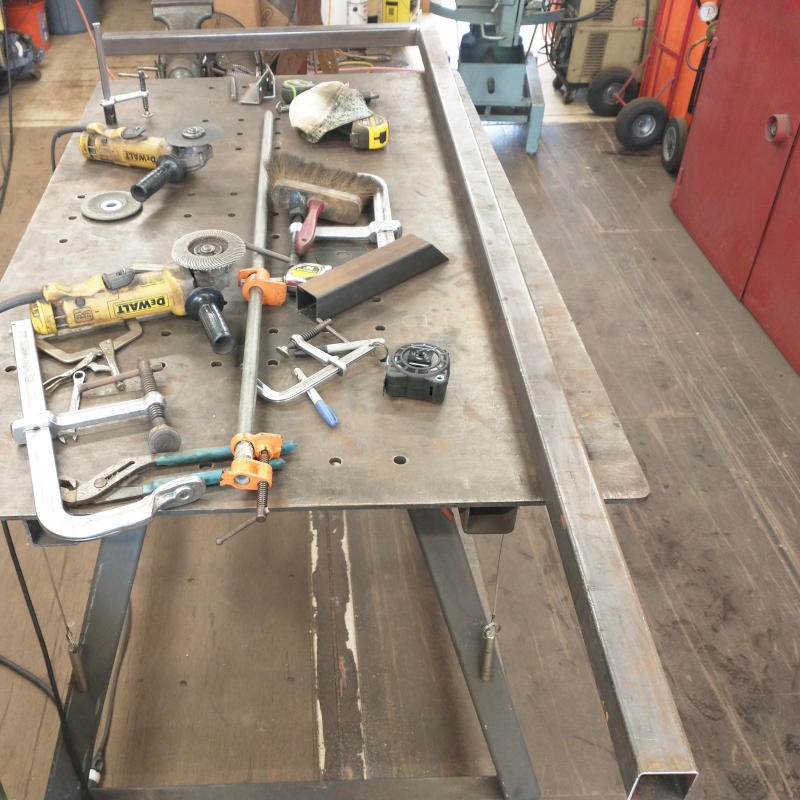
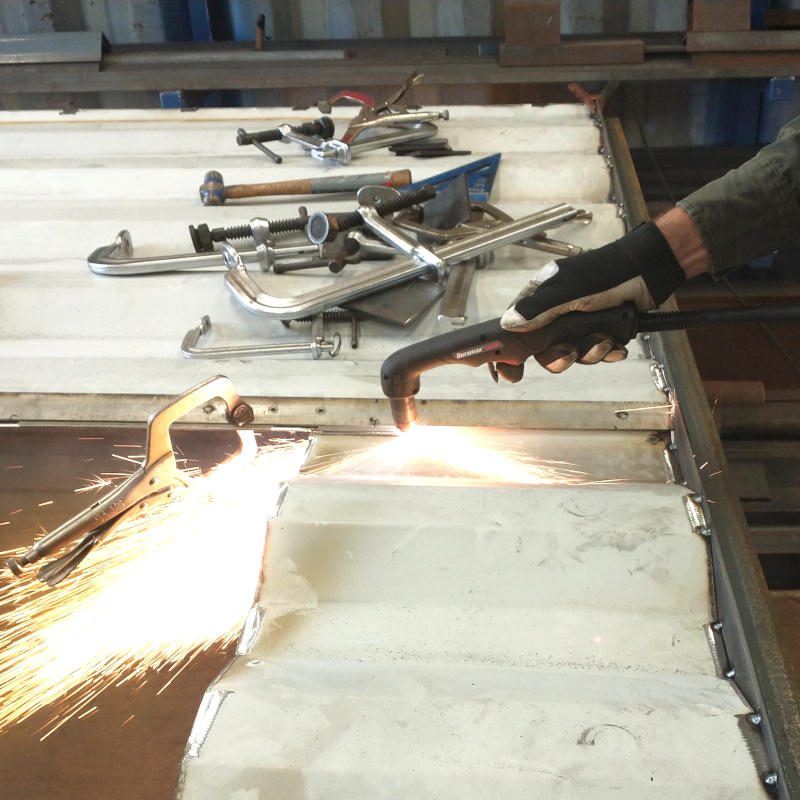
Framework for the pantry was a modified bathroom wall. Square tubing on the bottom, angle across the top. Unlike the bathroom wall, there a small portion making up the space between the doorway and the ceiling. Building the modified framework went smooth, trimming the panel and grounding smooth was easy, tacking the panel into place along the angle was nice and pretty. It was only after all the tacks were done that the Planner caught a major error. The one edge of the panel needs a square tubing as it will not be against a wall. This means the overhead portion needs to be cut apart and that every single weld had to be torched apart.

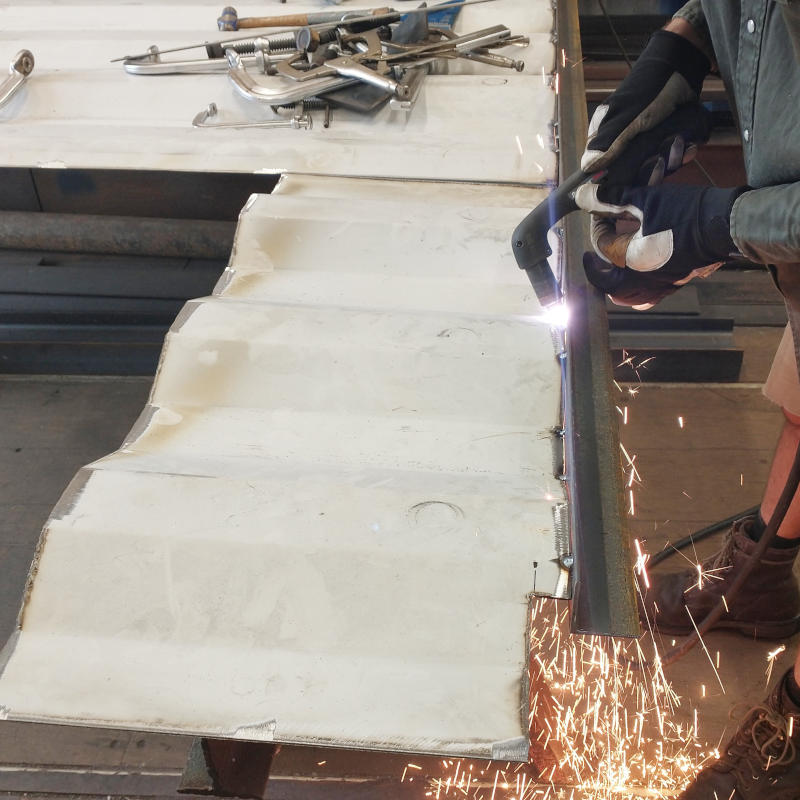
Every. Single. Weld. 32 to be exact.


Once the panel was removed, the welds were ground clean from both the panel and the angle. Square tubing was installed against the inner wall of the pantry wall and the panel tacked into place. Then a bottom tubing was installed for the overhead portion of the doorway and a panel cut and formed into placed.
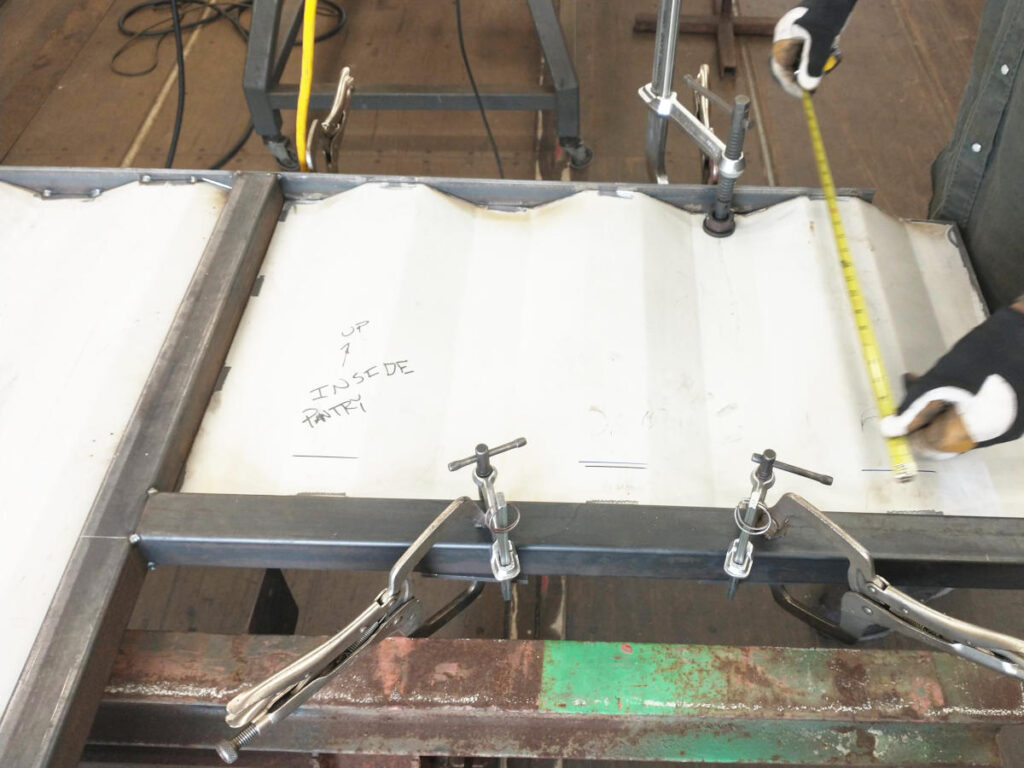
It was ever so important to ensure the cut panel was placed correctly as was not going to spend all eternity looking a wall where the panel groves were misaligned. NOT A OPTION. Upon checking and rechecking, the overhead portion was tacked into place and te-de a hatched pantry wall. With time left in the day, the final hatched wall was built. Since it was exactly like the bathroom wall, it was done lickety split and before I knew the Planner was done, the work space had be cleaned up and pictures were not taken. Less than one full work day even with a major set back and two more hatched walls were complete. He’s good, what can I say.