Better Chicken Nipples
Gosh, where has the time gone? These tiny, little fluff balls are already five months old and have been in need of a much larger watering system. With a vacation in the next few weeks, now was the time to build one. Didn’t want to wait until the last minute in case the original idea did not work as intended. Besides, a larger, self filling system would mean one less thing the Sailor will have to check on while we are gone.
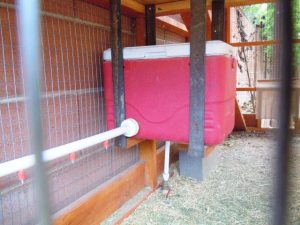
At the end of April, I stumbled across a blog about a homemade, DIY, ice chest, chicken nipple waterer in looking for ways to keep chicken water cool for the upcoming summer heat. This is not my picture, nor can I find the link to this blog. My apologies to its rightful owner whom I give full credit too.
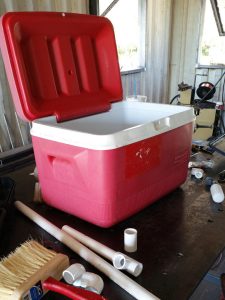
My immediate thought was hot dog, I have access to that exact ice chest! My second thought was this will work perfectly for this 1980’s ice chest that has been drug around for years without usage. Nobody wanted to throw it away as “it’s a good ice chest” or “it still works”. Yet nobody ever used it because it was a crappy ice chest to begin with. Oh yes, it kept your drinks cold-ish but it has built in handles instead of attached handles that fit nicely inside your palm and the lid is rounded and cannot be used to sit drinks upon nor sit upon as it was uncomfortable as all get out. Somehow the ice chest remained in storage, from house to house, from city to city, from decade to decade later. Oh wait, did I mention this was not even my ice chest, it was donated to me from a friend who experienced all of this ice chest drama? Well it was. But we all have that ice chest story, right? He was so glad to finally have found a use for it. Score one for the chicken waterer.
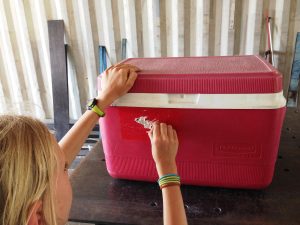
This ice chest for having been moved and moved and moved again still had the original label on it describing it’s “fine” qualities. Now that I had the time to make this ice chest chicken water, I looked and looked but could not find the original post of which I saved the image from. Drat and double drat!! One, I have no instructions and two, I cannot give credit where credit is due. So to you original blogger of the ice chest chicken waterer with chicken nipples on PVC, I thank you for your inspiration.
As with all things with no instructions, I left the building to the Planner. The last time I tried to build something without instructions, the Kid and I attempted and tried to create the little peeper feeder. Much to my dismay, many hours were wasted. Alas, at least we tried. Being there was only this one ice chest and now way to make a mock ice chest waterer, I did not even attempt to make it without proper supervision. The old Gatorade waterer works excellently, it is just not big enough for 10 chickens in the summer heat. Water has to be added twice daily, algae is starting to grow inside the bottle, and the water does not stay cool. Do you drink hot water on hot days? I think not!
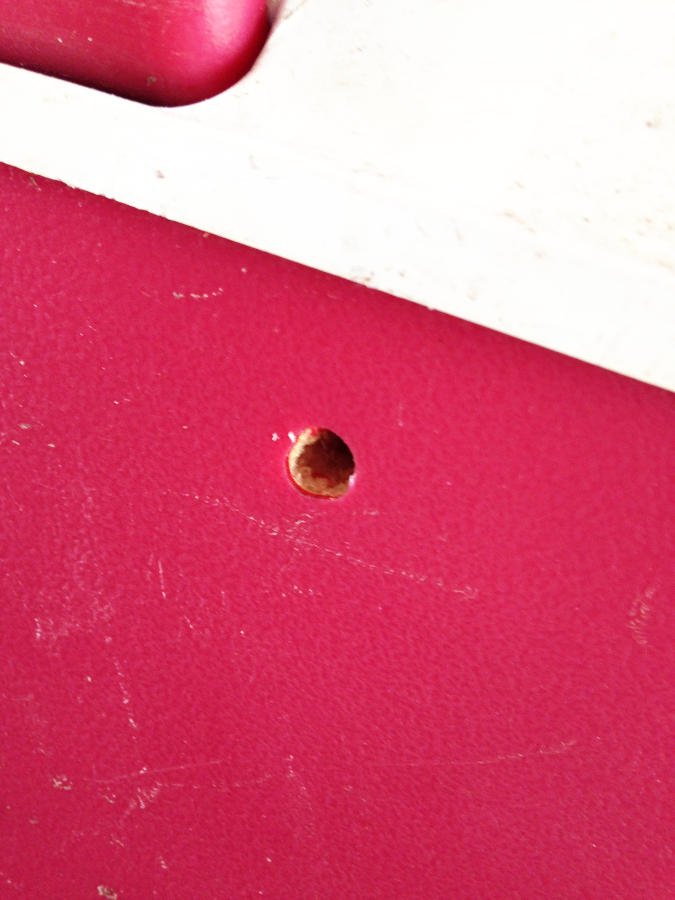
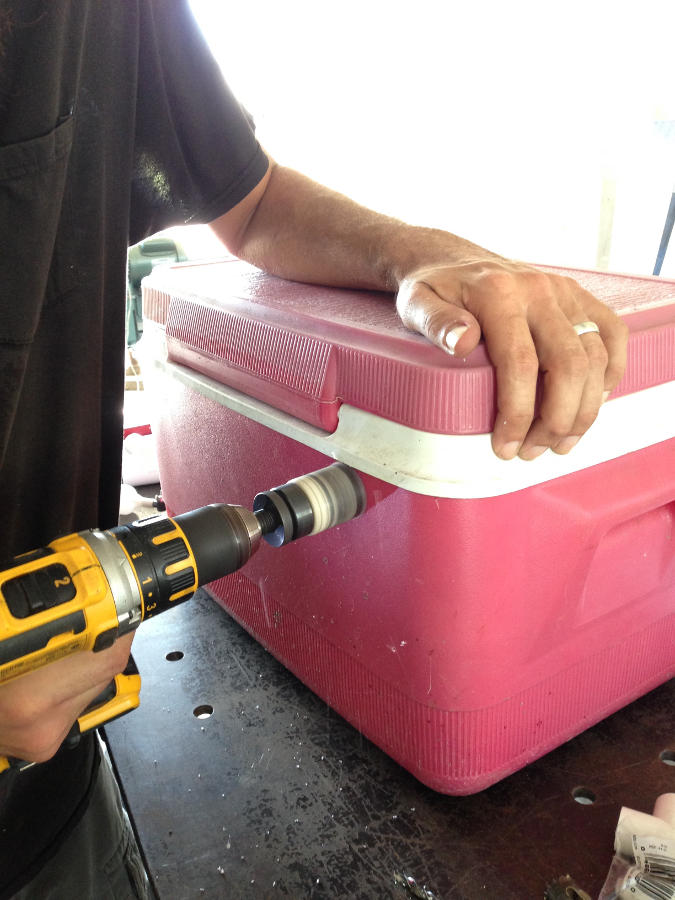
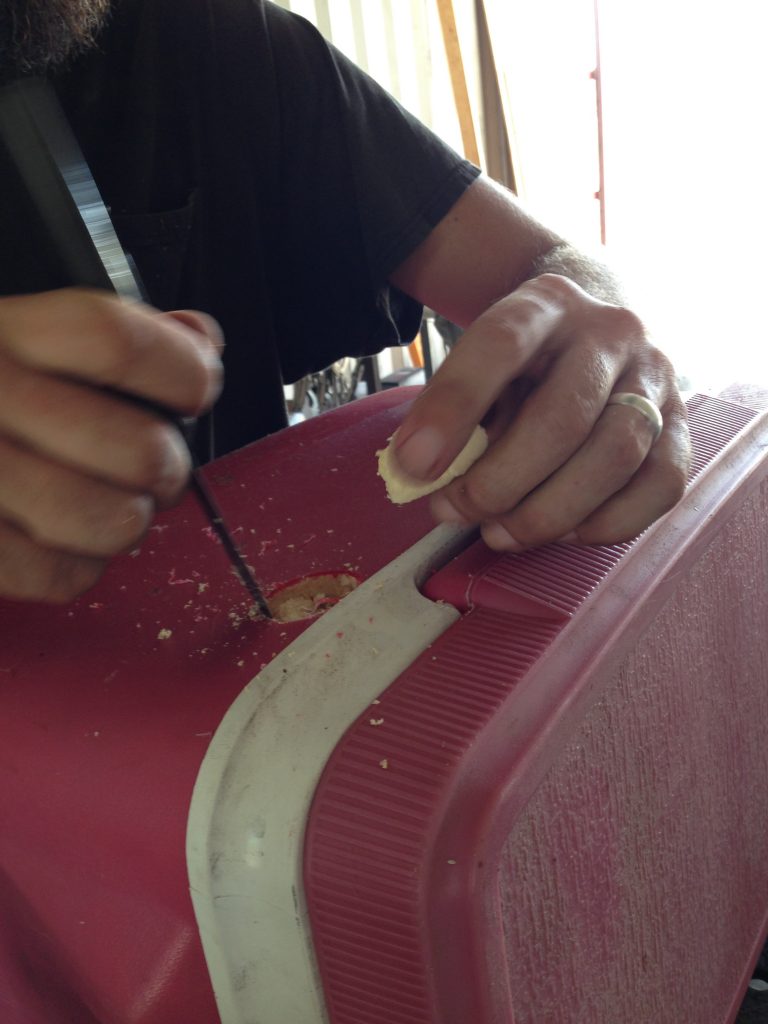
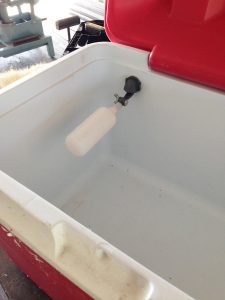
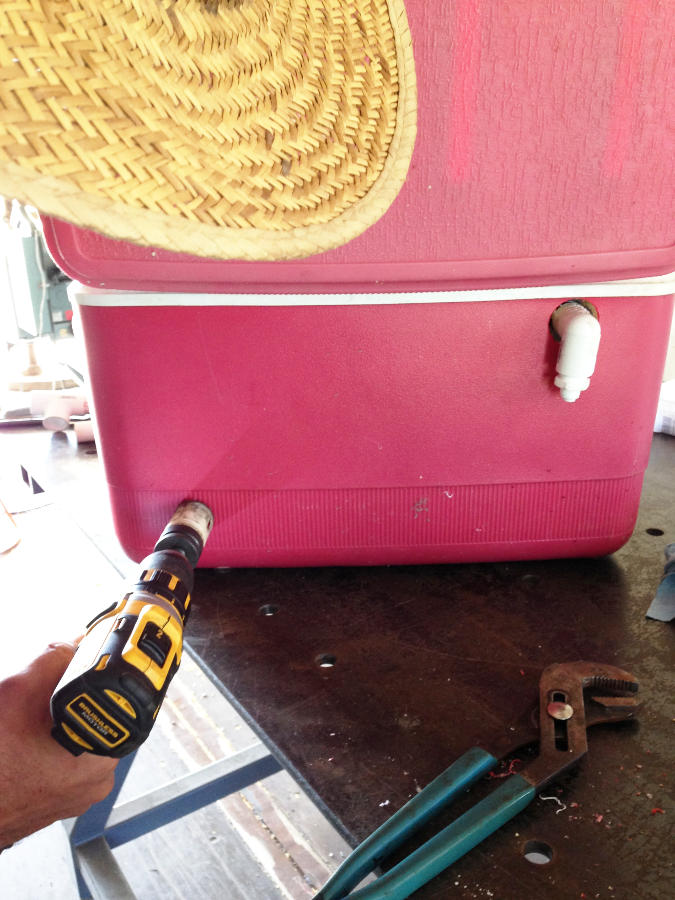
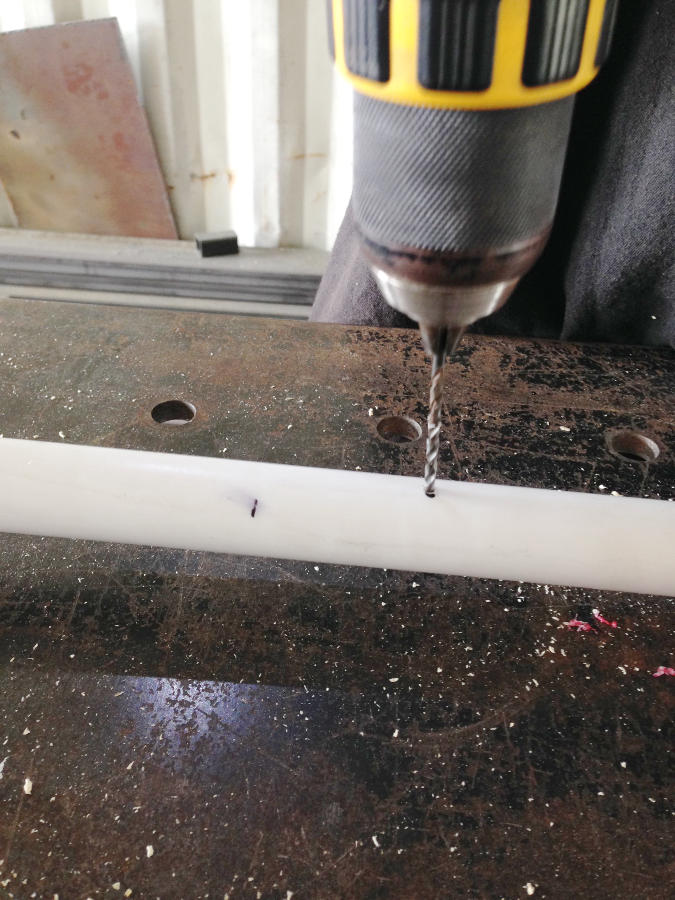
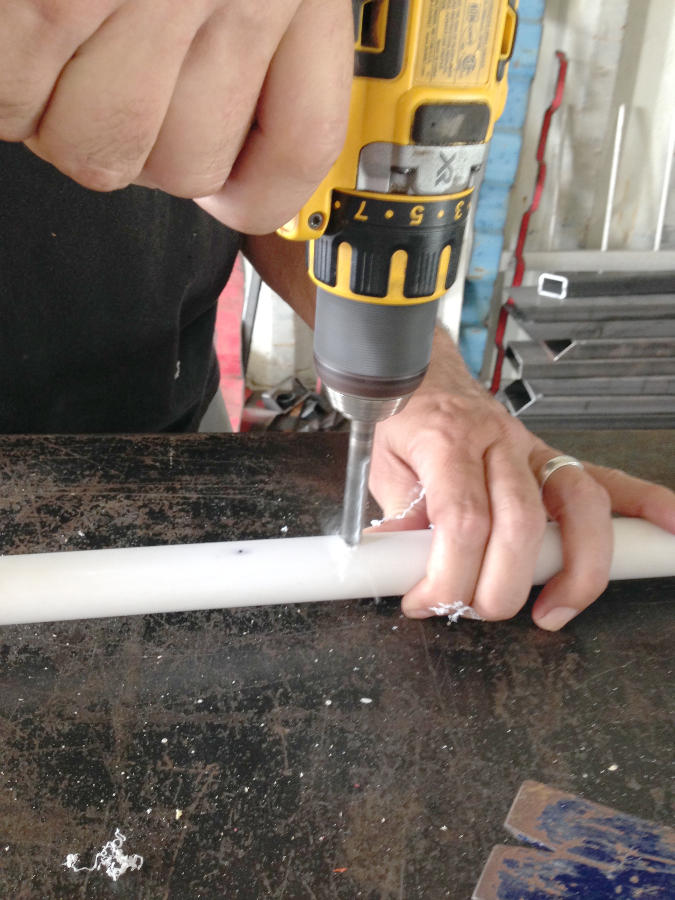
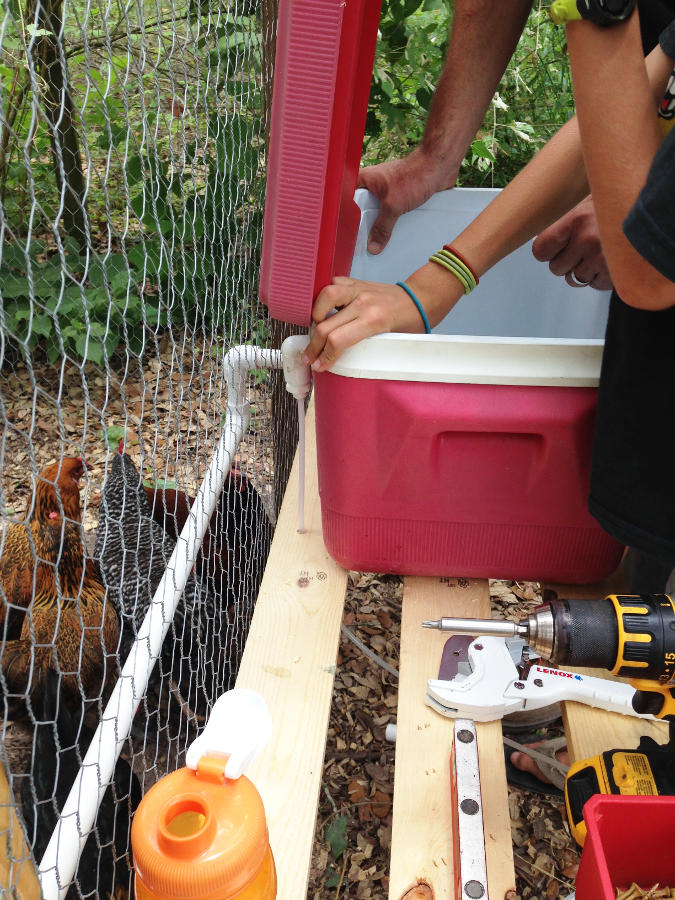
To make a homemade waterer, a few simple supplies were located at the local hardware store and very few tools were needed. Yes, the old label had to be removed because, hey it is a chicken waterer and chickens are chickens and they will peck and eat the paper. Paper, 20 years old or not, is not part of a healthy diet for chickens. Next, was the installation of the float. A float, you say? Yes, a float as in the same float found in your toilet tank. A float was used because this is not just an ice chest waterer, this a fancy dancy model attached to a water source. As the water level decreases, water is let in from the main water line. To install the float and PVC connection point, a pilot hole was drilled, then a large hole was drilled into the outer wall and inside foam only.
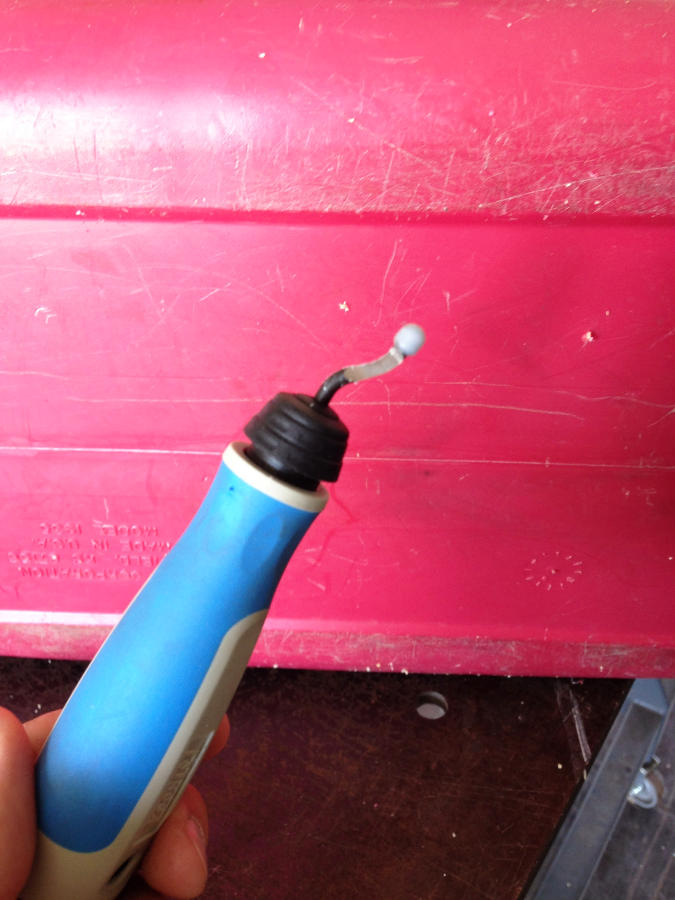
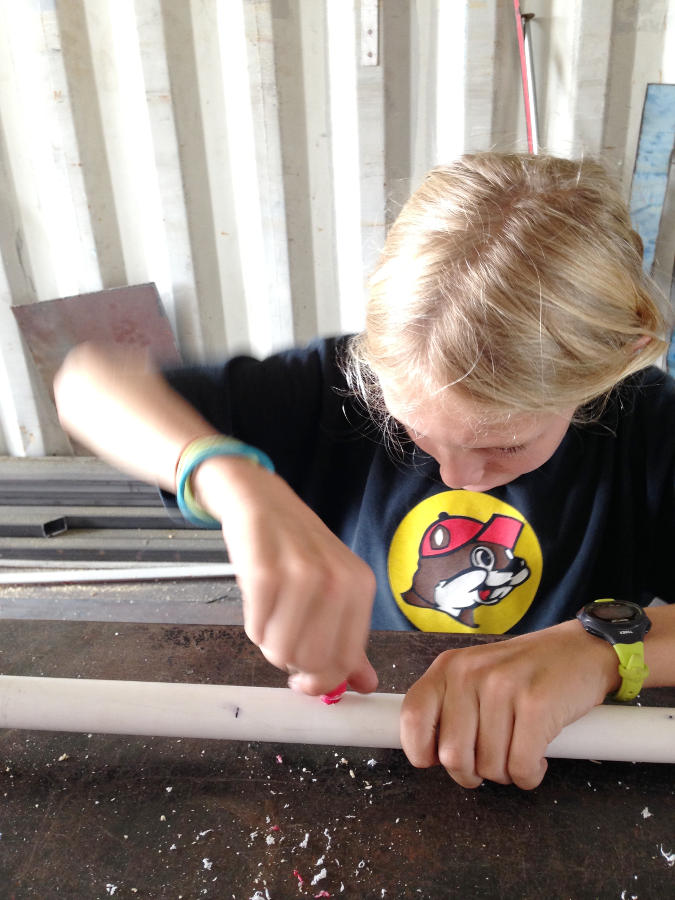
Then this fancy deburring metal tool was used to remove any rough edges from the plastic. While not designed for plastic work, it worked great. A deburring tool. Who knew? Not me. I was so fascinated with this tool in which I have never seen (apparently it has been owned for quite some time) that I demanded a whole lesson on it. The best way to describe this deburring tool is a potato peeler. The head swivels and the tiny blade shears off the tiniest bit of metal (or plastic in this case) leaving the edges smooth to the touch. In my amazement over this tool, I forgot to take pictures. of the process on the plastic. Sorry.
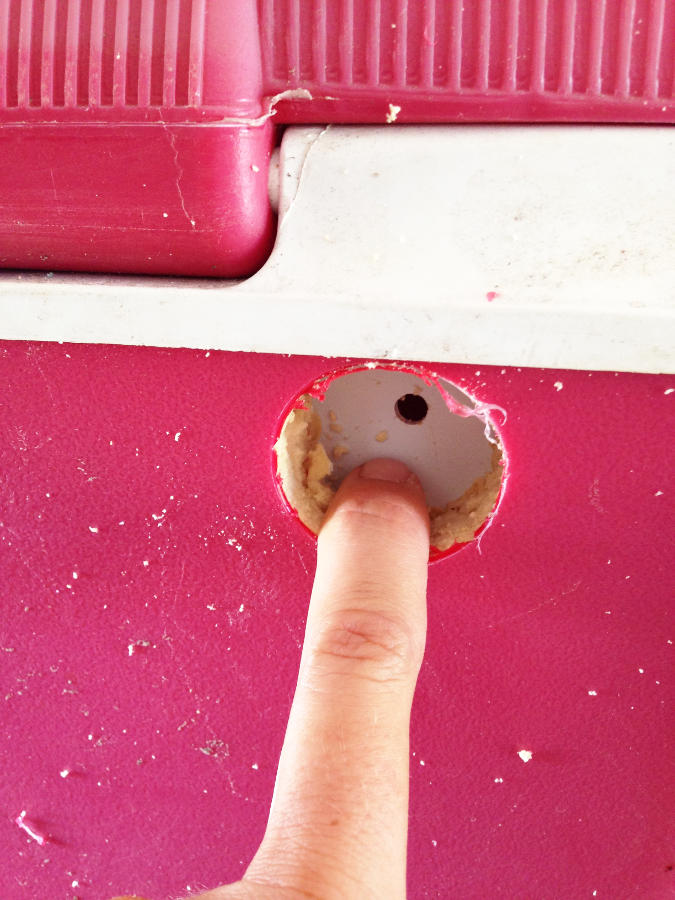
Next, a smaller hole was drilled on the inside for the installment of the float. To attach the PVC to the water line a push connection was installed allowing for easy removal of the line from waterer.
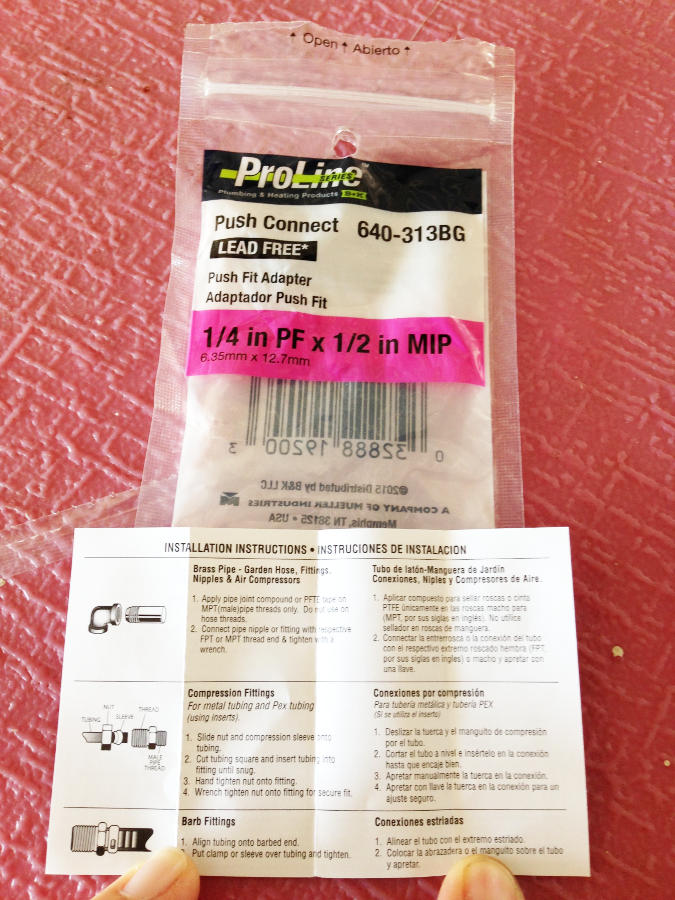
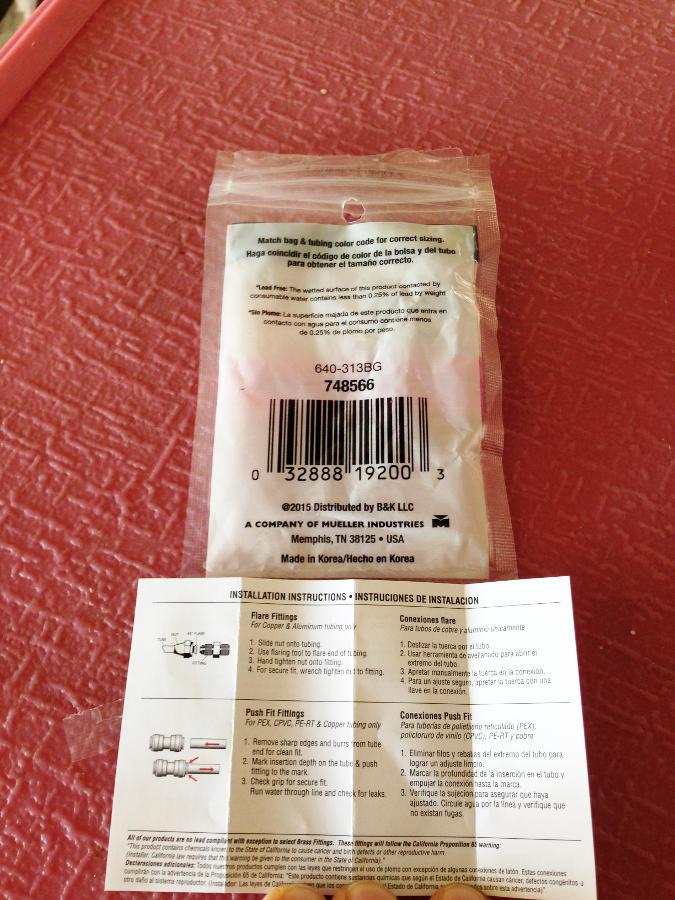
Push connections are common practice in plumbing. However, unlike any other plumbing part ever used, this one contained such detailed instructions. Plumbing parts are designed for plumbers. Unions, T’s, offsets, 90-degree elbow vs street 90 degree. If you don’t know how to use, too bad. The list of instructions for this simple part went on and on. Seriously, FIVE different instructions. If you know what a push connector is then you should know how to install it. Being I did not know what a push connector was nor how to install, I read both front and back of the packaging and the instruction manual. Now I am a competent push connector installer. NOT!
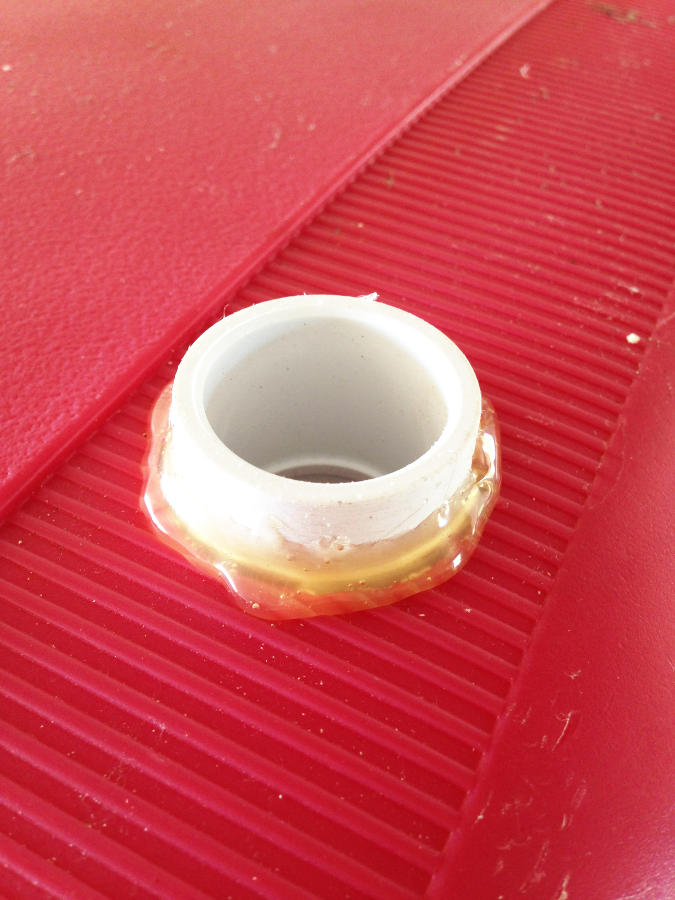
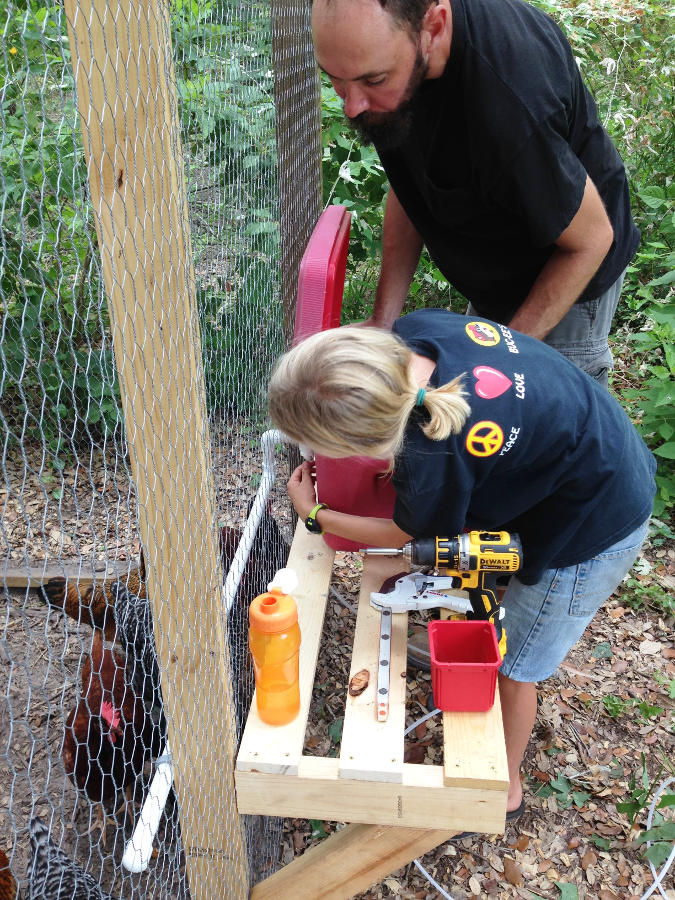
Luckily for me, I have a Planner. Once installed, the PVC water line was installed for the chicken nipples. This turned out to be the hardest part due to the ridges. It is hard to mount PVC when the mount location is not smooth. Can’t guarantee this is not gonna leak. Should have seen all the hot glue on the inside. Only time will tell. Drip, drip, drip, drip. Can see it now…
Having originally thought to place it under the coop, this idea was nixed when it was decided to attach the waterer to outside water line. Now the waterer can be accessed without entering into the coop, the waterer does not take the chance of becoming a chicken roosting point (yuk), and if needed ice jugs can added daily to help aid in keeping the water cool.
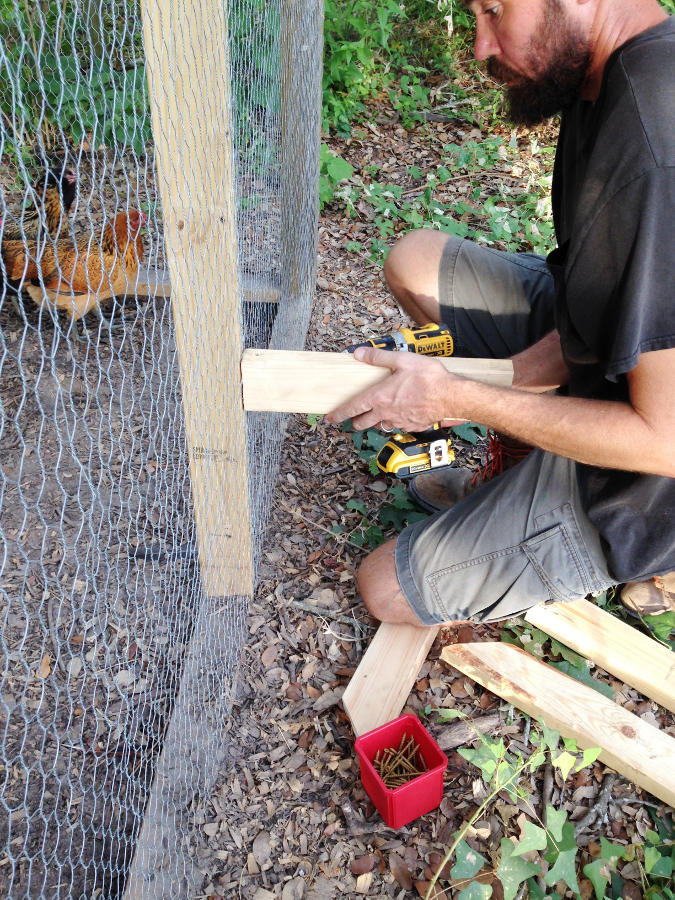
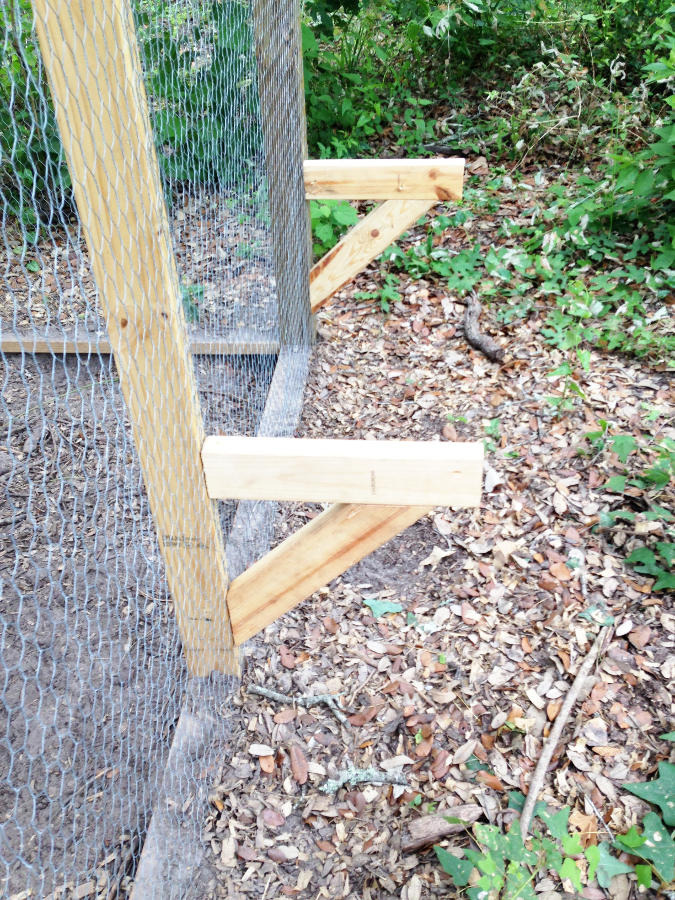
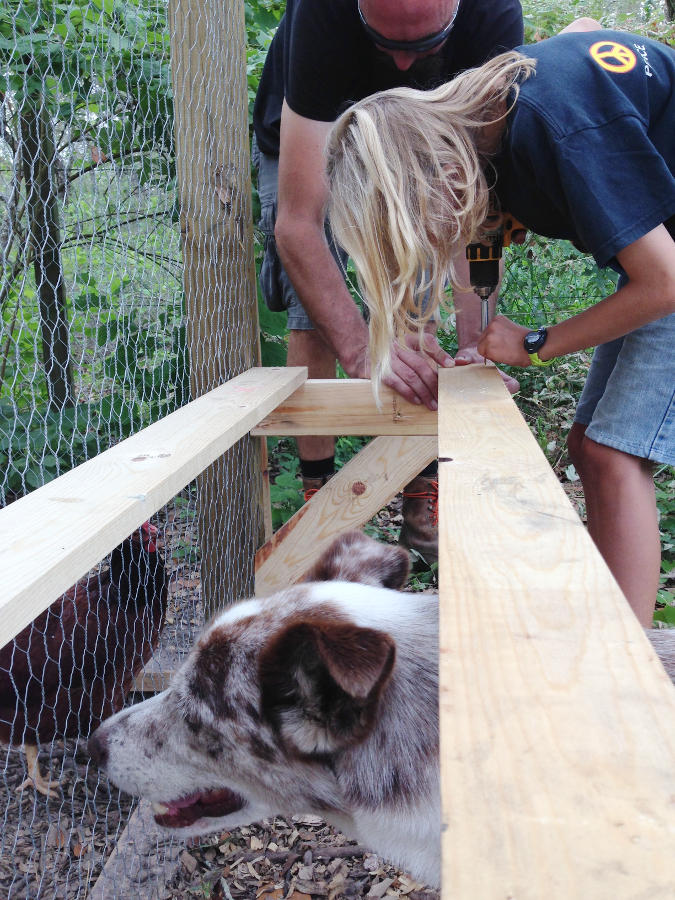
To place the chicken nipples at the correct height for proper drinking, the ice chest waterer needed to be elevated. An ice chest full of water weighs more than one would think therefore requiring a sturdy base support. Also, as with all other building aspects at Boxes in Fields, the platform had to be able to withstand some hurricane winds. No, no, it was not designed as the Shop Box was for 150 mph winds but it should be able to hold its own for at least Category One winds.
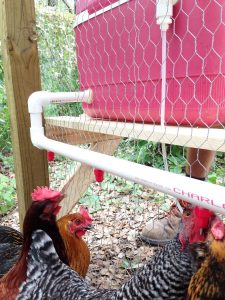
Chicken people are crazy. Seriously. If you read on determining the correct number of chickens to chicken nipples requirements you can find anything from such craziness as two birds to one nipple to the far extreme of ten birds to one nipple. Okay, come on. Two to one, ten to one. Each one of those is just as ludicrous as the other. These ten chickens currently have two nipples and are not fighting. However, they are getting bigger and it is getting hotter so four nipples were installed.
Skeptics of chicken nipples are consistent in their complaint. Chicken nipples leak making a mess. Instructions after instructions state over and over again, chicken nipples must be installed to a flat, flush service area. Not rounded PVC piping. In other words, these nipples will leak. That, however, is a chance I am willing to take. Besides, in a few weeks, it will be upper 90’s. Water evaporation will cure any leaky nipple mess. Upon inserting of nipples onto PVC, they were secured into place with none other than more hot glue. Used the hot glue as added protection against water leakage.
PVC line was installed into the ice chest and the water line was secured into the push connector. The last step was to fill the ice chest and with cool water.
Before the ice chest could even fill with water, these crazy chickens were attacking the nipples. Yes, attacking. The chicken with the dark brown neck looking at the nipple loves to attack the nipple. All she really needs to do is gently nudge, but no, she receives some type of satisfaction from attacking. Crazy chickens!
