Fabricated Beam, Part 2
Five years ago this week, Boxes in Fields was forever changed.


What started out as a planned, once in a lifetime adventure ended up as an unplanned, hopefully, once in a lifetime experience. On Monday, Aug 21 at 11:42 AM GMT, Boxes in Fields was soaking up the full solar eclipse experience. It was amazing, all consuming, and to date, was one of the best things I have participated in.

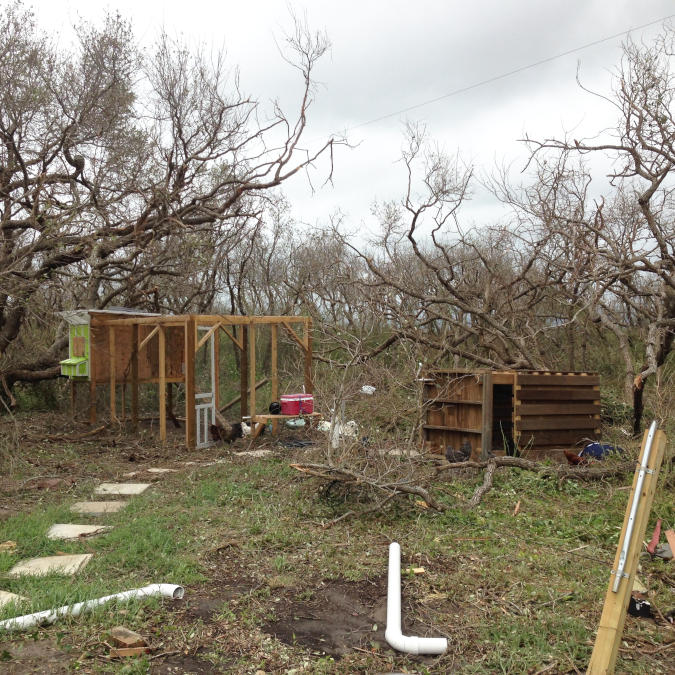
By Friday, Aug 25 at 11:42 pm CST, Boxes in Fields was sitting in a secure location soaking up the full hurricane experience. It was devastating, all consuming, and to date, was one of the worst things I have participated in.
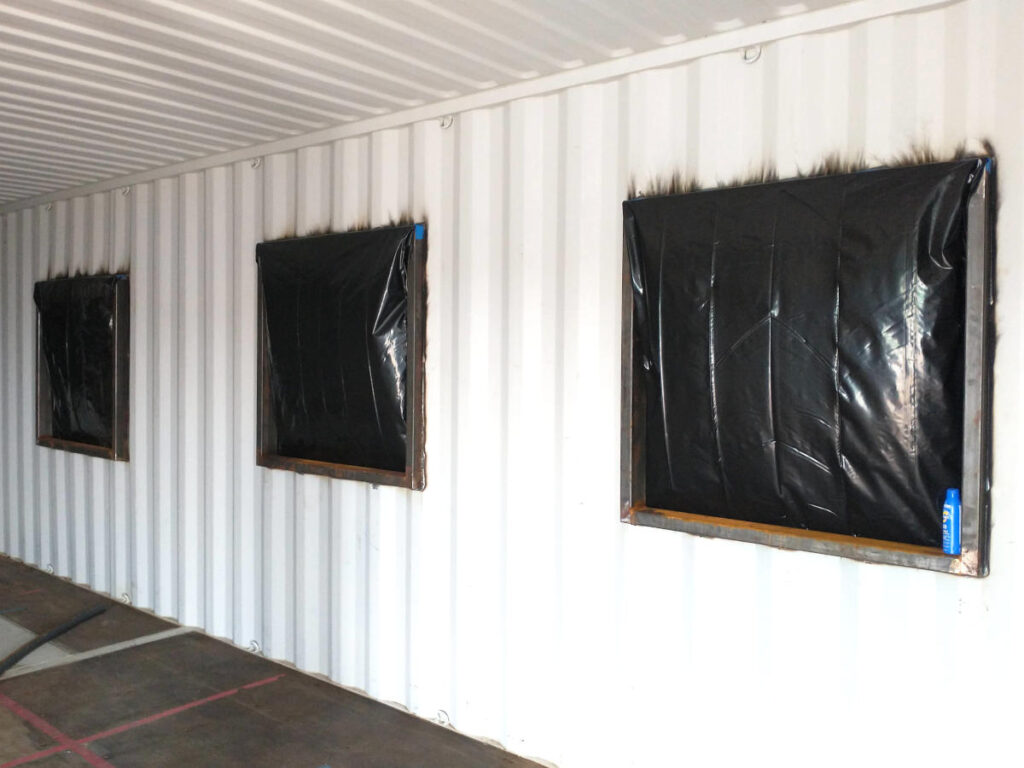
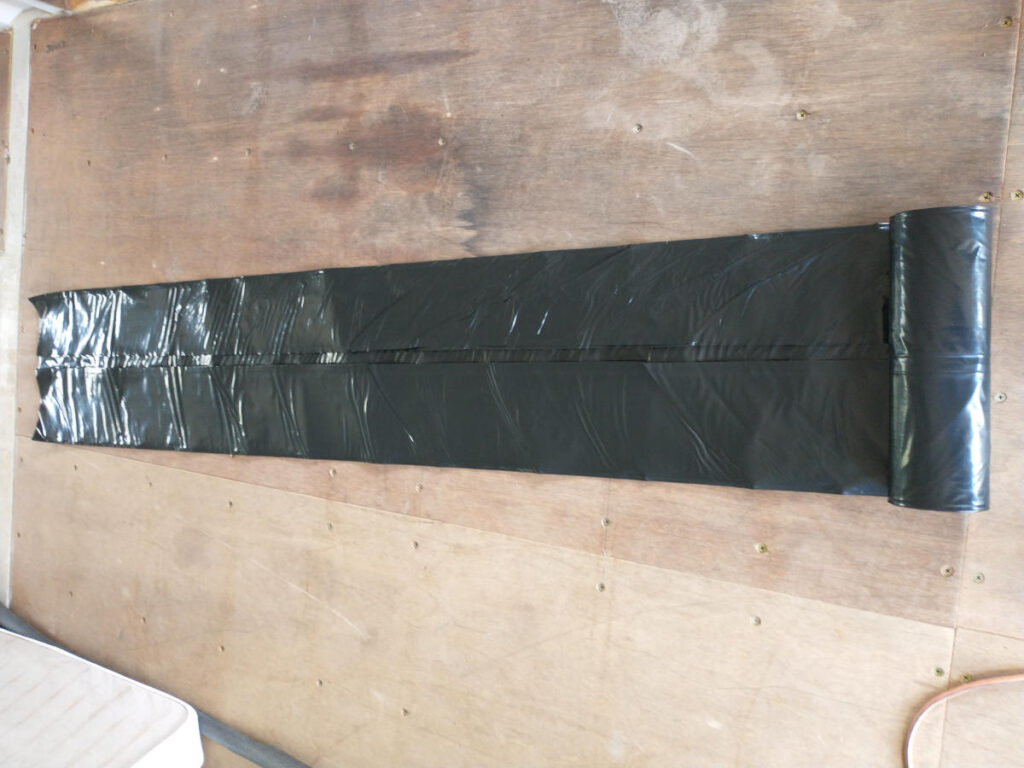
Five years come and gone with a lifetime of experiences in between. Five years ago is still fresh on the minds as a reminder of the importance of hurricane season. All other boxes are secured to the best of the Planner’s ability and now all of the Dwelling doors and windows are secured against the elements meaning Boxes in Fields can evacuate, if needed. With the last rain as a test, the covers held with their fours bolts secured into the corners of the window framework, the rain was a different story. Water poured in. More like rained in, if you like. Plywood against metal leaves gaps, gaps brings rain, rain bring a mess. Heavy 4mil plastic sheeting was purchased, taped from the top outside edge of the framework inside the box, draped out side the box against the wall, and secured into place with the plywood covers. It will be hot inside the box for a few weeks because after today we are not taking the coverings up and down. Hurricane season is only six more weeks. We can survive.
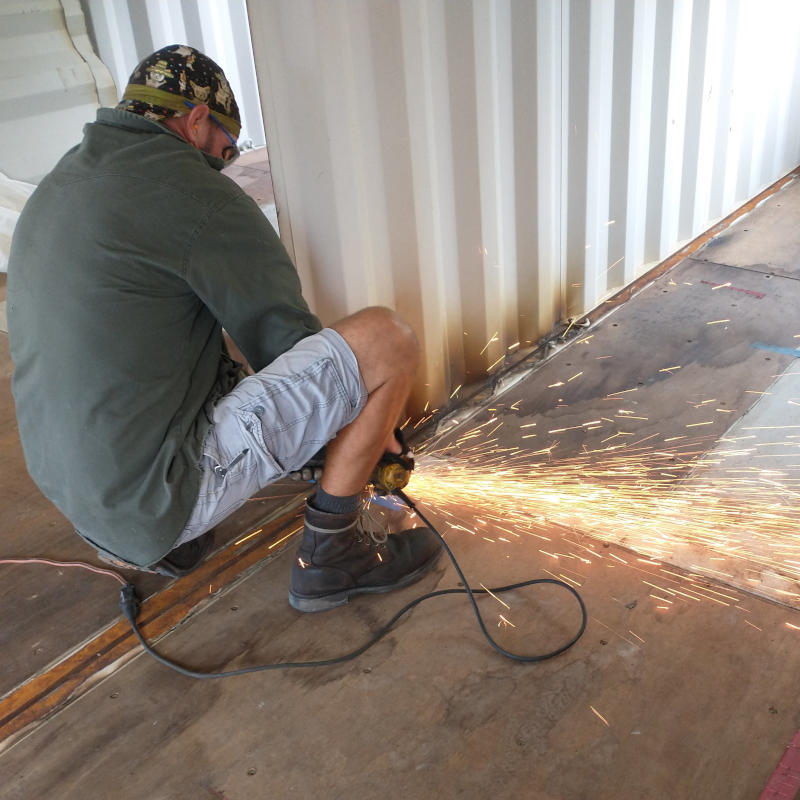
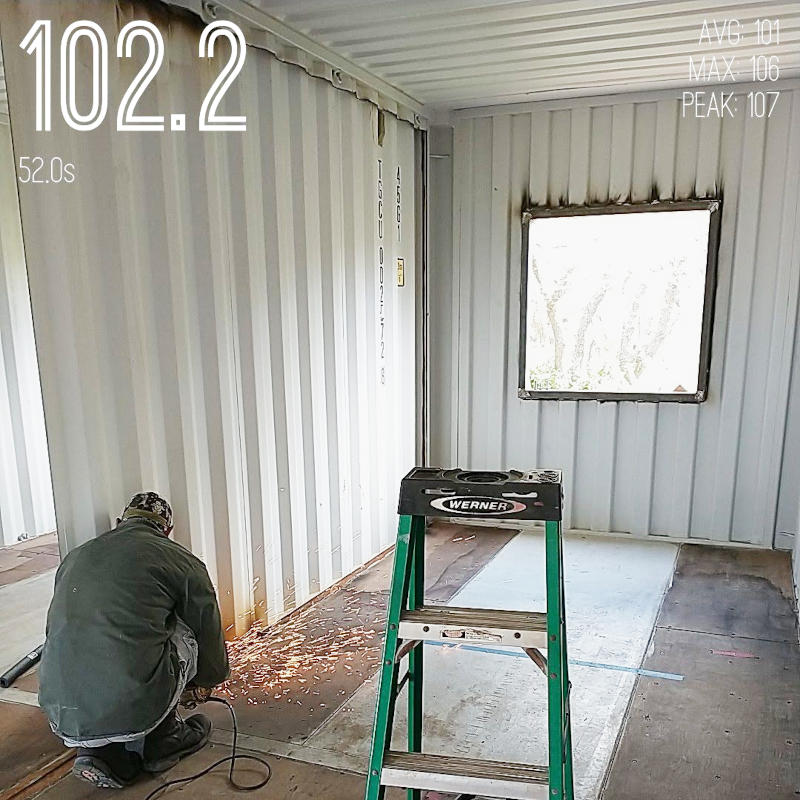
It’s already hot, so let’s get this ceiling raised. But before the ceiling beam could be fabricated, the entire inner wall of the east box (the box containing the bedroom, kitchen, bathroom) was removed. Any inner walls remaining (wall between tv nook and bedroom, wall between kitchen/bathroom and pantry/utility room) were from the west box (the tv nook, the dining room, the pantry, the utility room). These walls will be visible from within the home. It is a shipping container home and unlike most homes made from shipping containers, Boxes in Fields does not plan to hide the inner walls.
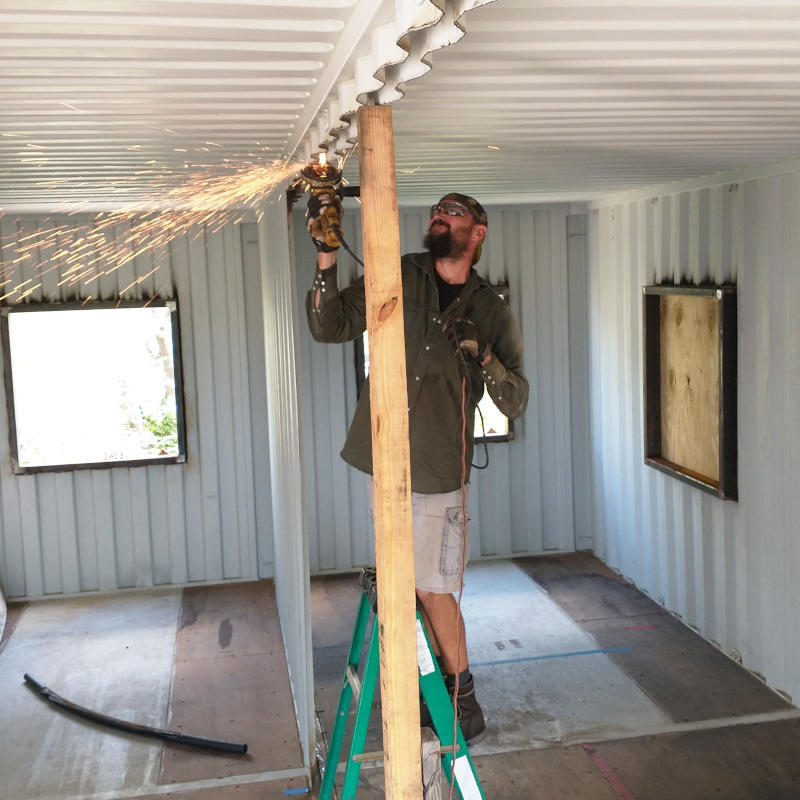
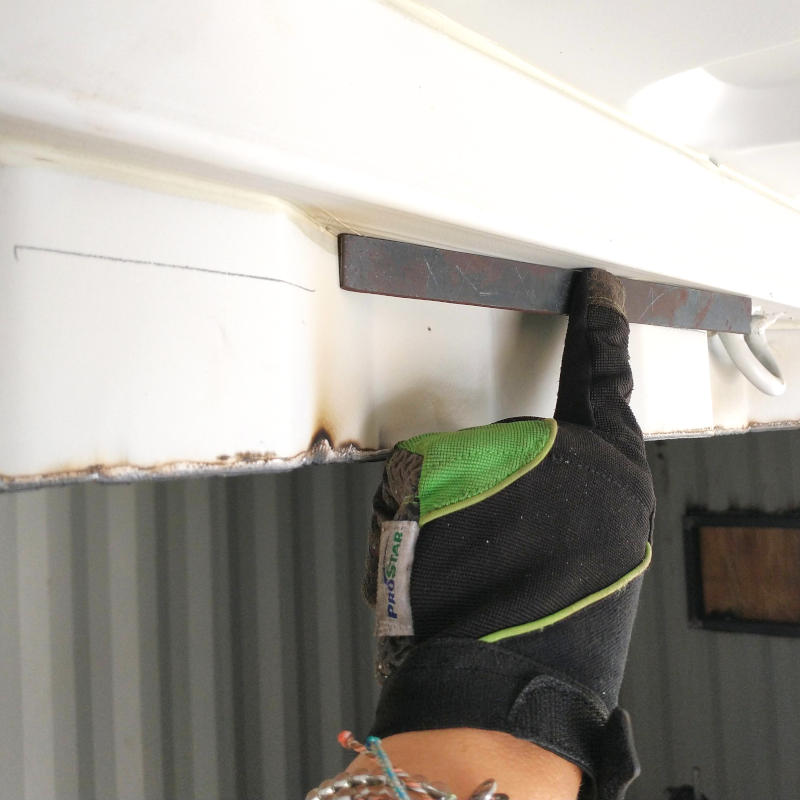
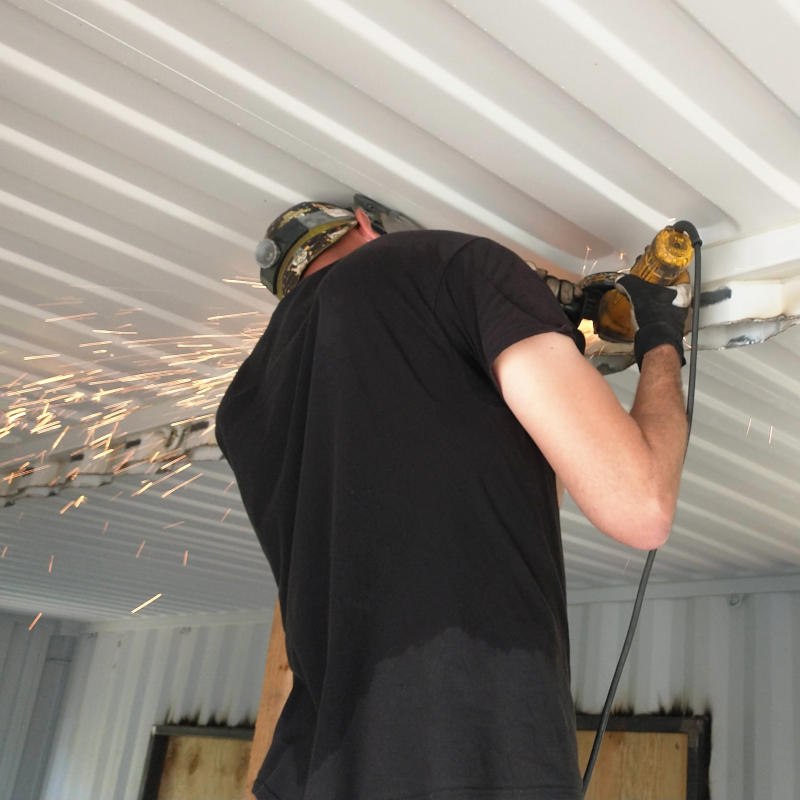
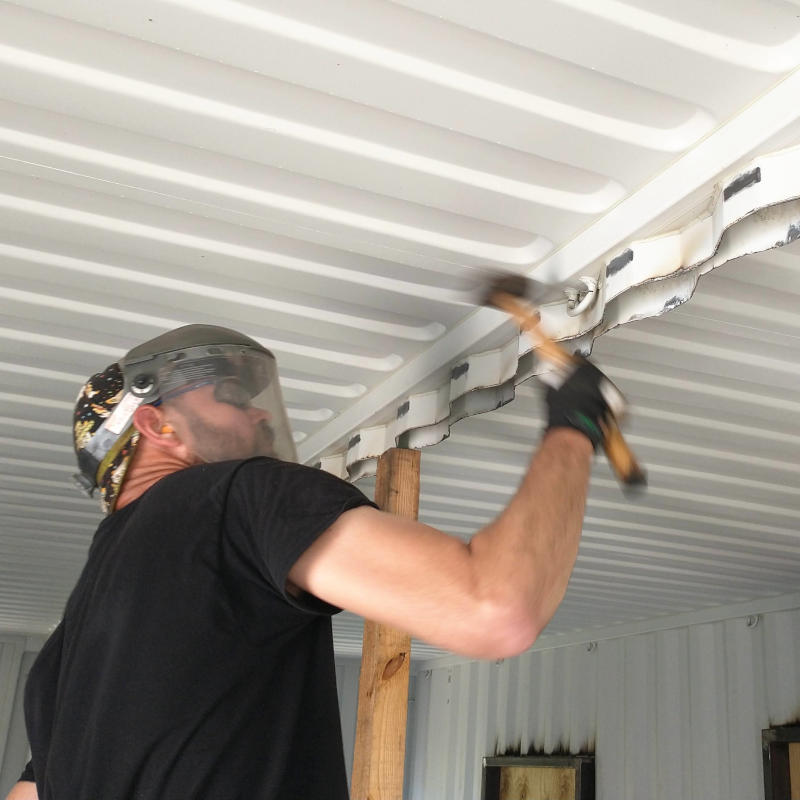
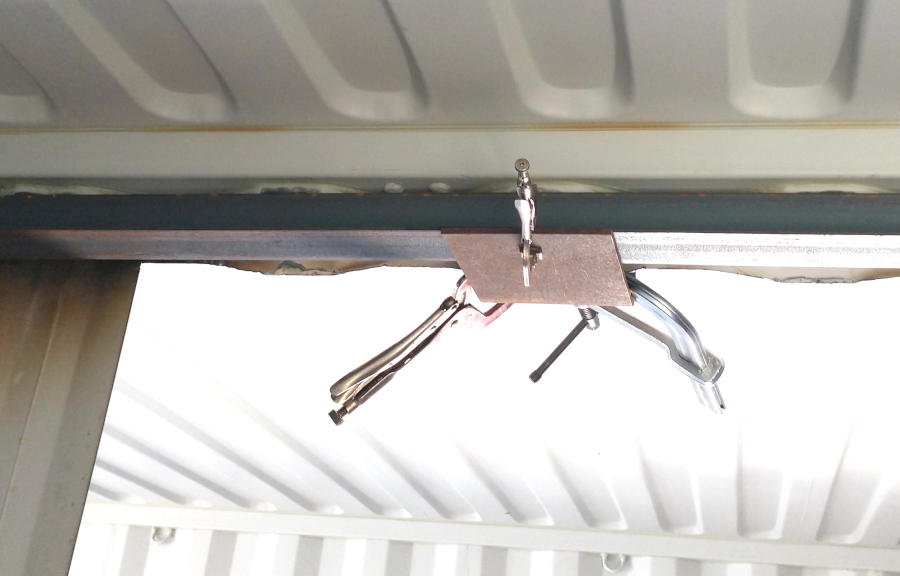
Upon removal of final wall section, the remaining portion of the inner walls were prepared for fabricated ceiling beam. Unlike the floor fabricated beam, the ceiling beam will be made from 2″ angles. Just as the fabricated beam under the box offered floor stability, these angles will offer roof stability while offering a mounting location for the ceiling. First, the cut edges were smooth and leveled-ish. Second, using a scrap piece of metal to ensure the distance was from the box framework, lines were marked and cleaned for welding locations. Finally, with a cutoff wheel, the tie hooks were removed. It wasn’t even noon yet and I thought the Planner was gonna melt as I watched him hammer his hammer. As we know from experience, the box roof in the dead summer heat can reach temperatures of 120℉ or more.
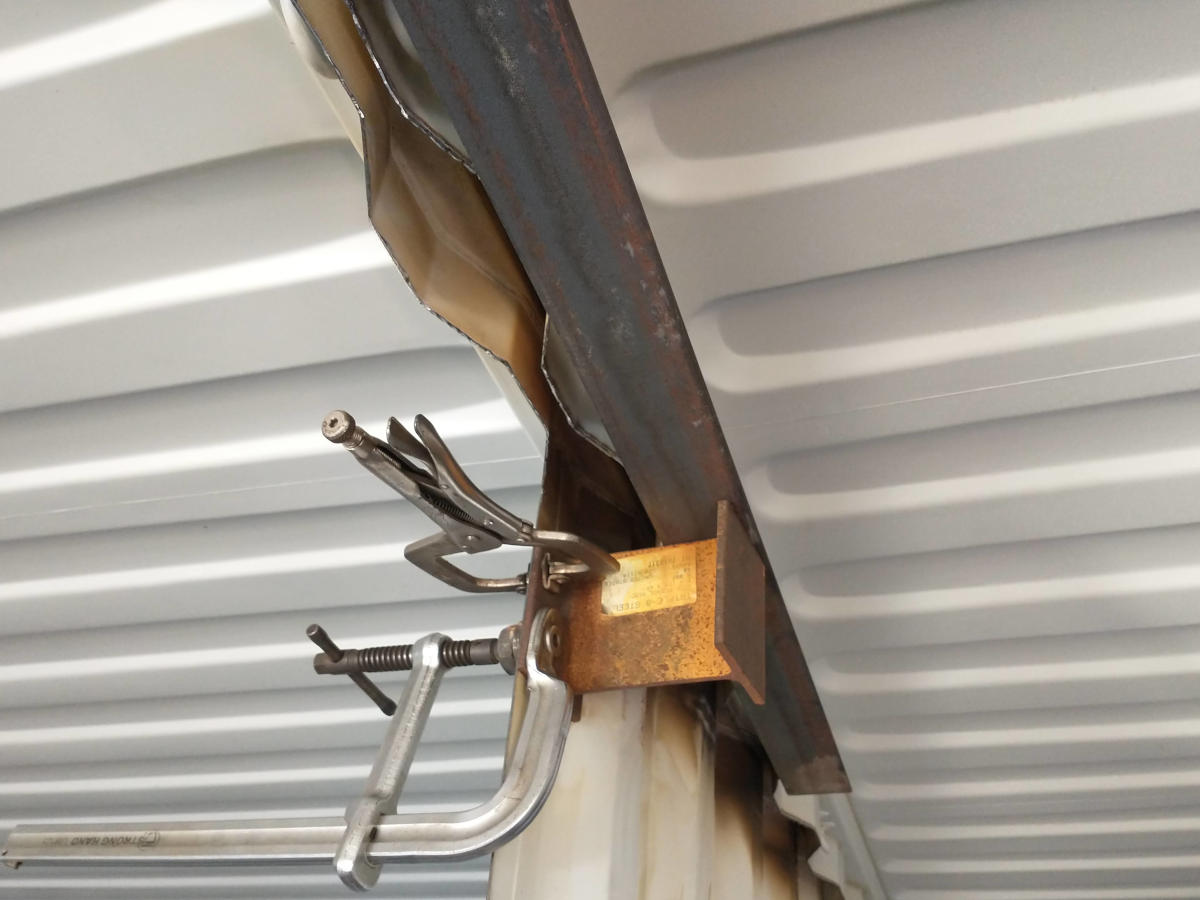
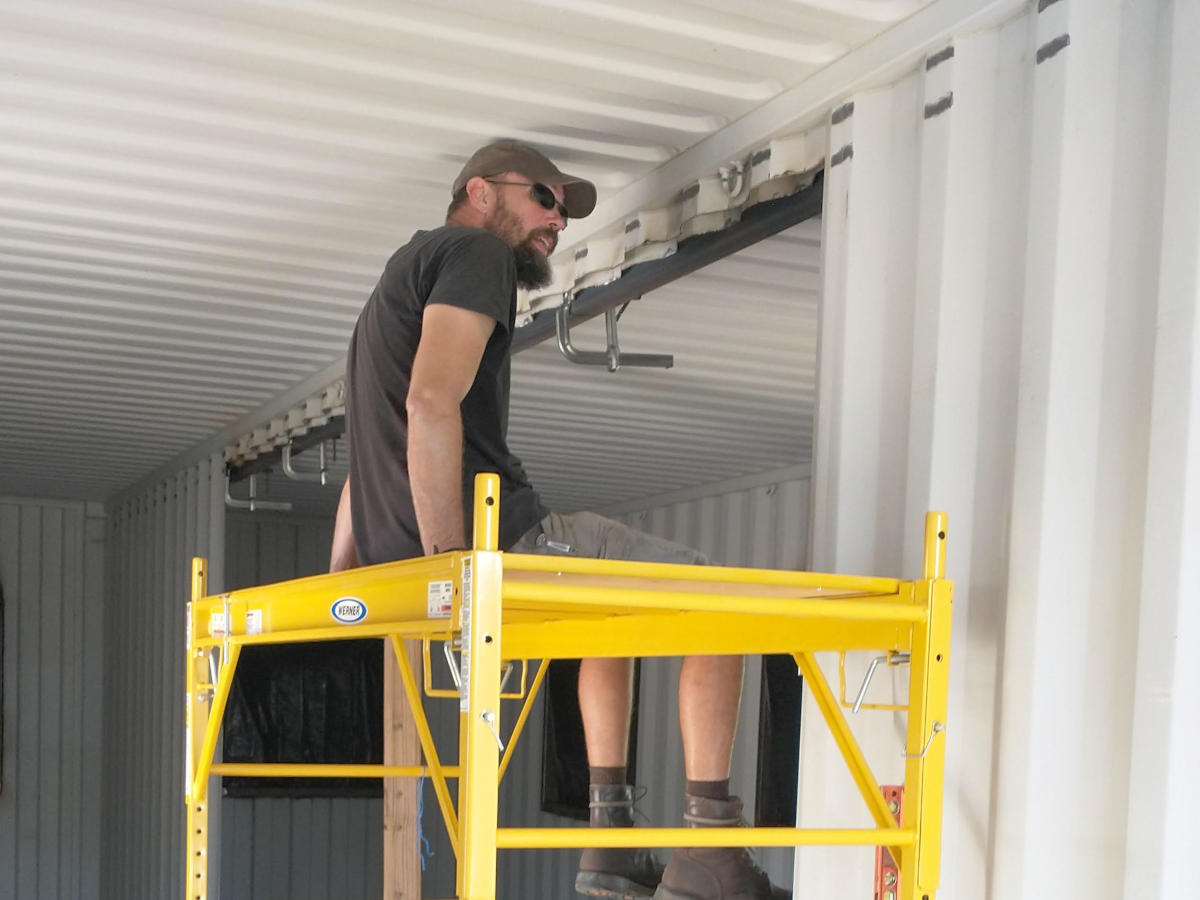
After taking the weekend off for family time, we were back on our heads. As the fabricated beam angles were being secured into place, it occurred to the Planner that not only does the free expanse area of the kitchen need ceiling mounting bracketry, so does the entire length of the box. On both sides. In order to install shipping container walls between the kitchen/bathroom and the pantry/utility room, there needs to be mounting angles. In order to attach the ceiling, there needs to be mounting bracketry. Eighty feet of angle bracketry to be precise.
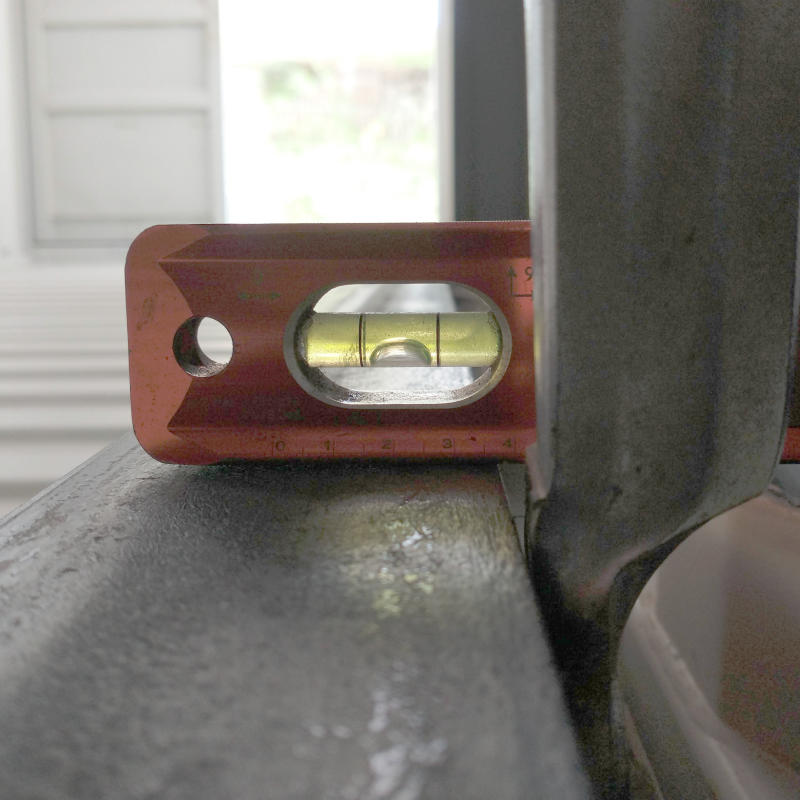
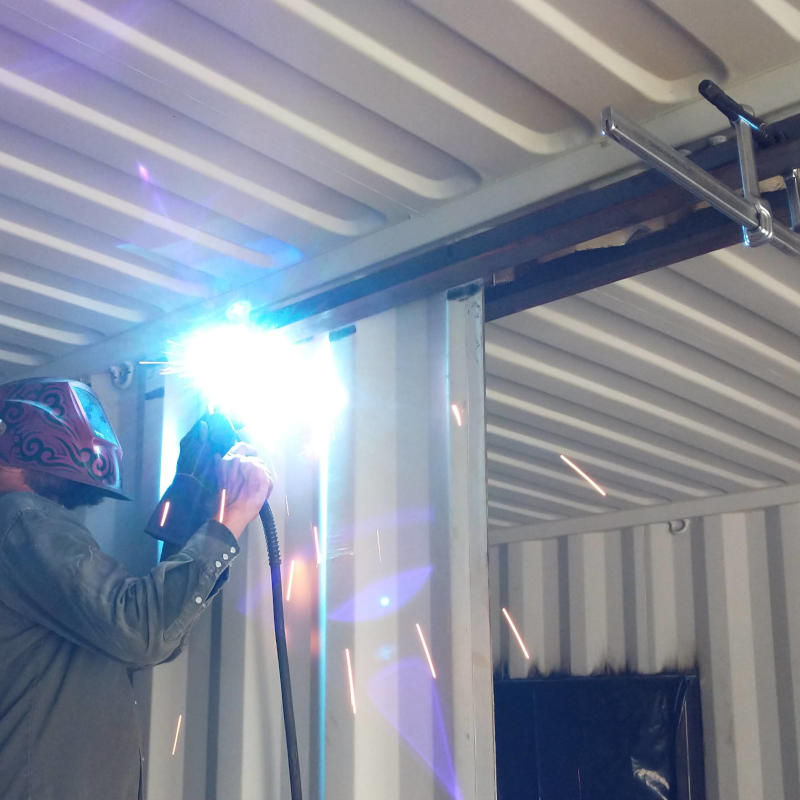
Good thing the Planner has extra angle lying around and we don’t have to wait for material to be shipped. With angles level to each other, they were welded into place. To ensure even welds, the Planner moved back and forth across the opening. Up the ladder, down the ladder, move to front, up the ladder, down the ladder, move to the back, up the ladder, down the ladder, etc… Viola, one fabricated ceiling beam and mounting bracketry.

All things considered, the ceiling fabricated beam was way easier to install than the floor beam even it did require ladders and work stations. Fueled with positive results, the pantry/utility wall mounting angle was secured into place. It was then tested to ensure the bracketry would work as planned. Granted the ceiling is not going to be a 2×6 rough cut lumber but the idea is the same. Happy with the results, the angle was fully welded into place without any issues either. Fabricated ceiling beam. Done.
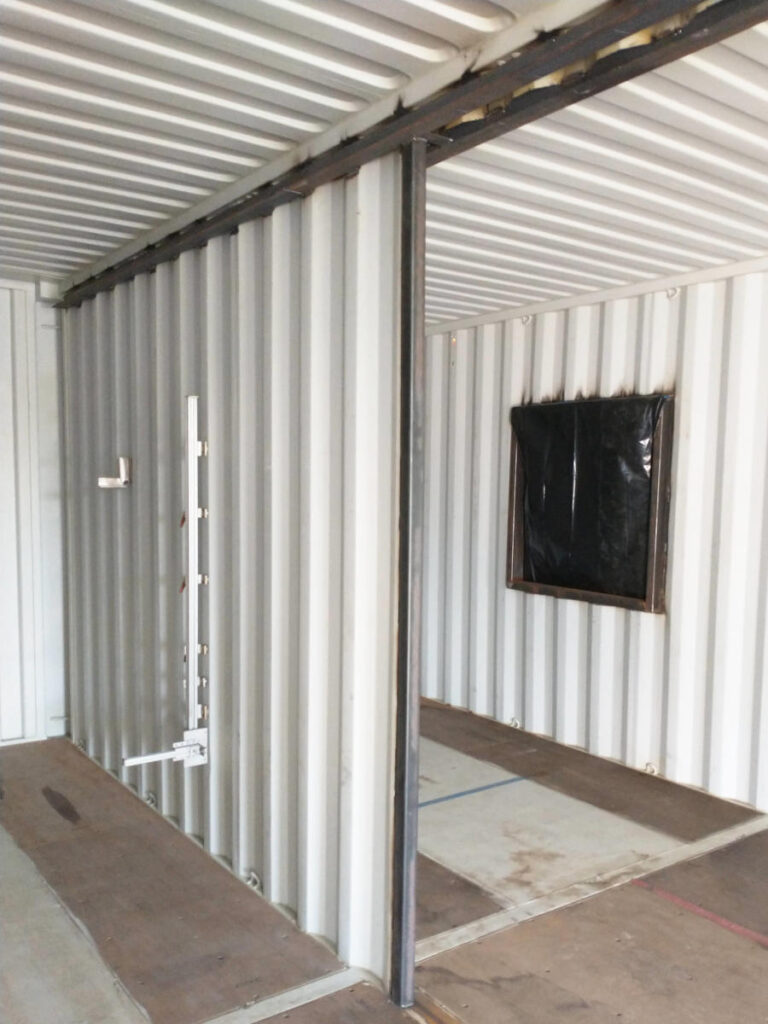
Mounting brackets for the entire 40′ ceiling and tv nook/bedroom end wall cap installed. Done and done.