Hatched a Wall
Last week was a first of many firsts for Boxes in Fields with the Almost a Room. In fact the first thing I did today was take another picture of the almost room.
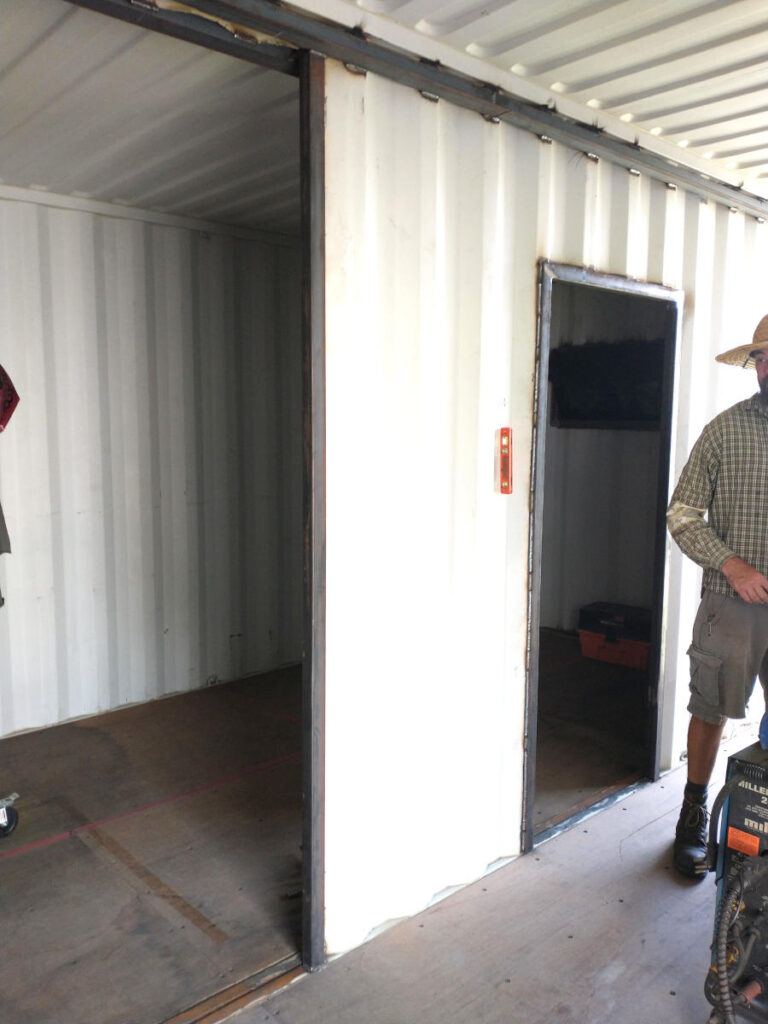
Isn’t it fabulous!

Well today was another first. A hatched wall. Fabrication is similar to a window or door hatch, the wall is just larger with combined angle and tubing framework instead of just tubing. The top will be angle, the bottom square tubing, and the sides are exposed panel. Unlike the hatched windows and doors, the wall will not be removable. In fact, it has mounting bracketry to secure the wall to the box.
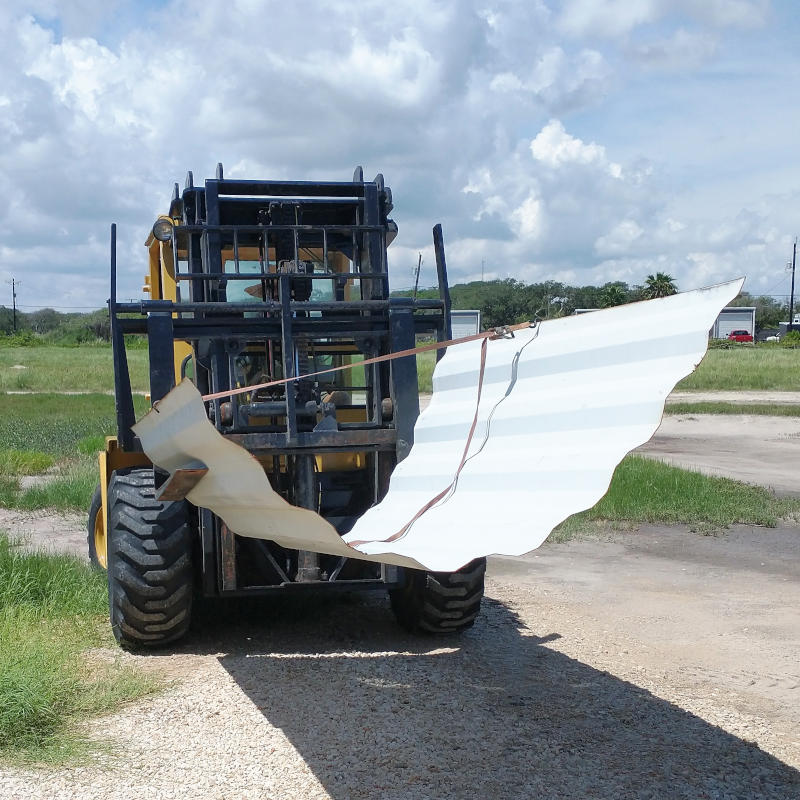
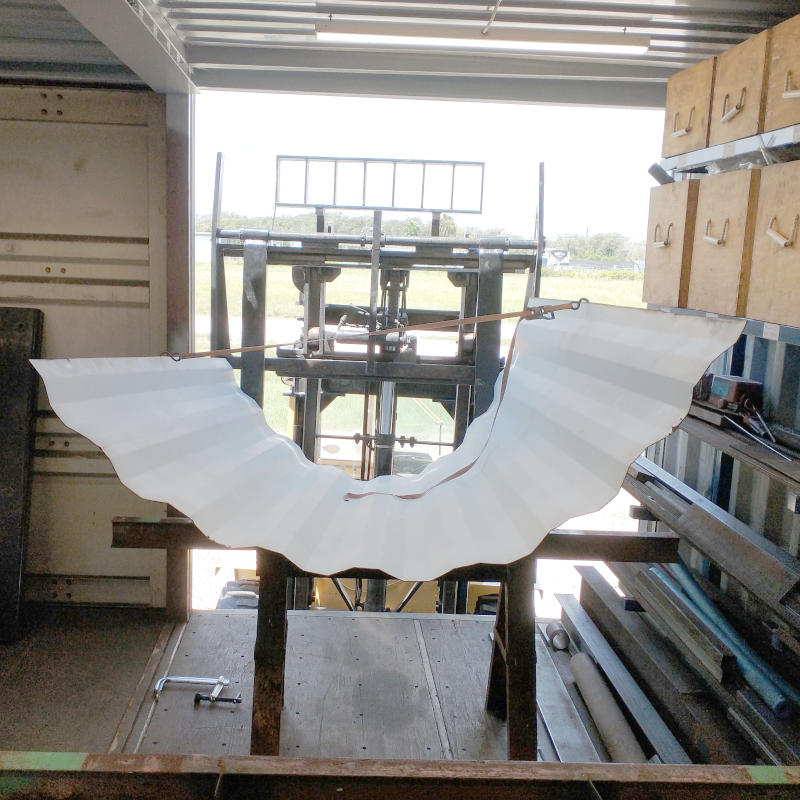
A section of inner panel that was removed a few weeks back was collected from the scrap pile. Knowing this hatched wall was in the works, the Planner took extra care when cutting the inner panel to keep it as long as possible for reuse. Once collected, it was carried like a gigantic metal handbag with straps and placed inside the Shop Box.
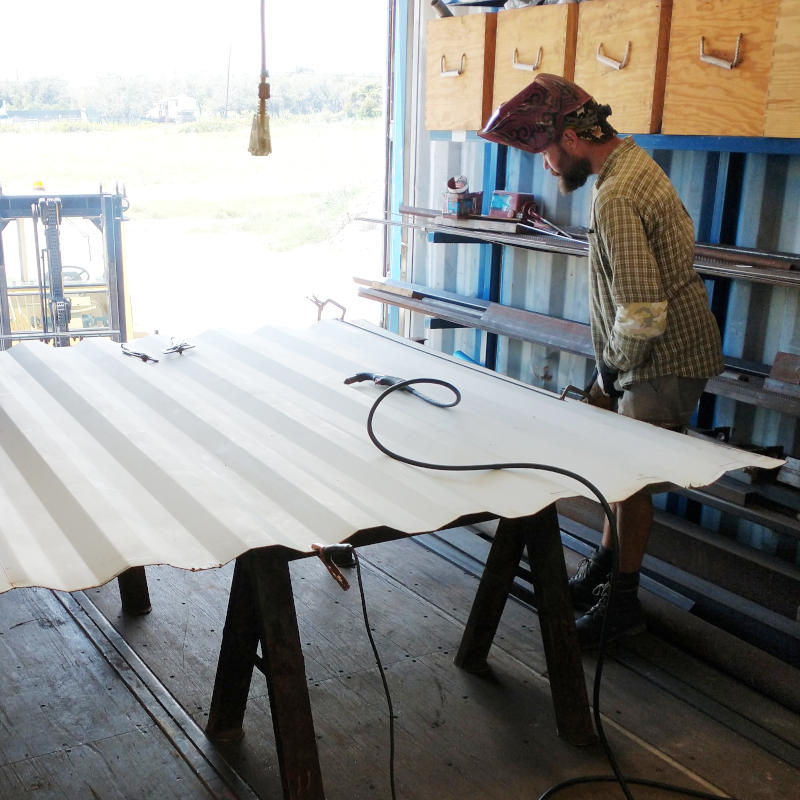
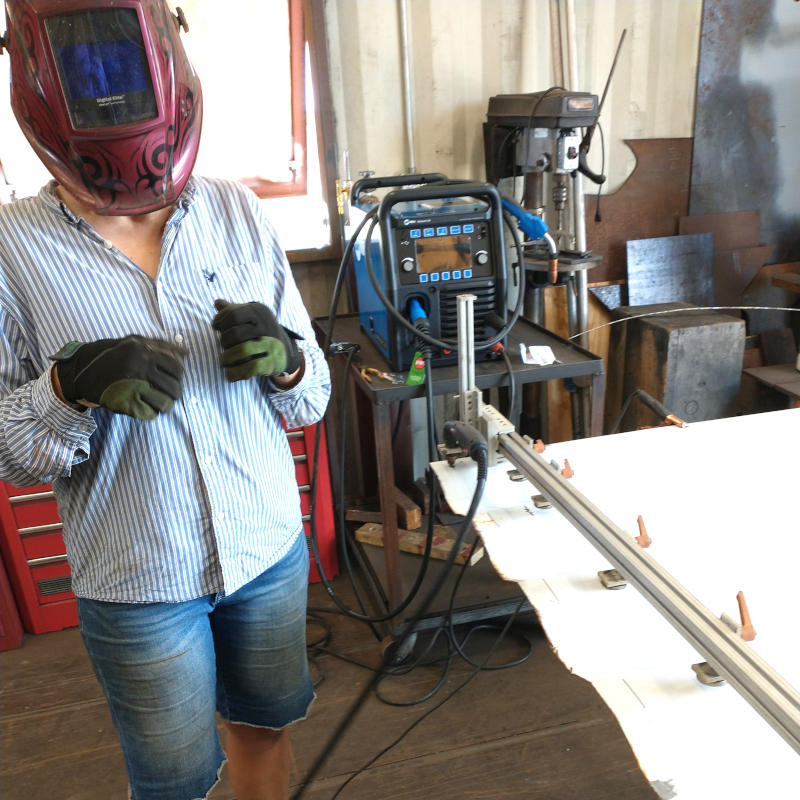
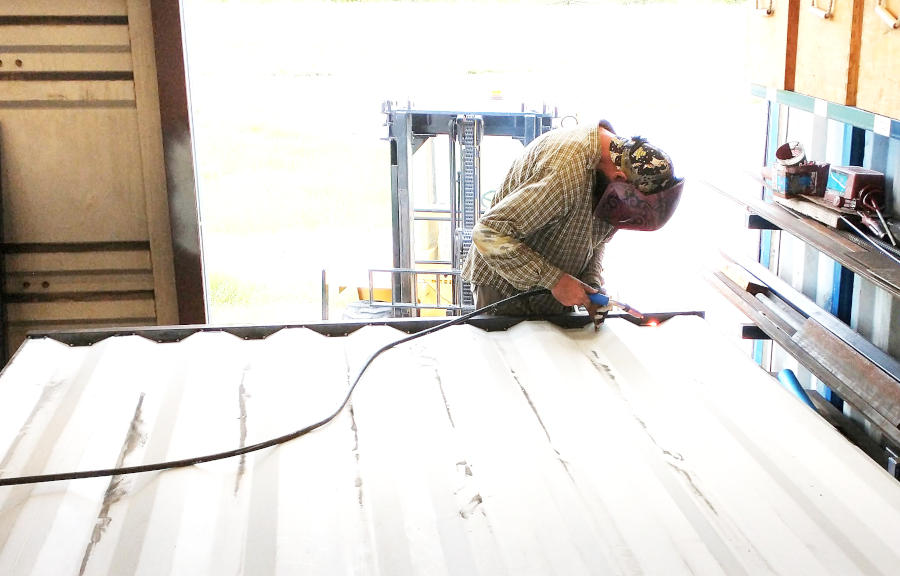
After squaring the panel sides, another first occurred. The Planner convinced me to use the plasma cutter and the wall cutting fixture to cut the excess panel off. Me, whose not afraid of tools but whose never used the plasma cutter. Me.
Not bad for the first time. Right? Oh, and pay no attention to the proper safety gear.
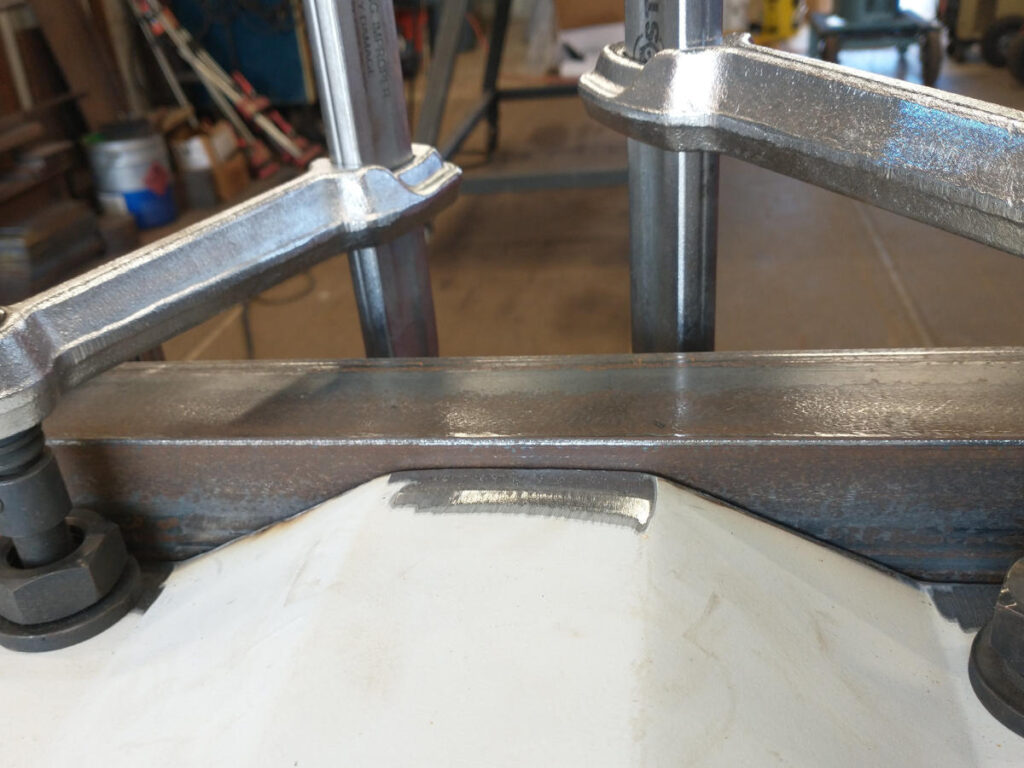
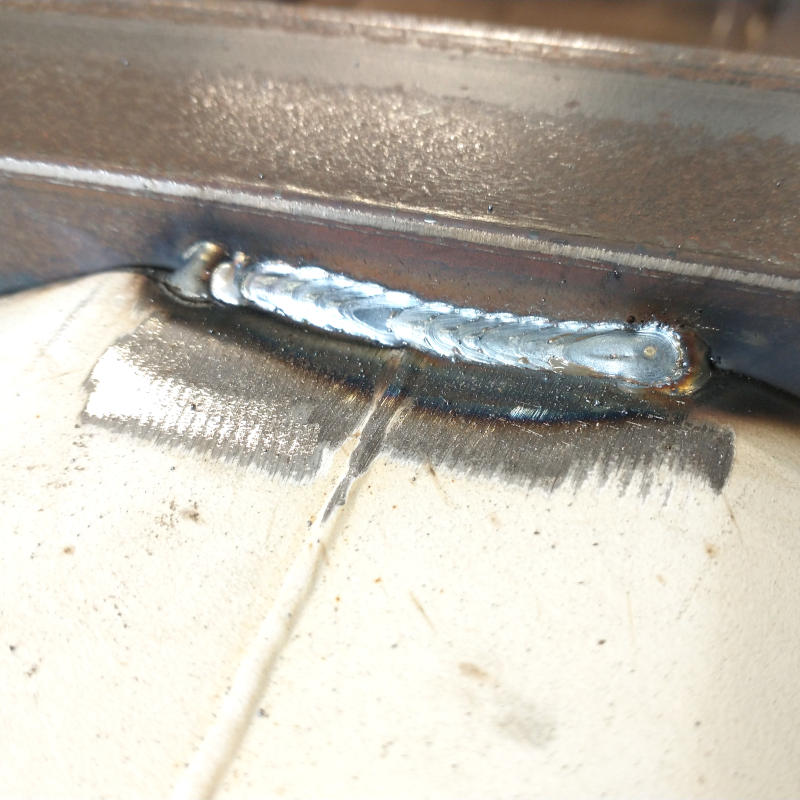
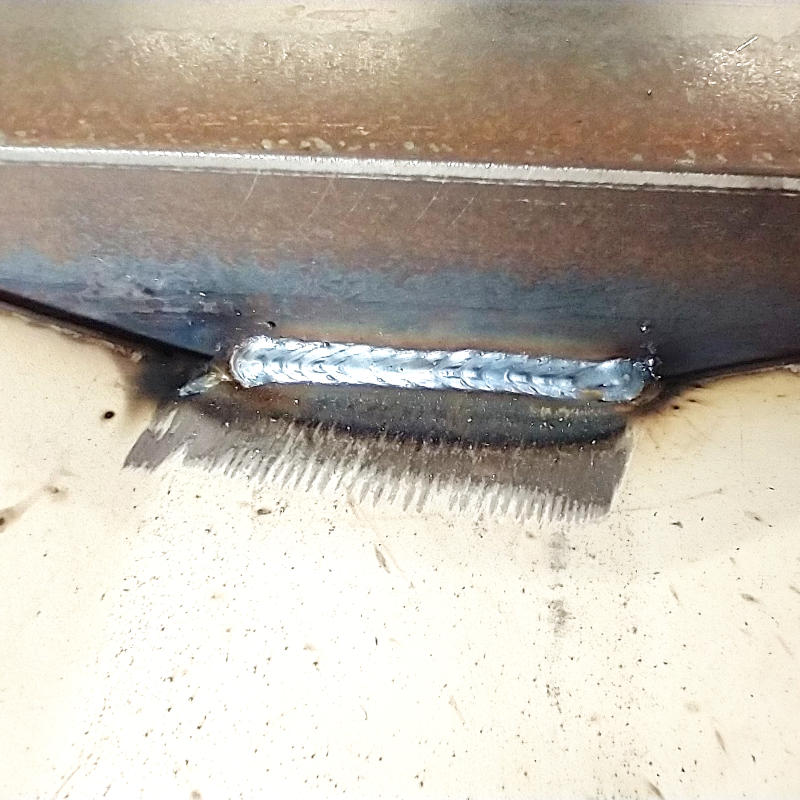
Meeting the Planner’s critical eye for angle bracketry attachment, the panel edges were ground flat and the weld lines removed of paint. Centering the panel to the angle took lots of readjustment and the usage of various shims. Once happy, the panel was welded into place. The same process was repeated at the bottom on the square tubing. One hatched wall ready for install.

Moving the hatched wall was a feat. Once built, the wall was wider than the opening of the back doors on the Work Box due to the metal rack. This required the wall to be placed on its side for transfer. Lifting the wall onto its side was hard, heavy work. It wanted to slide off the saw horses and then slide along the floor instead of standing. Finally after some trail and errors, it was ready to be moved. Using a 10′ section of I-beam secured to the forklift, the wall was then clamped to the beam in only two locations. Two locations! Attached to the beam, the wall was carried ever…..so…..slowly out of the back doors of the Work Box and into the back doors of the Dwelling west box.
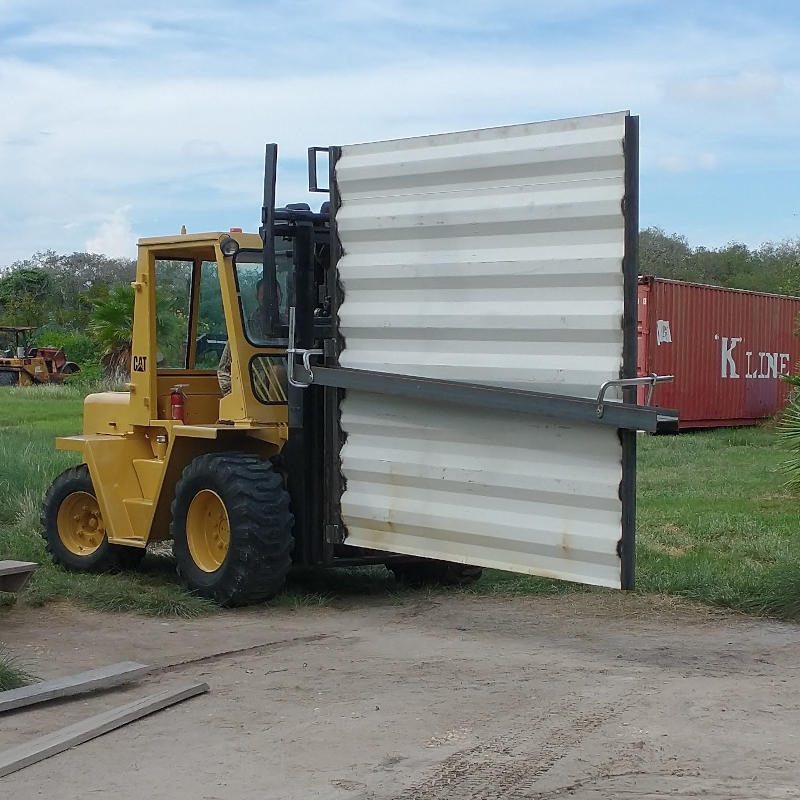
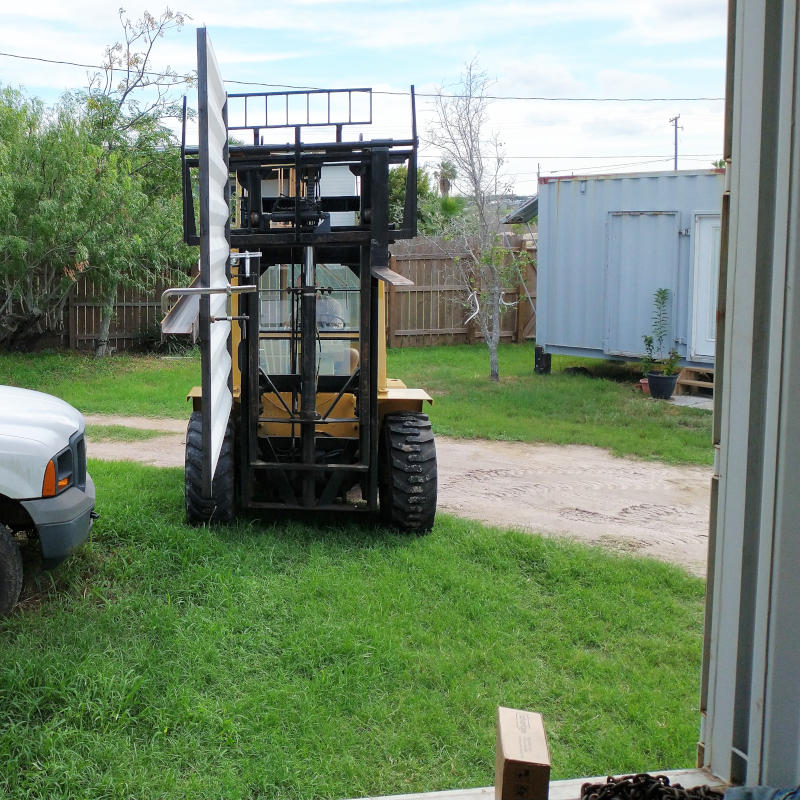
Ever…..so…..slowly…..
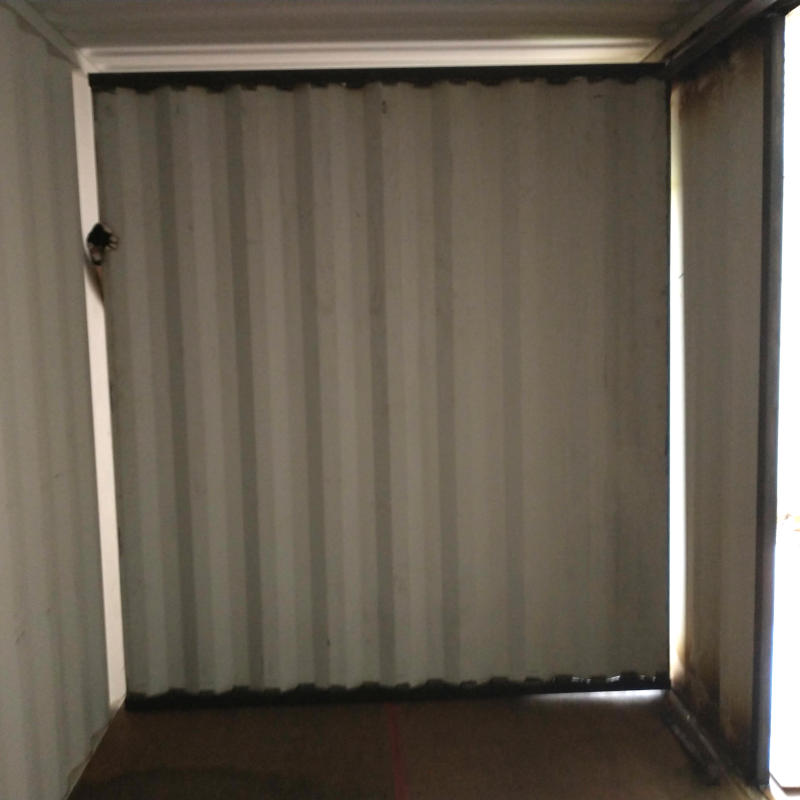
Arrangement of the wall into the correct position for placement inside the west box was tight as the space allotment side to side and top to bottom only a few inches to spare. The wall came in on its side, had to be laid flat, carried around and into the correct location, and then raised upwards with one person on either side so it didn’t fall either direction.
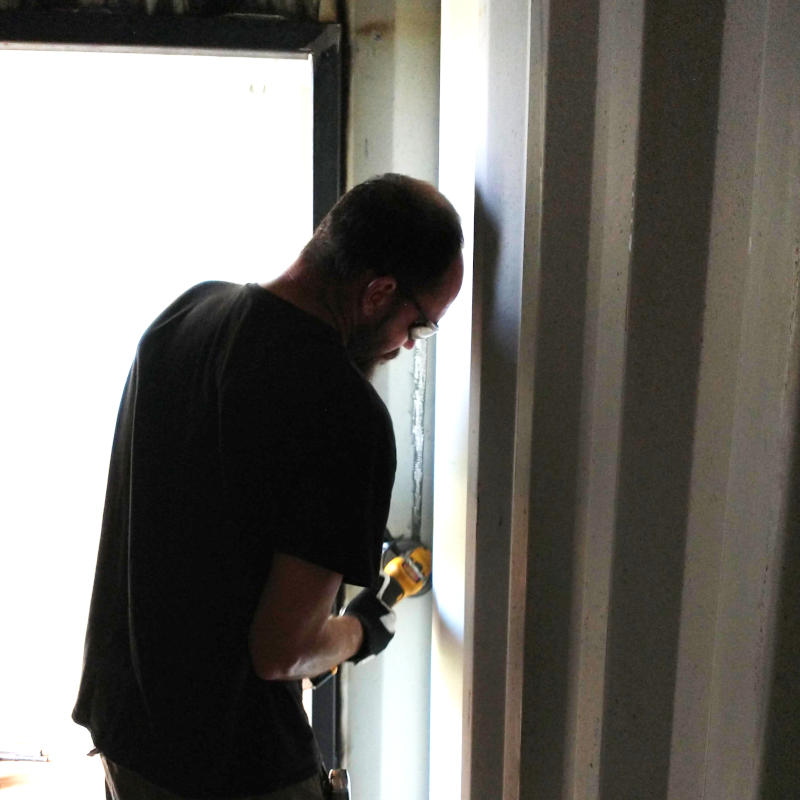
It was only after the wall was in place that we realized the inner wall was not cleaned of paint. While I held the hatched wall, the Planner quickly removed a 1″ strip of paint from top to bottom on the inner remaining wall where the hatched wall will attach.
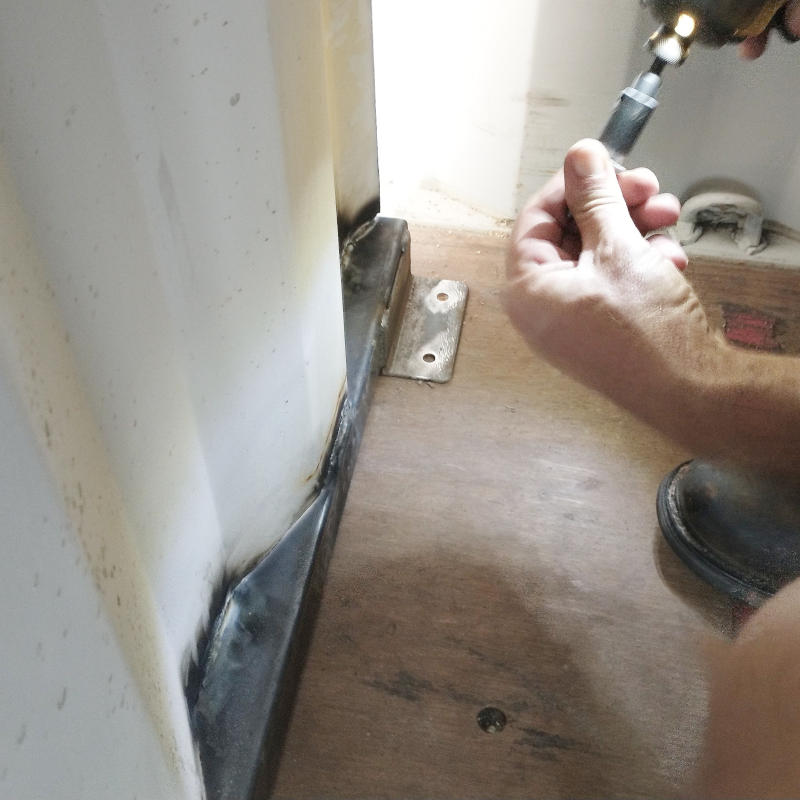
Happy with the placement of the wall on the floor, the hatched wall was bolted into place. Two bolts on the west and east sides facing into the bathroom.
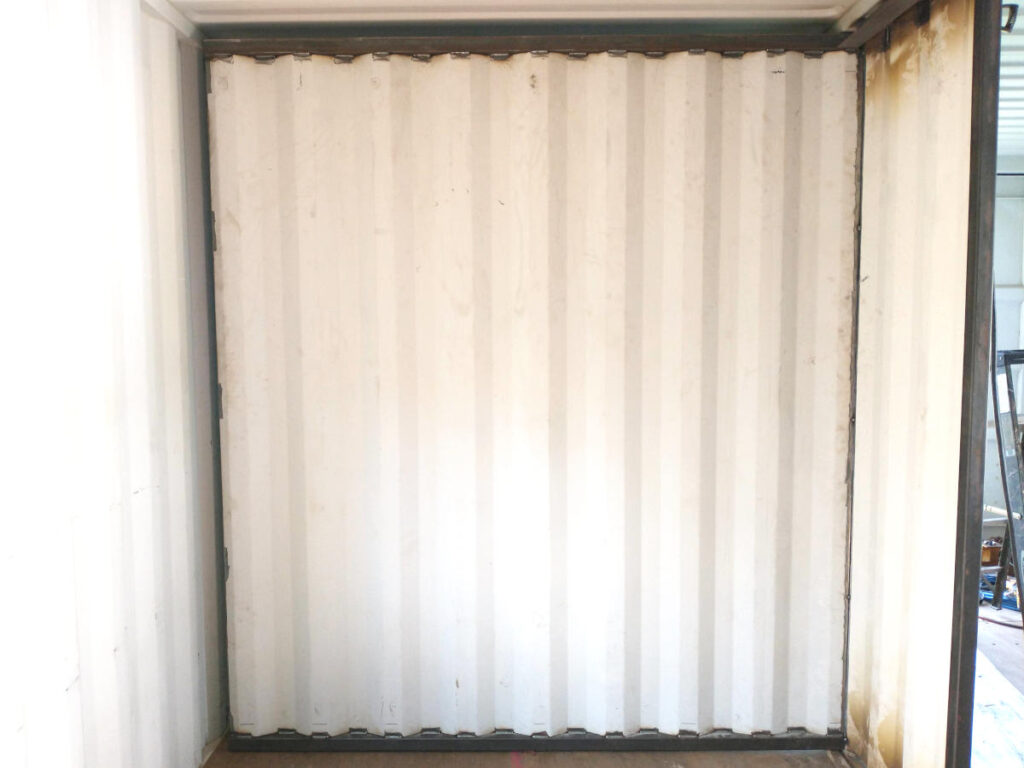
And that it’s, another first. The very first hatched wall has been erected. What you are looking at is the dividing wall between the kitchen and the bathroom. What you are looking as will eventually house an oven, microwave, and cabinets on the right side and the left side will be the counter. Do you know what this means? Our very first room is official! Ok, don’t get technical on me now as the bathroom is just fours walls, a window, and a door jamb. BUT IT IS A ROOM! A real room.