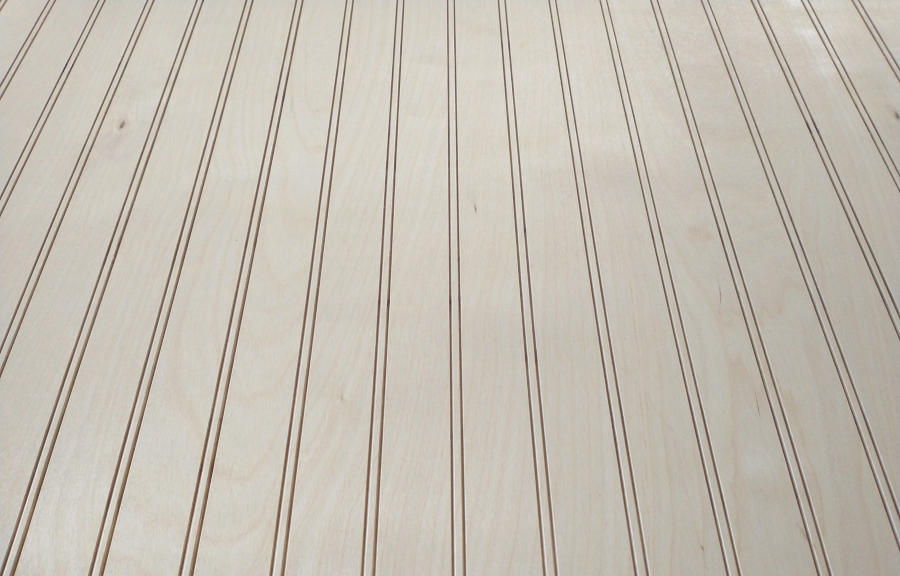
Bantry Bead Board
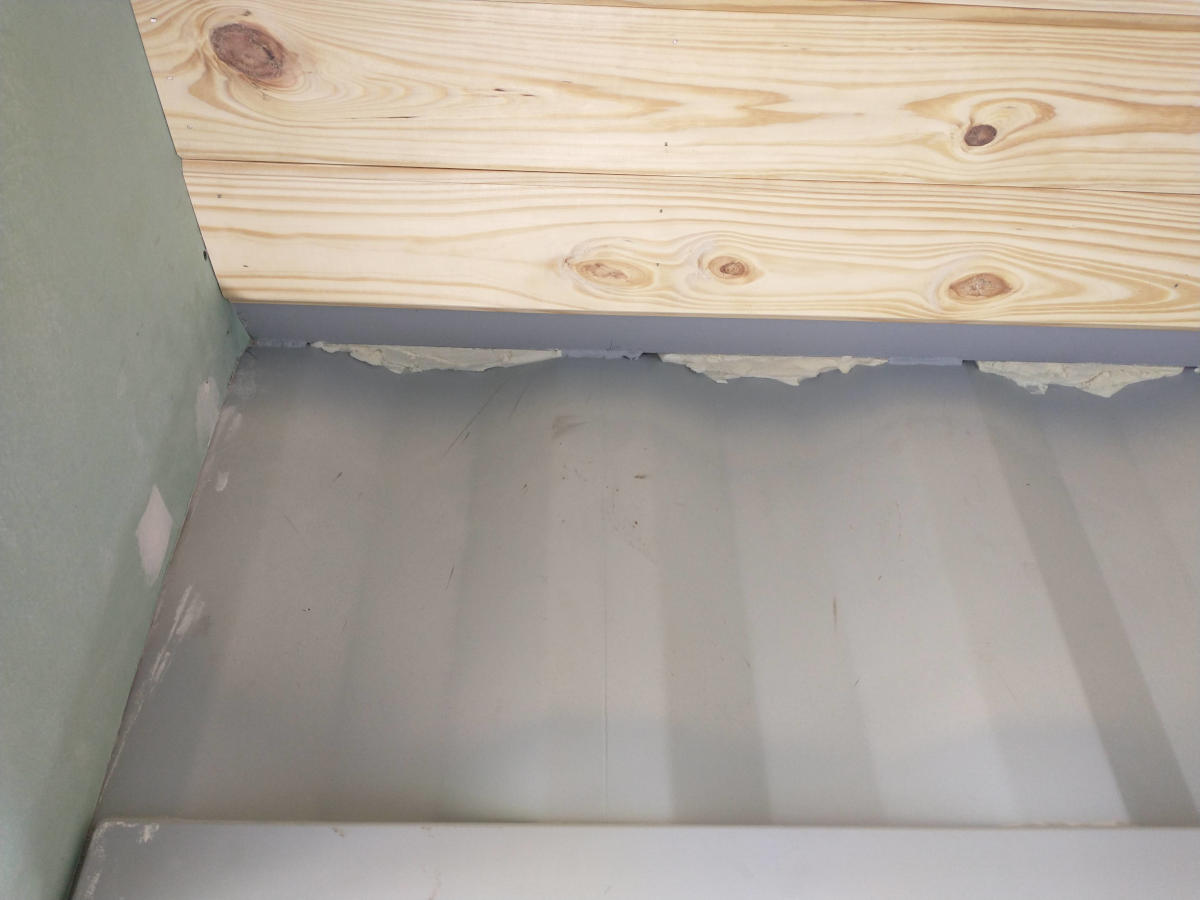

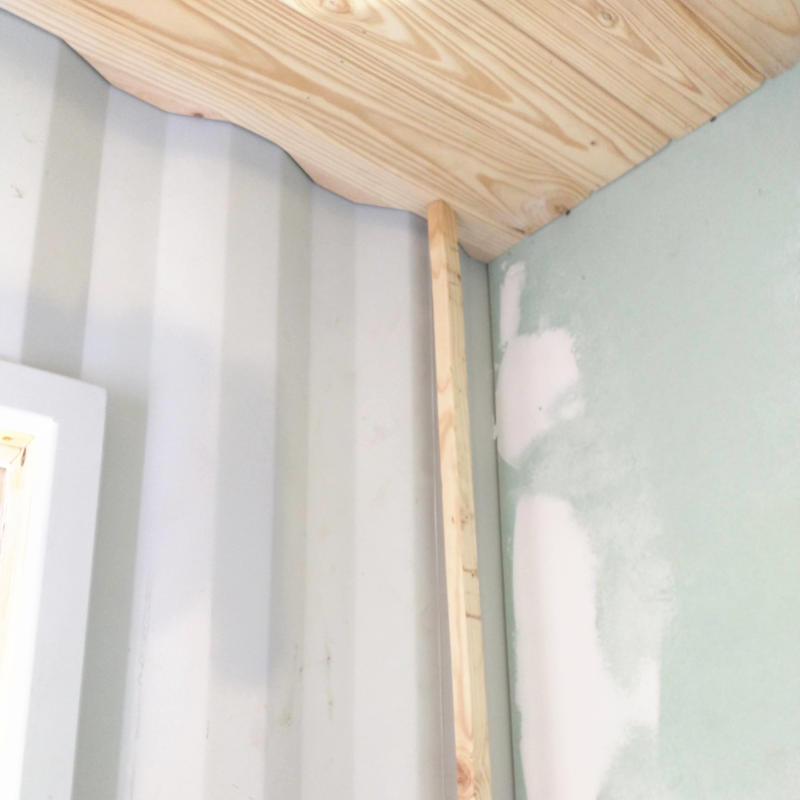
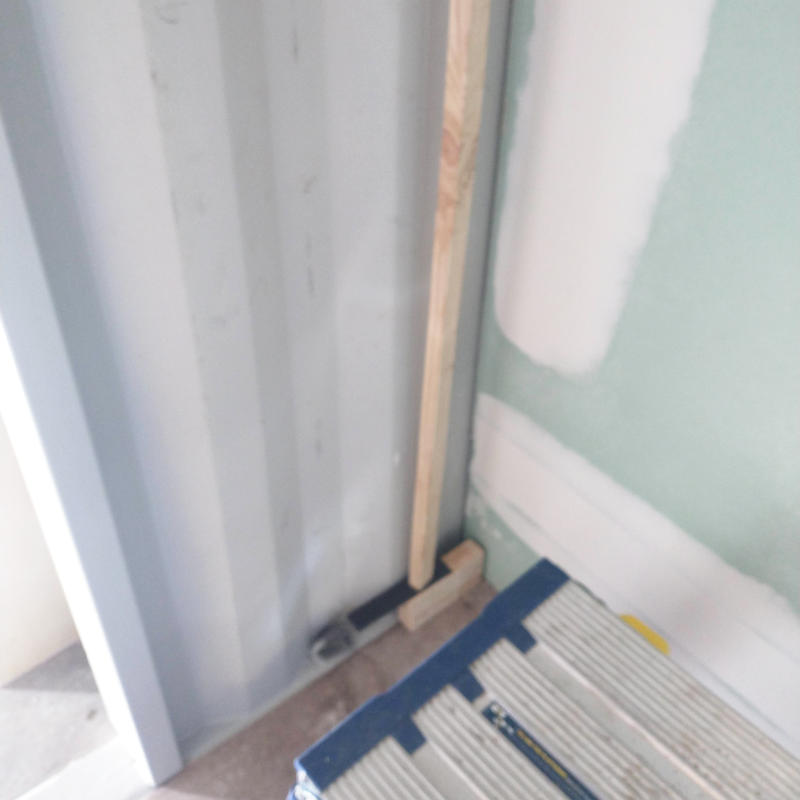
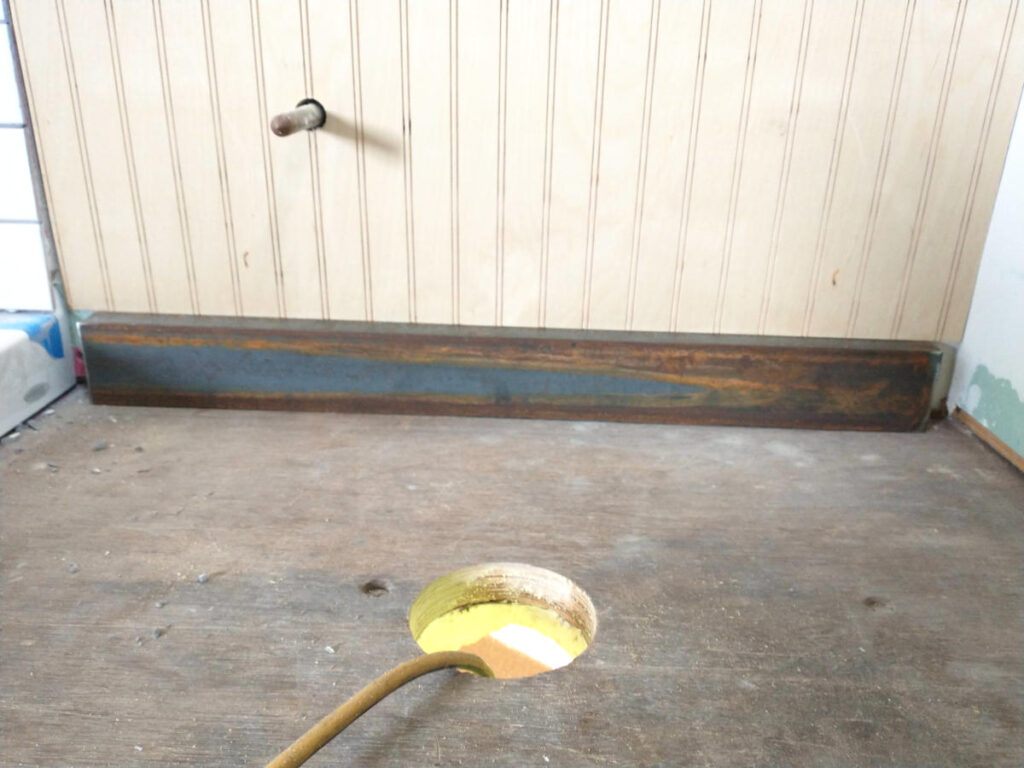
Don’t start I know the above and below pictures are not bead board, they are ceiling boards. Specifically pantry ceiling. Way back in May under the Bantry Rocked and Ceiled, I lead to believe that both the bathroom and the pantry ceilings were completed. And they were with exception to one very little board. See that dark gray flat portion of metal that is not the corrugated wall? That is the mounting bracket running the entire length of the ceiling. If you need a refresher, read Fabricated Beam, Part 2.

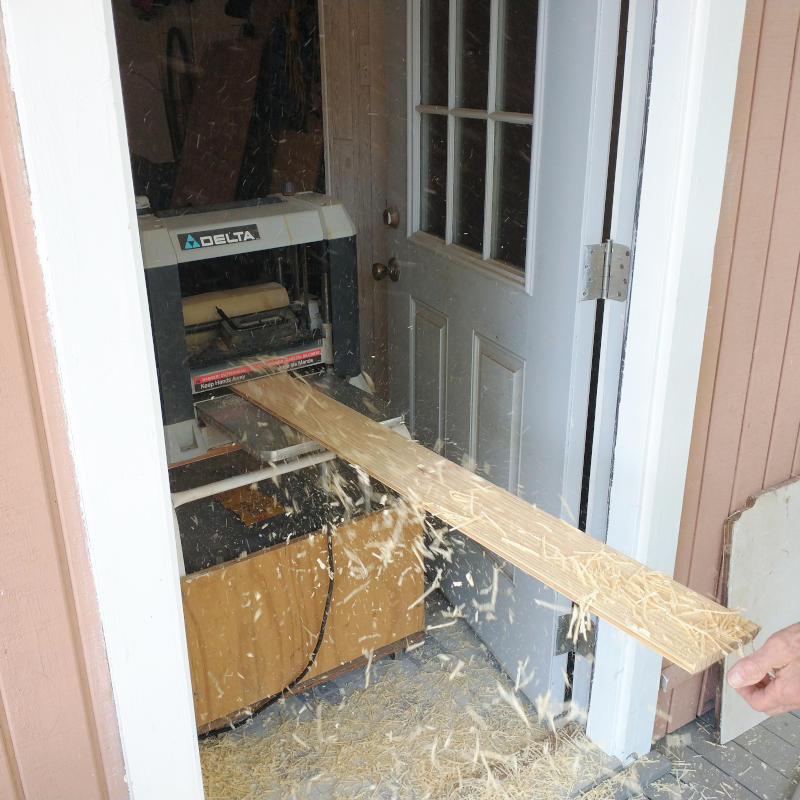
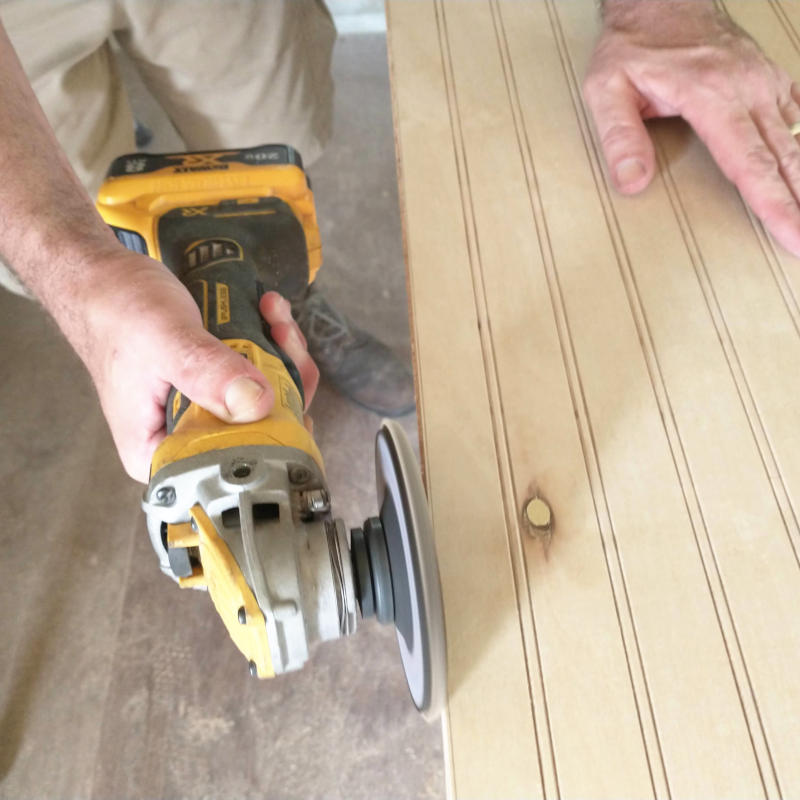
To attach the final piece of ceiling trim, we needed to shave off 1/4″ from the entire board. Not wanting to shave with a flapper disk on the grinder, the Planner called up the Sailor to see if his planner was still working. Bring it over he said. Five hours later, only of which 30 minutes was needed for the actual planner, we were back in business. Time slip is a real deal, especially at the Sailors. We stop by for a quick visit and every single time it is hours before we leave. Hours!
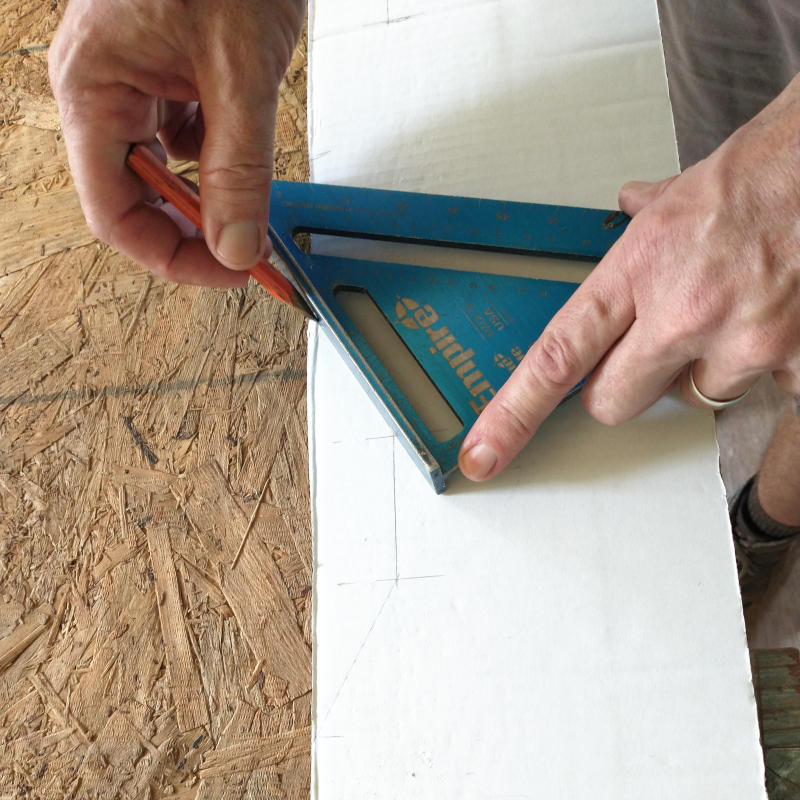
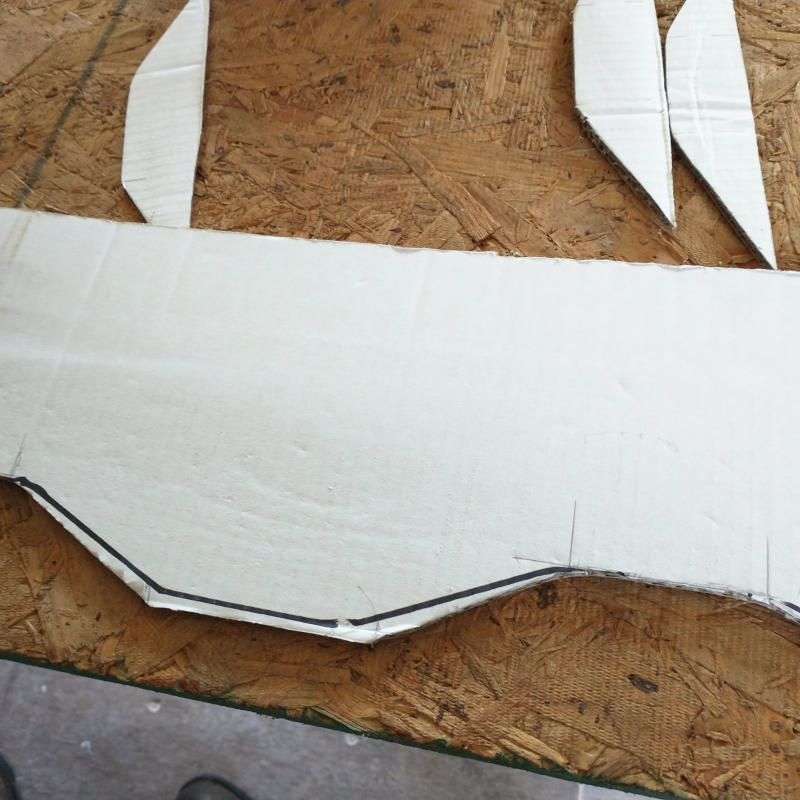
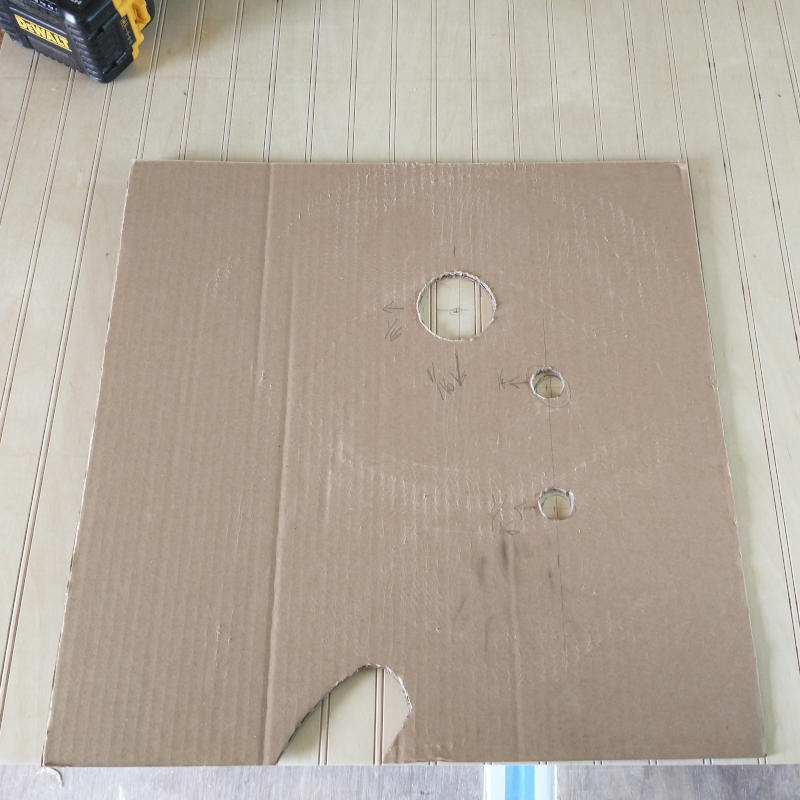
Planning the board was the easiest part of fitting the ceiling board. First a cardboard template was made measuring from the wall to the board and then transposing on the the template.
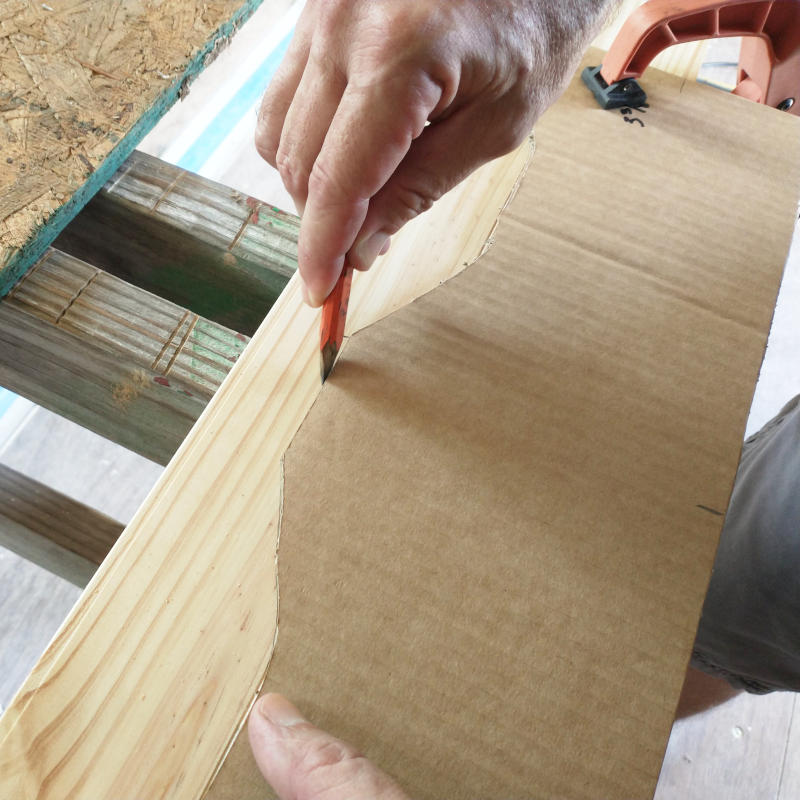
Twice. The first time I read the tape wrong by a 1/4″ and was too short on one single rib of the corrugation. One rib. Stupid one inch mark. With the second template fitted and secured into place, the angles were transferred onto the planned board.
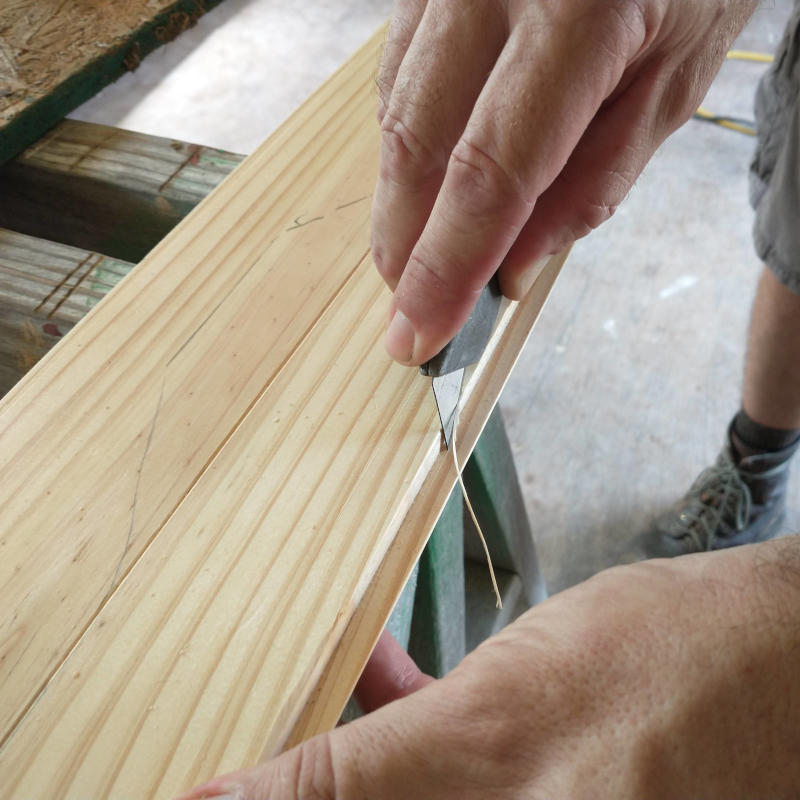
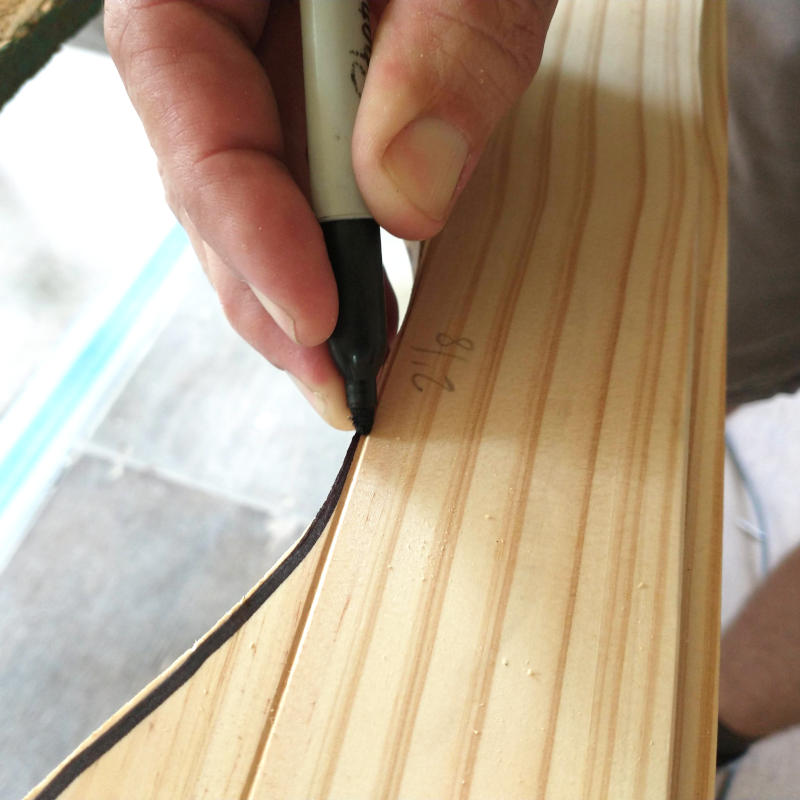
Trimmed and edges lined in sharpie helped see where the board still needed final shavings.
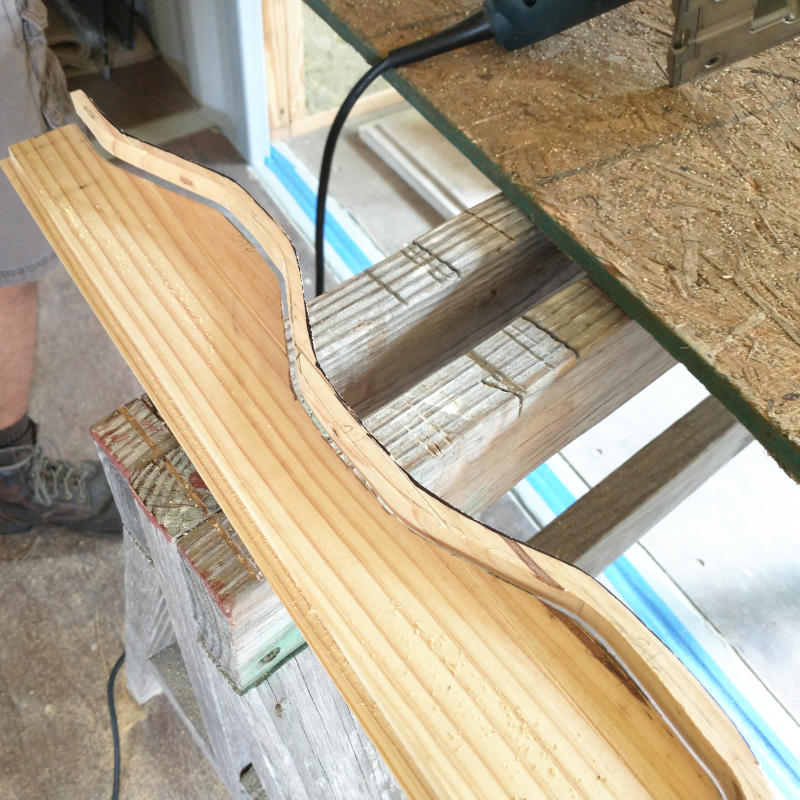
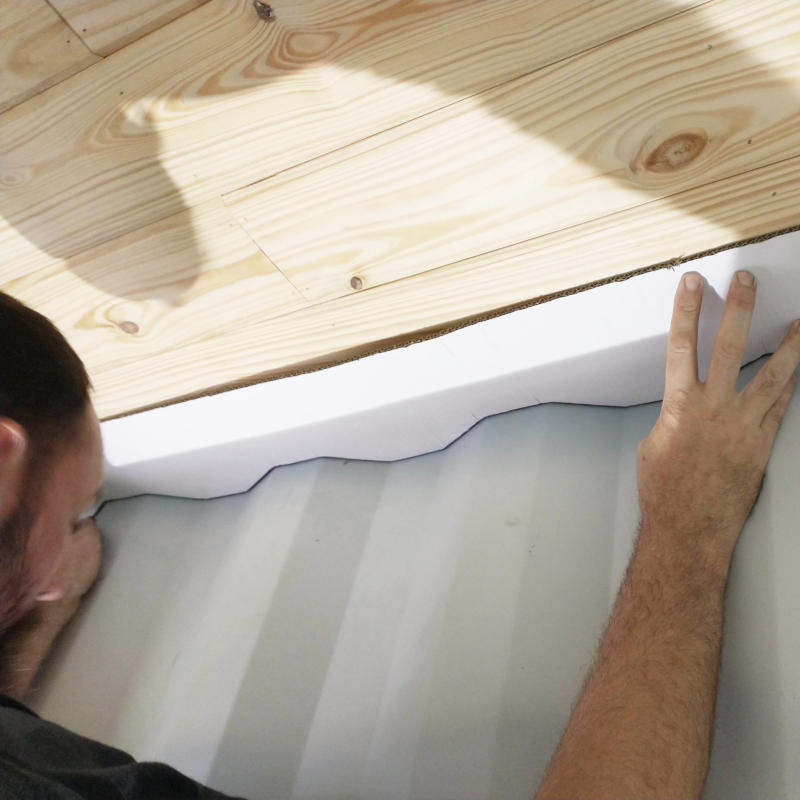
With the edge matching the corrugation, the distance of the tongue was cut off and the board inserted into place. Being unable to nail into the runners, the board was glued and held in place until dried.
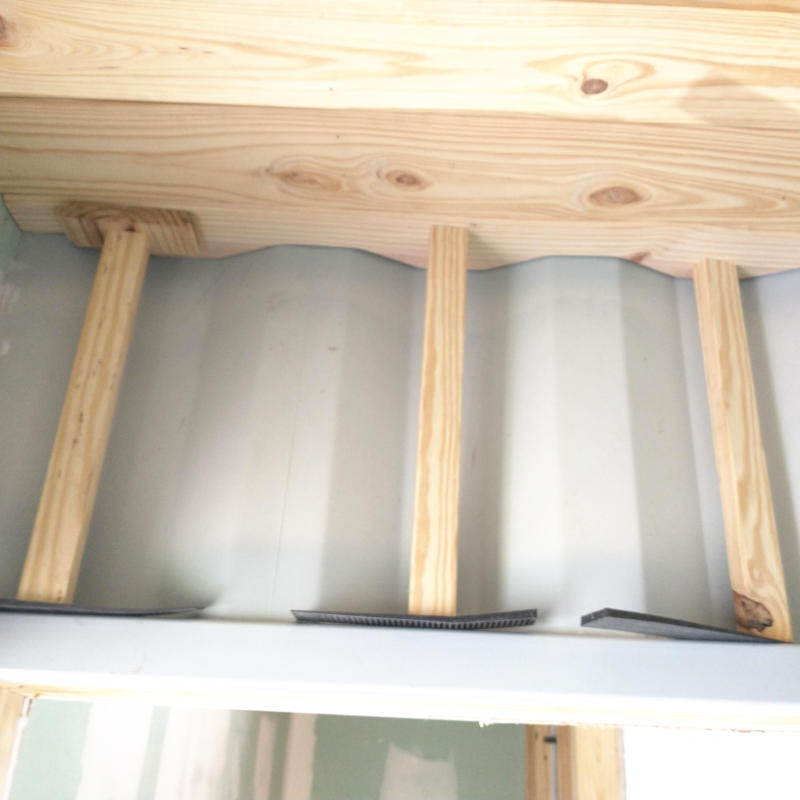
Pushing into place over the door jamb was easy. Pushing into place on the utility side was took some effort as the walls are too tall for a standard 2×4 and the floor too uneven for a 2×4. Using plastic door and window shims offset the unevenness of the floor and allowed the pressure to be adjusted individually instead of as a whole board. One pantry ceiling officially done. Promise.

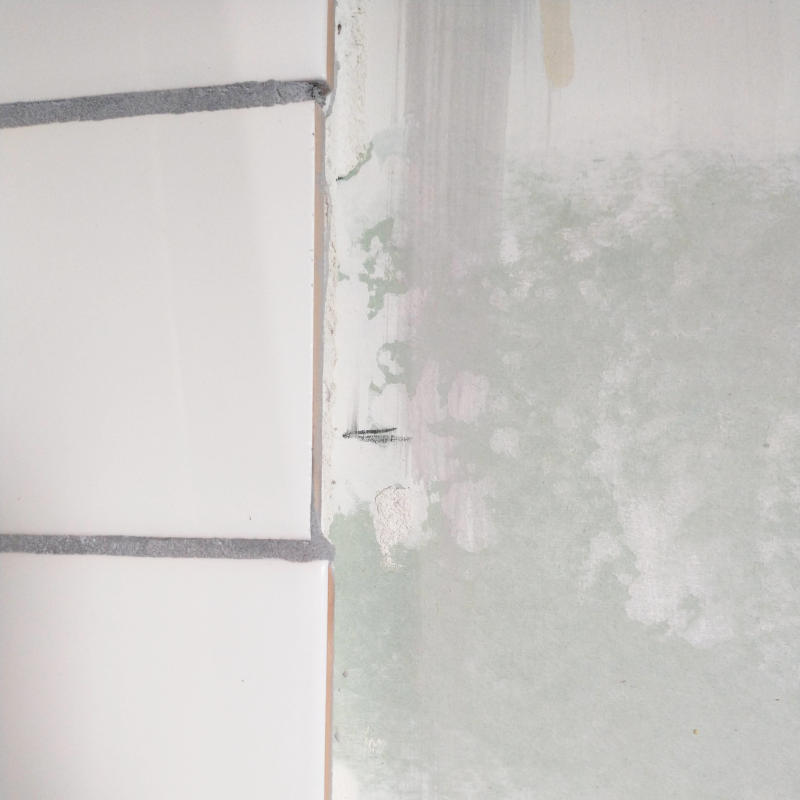
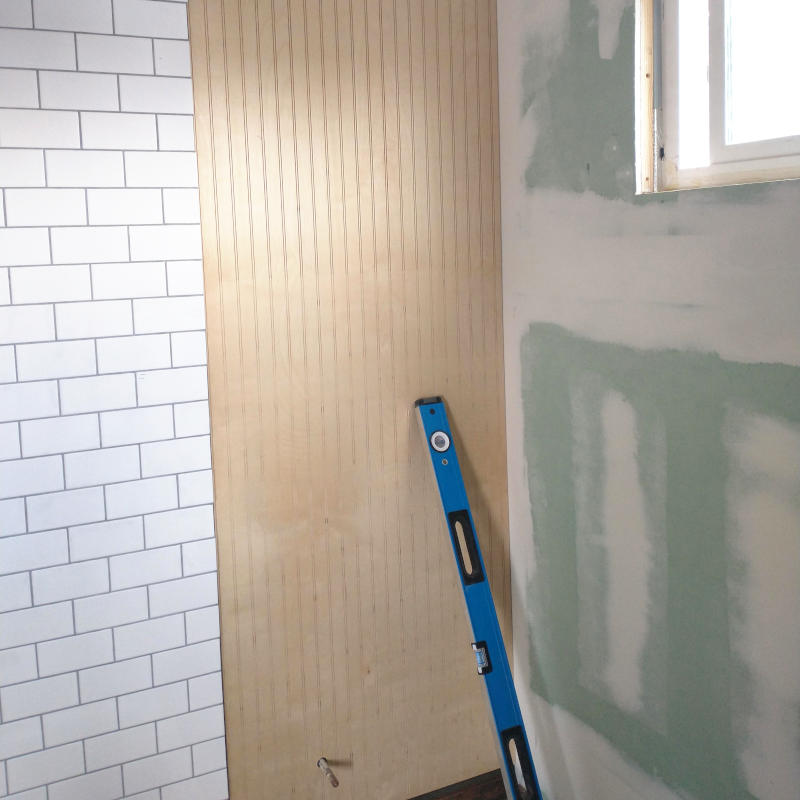
Before the first bead board could even be hung in place there was already issues. Apparently a couple of the half tiles were not cut to exact measurements. At the time, I didn’t think anything of the slight differences. Now the fingernail width inaccuracies are miles in difference. Miles. How to transition from the tile to the bead board has always been an area of unknown and I figured the solution would come as the boards were hung in place. Hopefully the solution will come soon. If not, I guess the gap could be filled with caulk. Gross. Tacky. A solution “professionals” take to cut corners and save them money. Oh how I detest caulk. Come on solution….
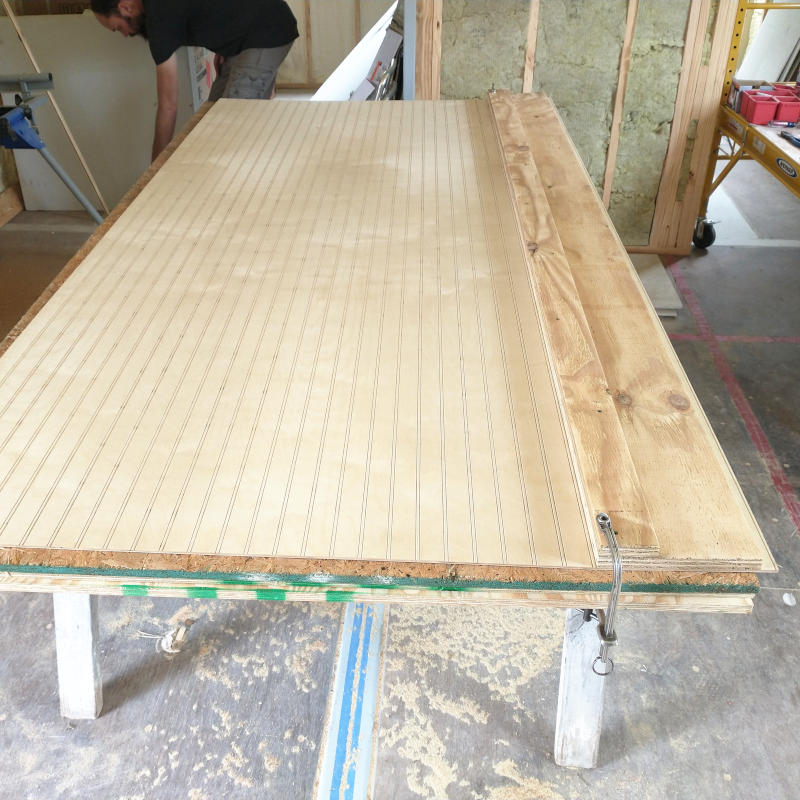
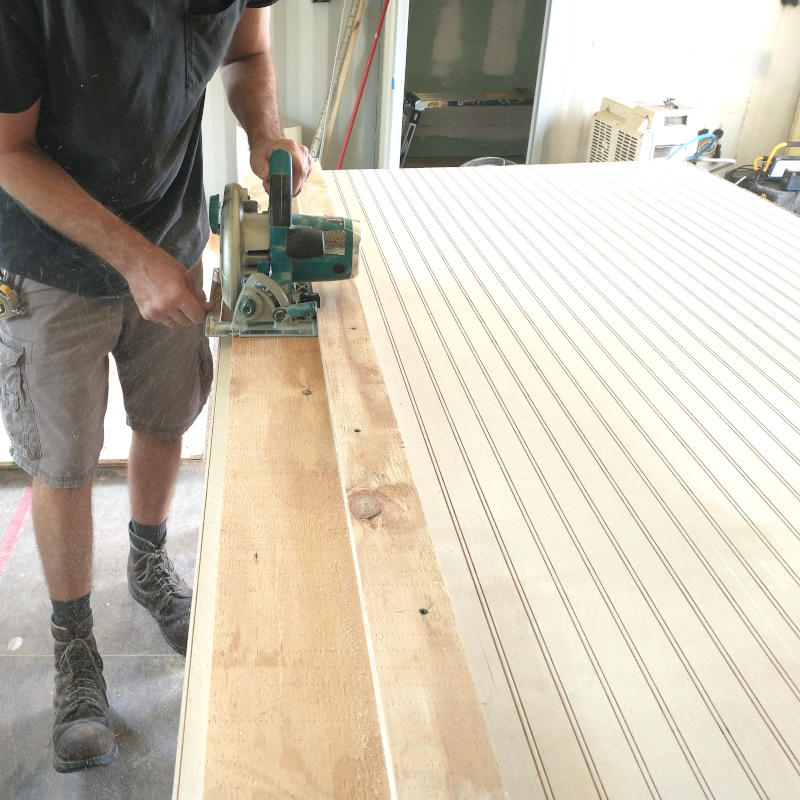
In the meantime a cutting edge was created out of 3/4″ plywood to allow the bead boards to be trimmed and then cut into correct widths. Every single bead board was cut just shy of one bead and were not cut evenly. This means that every board is not a true 4×8 sheet and will need to be trimmed to ensure the boards are straight. Bead boards that are not straight when hung and run slightly to left or right would send me straight to the crazy bin. Tiles run horizontally, bead boards run vertically.

Tiles run horizontally, bead boards run vertically. This is the way to happiness. Starting on the section behind the toilet was intentional as it was a small section allowing the Planner to get the feel of hanging bead board and what methods were needed before the first full sheet was completed. Bead boards are not heavy by any means, just awkward. Hold, line up the toilet plumbing circle, push into place with twisting or bending.
Oh, and the boards are too short. To ensure the boards did not shift while the glue set, a scrap piece of metal channel was used to secure bead board up against the ceiling.
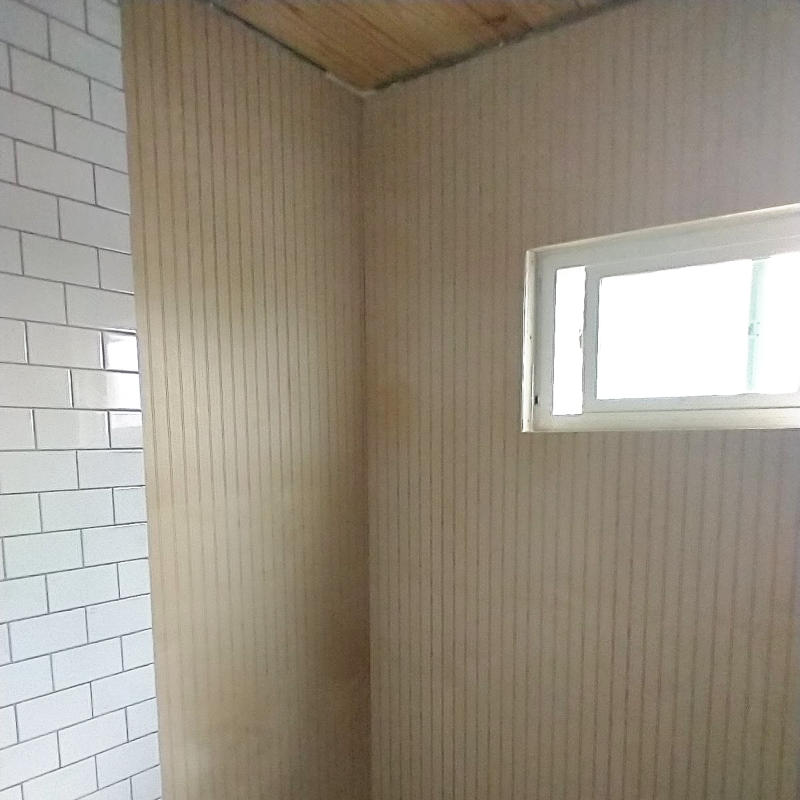
What to do, what to do. Bead boards are 4×8 and the bathroom south wall is just short of eight feet wide. Where to cut, where to cut. Two boards were trimmed so that the edges lined up directly under the middle of the window. Each board had to be trimmed on both sides. One side to match the middle edge, the other to fit in the space by the wall. Taking way longer than expected the results were worth the effort. Well, they were worth the effort to me.


Leaving the window openings bigger than needed ensured there would not be a mismeasurement issue. No one inch today! Seriously, who knew the tickler would be such a handy dandy tool?


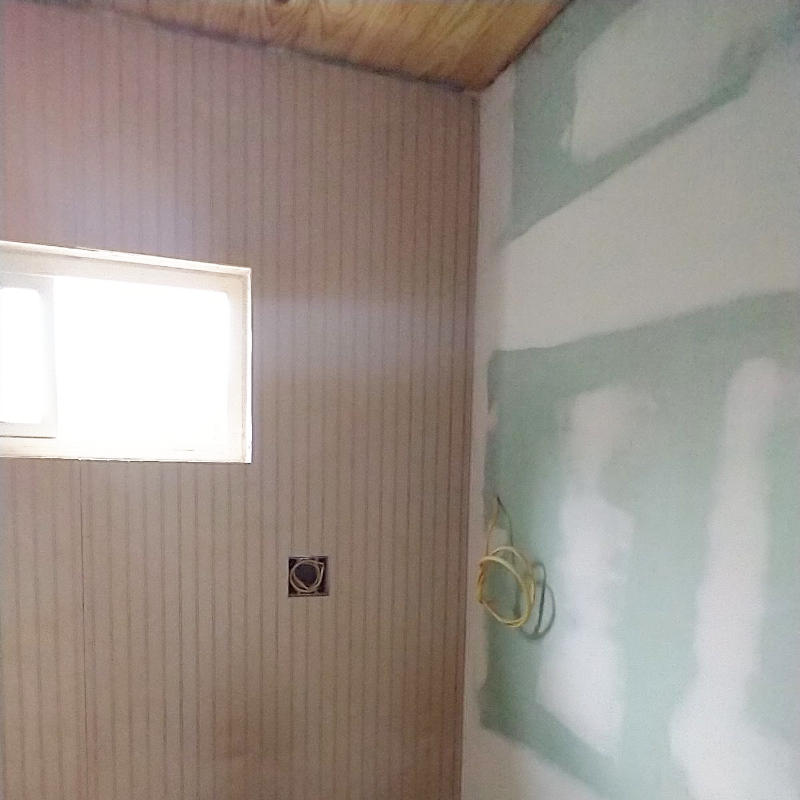
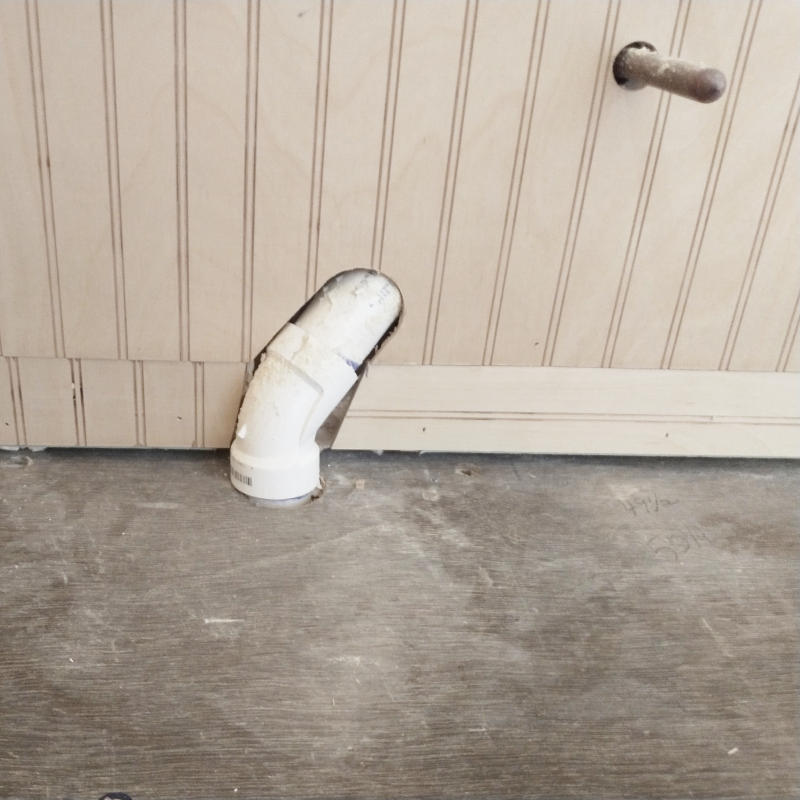
Probably the most challenging wall to install was the section behind the sink. There was the sewer pipe cutouts, the hot and cold water lines, and one electrical outlet. Starting at the bottom, the Planner used yet another template to test fit for the sewer and water lines. However, it was not as simple as create template and transfer onto board.

Remember, the bead boards do not reach to the floor so the template has to take the distances into consideration. What the pictures do not show clearly are the distance markings from the ceiling to the floor and the floor upwards. Measurements were figured not once or twice but three times. Nobody wants to waste an entire sheet of bead board.


Once the Planner figured his preferred method, the boards went up relatively quickly. They were straight up and down, fit snuggly into the corners, and didn’t have any gaps around the cutouts.


Not really needing my assistance for handing bead boards, I worked on applying shellac to the pantry. This could have been done afterwards but as you can see it is very hard to not get shellac on the walls. There was a conversation that the edges did not need shellac as they will be covered with trim so why worry about getting so close. Again, that is just another example of cutting corners that professionals to do save money. It’s like when they don’t paint the wall behind kitchen cabinets. Is the wall going to be seen? Most likely not. I don’t know, it just seems cheap, tacky.
Appling shellac is very therapeutic. Well it is for me anyways. Just wish I was neater in the application process. See that plastic bead bracelet? Shellac sticks very well to plastic beads.

Hanging bead boards is the same process as hanging sheetrock. Just lighter weight and easier to manage by yourself. Measure, cut, glue, hang. For such a simple job it sure does require a ton of tools. There are saw horses, a 3/4″ plywood base board, a fencing board, clamps, a skill saw, a grinder with flapper wheel, the tickler, a chisel, a hammer, a razor blade, an air compressor, and a nail gun. Wait, there is also glue, a caulk gun, and nails (galvanized not stainless steel as the wall will be painted). Good grief there is also a ladder bench, a frame channel (not normally needed but helped secure the boards upwards), cardboard, pencils, tape measures, and a laser. For the love of pete I forgot the square, a sharpie, extension cords, and straight edges.


Tools, especially the correct tools, do make a more professional job. Sometimes they even make for an easier job. Bead boards are such a wonderful improvement over sheetrock. Raw, unstained plywood and the two rooms already feel like a home. Aaaah.

Just don’t look at the space below the bottom of the full sheet where drop sections of bead board were scabbed in to fill the void. Just keep telling yourself that it doesn’t matter in the end there will be 4-6″ base boards and nobody will be the wise. Cheap. Tacky. Unprofessional. I wonder if they make 4×10 bead boards? Oh well, these are the only two rooms with bead board. The walls look great at eye level and only a mouse is eye level to the floor. Since there is a no mouse in the house policy, then I guess the walls look great.