
Bantry Trim and Paint
Trim boards and paint. That was plan for the week. Nothing is ever as it seems. Nothing ever really goes as planned. Nothing.


Before trim could be installed windows had to be cleaned of rubber gasket materials encompassing every corner. I guess the manufacturer thinks all window trims are placed at the windows opening but I like the look of trim, window base, then glass. Removing this material was so, so time consuming. Chemicals could not be used as the windows are vinyl. A paint scrapper was used with a very rounded almost blunt edge. This one window took almost an hour and there are five more to go. UGH. Next a table saw had to be borrowed as the 2×4’s being used for trim would need to be grooved in order to fit over tile and cutting proper angles. Off to Not the Doubter’s for his table saw. Wanting to play with the settings and get a feel for the nuances, the very first trim board completed was the bathroom window. It was a simple cut resulting in the need for a new blade. Look how chipped the edge was.

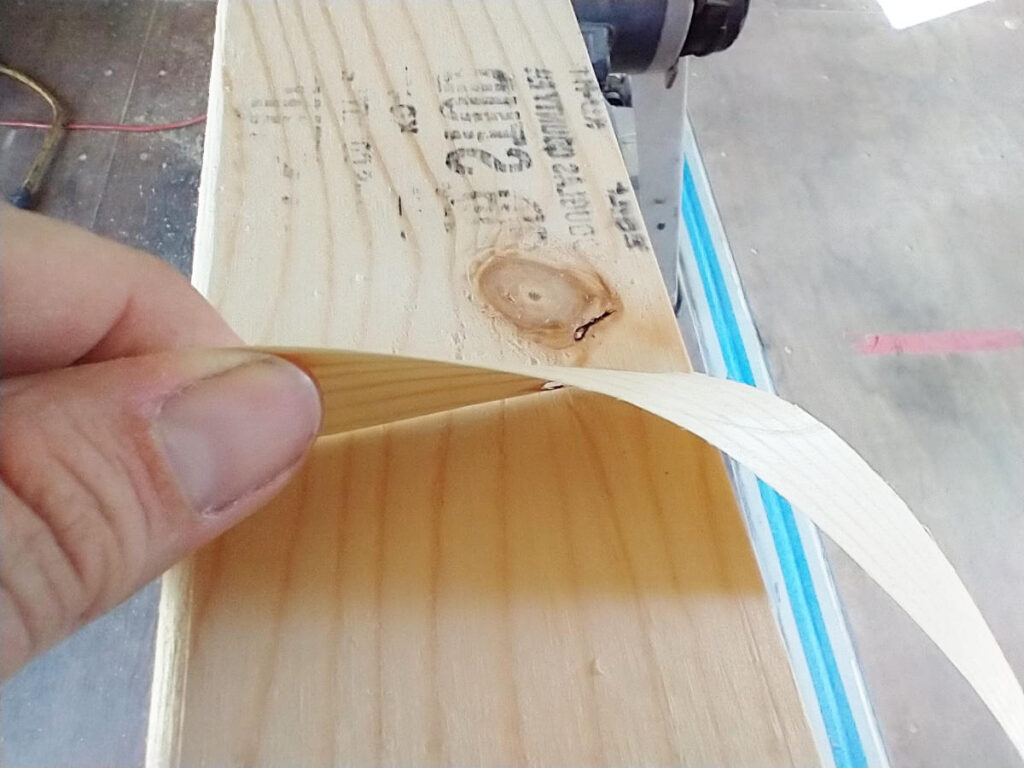
Table saws are for the construction trade. Jobs that are slam, bam, thank you mam. Cutting 2x4s, ripping sheets of plywood. They are not for fine woodworking. There are table saws for fine wood working but not the one BIF borrowed. Stored at the back of the barn for 15 years, covered in 100 year old cob webs, and rusty on table face was the table saw borrowed. Beggars can’t be choosy and once cleaned and polished it worked prefect for our non fine wood working needs. And look, it could even trim boards to a hairs width once it was given a new, proper number of teeth blade. Let the trimming commence.
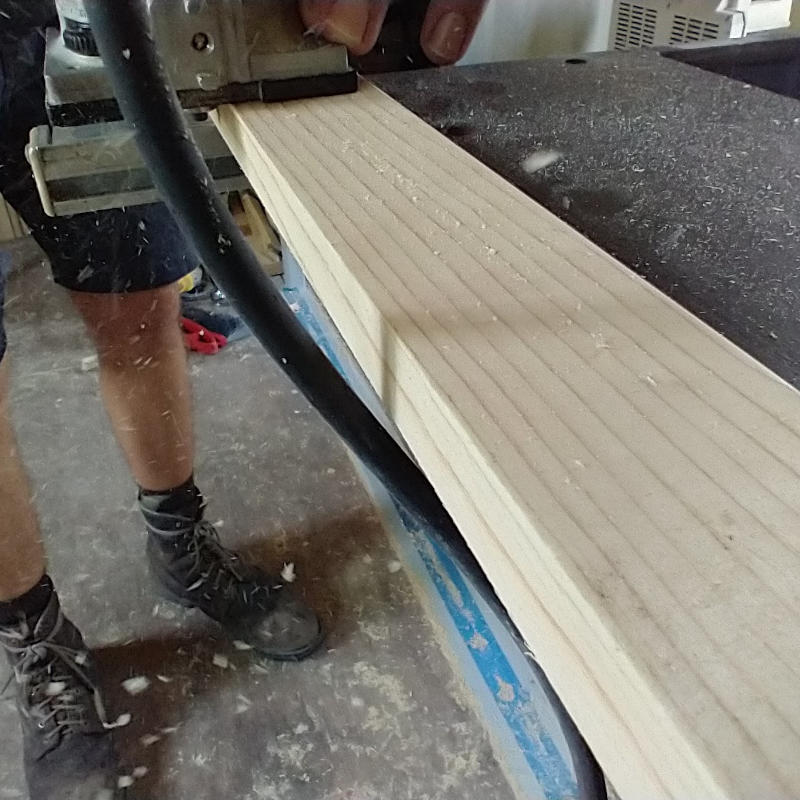

Boards were cut to length and the router gave them the desired rounded edges. Many samples were tested with the router before determining what edge profile was desired. This is a simple dwelling with simple style and an edge just off sharp corner suited our needs. Round enough not to bit into hands or bruise when bumping into door jams.

A quick sanding with 120 grit sand paper and then 220 grit, the bathroom tile trim board was ready to install.

And what about the missized tile? What was the solution? Nothing. I decided it was such a minor amount it would hardly be visible once the shower stall was in place. Liking the results when nailed next to the tile, the shower/washer/dryer wall was trimmed.

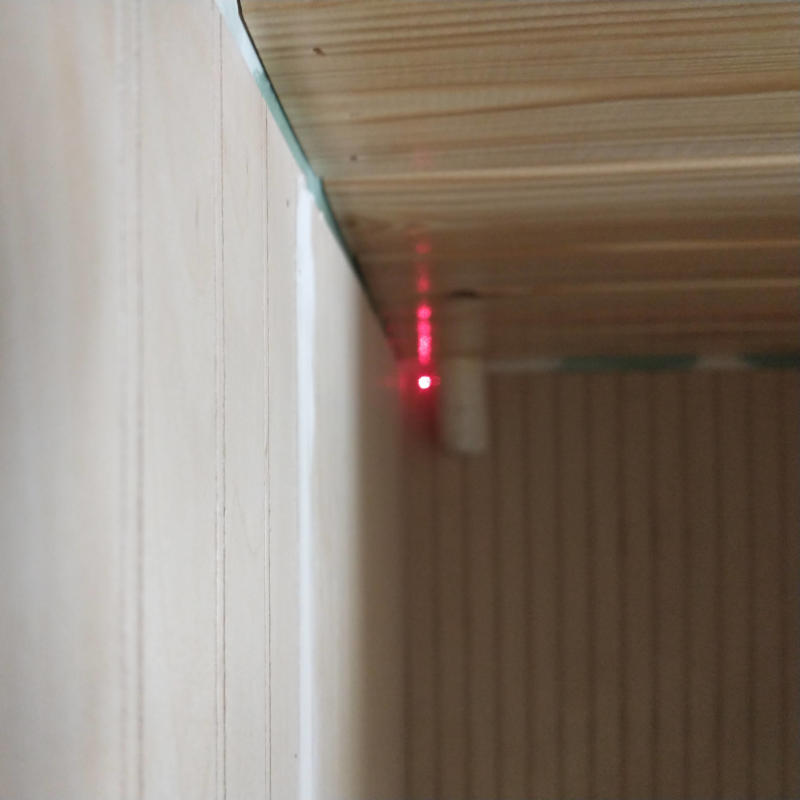
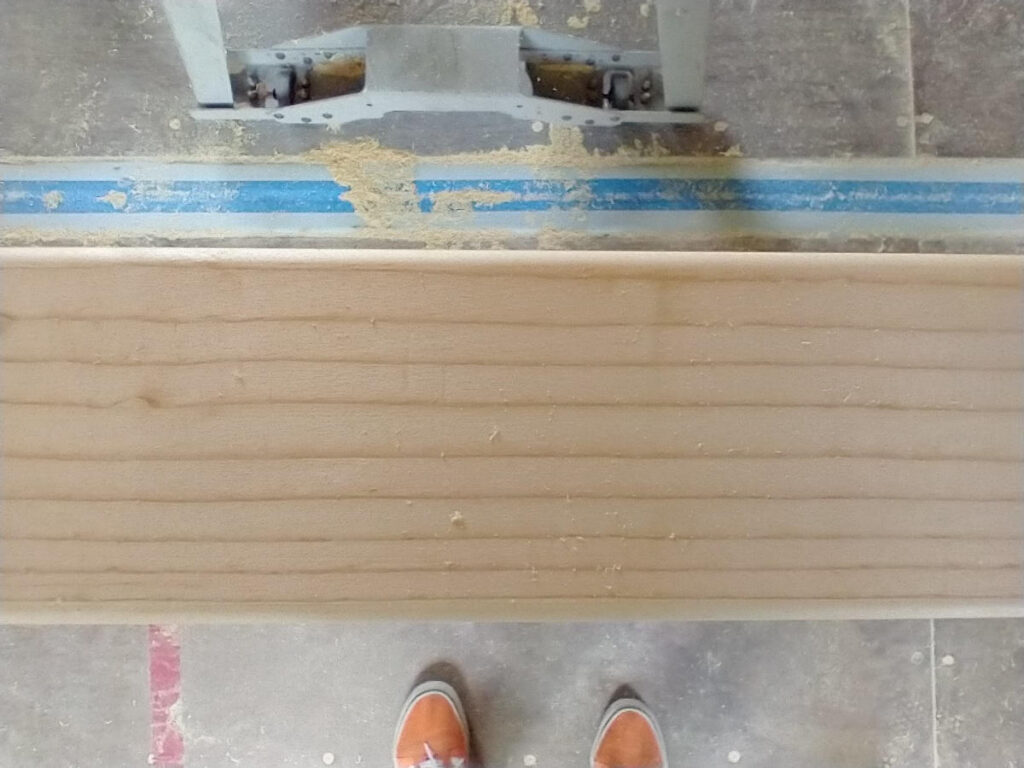
Needing precise measurements are important when installing trim. We found the best way to measure was with a laser reader. This ensured there was no slack in the tape measure over long distances and only required one person. Two people were still needed to hang the trim for the first few nails. After that, the first person continued nailing the middle section, the second person could measure and cut the next trim section.


Windows, door jams, and ceiling/floor trim are easy to measure, easy to install. It was the width that gave us pause and corner styling that gave pause. Should the corners butt into each other or should they be cut angles? What size should the trim be? Six inches seems excessive, four clashed with the width of the ceiling boards, three was size of the window trim and that was based upon spacing issues around one of the windows in the kitchen, and two was larger than the bead board spacing and just over half the distance of the ceiling boards.

So many three foot sections of trim boards in various widths were used to determine what look good. Well, what looked good to me. The Planner didn’t really care so long as it wasn’t fussy. Yes, because I am a fussy kinda person. Floors will be 4″ trim, windows will be 3″ trim, and ceiling 2″ trim.
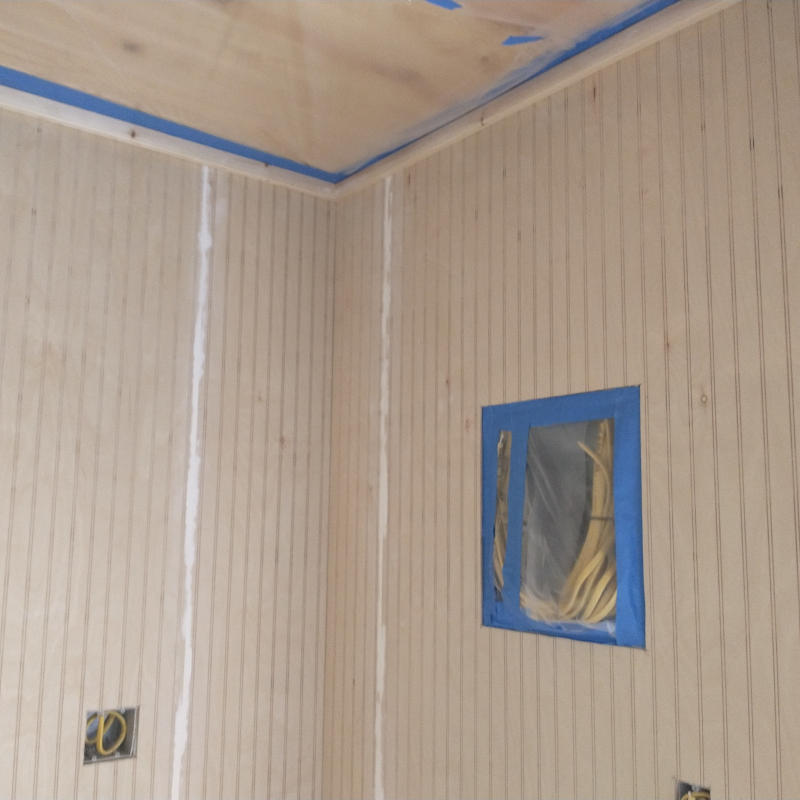
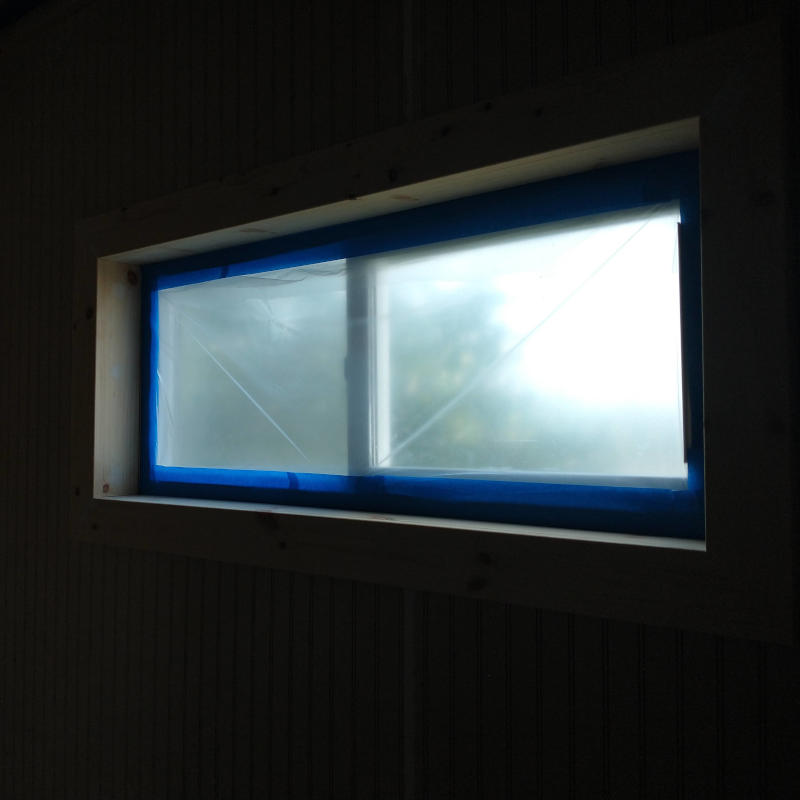
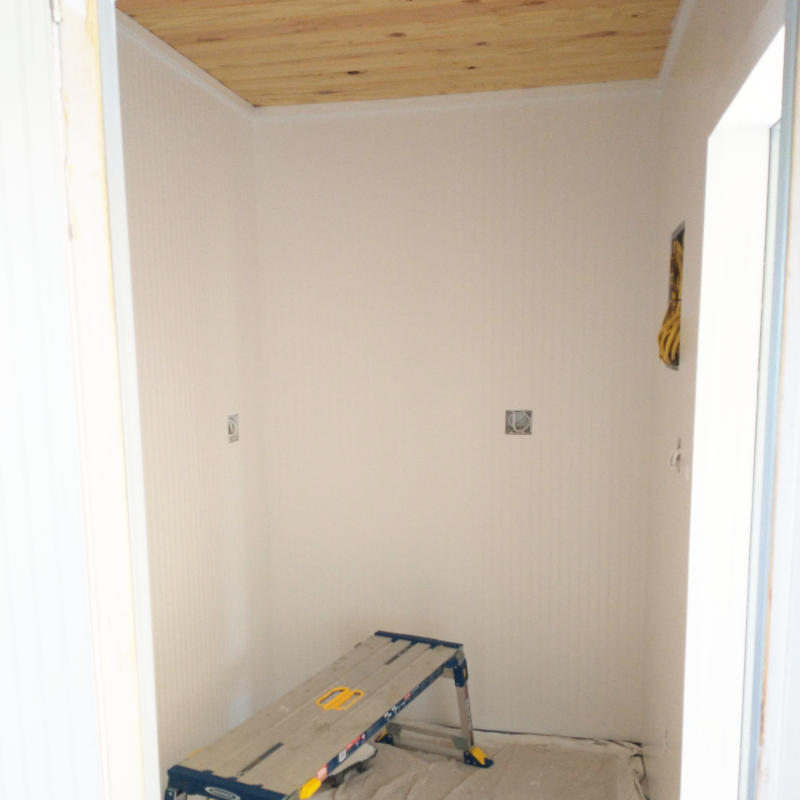
Trim installed, bead board butts smooth. Tape at ceiling edges and around electrical panel. Electrical outlets are not covered as they will be trimmed and covered with a plate anyways. Windows taped at edge, then covered in plastic at plastic edge giving the tape a three inch width. Paint on bead boards good, paint on windows is a mess to clean. Not even sure how to remove paint safely from the vinyl window trim. Let’s not forget how much work I already put into cleaning the windows.
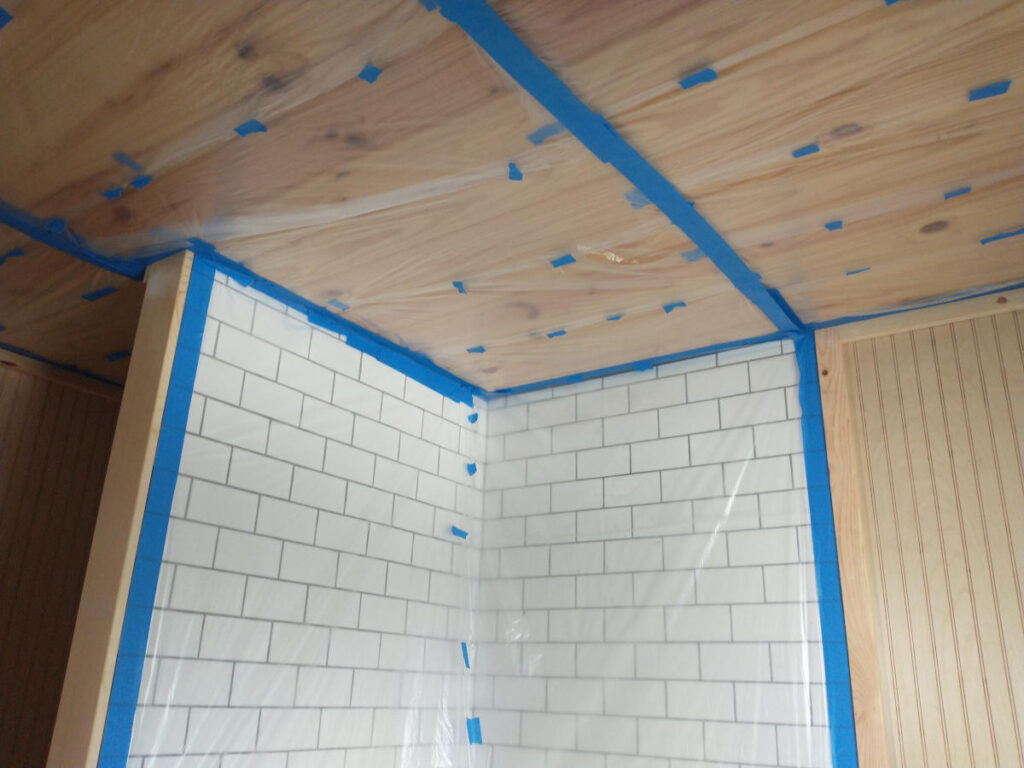
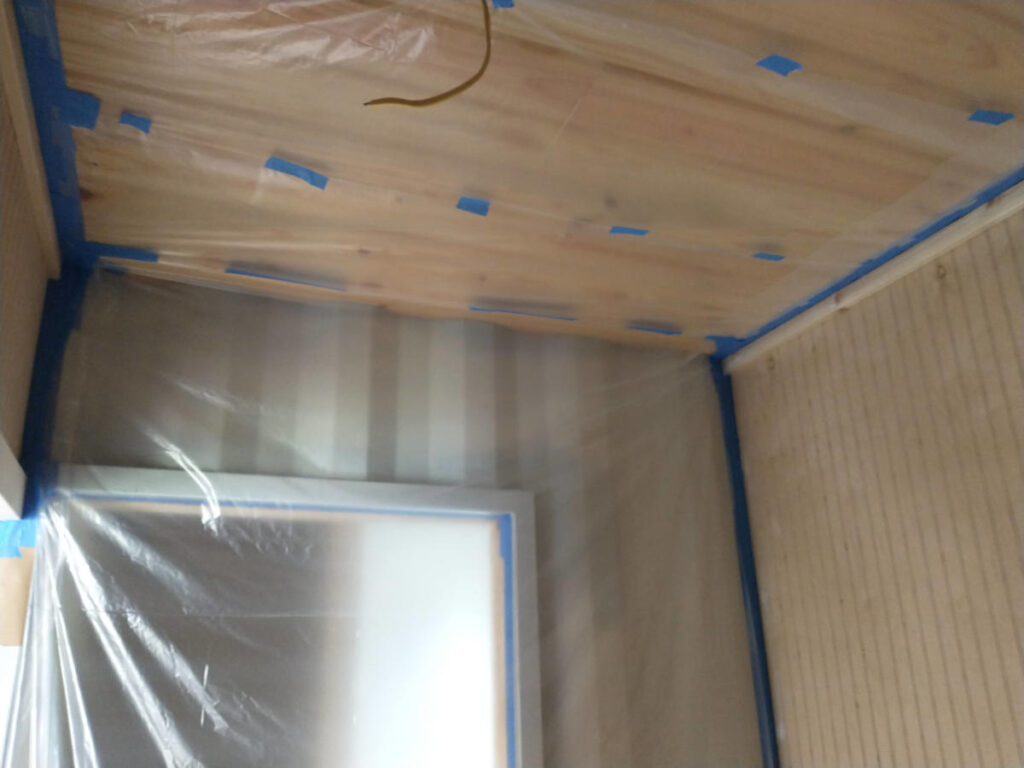
Tile, ceiling, and metal walls were taped and sealed off. Since we didn’t have access to one solid section of plastic sheeting, the strips had to be spot tapped along the way. The ceiling has chicken pox scars.


All that prep work. Miles and miles of tape to protect the ceiling. Miles. For all the good it did as the sprayer pushed past the tape into the ceiling board groves and between the gaps in the plastic wrap. So much paint to remove from the ceiling. Luckily the paint removed easily with hot soapy water as it was still fresh without damaging the shellac. But let me state I was already prepping my brain for a white ceiling. All white like some mental institution. So much for a homey bathroom.


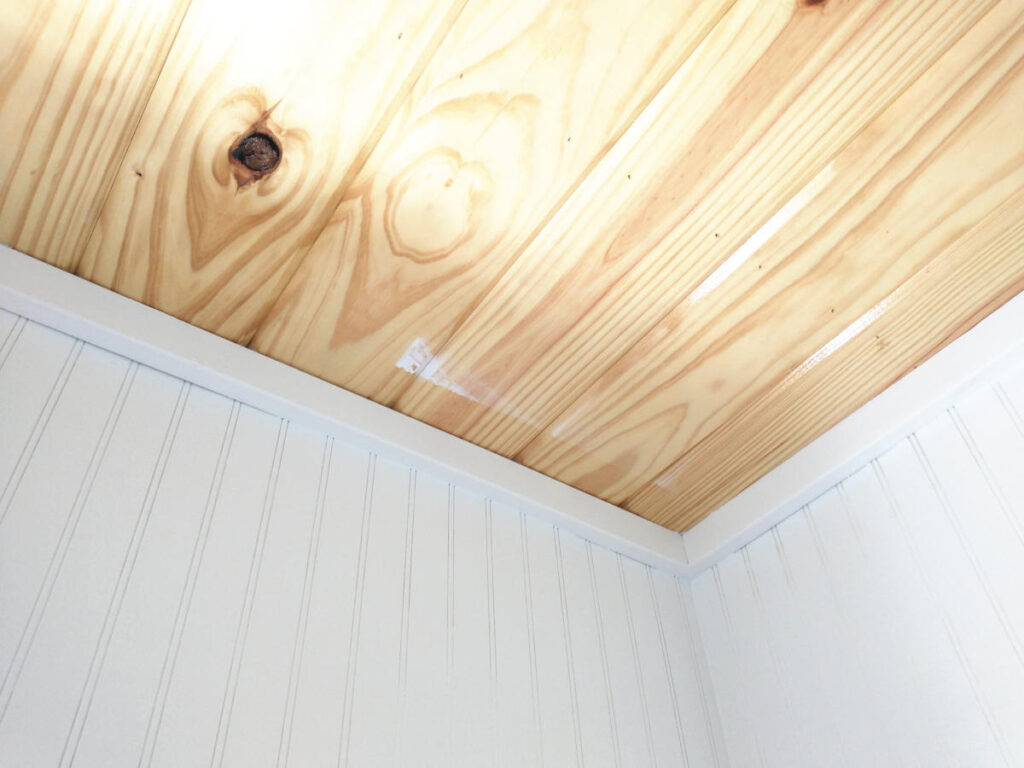
In the areas along the ceiling where the scrubber could not reach the paint the Planner decided adding another smaller trim board would be the easiest remedy. Once he wood taped a small test strip to the ceiling it became apparent how bland the one ceiling trim board looked. Looks like some fussy was needed.
While laying on the floor staring at the ceiling trying not to cry at the unfairness of it all, an equally big problem was discovered. Gaps between the trim board and the bead board. As it turns out, the bead board was not entirely flat with the world as there is some spacing showing through.


So not only am I fussy I am tacky as the only way to fix this was stupid caulk. Stupid caulk, how it worked so fabulously, too.


Fixing the one gap in the bead board lead to fixing gaps in the corners that showed up only after painting. Caulked was placed the entire length at all corners. Stupid caulk. Not two days later after the paint was good and dry it was noticed the bead board could use a third layer of paint. No way in all of the good green earth was the plastic rodeo being attempted. Nope. Not. Going. To. Happen. Good old, slow, easy to clean up when done, paint roller with 3/8″ nap.
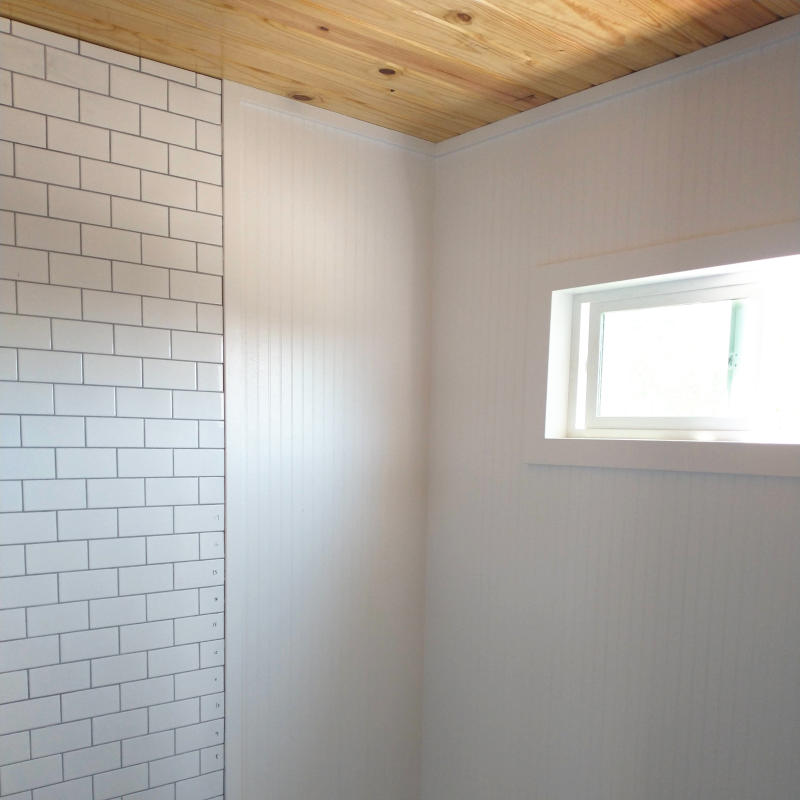

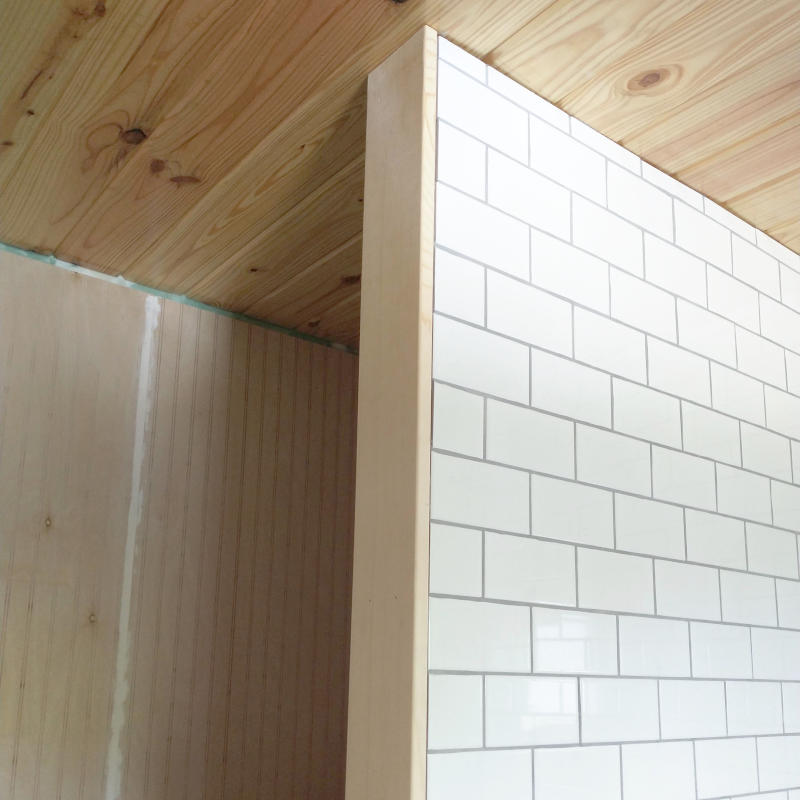
Not only did the third layer fill in any low areas of paint, the nap applied a much needed texture to the bead board to offset the natural unevenness of the board. Walls are not glass smooth and they are going to be difficult to wash with the texture but the texture and color is wonderful. Smooth ceiling, smooth floor (eventually) slightly textured walls (less than orange, more than sand). It is perfect.

And for those who kept telling me white was a bad color for a room, let me say this snow white is just what the room needed. Colored walls are not for rooms this small, it would be claustrophobic. White horizontal tiles with white vertical bead boards makes the room feel open and bright while the floor and ceiling keep the room from being sterile. For those who are worried about color, just remember the chicken coop is lime green, the Work Box is vibrant green, and the Dwelling Box when done will be safety blue. Color will come later. Promise.