Kid Box Move Out
Taking our traditional holiday camping trip allows everyone to unwind. Working full time jobs and building a home is exhausting. Without the reset I think I would go crazy. This year, however, I was waited until the very last minute to decide if the camping trip was a go as I was enjoying the process on the Dwelling Box very much. Somewhere along the way, maybe while hiking or sitting in the chair reading a book while the Kid fly fished with his brand new name brand fly rod, the Planner states out of nowhere “I think when we get back we will finish out the Kid Box”. Said with a calmness as if we had previously discussed this matter. “Um, okay?”, what else should I have said????
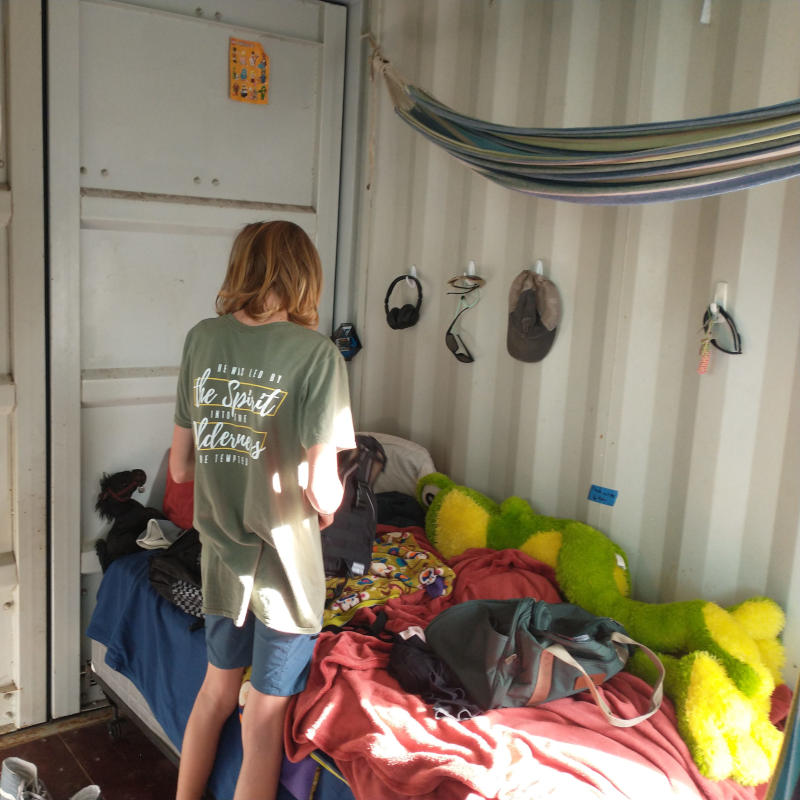
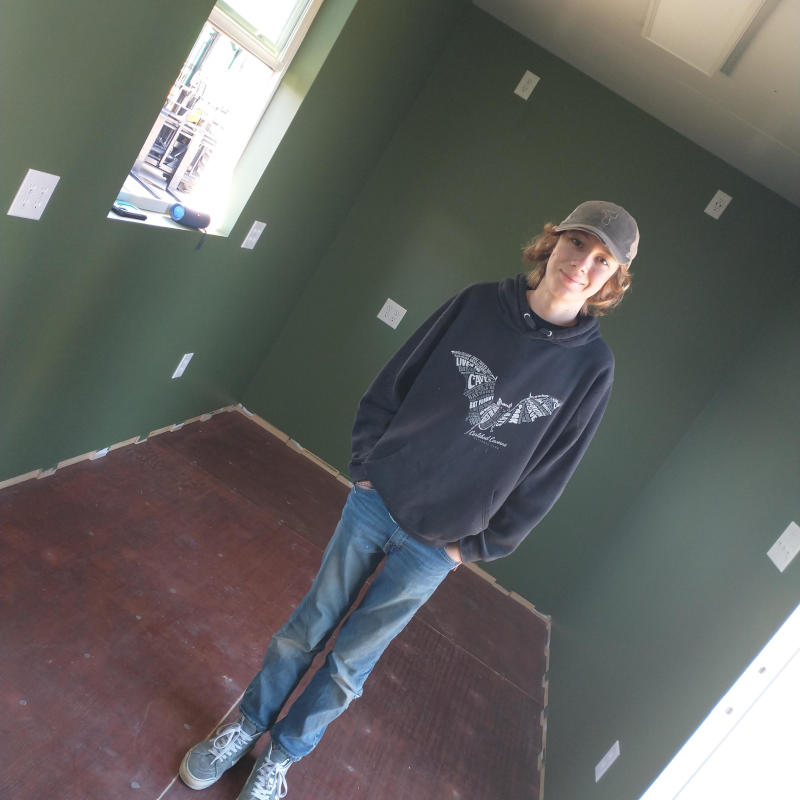
Joking, the Planner was not. We returned on a Thursday and on Friday the Kid was kicked out. Before any movement could be made, the Kid was told to clean his room. Oh, the drama. What about my LEGOS, my hot wheels I have not played with in four years, my three thousand various unfinished projects, and my 42 stuffed animals? Box it up and move it out. Didn’t I mention last week being16 was the official date at which kids are no longer kids but mini adults? Besides, you can return the hammock back to the ceiling and can still hang the kayak, fishing poles, and bicycle from the wall.
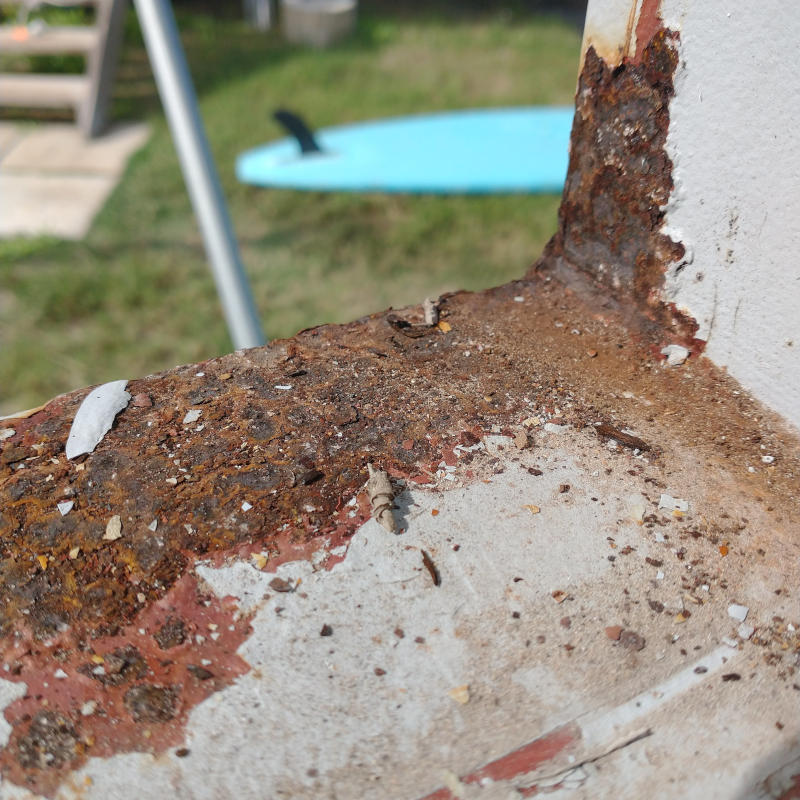
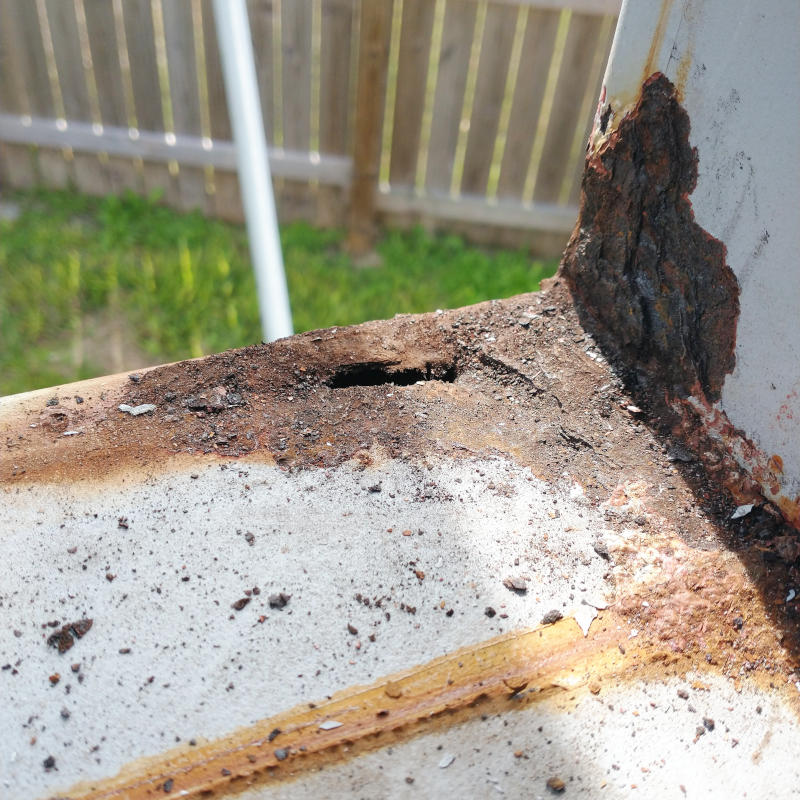
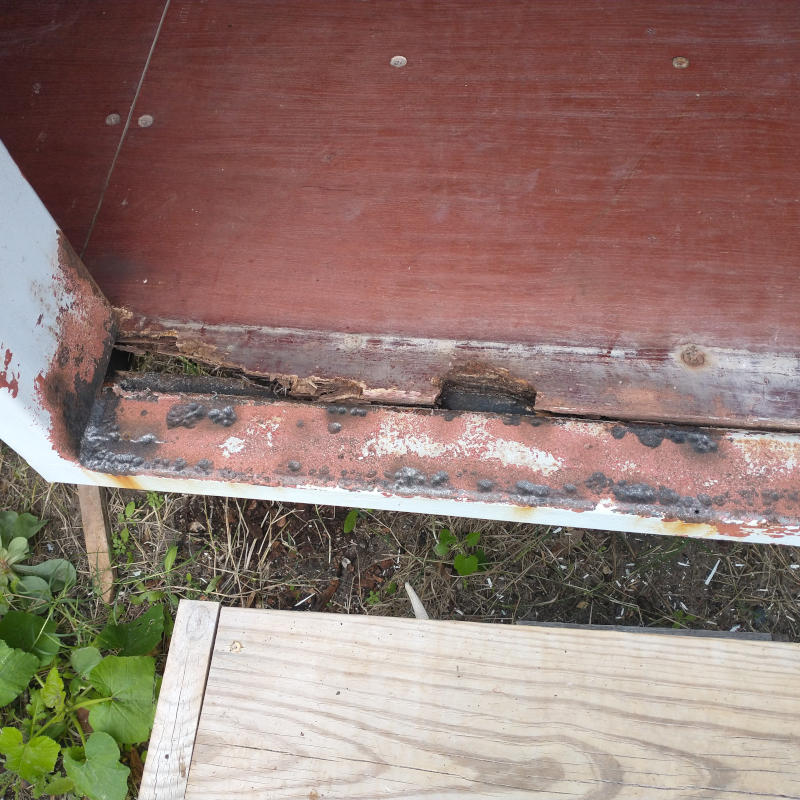
Oh, the rust. Every single window ledge was rusted. Rusted to pits. The door jam had rust three inches up the side and gaping holes to the world below where the wood had rotten out under the door jamb. Gross. Gross. Gross.
Rust was needle scaled to remove chunks leaving beautifully pitted ledges, if you were a gold ball that is. Ledges were sandblasted to white clean, holes were repaired, and rotten wood removed.
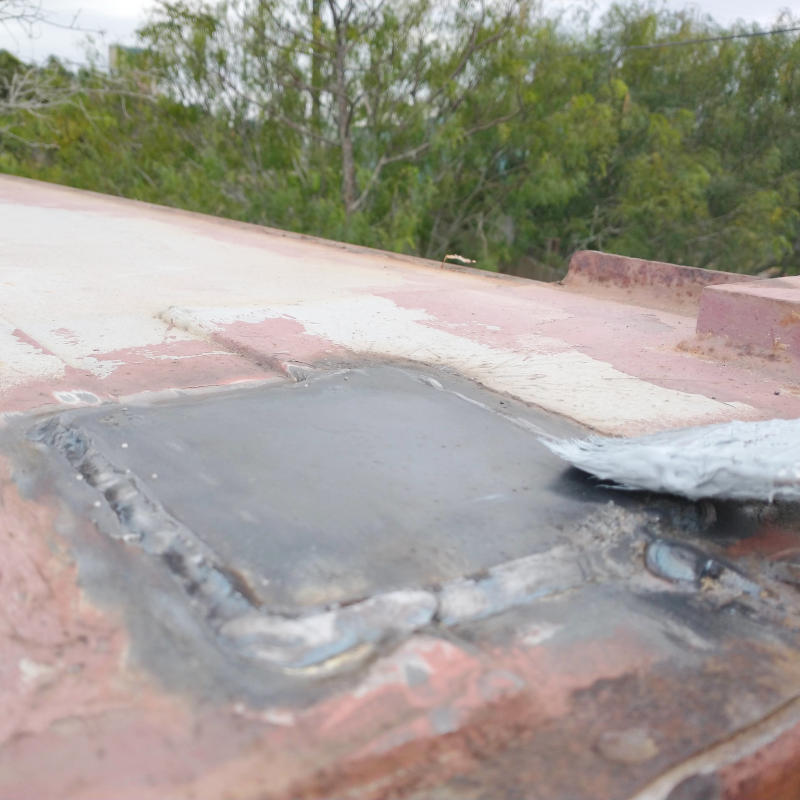
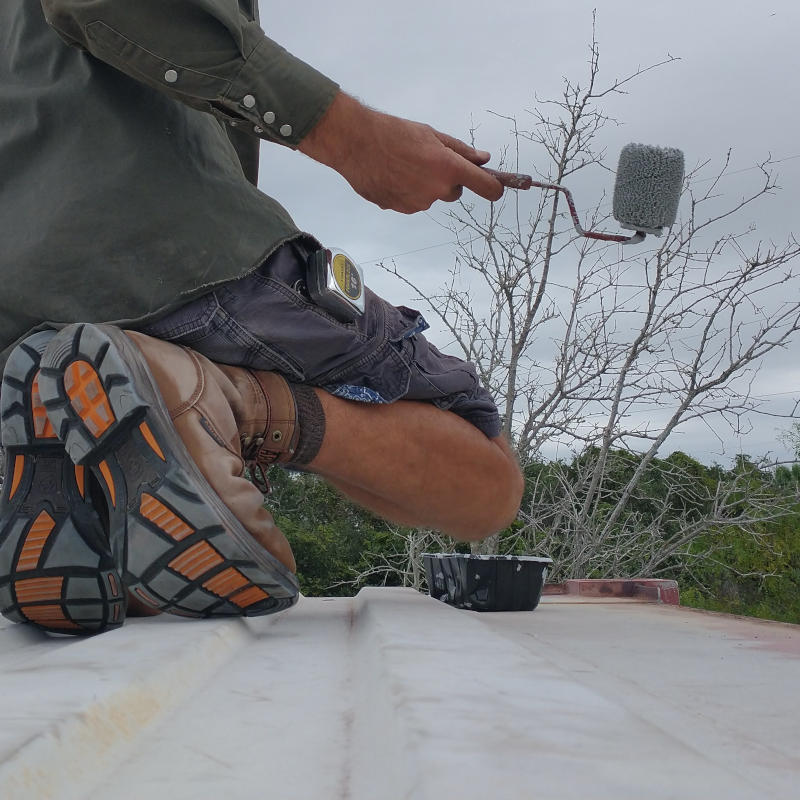
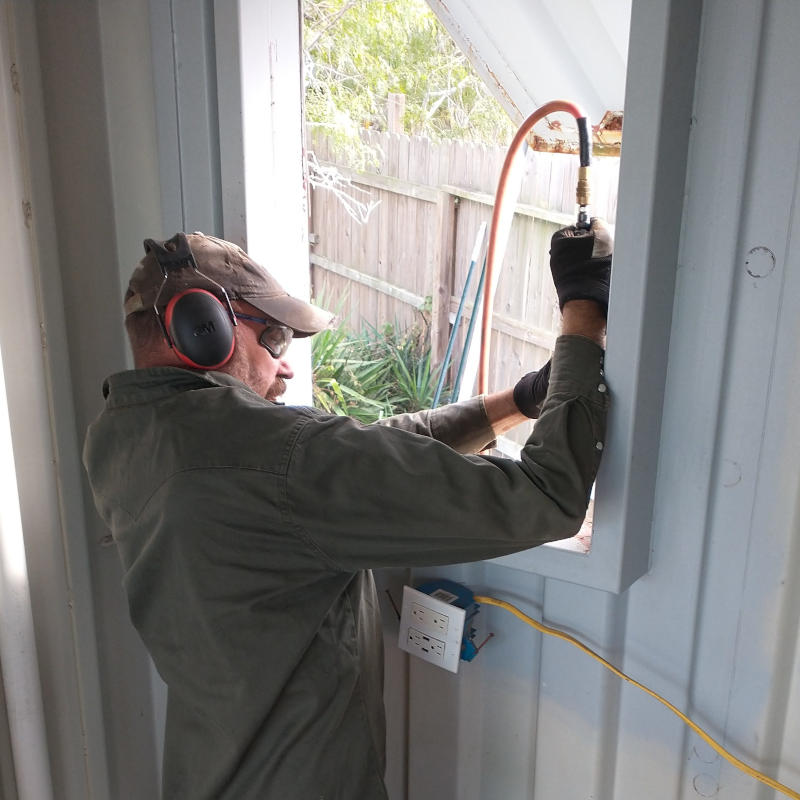
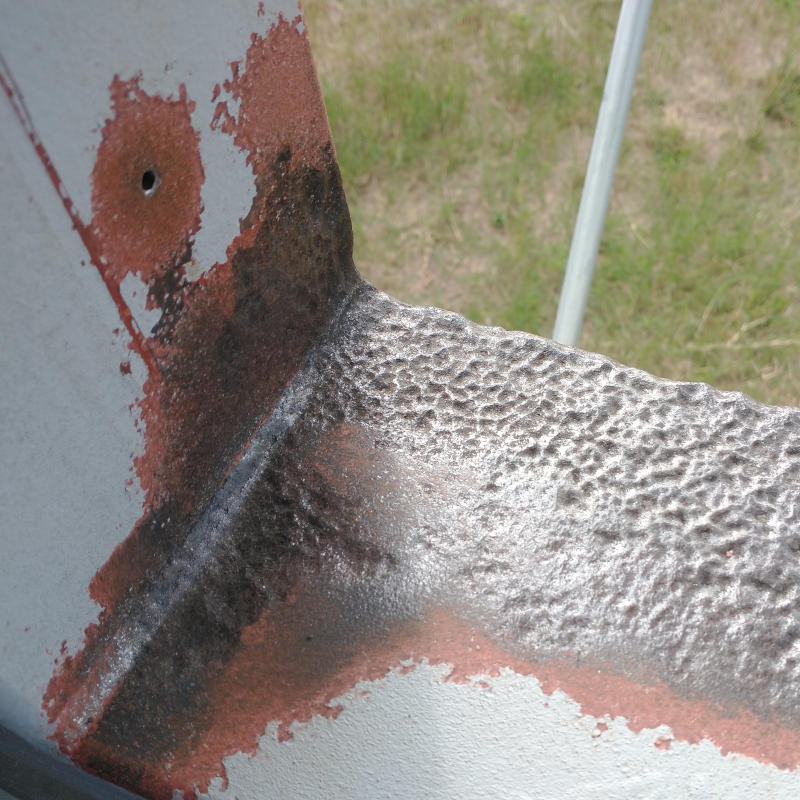
Roof drains were removed, patches welded into place, sandblasted, and all four corners were repainted. The whole roof needs to be sand blasted and coated in rubberized roof coating like on the Work Box and Shop Box, but that will have to wait until another day. Or month. Or year.


Painting the ledges did not improve the final product. Yes, the window will be mostly covered by the actual window and the door by the jamb but still, I know it is there potentially starting the process over again. Ugh.
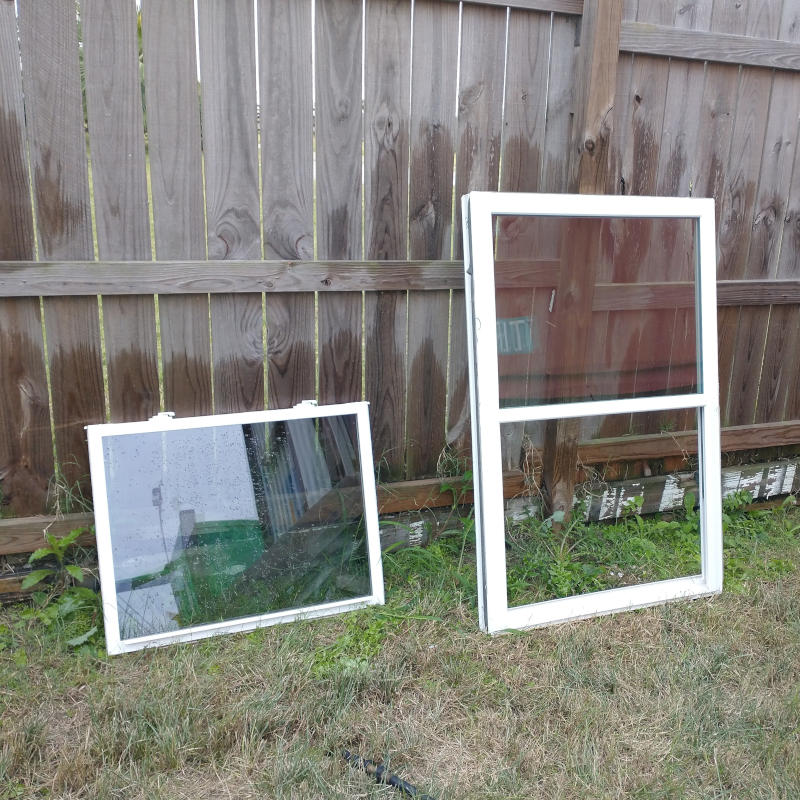
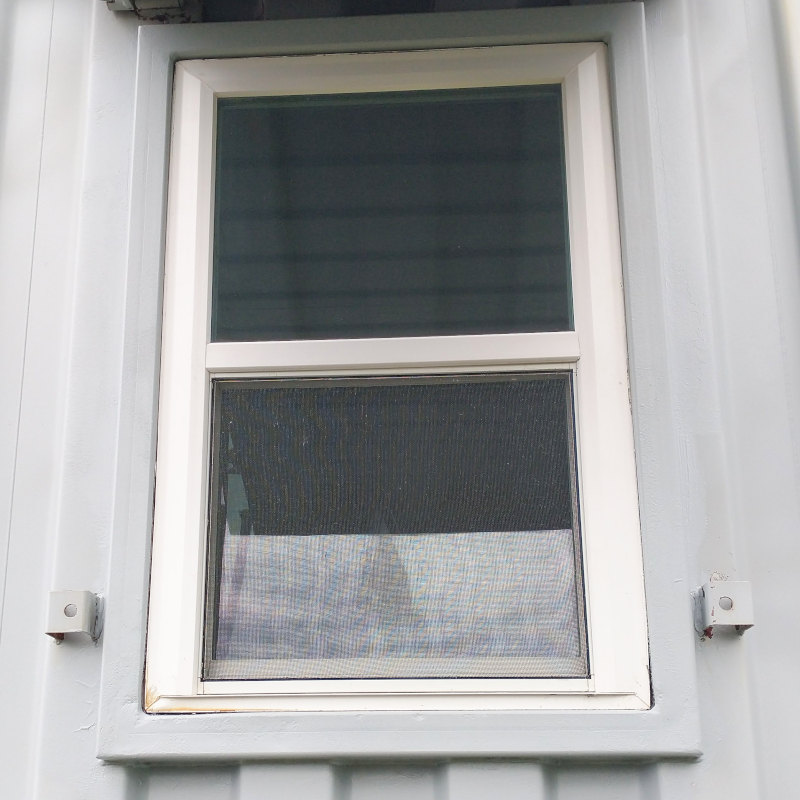
To help combat against water sitting on the ledges, the Planner laid down rubberized weather stripping. This same product is used on roofs for this exact same reason. This stuff is thick and smells like asphalt. Windows were washed and reinstalled. Can you see the rust damage to the vinyl? Stupid rust.
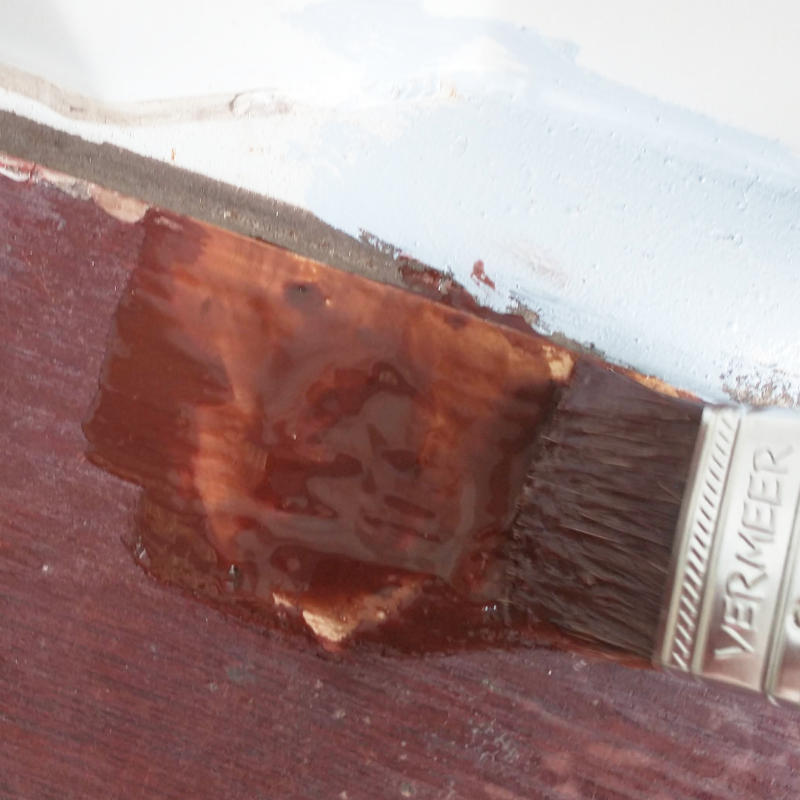
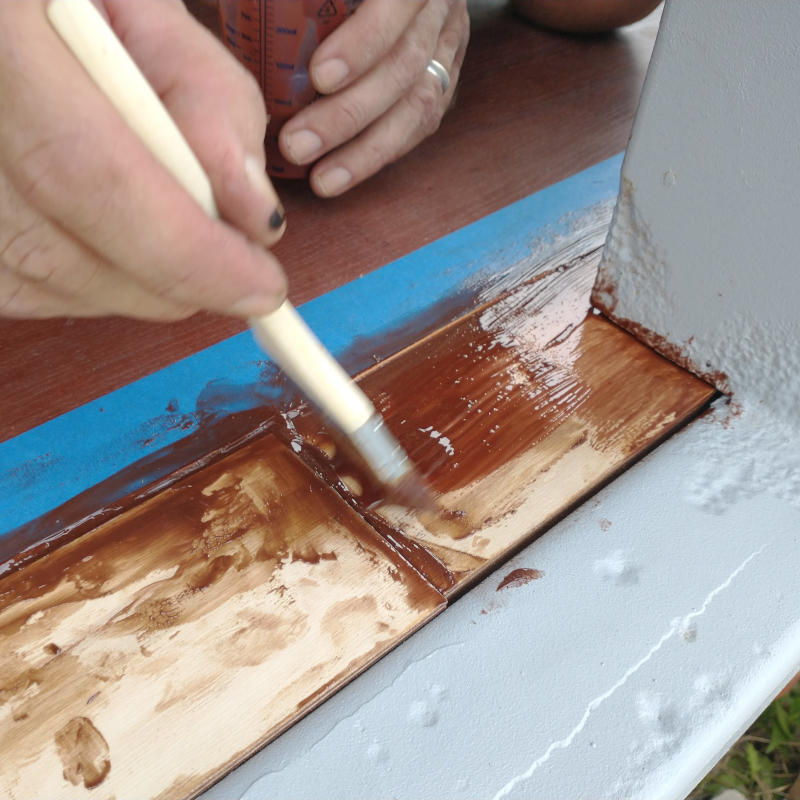
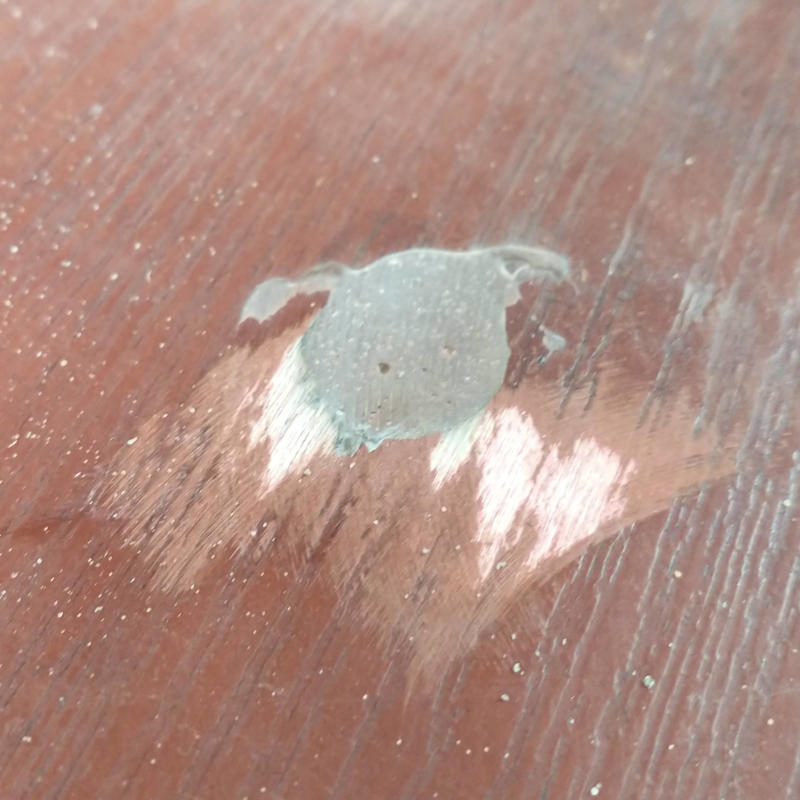
Since the roof drains were removed, wooden plugs were glued into place. The plug was fitted as tight as possible, taped from underneath, and then coated in epoxy. The same was done with the damage at the door. And since the epoxy was being mixed up, all of the screws head on the floor were filled in and then ground smooth. We let the Kid remove the excess epoxy. Can’t you tell?
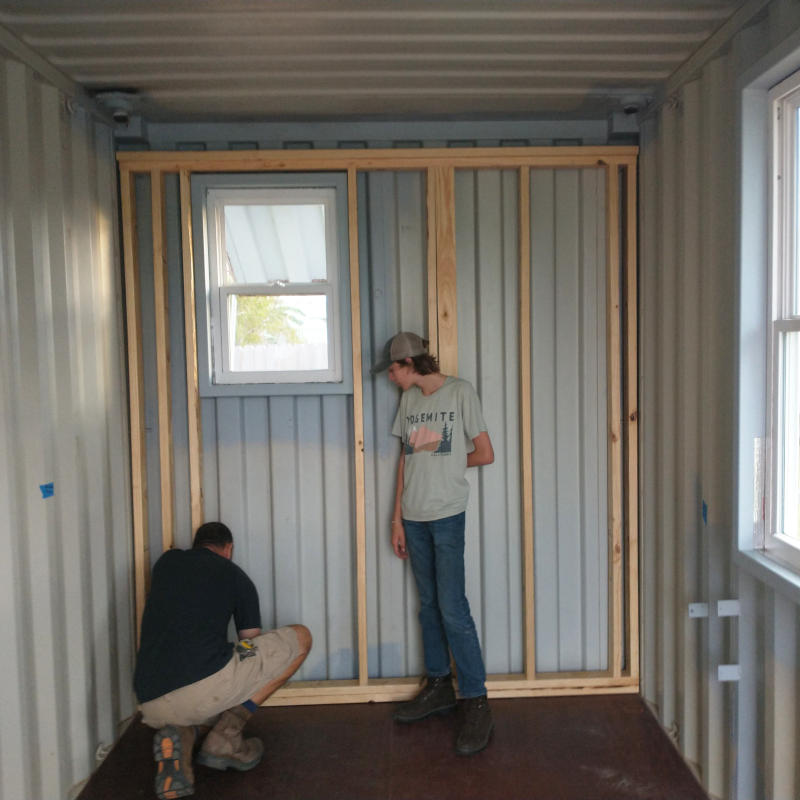

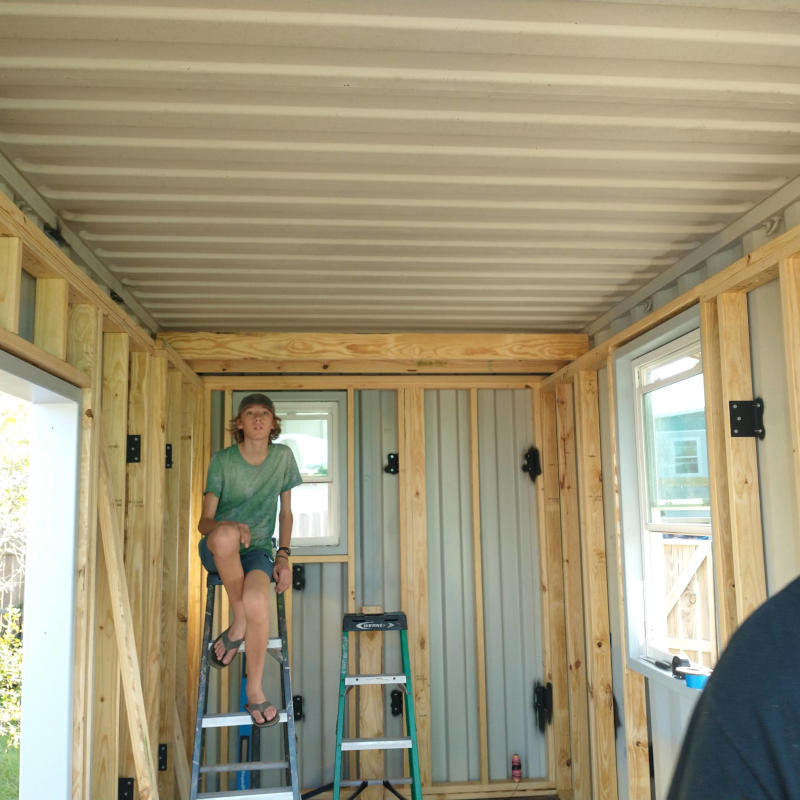
Framework was built on the floor and then raised into place. Just like the Dwelling, metal mounting tabs were welded into place allowing the framework a place to be secured. This will also help dampen the vibration when hurricane force winds blow.


Because the Kid wants to mount bicycles, kayak, fishing equipment, hammocks, etc…. from the ceiling and the walls, we thought it would be best to sheet out the room in 3/4″ plywood instead of sheetrock.
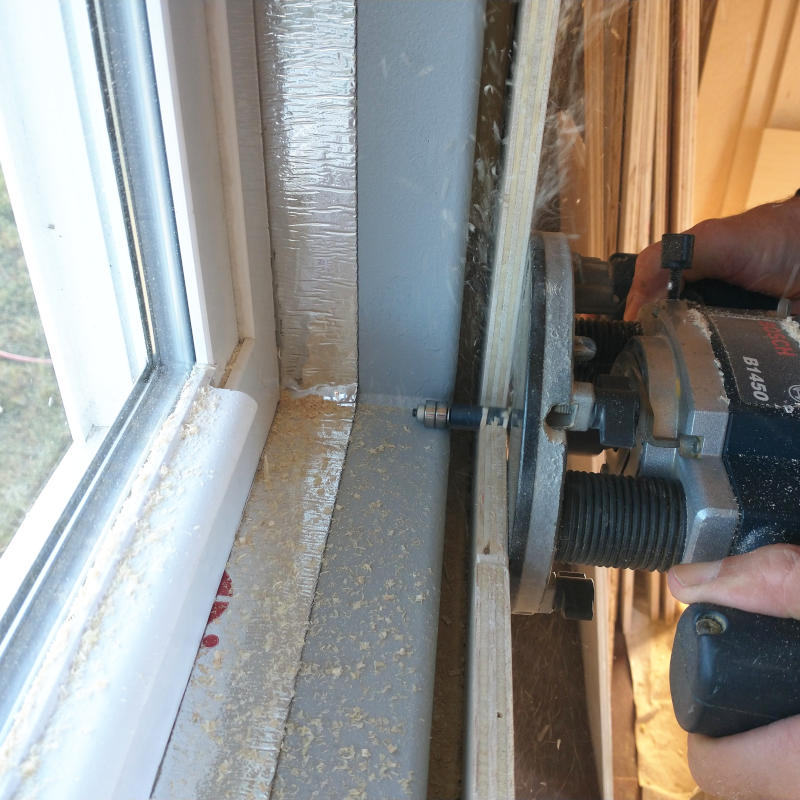
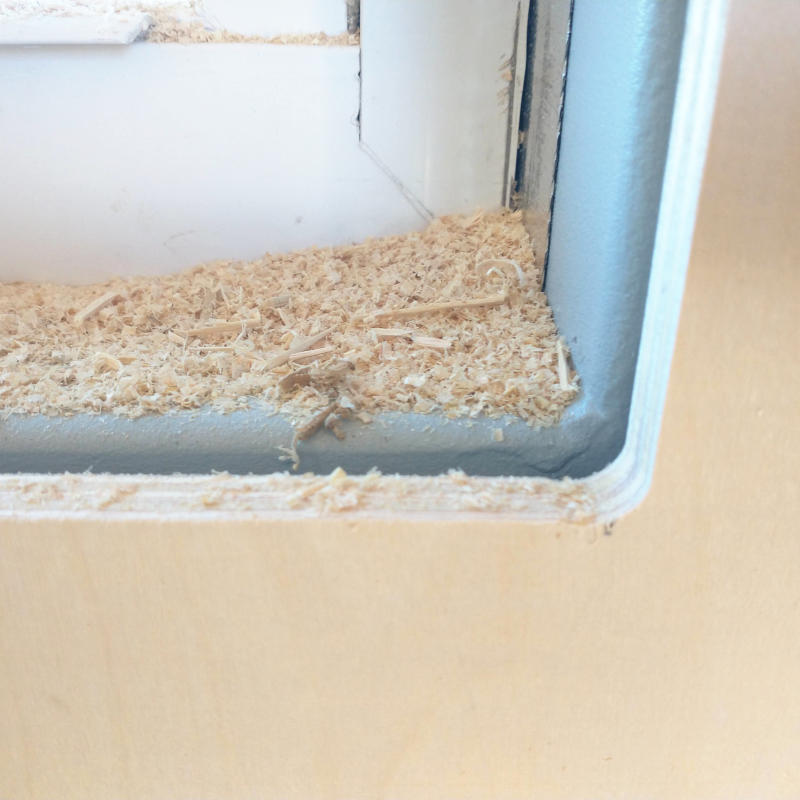

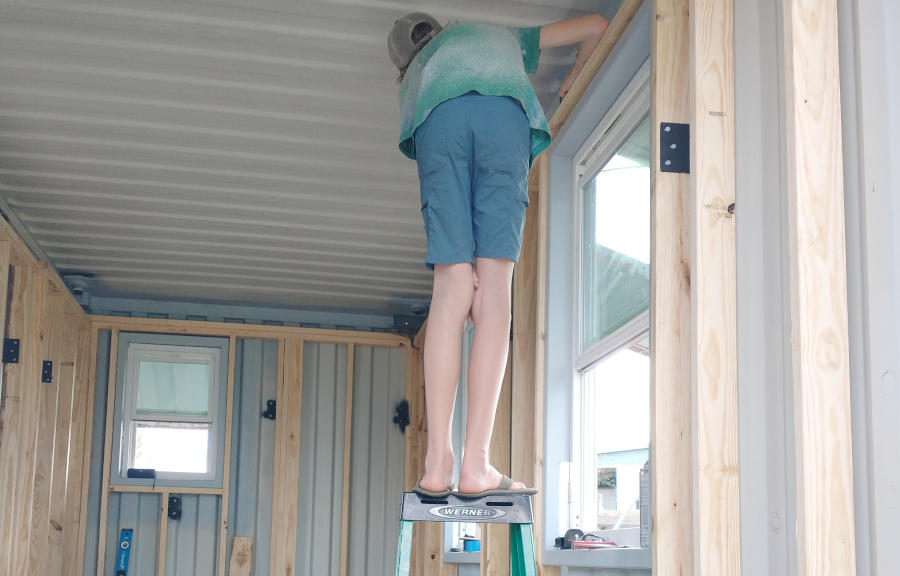
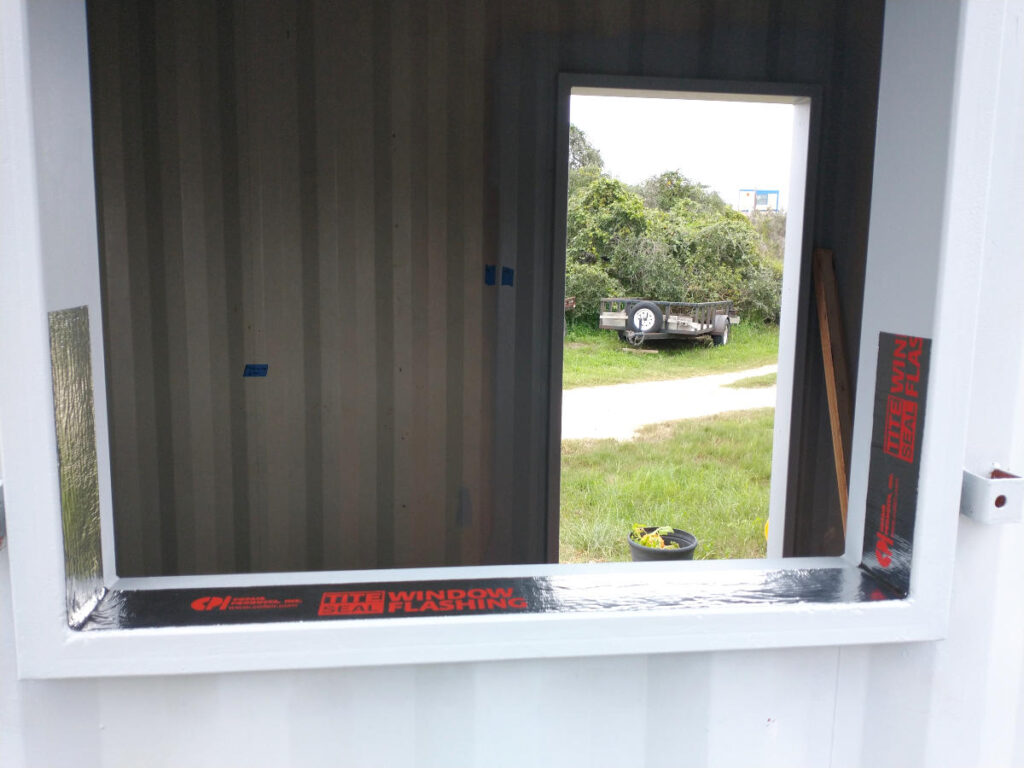
Windows had their openings left big were routed out and then framed.


Sheetrock was hung in the bathroom.


Electrical trench was dug from the pain pole, around the box, and then under to the inside panel connection. All electrical outlets were installed.
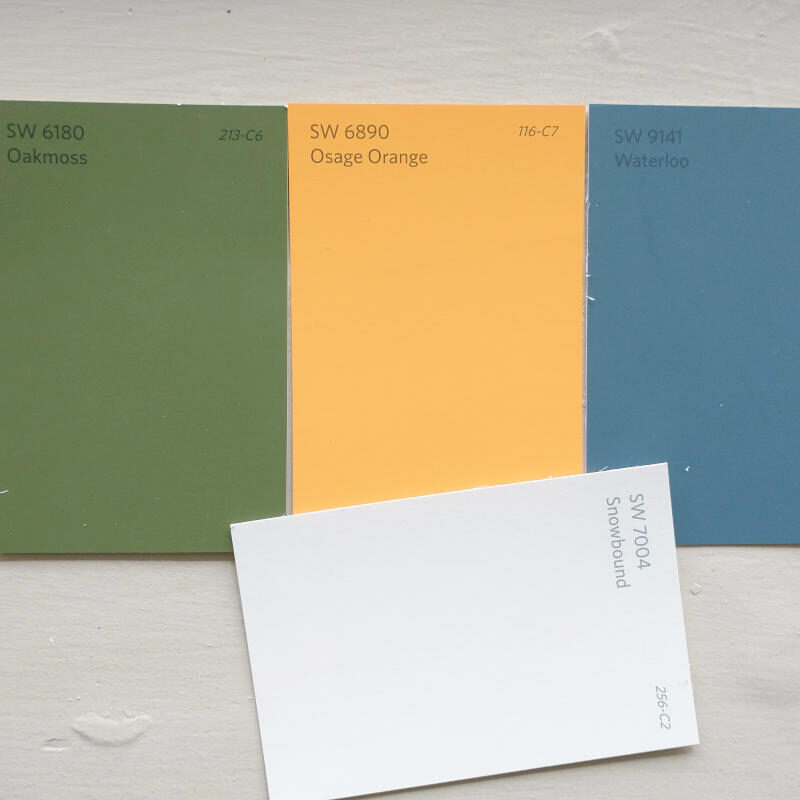


Down to the final days and the Kid could still not decide on blue or green for room. They are both nice and warm and boy/man. Having a few days left to decide, the room was primed.

Then the ceiling was painted white. Twice.

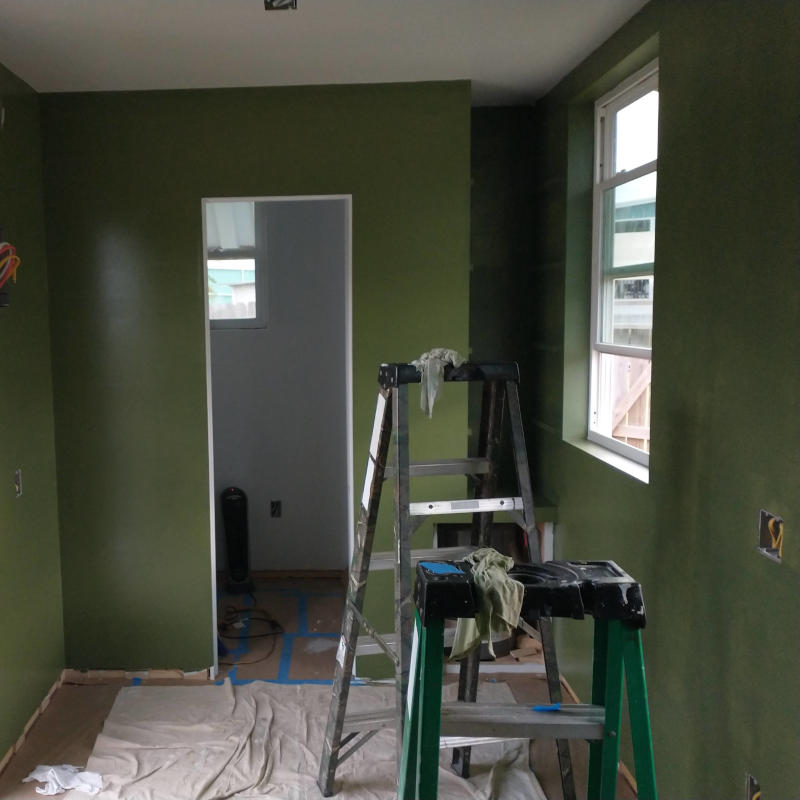
Then the room was painted its final chosen color. Twice. We wanted to go with a grey primer but the white is more universal and will keep the dark green from being too dark in this tiny space.

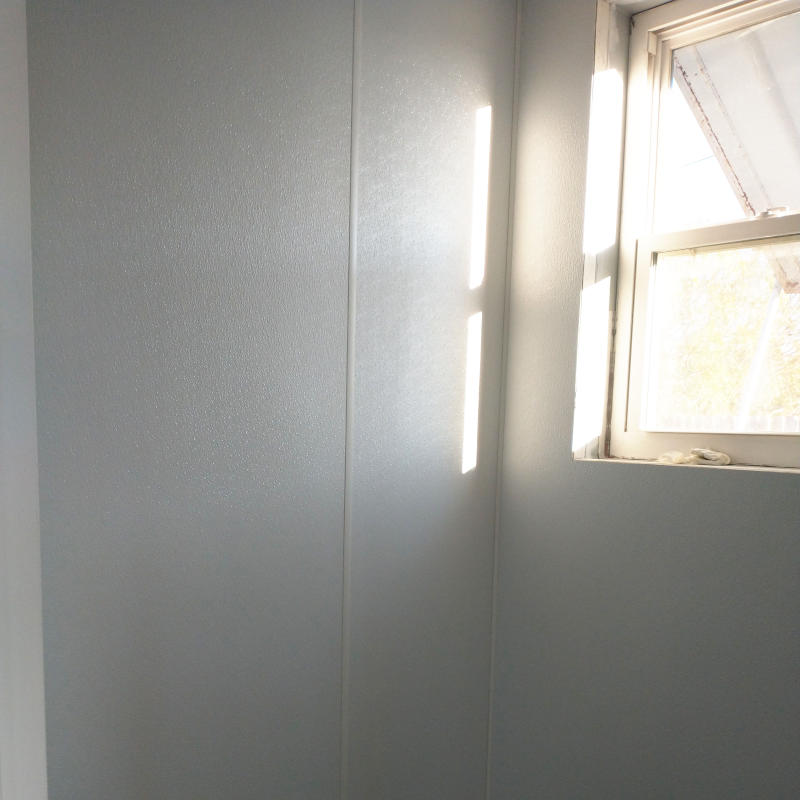
Knowing boys, knowing the Kid, I was adamant about how the bathroom was to be finished out. Plastic vinyl wall board. Industrial, easy to clean, almost kid proof.


Electrical boxes were wired and bathroom light was installed. Yup, the same light we used in the Dwelling as there were leftovers.

Outlet covers were installed in between paint coats on trim and shelves. The once cleaned out Dwelling box is again filled with materials and tools and drama. Oh, and in case you are wondering where the Kid was evicted to during the reconstruction phase. The Dwelling, in the kitchen oven space to be exact. Let me tell you how mad I am. The Kid gets his sleep in the Dwelling before me all the while getting his box completed. I am not being an adult right now. Good thing I love his face.


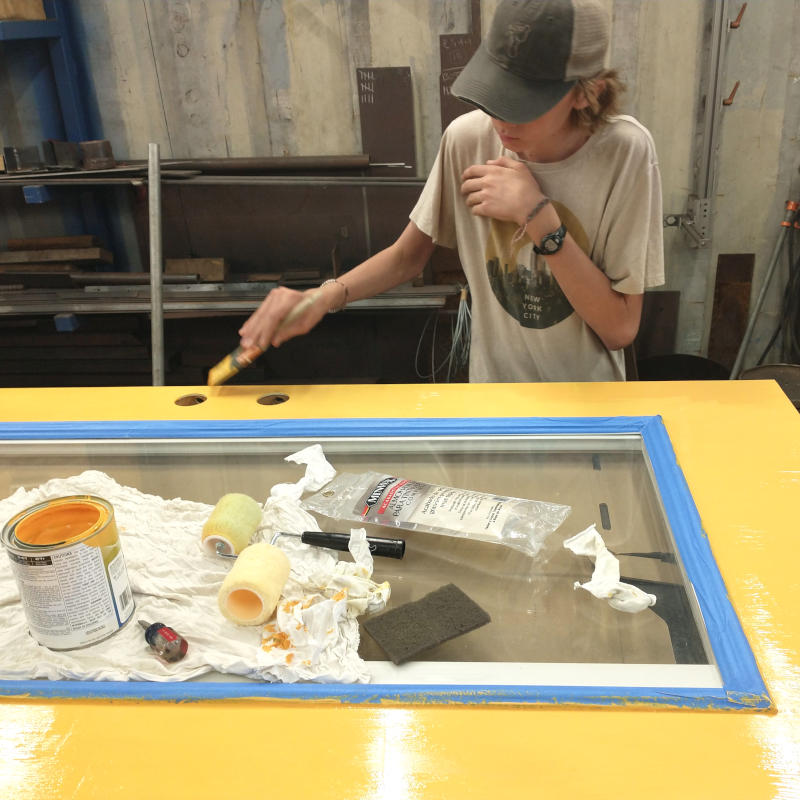
In between layers of floor wax being applied, the Kid primed and painted his door. It’s day glow orange and will be seen from space. No color could better describe what is behind the door. Scary yet slightly satisfying.
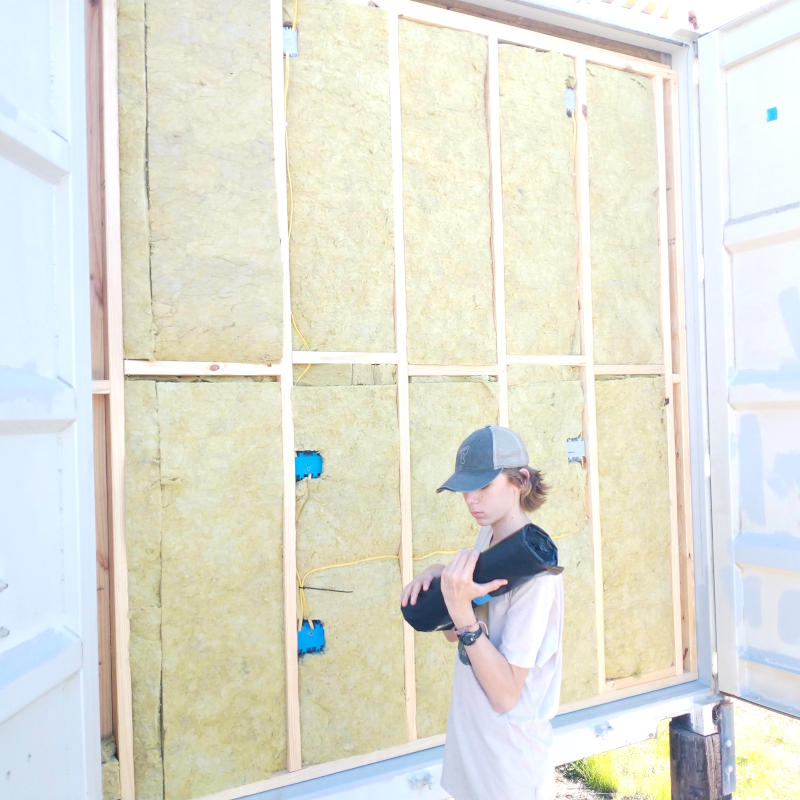

Insulation was applied to the back wall of the box, plastic covered the insulation to protect against the moisture build up against the metal doors. Cool warm, warm outside, moisture trapped in between. Warm inside, cool outside, moisture trapped in between.

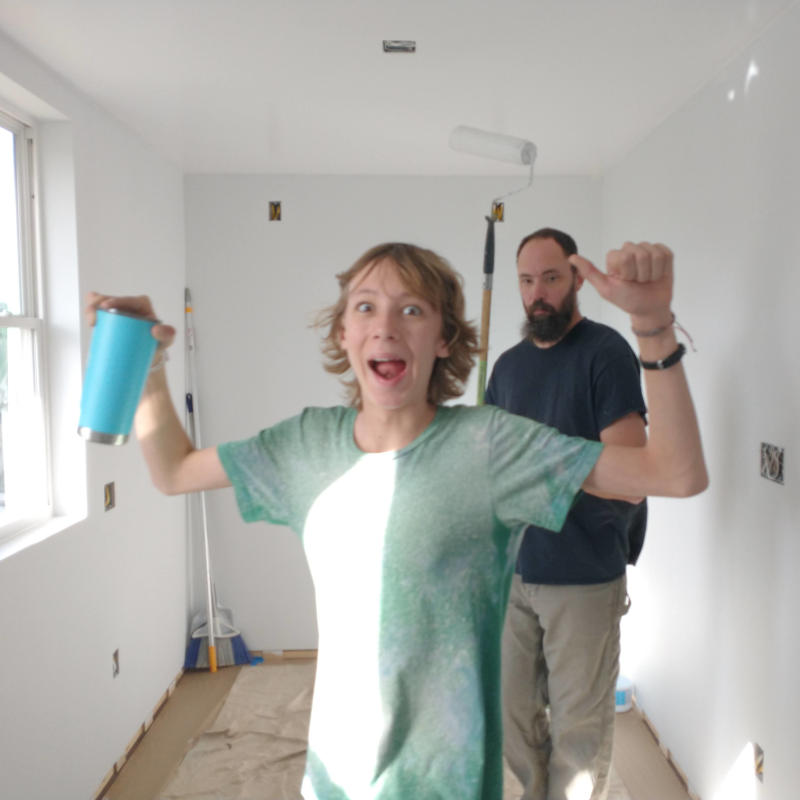
We almost made it. The Doubter was here for almost the entire month of December, the Kid was present for two solid weeks on holiday vacation, and I took a break for most days from work to get this project done before the end of the year. Here it is the last few days of the month, the Kid Box is not done and instead he sits across from me at the card table inside the Rainstream making faces at me. What happened to this independent New You Journey. Go play with friends, go fishing, go make me dinner. Just keep making faces at me, my New Year’s resolution is to have you back in there before mid month. You and your stinky bed out of the Dwelling and into your new clean, fully completed (almost) Kid Box. Let the count down to Kid Box Move In begin…