
All Ceiled Up
Another month gone. Not in post dates as there are other posts in between but in actual time since starting the ceiling in the rest of the Dwelling. Not a single day gone by without working on the Dwelling. If not just the Planner, then the Planner and somebody else: the Doubter, the Kid, myself. Or the Planner and all three of us. Three people when working on the ceiling is best.
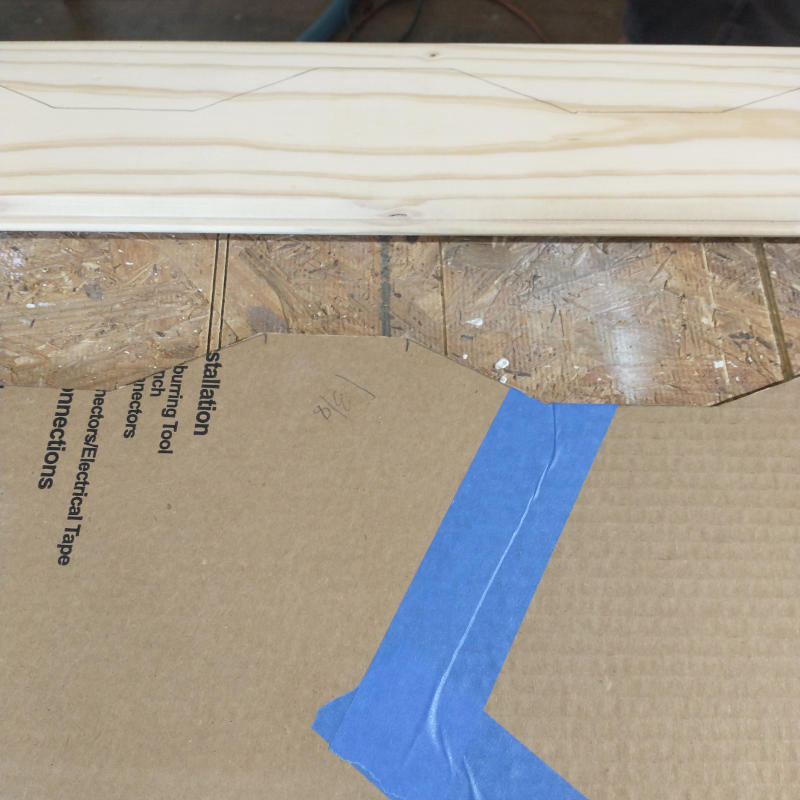
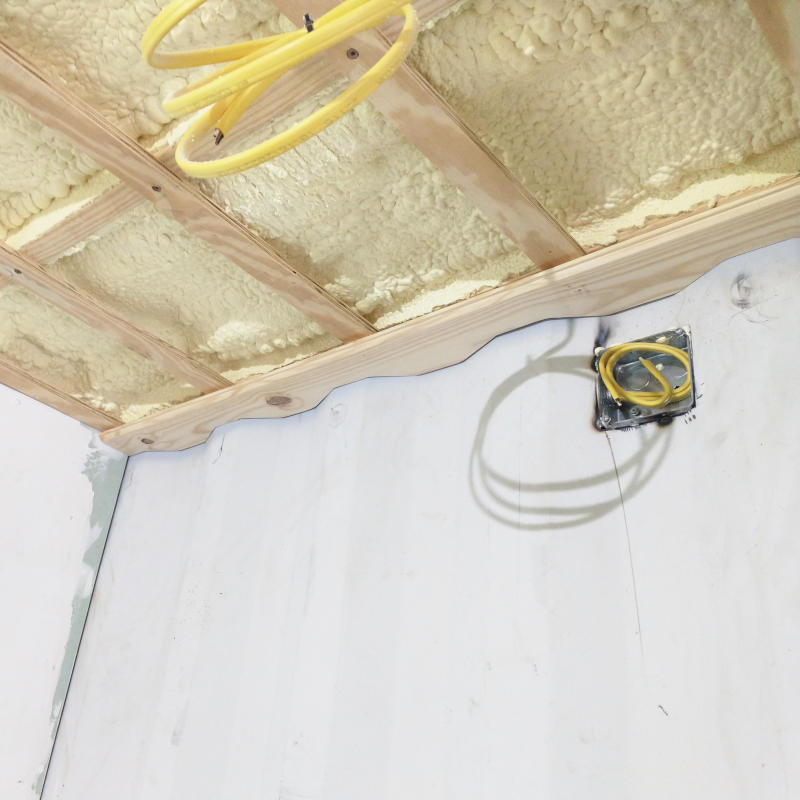
Maybe not the first eight rows or the last 28 rose but the middle 300000 rows. The very first row was the most challenging of all rows. Two sections of 7-1/2 feet that were solid corrugated panels along the south wall and then corrugated at the inner wall.
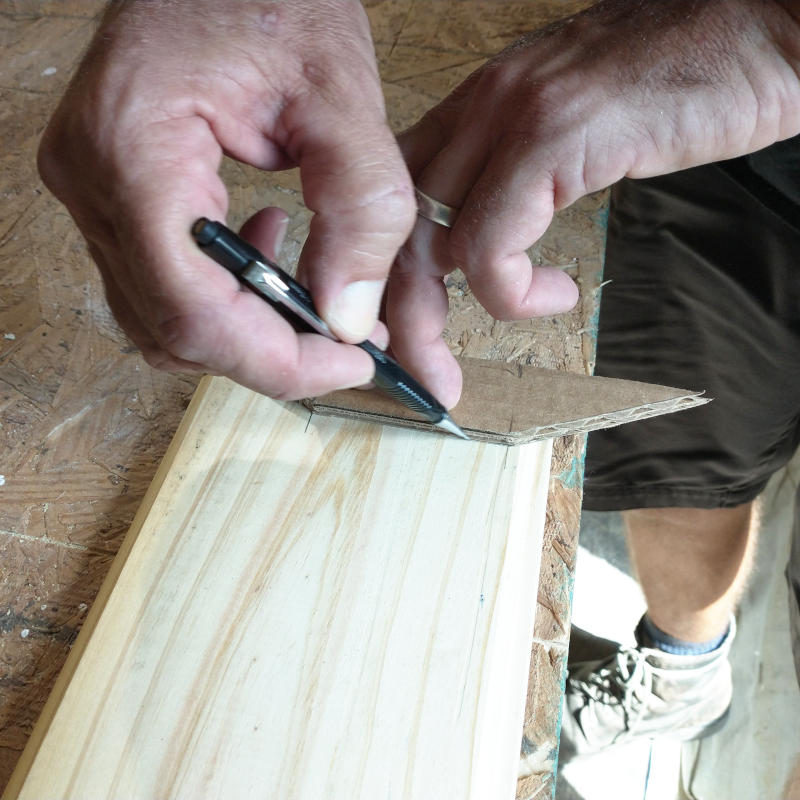

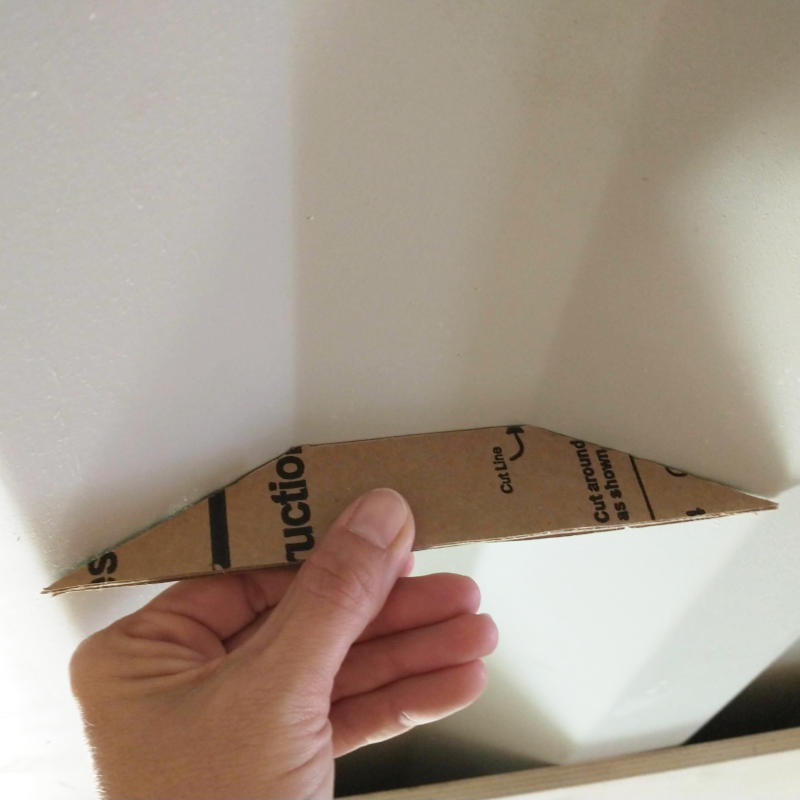
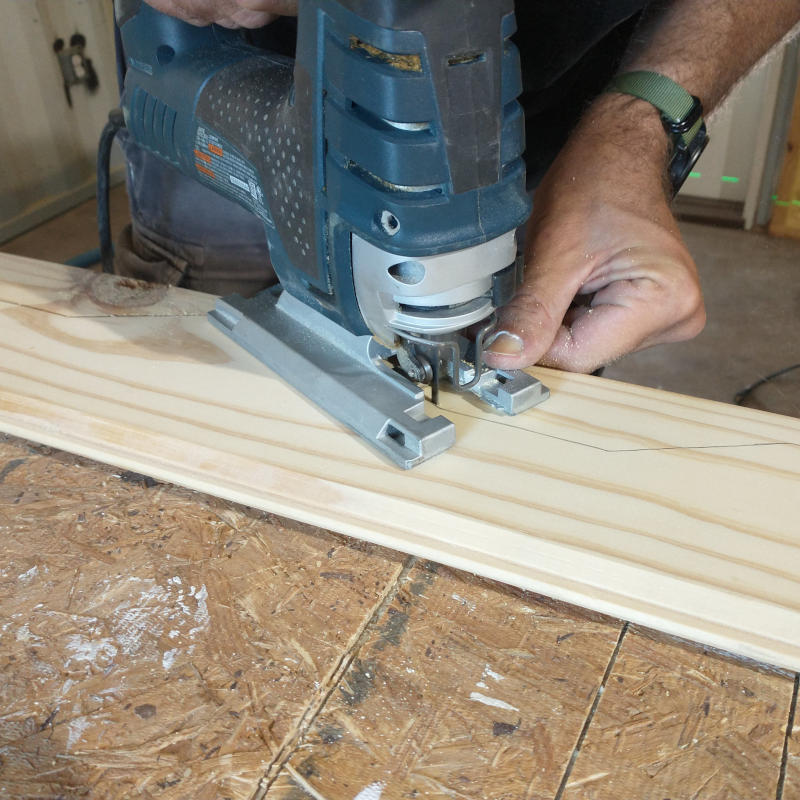
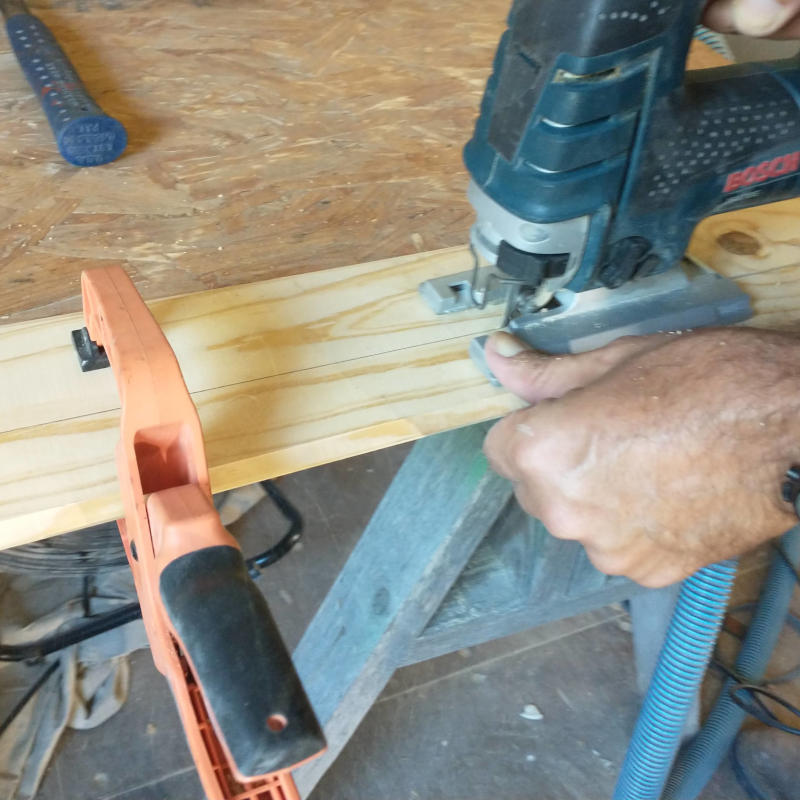
Each individual corrugation had to have its very own template. In theory, each corrugation should have been the same but in practice they were not. Once each quadrilateral template matched the wall, the template was then transferred the corresponding long template for tracing onto the ceiling board.

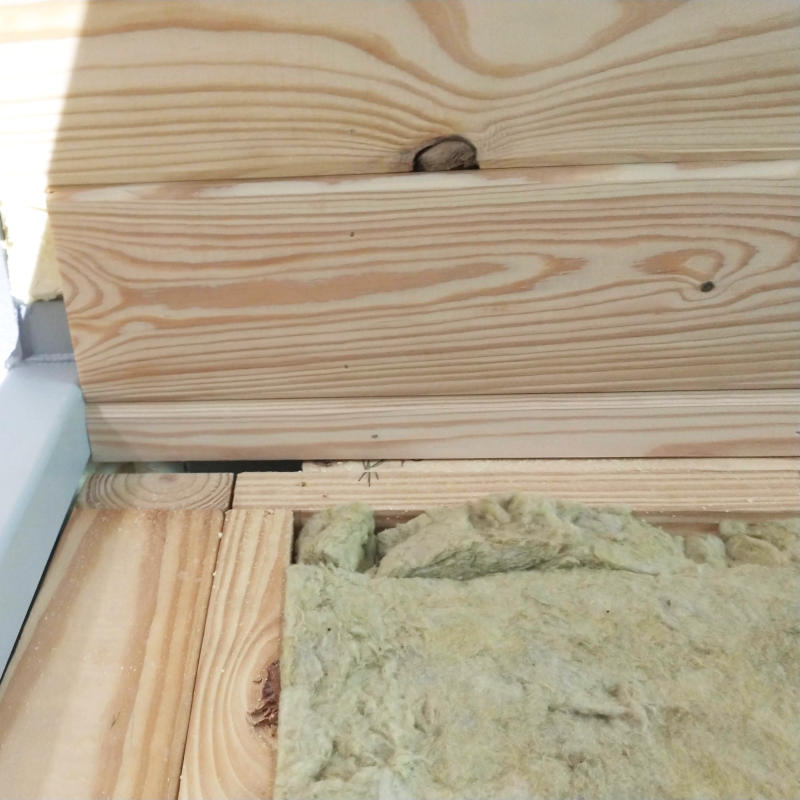
After the template was cut is was then tested for fit. The ceiling boards at the corrugation wall will always be seen so the spacing must be a close to perfect as physically possible. It was discussed to caulk the spacing between the corrugation and the ceiling but that vetoed quite quickly. Better to take the time now and have a well fitted board than fill with caulk.
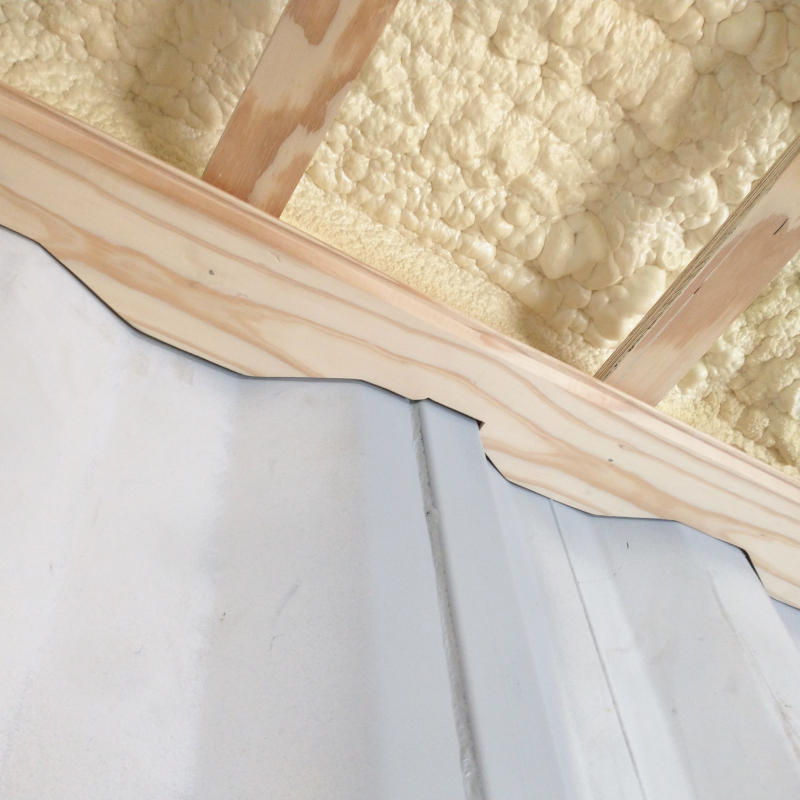
Three hours later, the first ceiling boards were installed. There is some gap the Planner would have preferred to have been less but overall I think the fit was great. Especially since this was all done with cardboard that has give when cutting and measuring.
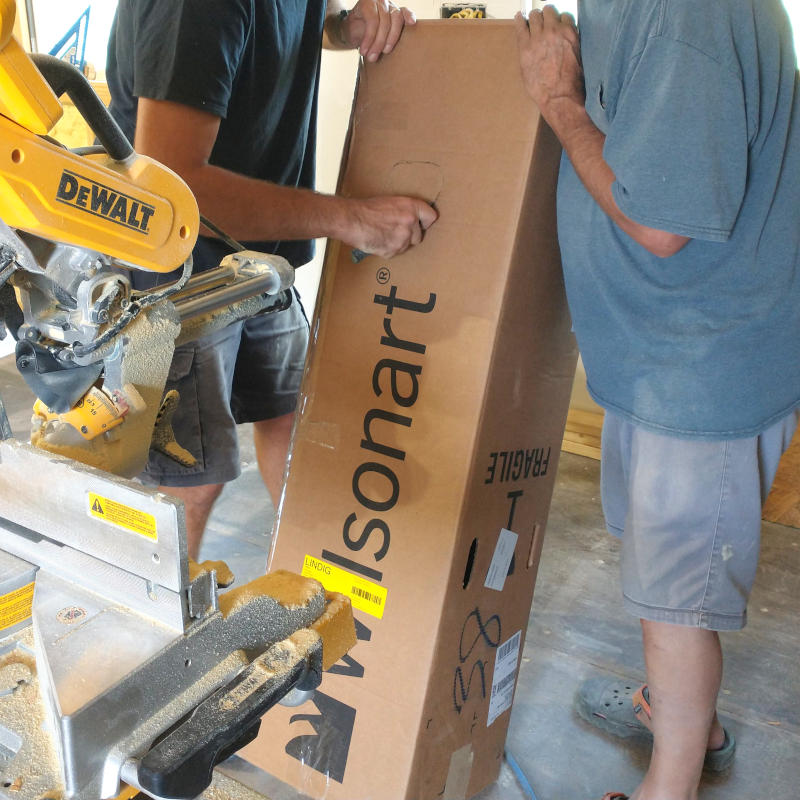
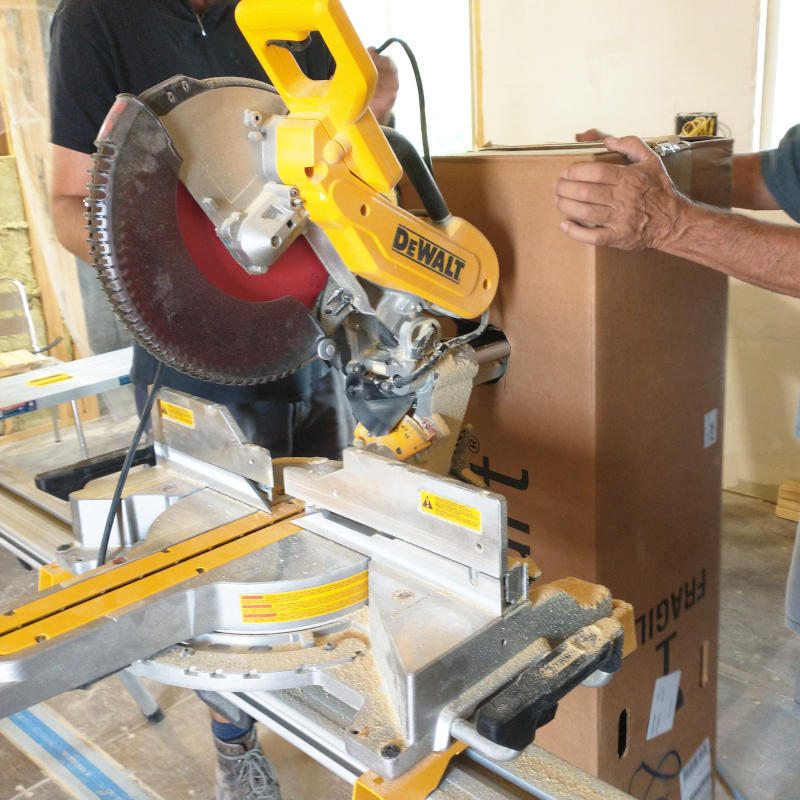
Before starting the very next morning, I decided we needed to find some way to collect the saw dust. It took too much effort last week to clean up just to have more thrown everywhere. Understanding the dust collection system never collects 100%, I simply stated anything was better than nothing. While they were over there discussing 3″ piping or bags or whatever I retuned with a giant box. After taping the handle holds from the inside and cutting a insert point, the box worked fantastically. Should have thought of this months ago.
End of the second day we had only made it to the edge of the front door. About 16 ceiling boards. Eight boards on either side of the middle dividing wall needing corrugation fitting and then it was easy peasy with only the difficulty of determining how long what board should be remaining. Ensuring there was not a pattern to the ceiling took some effort at first but with time the process was being completed without thought.
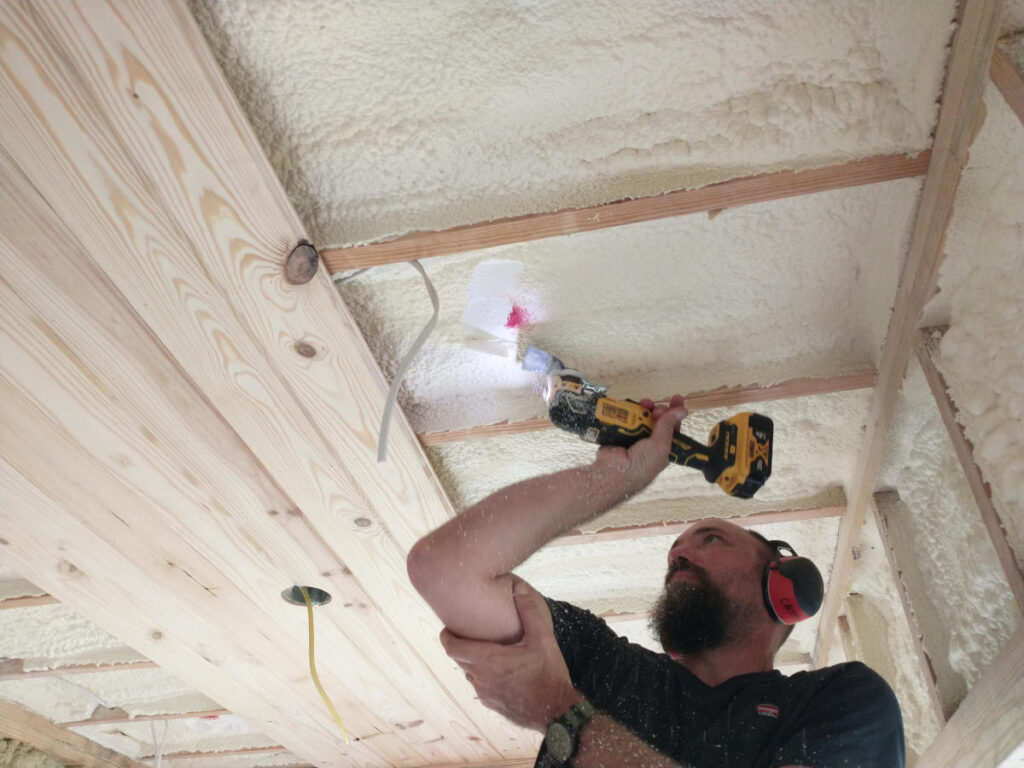
So much so without thought that we all forgot about marking the locations of the lights on the third day. Putting up the boards takes three people. Removing a board just takes one with a pry bar and a pair of wire cutters. Sad, three stainless steel nails wasted. Great care was taken afterwards to ensure no more nails were wasted. Not only are they very expensive, the hardware store where they were purchased from previously no longer carries them meaning when the nails run out the Planner will have to source these online. No nails, no ceiling.
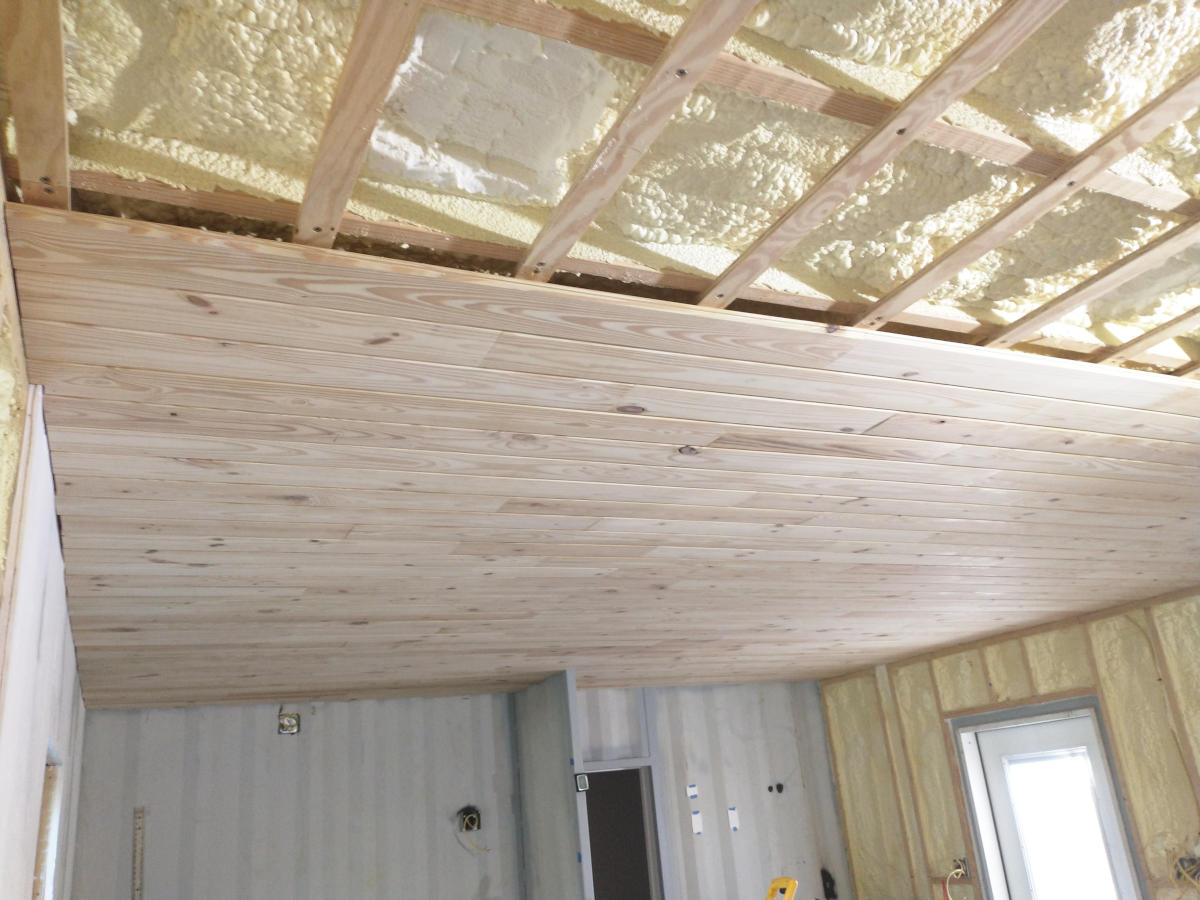
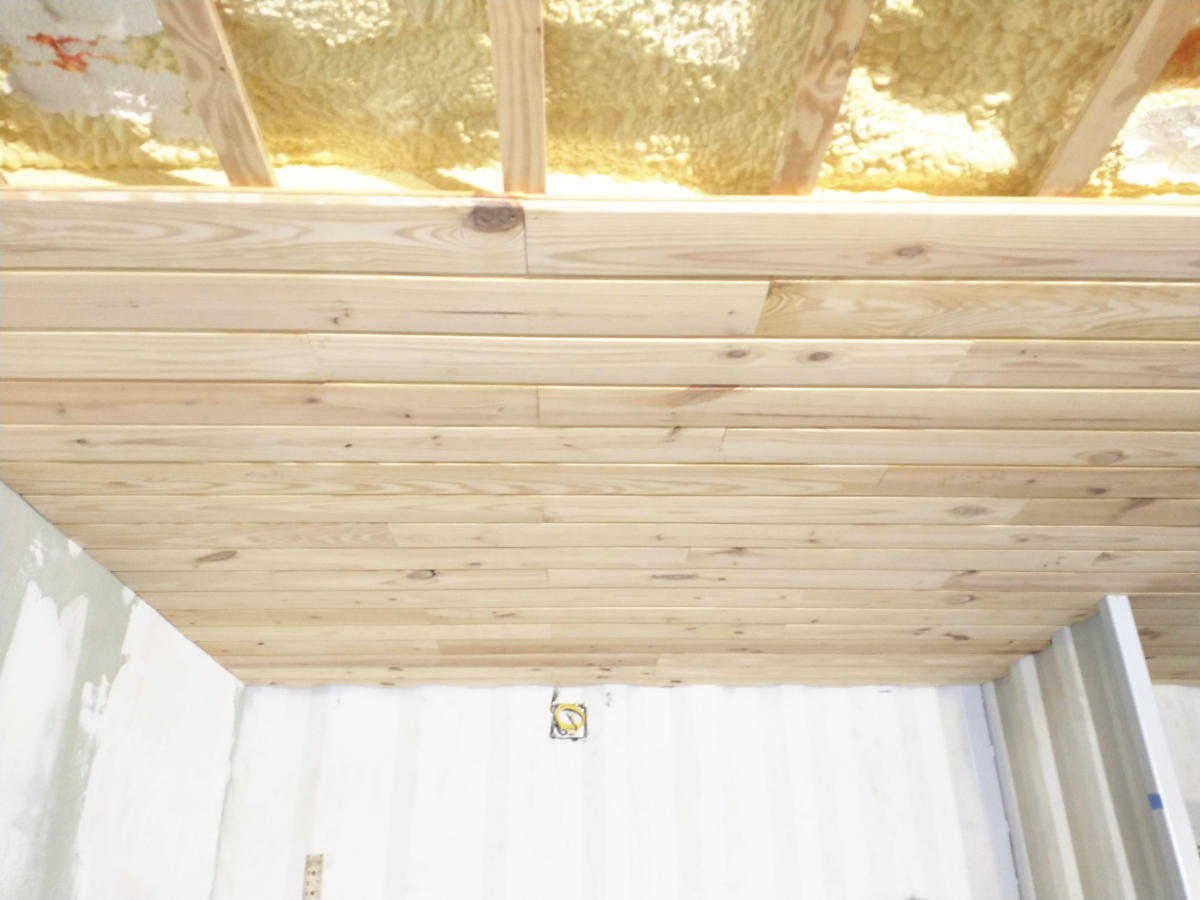
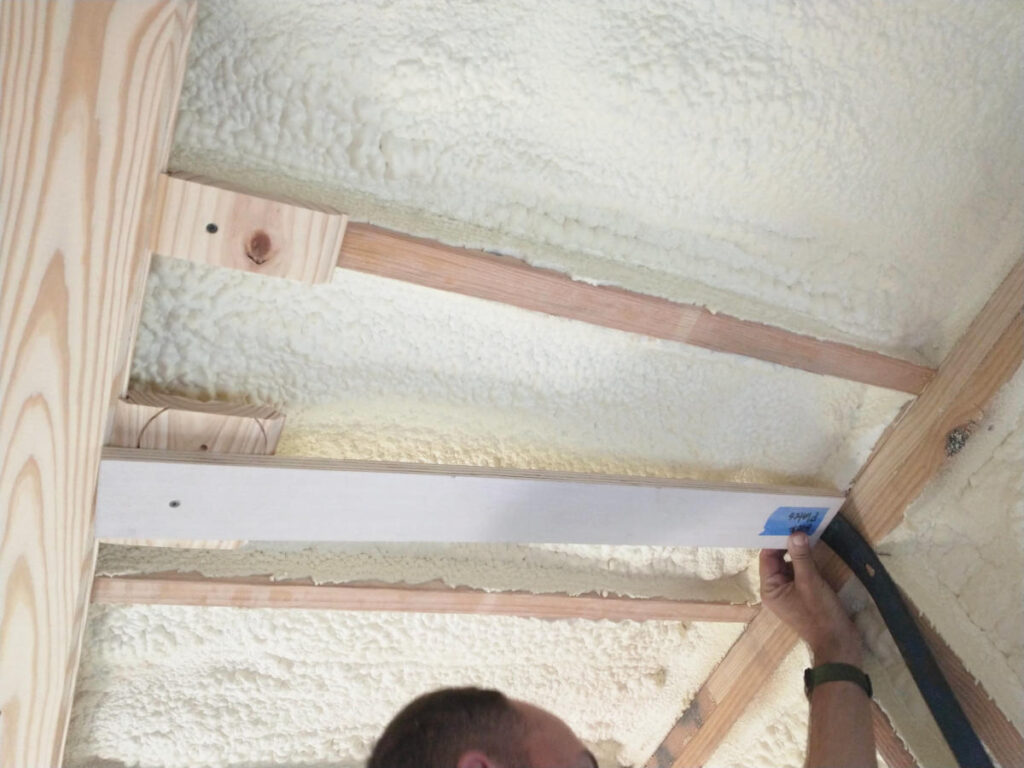
After the end of the third day, another 12 rows of boards were hung, the ceiling was starting to take shape, and a work system was in place. The Planner was on the floor cutting where I would determine if I needed a three, four, five, or six. Each number represented the number of runners. A three meant the ceiling board spanned three runners, a four spanned four runners, etc… The Doubter and myself on the two ladder platforms with a 6′ ladder in the between. With this setup the Doubter and I never had to step down. When the platforms needing moving, one of us would step on the ladder and the Planner moved the platform forward. Rinse and repeat with the second platform. Moving the ladder completed the process. Every three or four ceiling boards, platforms moved, ladder adjusted. With board held up and in place, the Doubter would manage the nailery and then the tickler at the light housing junctures.
At the end of the fourth day, the ceiling had reached the bedroom wall. Creating a sliver of a ceiling board and very little ways help secure the un-grooved side, the final section was sort of just pushed into place and nailed as if it were a full section. There is still the wall board going up plus the trim so the chances of this 1-1/2″ board falling out was slim.

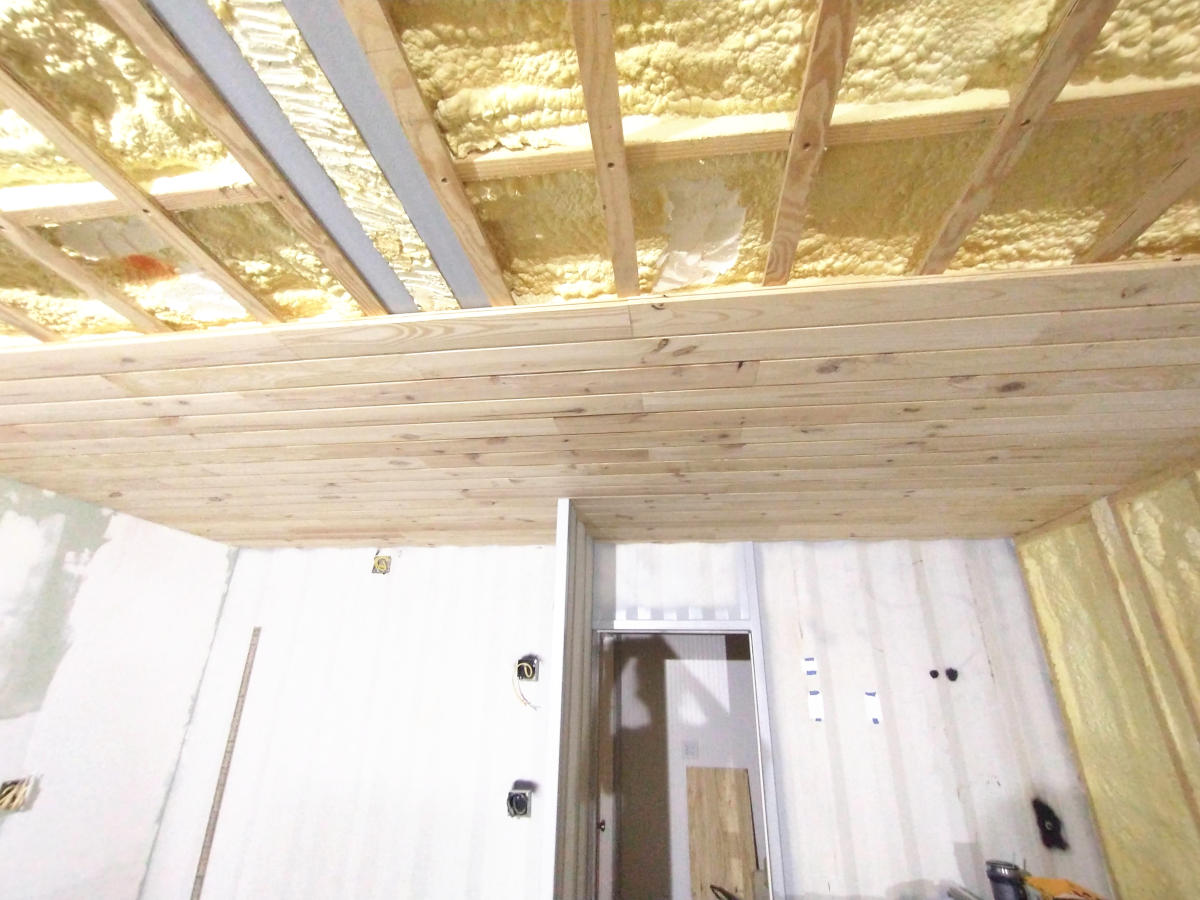
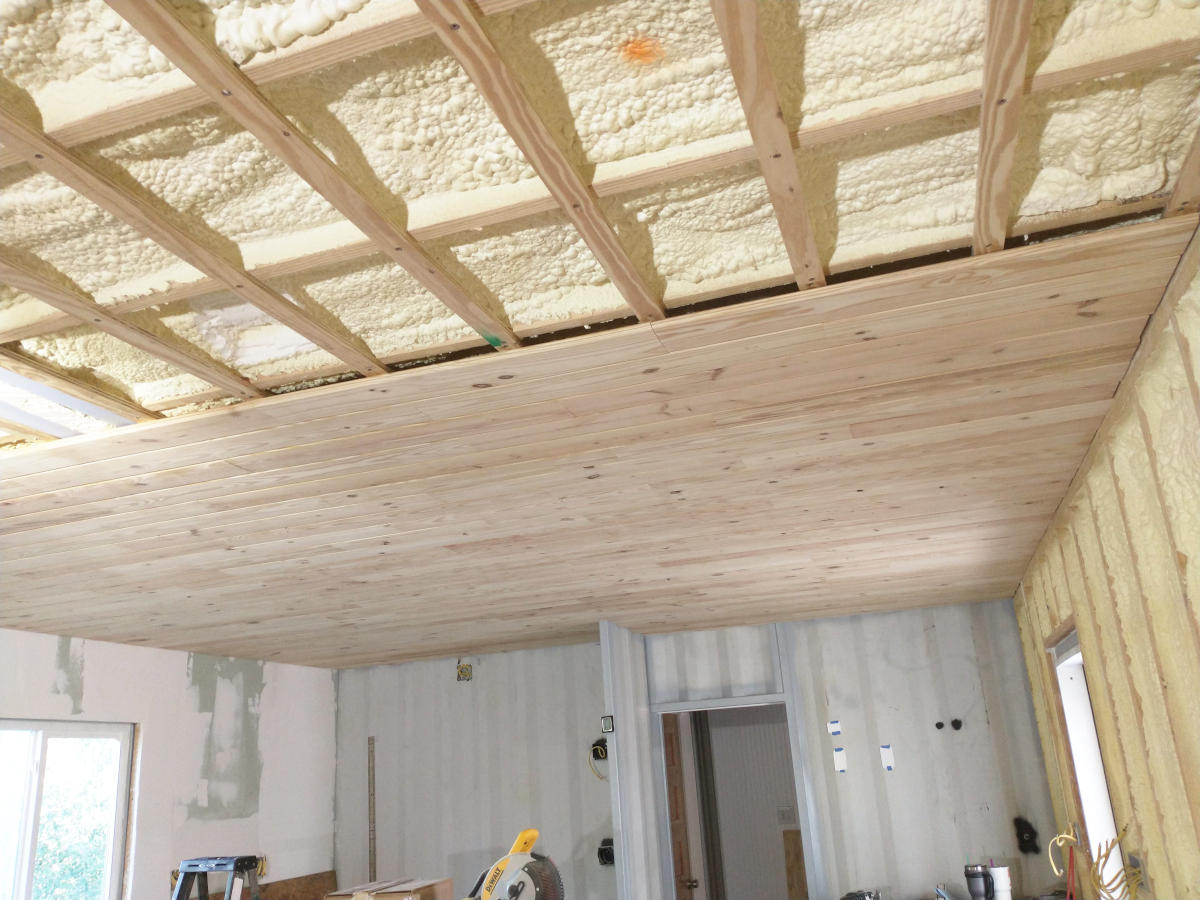
Having found the groove, we said goodbye to the Doubter and the Planner and I finished the nook on day five, the first day of October. This made everything but the bedroom done and the final product was amazing! It turned out so much better than expected and the coloring of the wood is just light enough the space didn’t feel like it was closing in above our heads. With ceilings in place, the floor to ceiling is height is just over eight feet. Better than most small homes whose walls are based around 4×8 sheets of plywood and way more space than in the Rainstream. In this space I cannot reach up, even on tiptoes, and touch the ceiling. Yeah!
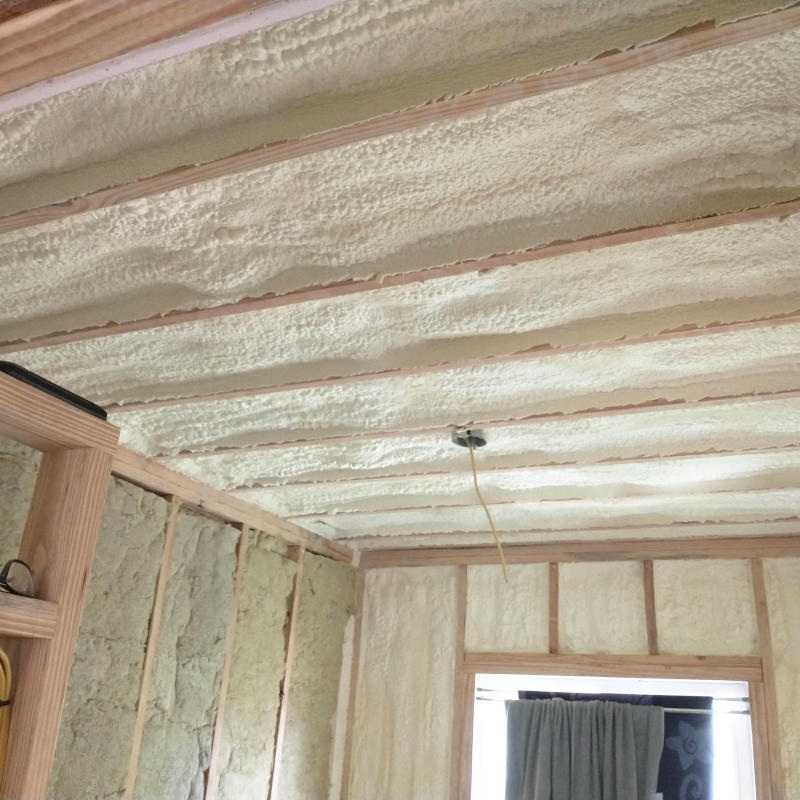
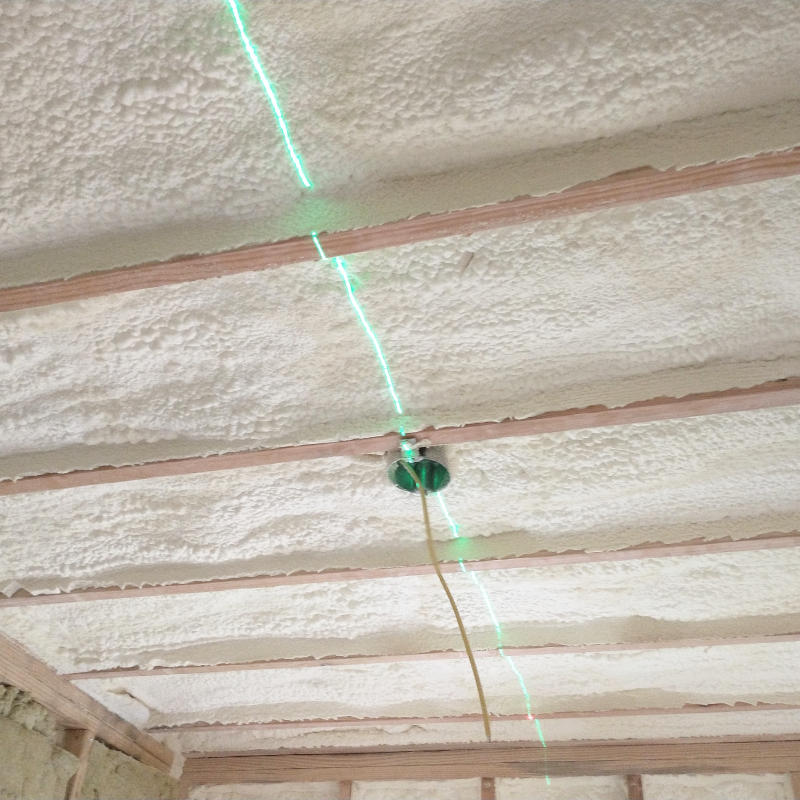
Day six after some debating over directional layout of the ceiling using the laser line as a point of reference, the final decision was made for us. Running the boards north to south would mean 1) runners would not have to installed as the original 2x4s could be used as nail points and 2) since there were enough boards remaining we didn’t have to cut small ceiling boards, the boards cut be whole lengths like in the bathroom. Both resulted in less work. Also, with the board running from the door to the window, the eye naturally follows the line inwards towards the back of the room (the north window, the headboard) creating a better focal point.
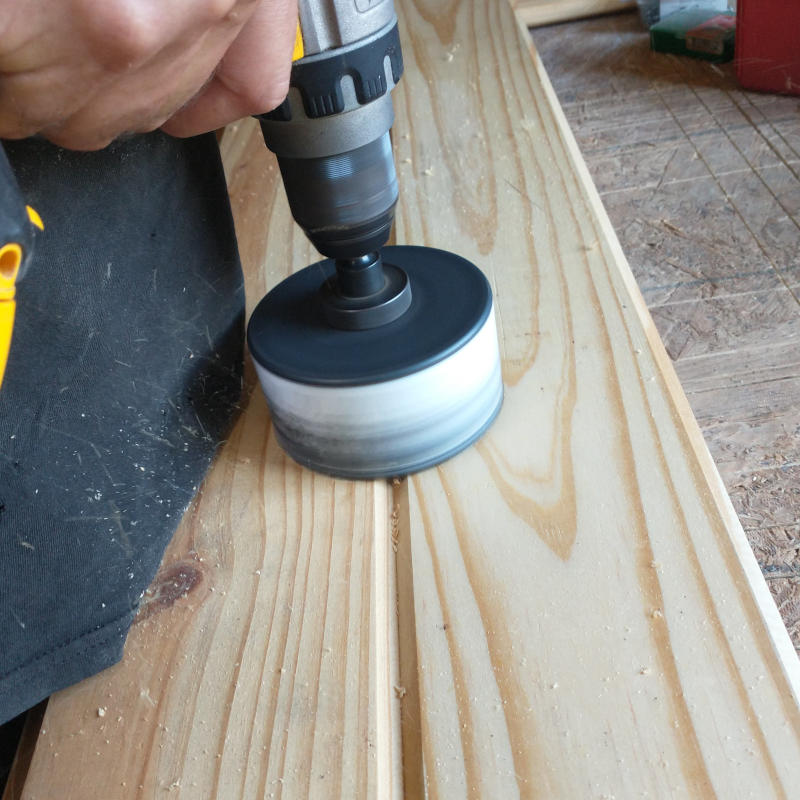
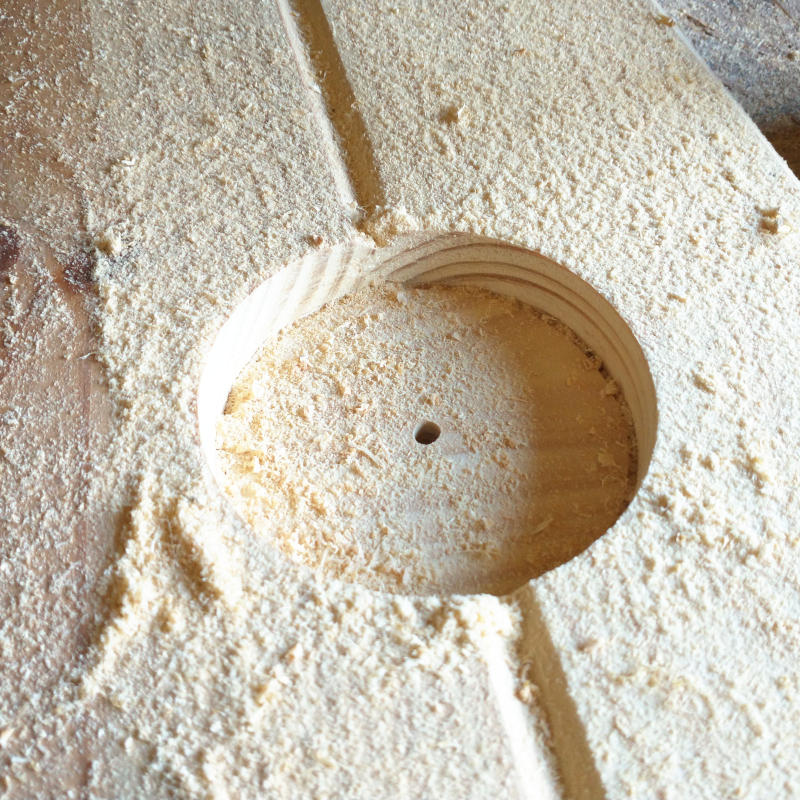
Starting at the center of the room and working out the first two boards were clamped together and had the fan outlet box removed with a giant hole saw. I was so worried the boards were going to try to split or get runners but the edges turned out nice and smooth with no need for additional sanding.
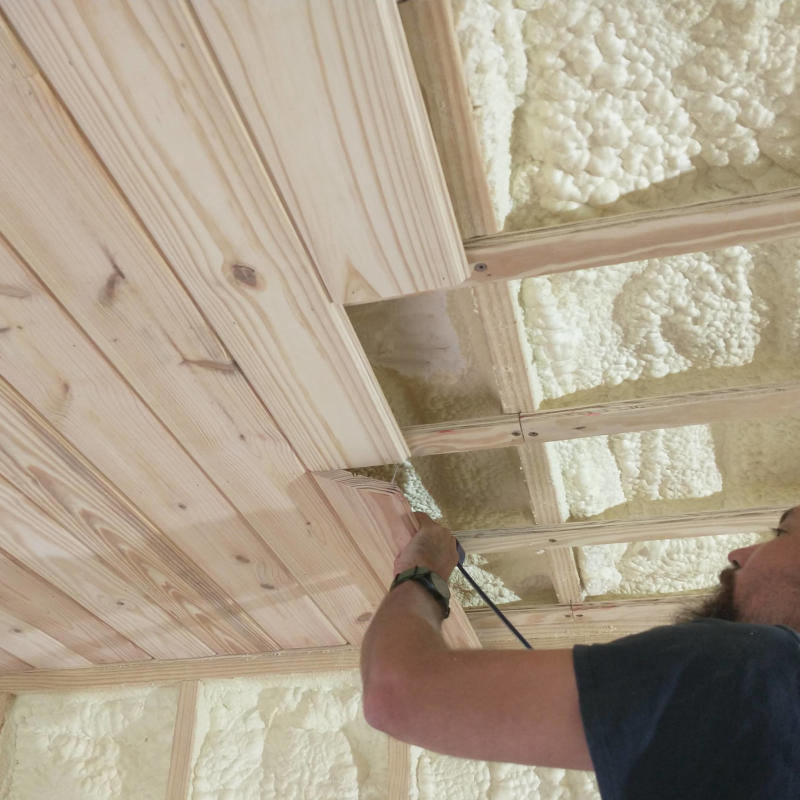
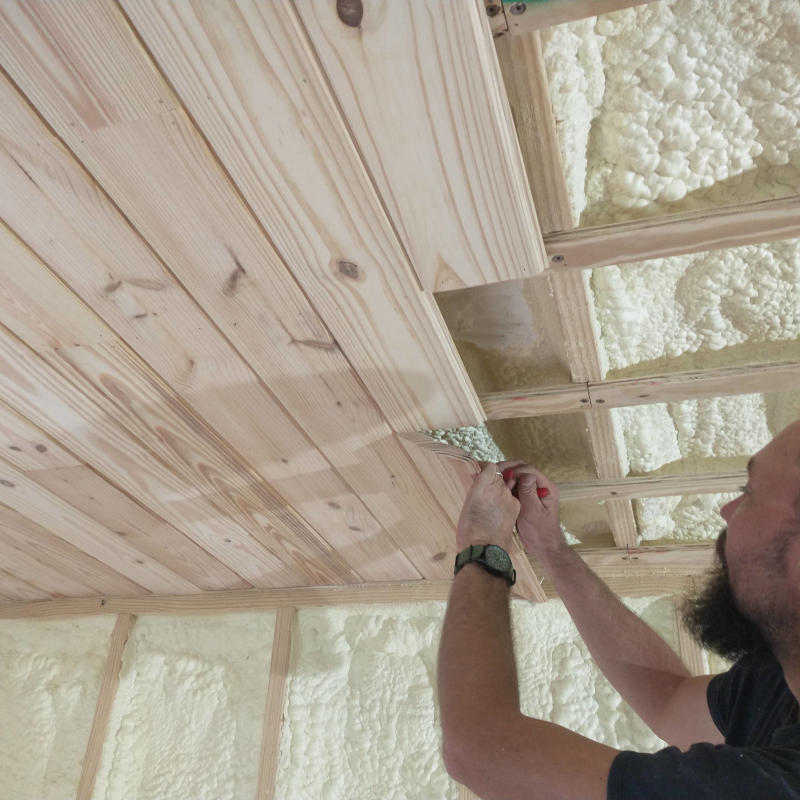
Unlike the rest of the dwelling, the bedroom was being completed in long sections with only two people. This required us to work one board on either side of the light at at time. Boards being 11′ long really require the use of set of holding hands and one nailer. Without the Planner I was unable to hold the entire length by myself with the Planner handling the nail gun nor was I able to hold the board with one hand and manage the nail gun with the other. When a problem is at hand, the Planner delivers a solution. In this case, an arm. This third arm used a small 10″ section of tongue and grove board screwed to a 3″ leftover trim board. Working either side of the fan one board at at time meant every board resulted in the arm getting smaller and smaller as we get closer and closer to the wall edge. It worked so well, the Planner built a second one meaning there were four sets of hands holding up the boards with perfect tension for nailing.
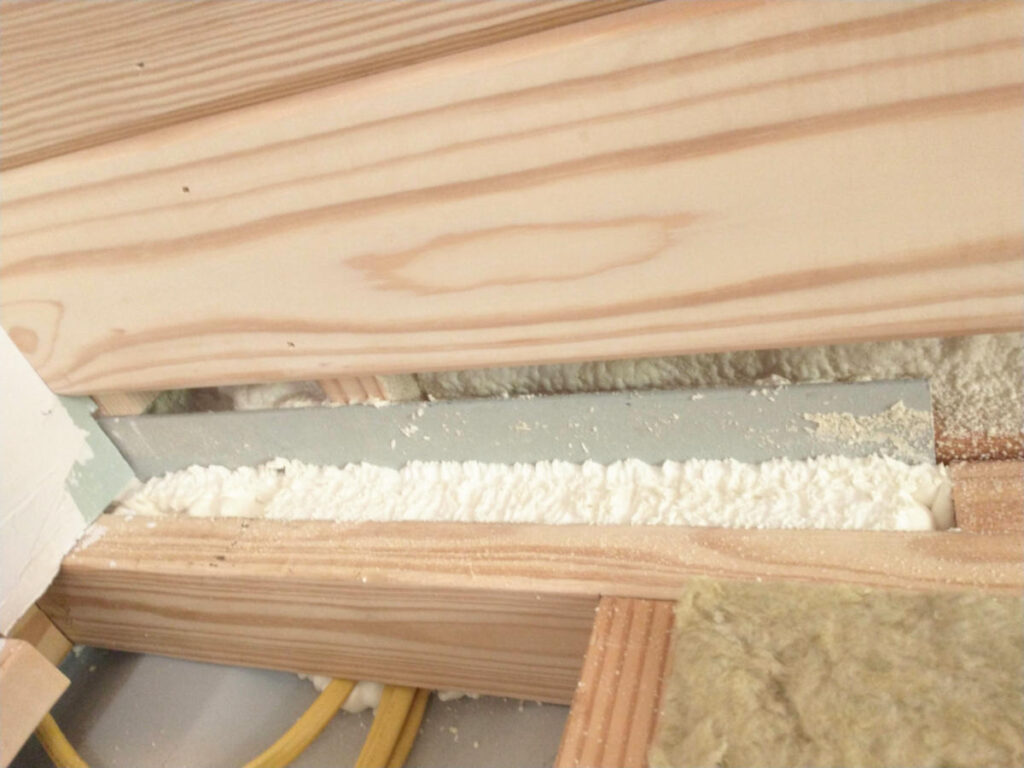
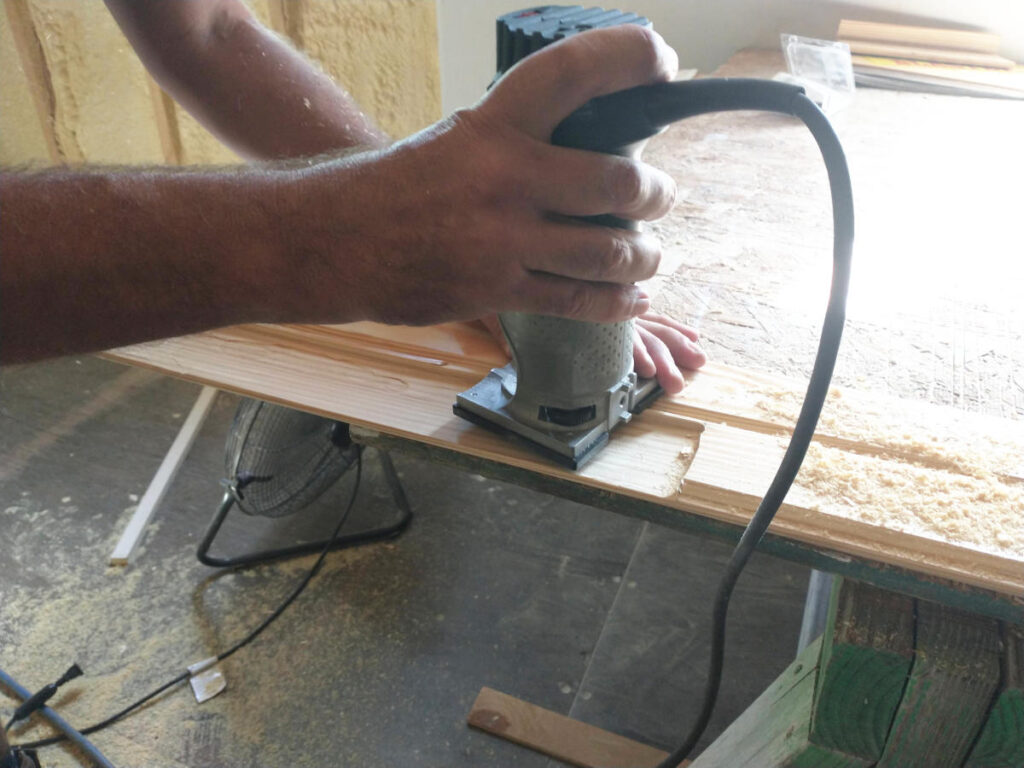
Always grief. This time it was the last ceiling board. At the edge where the dividing container wall meets the built in place wall for the bedroom there was a two foot section of inner fabricated beam. Only an 1/8″ thick, the last board had to be routed in order to lay flat and connect with the previous board. Testing a two foot scrap board, the Planner routed small amounts until the desired thickness was achieved. With trepidation on hand, the Planner routed out the last board. It needed to work as there was only one full length board left and it had a nasty knot. Fear not, the board fit snug as a bug especially since the 18″ were also glued onto the exposed metal plate since no nails could be installed.
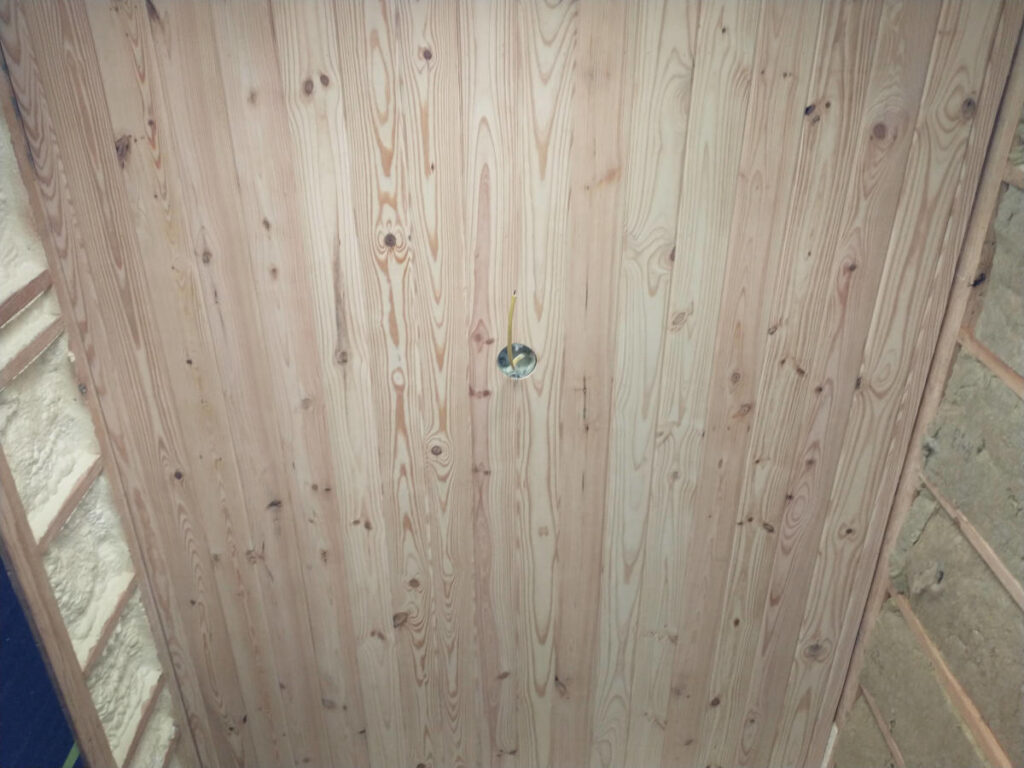
Viola! Let me clean this here floor, lay down a packing blanket, and observe our ceiling as if viewing from our bed. Such a thing of beauty.