All Shellac Up
Loving the look of the ceiling as standard yellow pine, it was very tempting to leave it as it was unsealed, raw boards. Rationally I knew the benefits of applying shellac and I do no want the boards to discolor haphazardly, instead I want the coloring to develop it deeper darker over time with the aide of shellac.
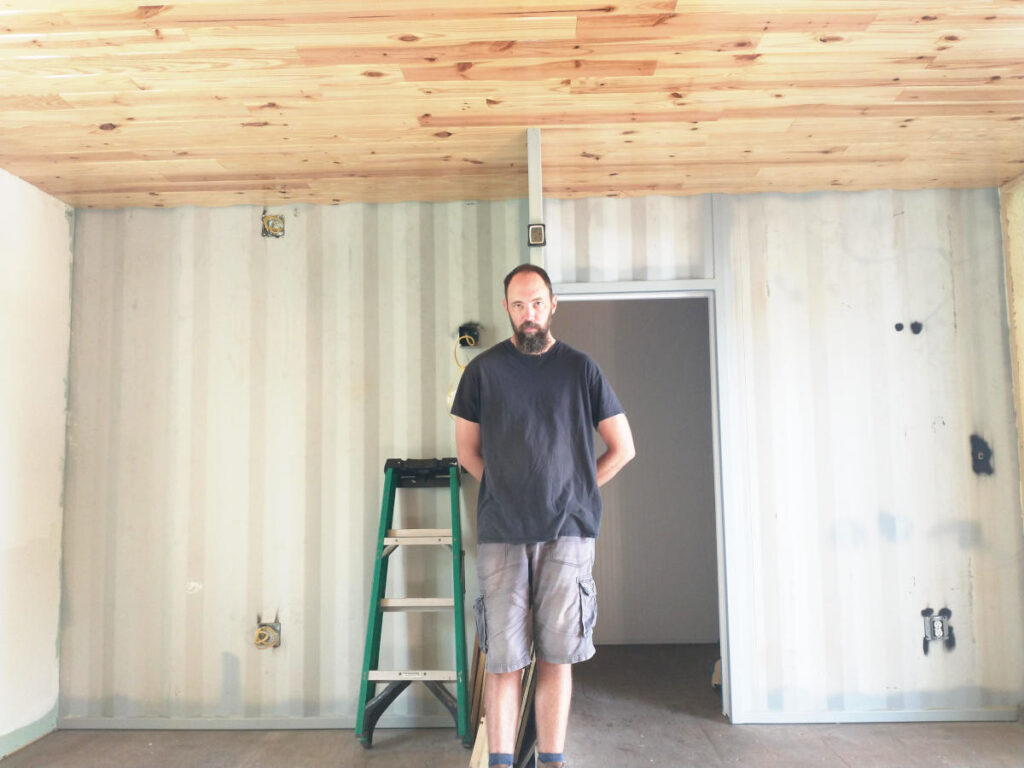
Shellac in the Bantry was 90% applied by me. Starting in the bedroom, the Planner thought he give the ceiling a go. Two layers in, the Planner called it quits. He would have quit sooner but me and the Kid were are the DMV office getting his state issued id. Lord help us all as here is Friday, October 13 and the Kid has officially reached an age where an ID is required. Help us all. And besides, there are other more projects needing to be done that the Planner can do better than me. Or projects I cannot complete at all such as the never ending quest to plastic weld the third water collection tank. To date I think he is on attempt number four or five. Each time the leak is fixed but a different location develops over weeks of water pressure pushing on the side. Move aside let the shellac queen do her thing. As it turns out, me and shellac work go hand in hand. Music on, drop clothes laid down, platforms in place, and quarts of shellac at the ready. Lets go!


Not even the solar eclipse on the 14th could stop me from shellacing. Not that the solar eclipse turned out to be anything fantastic because of the stupid cloud cover. Stupid clouds. Its October, the weather is supposed to be clear, cool, and cloudless. Stupid clouds. While looking at the sky produced less than exciting images, the Dwelling box collected every stage in clear images.

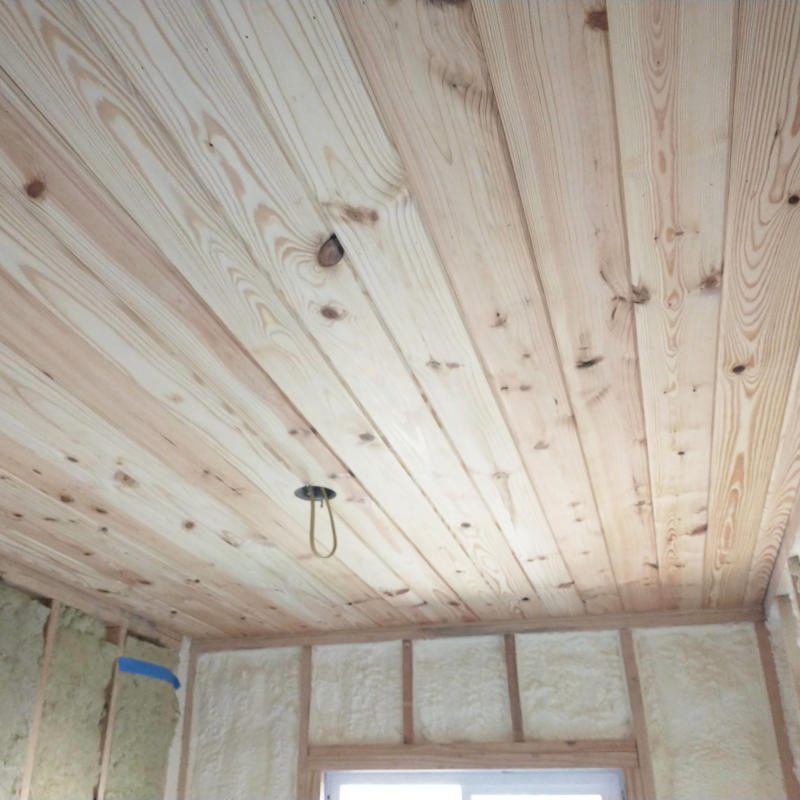
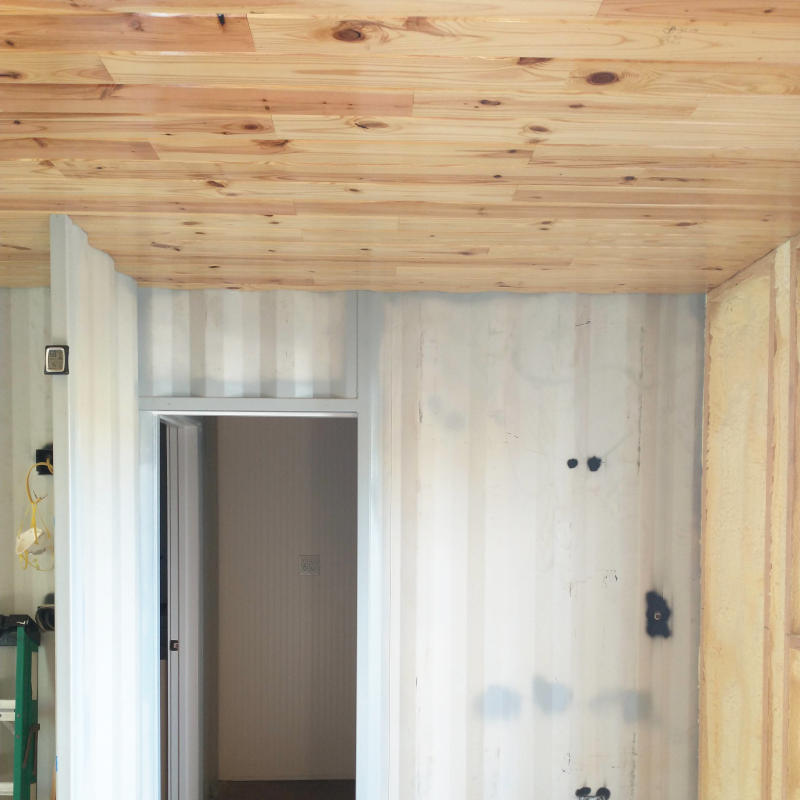
By Monday the 16th I had completed the bedroom, three boards past the bedroom door, and all of the nook. Five layers each. When compared to the raw wood the decision to shellac was clearly the best choice. It adds such as nice warmth to the boards and a nice depth to the color that was lacking.
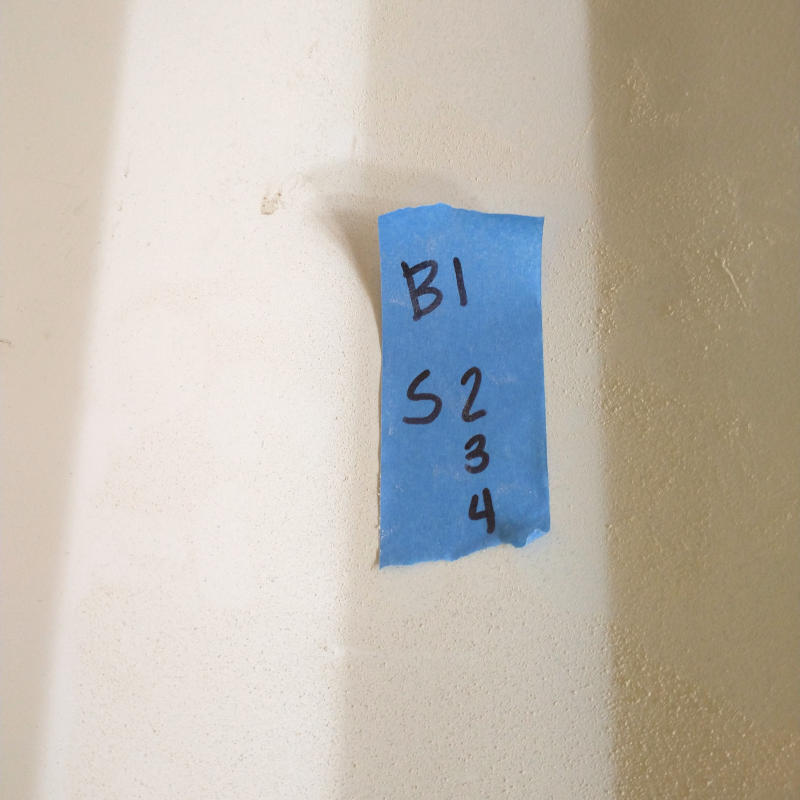

When standing with your head less than two feet from the ceiling, your perspective changes. What looked great from the floor now shows imperfections of installation. Gaps in the butt edges, nail gun imprints from pushing too hard, nails not nailed flushed. Nothing could be done about the gaps or imprints but the exposed nails could be hammered flush. I left notes on the wall as I applied the shellac to remind the Planner where to hammer once the boards were fully dried.
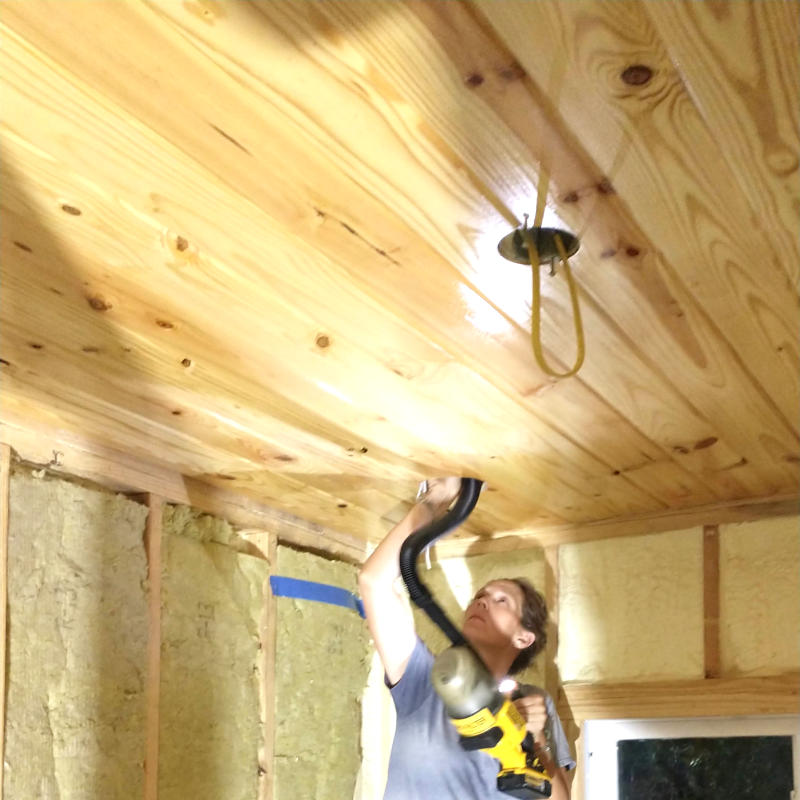
Needing to make more shellac, I took the opportunity to install lights in the bedroom. After having installed them in the bathroom I was confident we could install after dinner on Wednesday. It was just four little lights. The Planner and the Kid cut the holes, I came back with the vacuum to clean out the dust and foam debris.
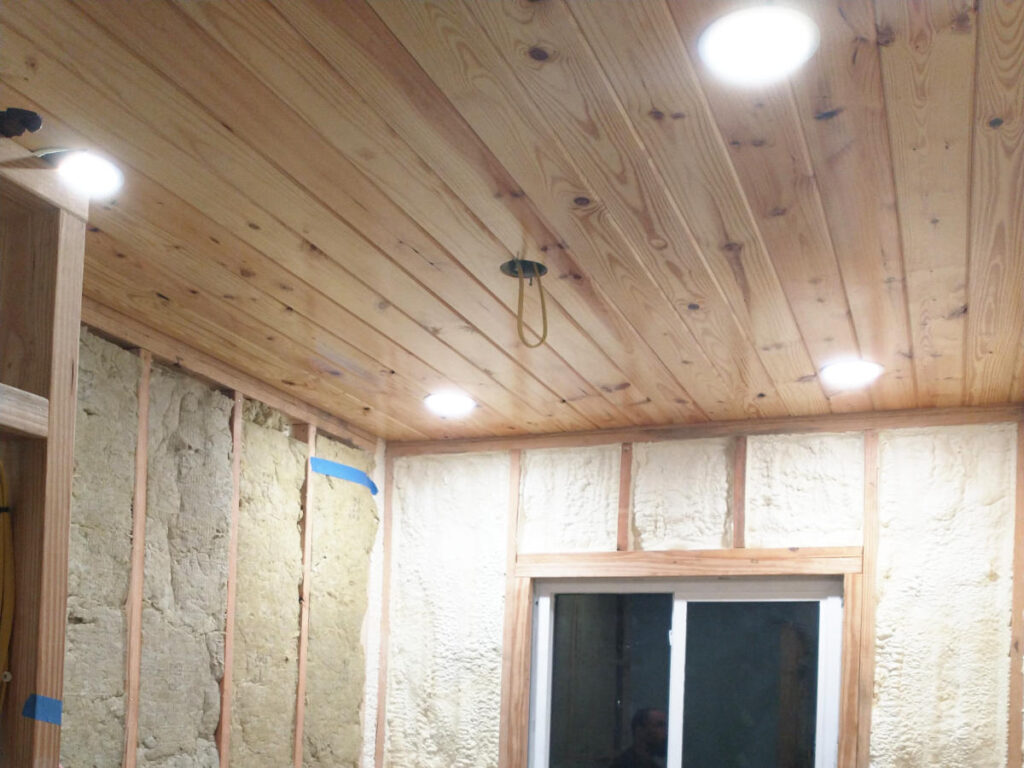
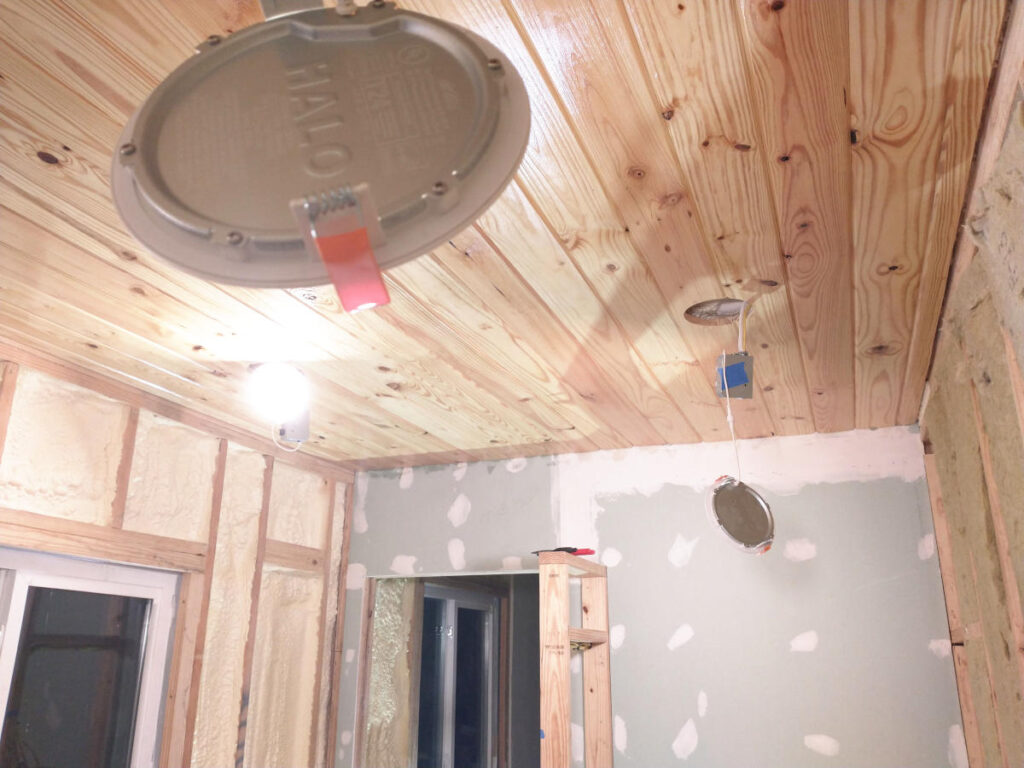
These had to be the easiest four lights to install ever. Just over a hour from start to finish, four holes were cut and clean, and four lights were wired and hung.
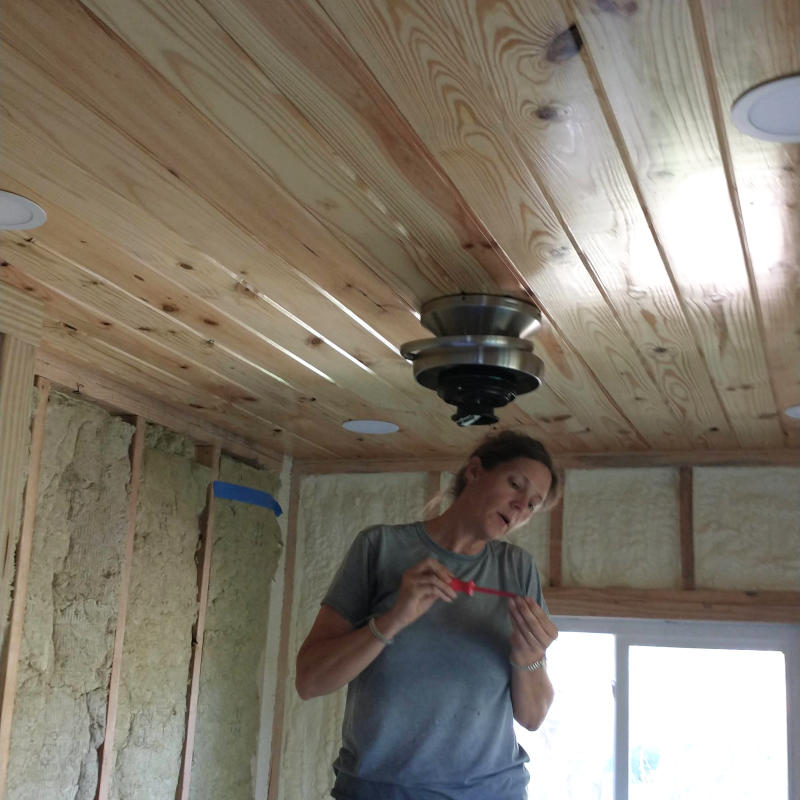

Feeling inspired by the easy light installation, I took it upon myself to install the fan. Donated from the Planner’s mom as she wanted a light colored fan in her kitchen to match the new light colored ceiling, it came with all of the instructions, wire nuts, and battery for the remote. These instructions were clearly written by someone who knows and appreciates the simplicity of LEGO instructions. Only needing a few clarifications, the Planner left me be and apparently only appeared to snap mid-singing pictures as I found these on his phone. The sneak! Look at me go. Sadly the battery was dead and I couldn’t test out the fan speed which would have been nice as it was toasty. Heat definitely rises.

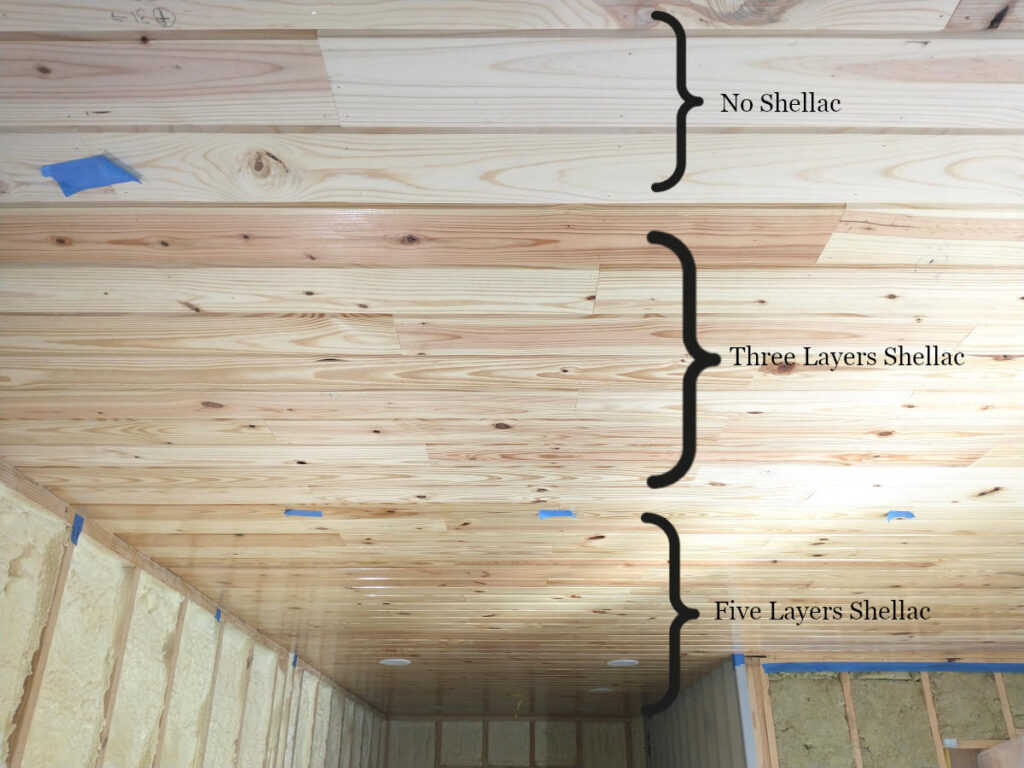
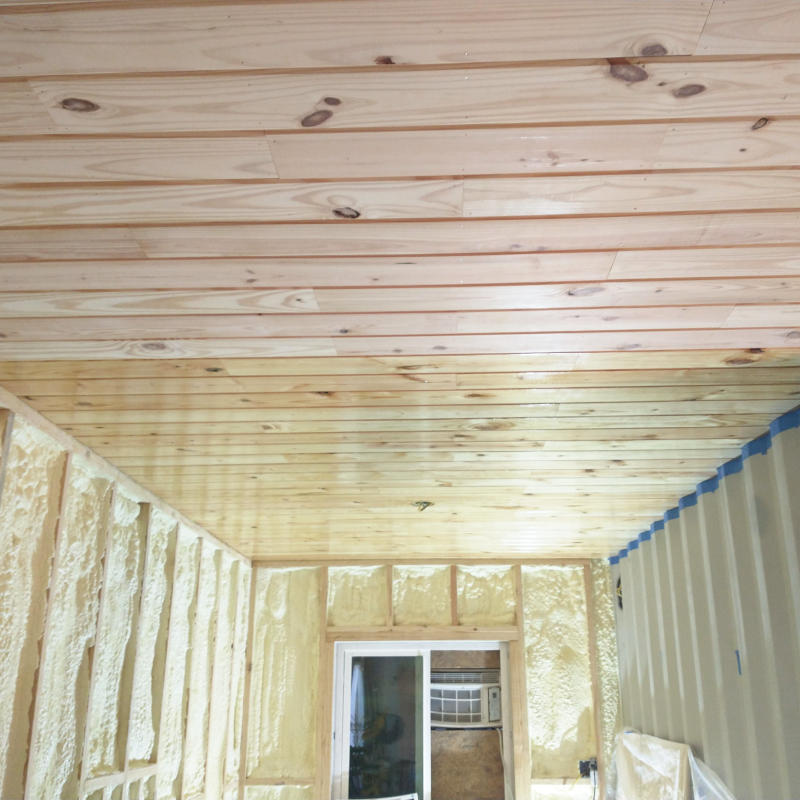
It was my own personal goal to have the entire ceiling done by the end of the month but that did not happen. Work happens. Sailing three times happens. Lights in the nook happens. By the last Sunday of the month, I still half the kitchen area to complete. When compared side by side, the differences in layers are drastic. Five layers in the nook, three in half the kitchen, and then raw wood.
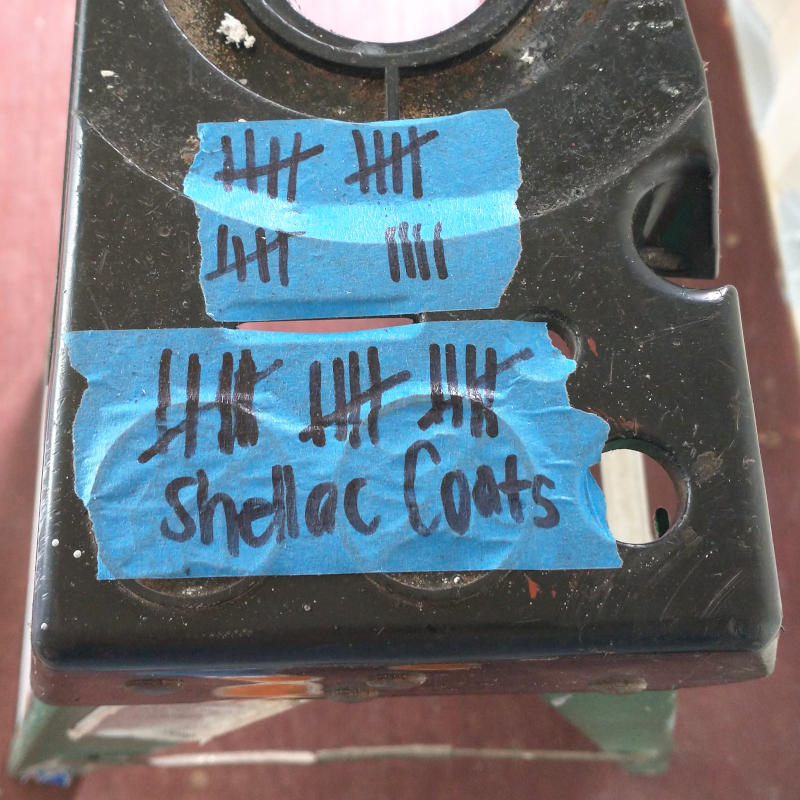
Keeping track of the layers was a serious thing as the difference between each layers is striking. To accomplish this, I used the ladder as my notebook. Nobody was allowed to remove the note. Nobody.
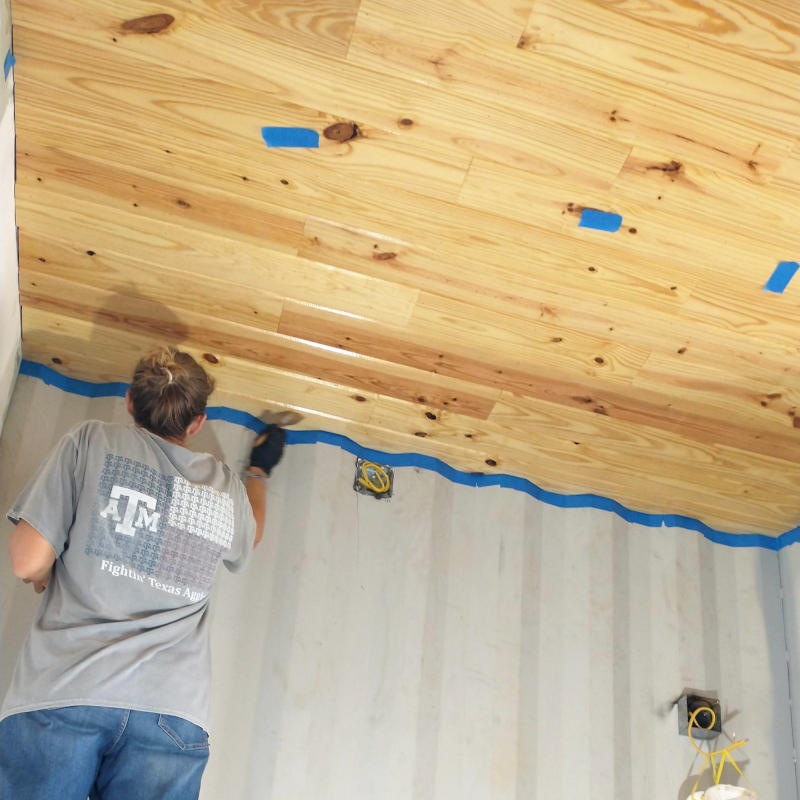

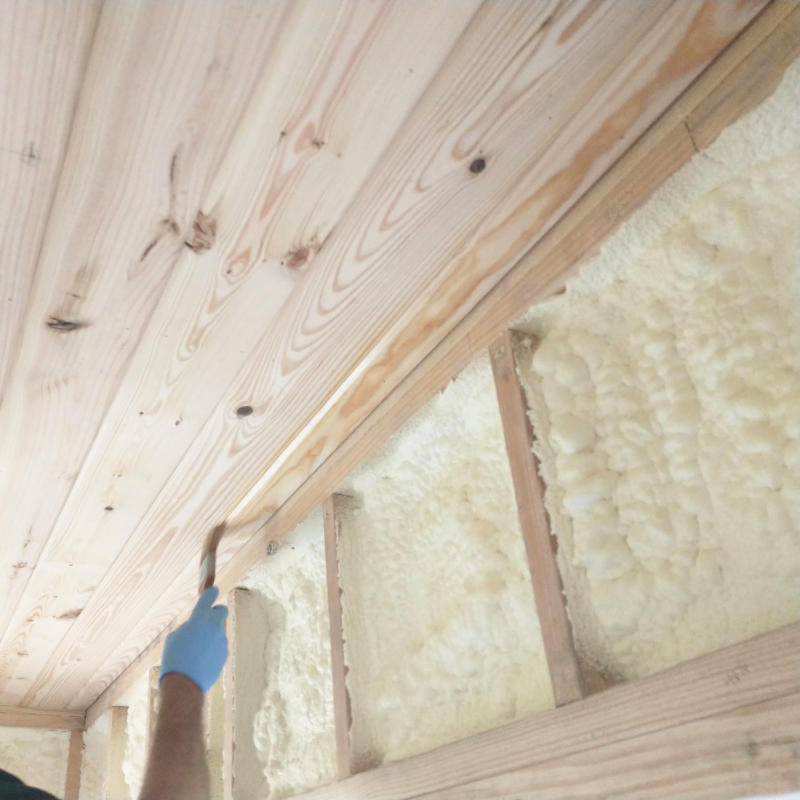
Installing the kitchen wall ceiling boards was the most time consuming of all others and apply shellac was the same. First all of the container wall had to be carefully lined with 2″ painters tape. With gaps between the boards and the ceiling not always the same distance this meant each groove was done one at a time. Twenty plus feet of corrugation taped in four or five inch strips at a time. Time consuming.
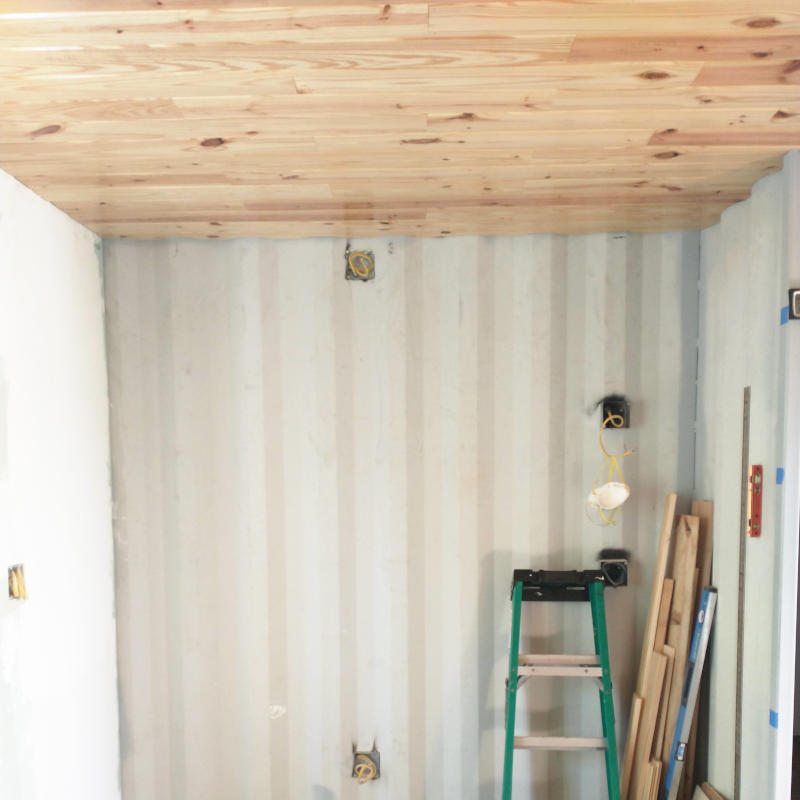
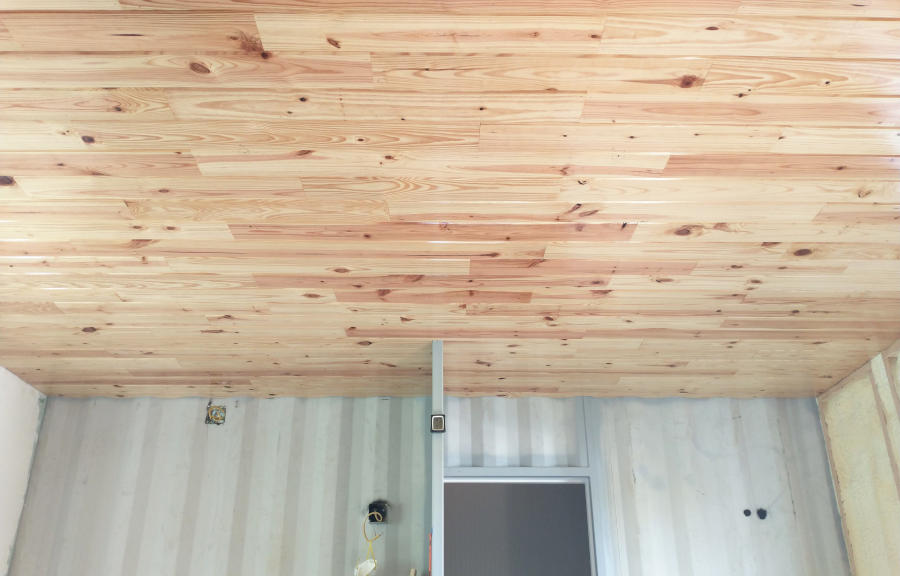
Effort worth the reward. Now that the ceiling is complete, it occurred to me that I should have logged how much time was spent completing the task. Not day by day as this blog but actual hours logged. Staggering. And a side note, I would like to draw your attention to the first picture. After months and months of tools and materials being EVERYWHERE, this is all that remains. No table saw, saw horses with 4×8 sheet of plywood, no air compressors. No shower door gingerly resting against the nook wall with massive pile of ceiling boards sitting in front climatizing to the weather. No platforms, electrical cords, work lights, vacuums. Just one tiny pile of leftover ceiling boards, ladder, levels, and not visible a table saw sled.
Shellac start date Wednesday, October 13, complete date Monday, November 6. Another month here and gone. Where does the time go? In case you are wondering, the thermometer reads 75℉ at 69% humidity.