
Electrically Watered
Planning, planning, and planning. When building a home, no matter the size, shape, or materials, the builder needs to plan (or draw) out every single room. This drawing should include the substructure, the framework, the inner and outer wall materials, window to floor height requirements, door easements and trim/molding style around the door, electrical outlets, water sources, washer/dryers/oven/fridge location, appliance loads, a general lay out of where furniture will reside. Essentially the entire home should have a blue print schematic. If not, building on the fly will cause errors, setbacks, and problems to which there are no solutions. Oh, you wanted to have the bottom of the windows two feet from the floor instead of three? Well too bad. Oh, you needed to have a dedicated water line for the fridge? Well then you better get a five gallon bucket to pull from if you want to use the cold water and ice feature.


Then don’t forget there are rules to adhere when laying out electrical outlets, water flow requirements, and how many appliances can be used on one single breaker. Did you know that an electrical outlet needs to be six feet from any one location on the wall? And I know what your thinking, every six feet is a lot! But I ask you this, have you purchased a new appliance lately? If so, then you know they come with the minimalist length of electrical cord and most are too short to properly reach any electrical outlet. For example, two years ago I purchased a toaster oven whose cord is only 12″ inches. 12 inches! Oh, how limiting those 12″ are when trying to use the toaster oven.
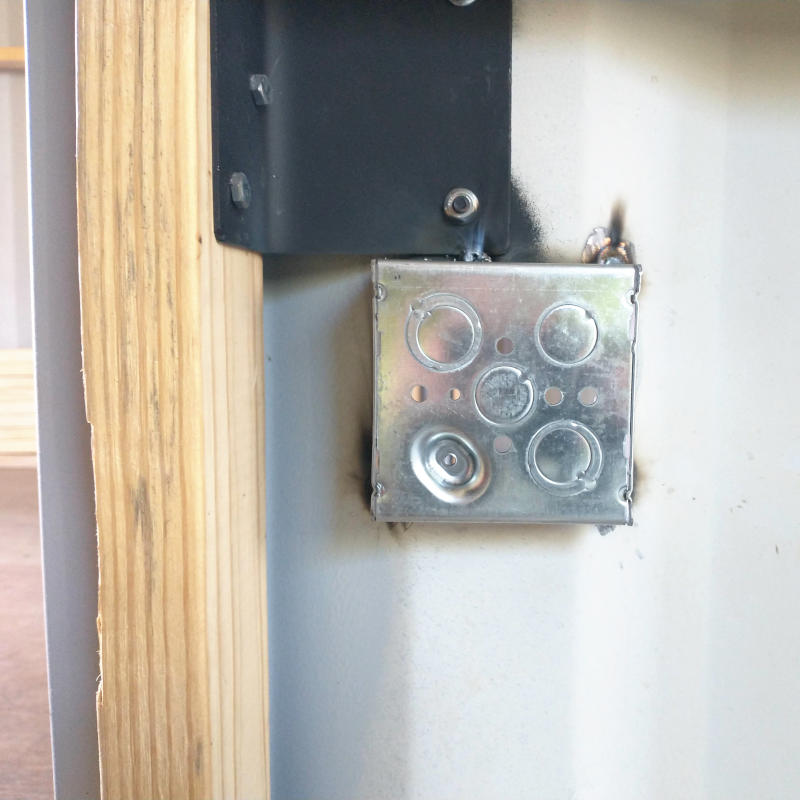
So yes, when building a home, every step square inch must be fully accounted for and then add 20% to be safe. Knowing this and taking into consideration we (I mean me) have no idea what appliances or entertainment consoles would be wanted and where, the Planner tried to compensate accordingly. Right off the back when installing the first metal electrical box it was determined there would be problems.

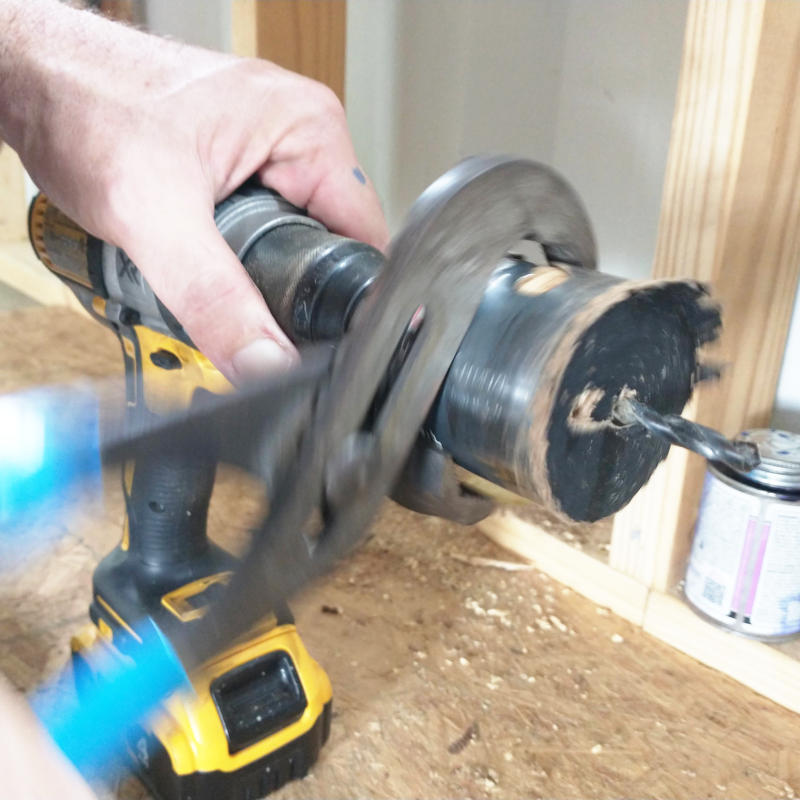
Because sometimes no matter how much planning and prep work takes places, there are just those things that cannot be predicted. Like drilling the 2″ PVC bathroom sink drain hole as close the wall as possible to save space only to realize the box framework is in the way. Or when the same hole was drilled into the ceiling for venting, the plug would become stuck inside the hole saw and requiring a drill to break into pieces so that it could be broken out with a screw driver.

Then the next day when another 2″ PVC vent hole was drilled into the roof for the laundry drain vent, it was discovered that the ceiling joist was in the way.
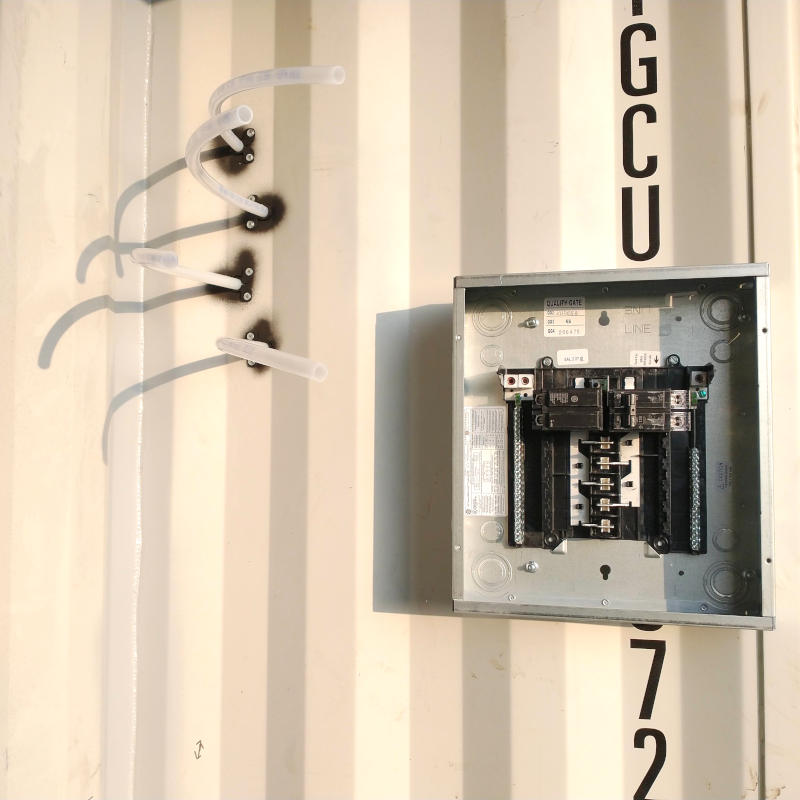
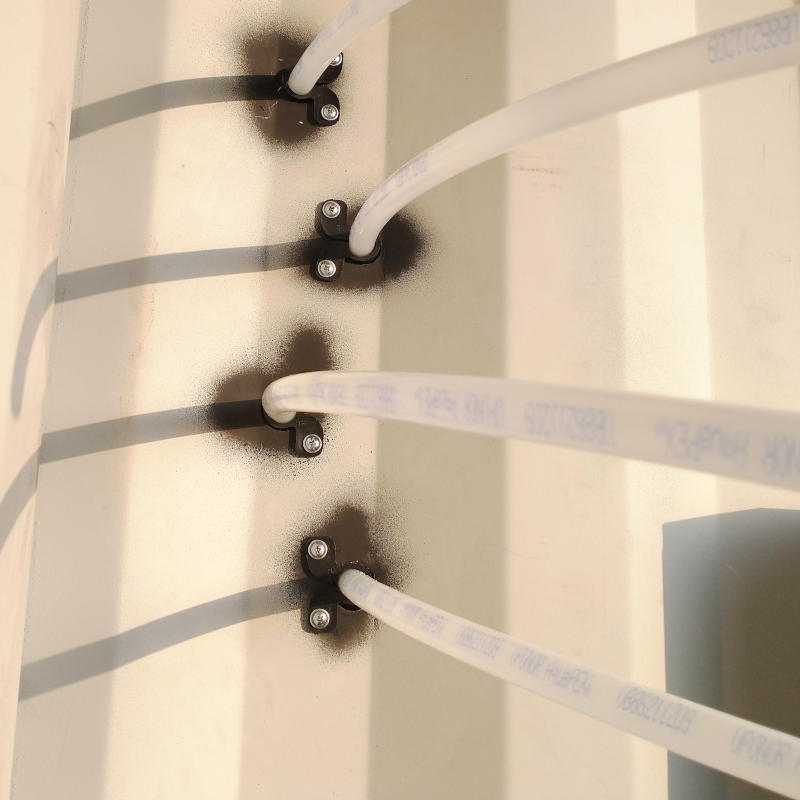
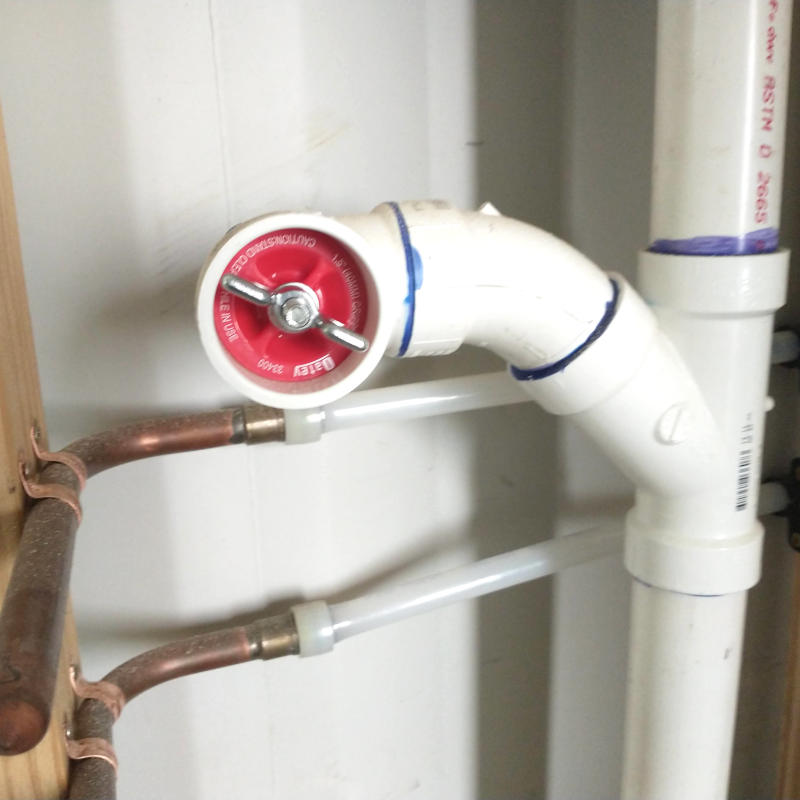
Mostly planning allows the knowledge that this intricate water system from the water heater room into the bathroom will not only fit but look clean and professional and absolutely stunning when the setting sun shines through the mess of tubes.


So with the electrical and water lines placed, all there was left to do was drilled holes, staple wires, and have some fun. Creepy Planner.

And with all plans, they are subject to change and revisions. When the PVC electrical holes are drilled in the water heater room only to discover that once again they were too close to the underside framework, one makes modifications to the box framework itself.

Don’t worry the box framework will not be compromised by this 3″ missing piece. Or the piece from the first framework in the way of the hole.


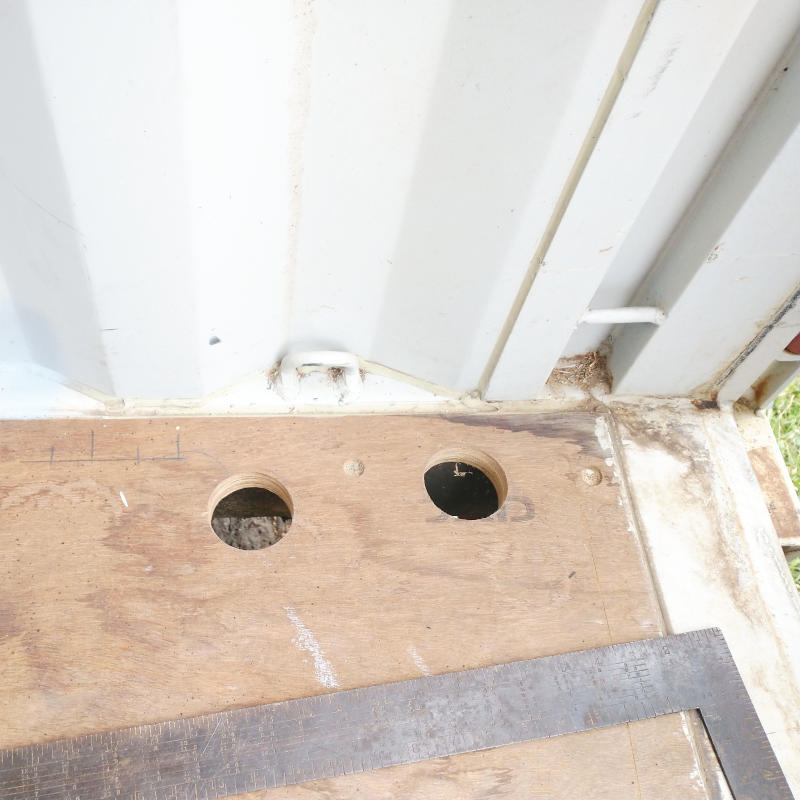
And when the laundry room is completed and you are standing back admiring the view only to realize there is not a port for the dryer vent? The already installed wires and PVC are covered and a hole is cut, A hole that is not square.


Don’t forget the ear protection! Cutting on wall is one of the loudest operations. Loud both inside and out and even with hearing protection it is loud. Banging on a metal plate inside the box is not near as loud as simple cutting on the box itself. it is the oddest thing.


With all the water lines installed and routed to their final location, a 24 hour water test was given. When asked why so long if the lines are pressurized, the answer was because the water line contains air and the air line insert will allow the air to pool at the relief port but it takes time for air to move in a contained system. Huh. Guess we could apply a vibratory system to the whole system shaking the bubbles free. Hurricane force wind? Na, I am good without hurricane winds and there is plenty of time left to allow bubbles to move on their own.

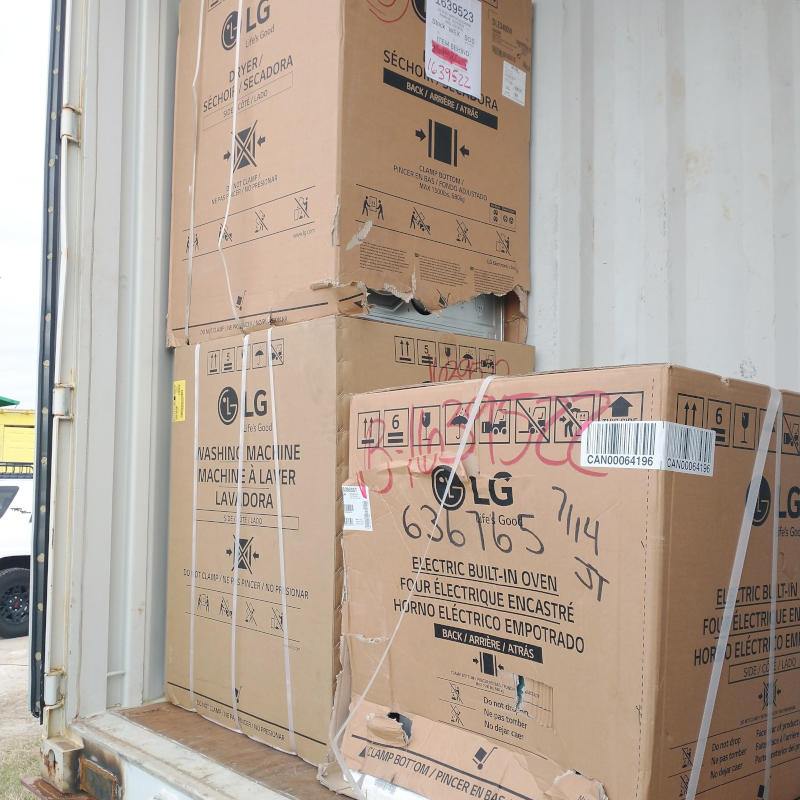
Not ten minutes later while the washer dryer and oven were being delivered a slow drip at a shower line connection was a drip. Couldn’t see the drip but there was wet spot on the floor clear as day. And let me stop here to say that this was a very MOMUMENTAL day for me as I have never owned a washer and dryer. Yes, I know, a fully functioning 40+ year old adult living in modern America without a washer and dryer. Crazy. Since the day I left for college at 20 years old, I have been using laundry mats, family and friends washer and dryers, and if needed, washed by hand and hung to dry on railings and wash lines. MY VERY FIRST SET!

Luckily one of the advantages of using PEX is that it is easy to install (with the correct tools) and easy to fix when you need to move or add lines or did not set the fittings correctly.

Caps applied to the sewer lines to trap the gases from escaping into the dwelling, and viola, the Dwelling Box has been electrically watered. One final mention as to why a house should be completely drawn out in CAD before the first framework is installed. Documentation. Once the walls are in place there are no records as to where the electrical and water lines run. Needing to cut into an existing wall later down the road is like playing Russian Roulette. Good luck. To help document, a million pictures were taken and then the Planner got smart and video recorded one end of the house to the other following the lines as they moved through the framework and ceilings. Smart man.
Now to install electrical boxes, water fixtures, lights, fans, appliances, and more importantly paint the dryer vent box as it has already rusted in this salty environment. Just kidding, up next is insulation. And painting the dryer vent. Eek!