
Spray Foam Prep
Having all the electrical and water lines, sewer outlets and vents, and metal junction boxes in place the next step is clean up work in preparation for spray foam work. Once the spray foam is installed it will be difficult to make changes. This applies not only to the electrical and water lines but to the location of wall junctions, framework, and any other elements buried.
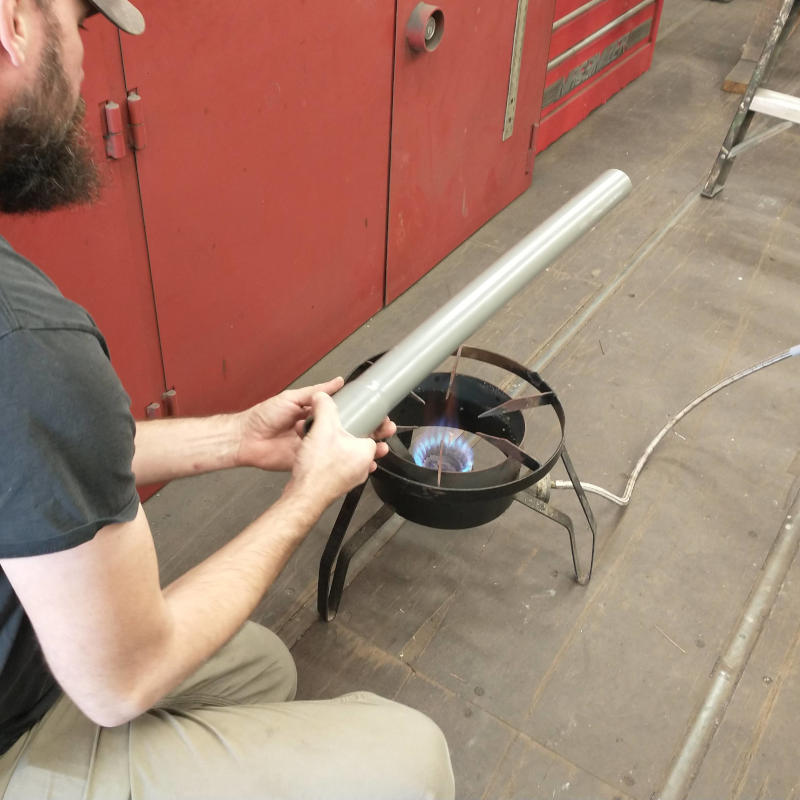
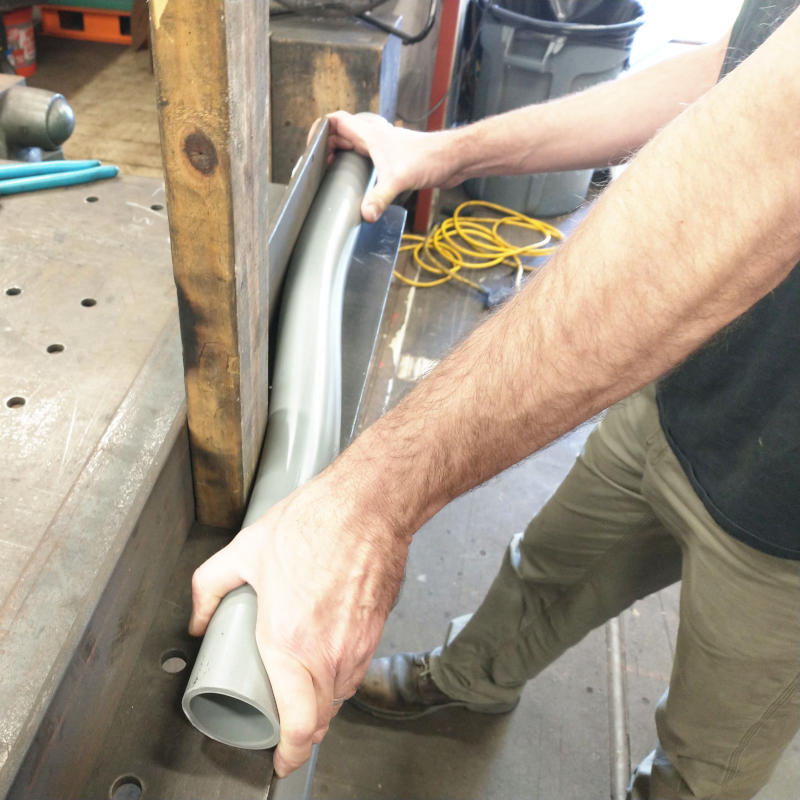
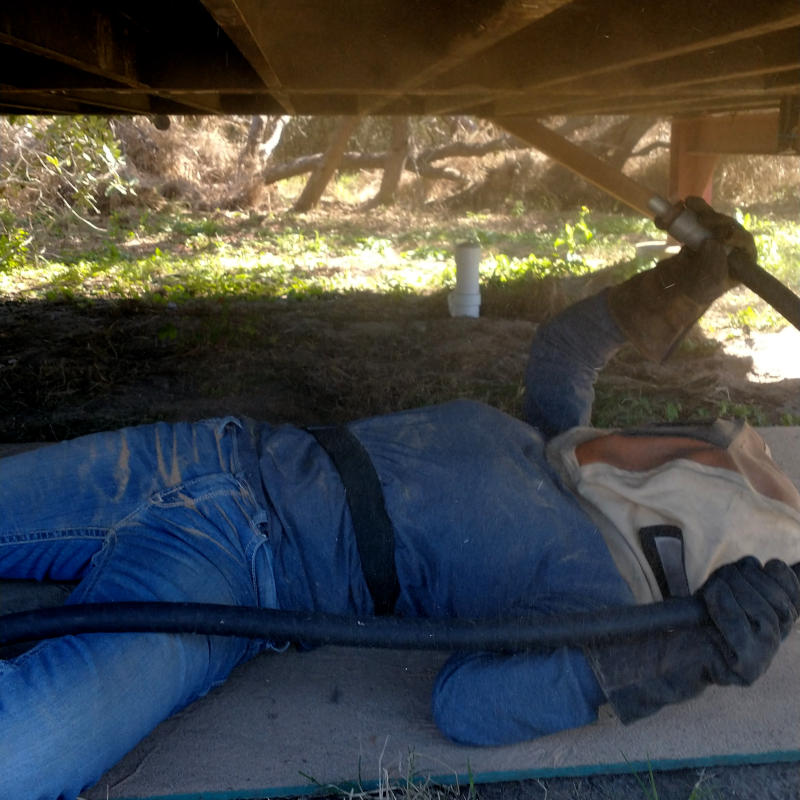
Using the outdoor propane burner, a four foot 2″ PVC was formed into the correct shape to attach the electrical junction box in the water heater room to the electrical line from the power pole. Not ever having done this, the procedure was simple enough if you took your time. Manipulating the PVC to get warm but not melt or burn is slow process. The PVC must be rotated without twisting and then once warm must be secured into place while it cools. A couple of more tweaks and it fit correctly.


Back in November, the Planner closed in the openings between the boxes and the framework. Some where to close off areas where bugs like to make their homes, others were the original lifting point pockets, the rest were to create walls for better spray foam coverage. The space between the end walls and the framework created the most work as it needed support pieces to allow the flat plate to be welded against.
After having completed the holidays, the electrical, and the water lines, we returned back to underside of the boxes to remove the small bits of rust, the vast amount of dirt, and any debris that has accumulated over the years. This was made easy by usage of a sand blaster. I was not worried about removing down to white clean just a quick washing. However, if I saw a really rusty section that was knocked out as preventative maintenance.
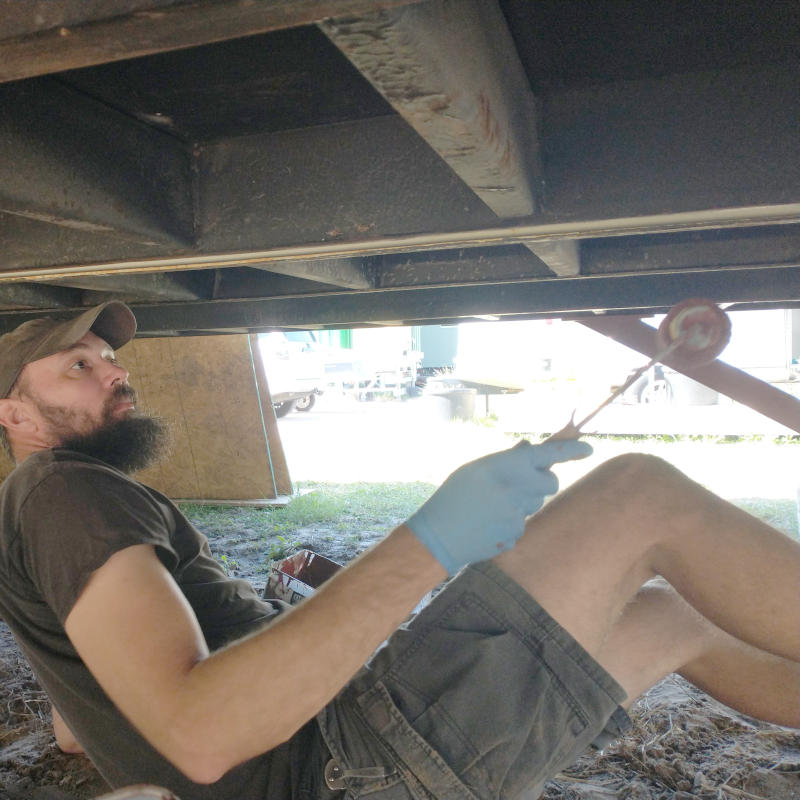

Since I did the dirty work, the Planner did the messy work. All of the understructure was painted with red rust primer to add an additional layer of protection before the foam is applied. Having said this before I am saying it again, we should have built framework to the dwelling taller to allow for ease of movement and storage under the boxes. When planning the boxes I thought it would be cool if the Shop Box, the Work Box, and the Dwelling Box had their roof lines at the same height. In hindsight it doesn’t really matter as the Dwelling Box will eventually get a water collection over roof and a porch that will obstruct the view across the yard to the other boxes anyways. Oh, well. Next time.
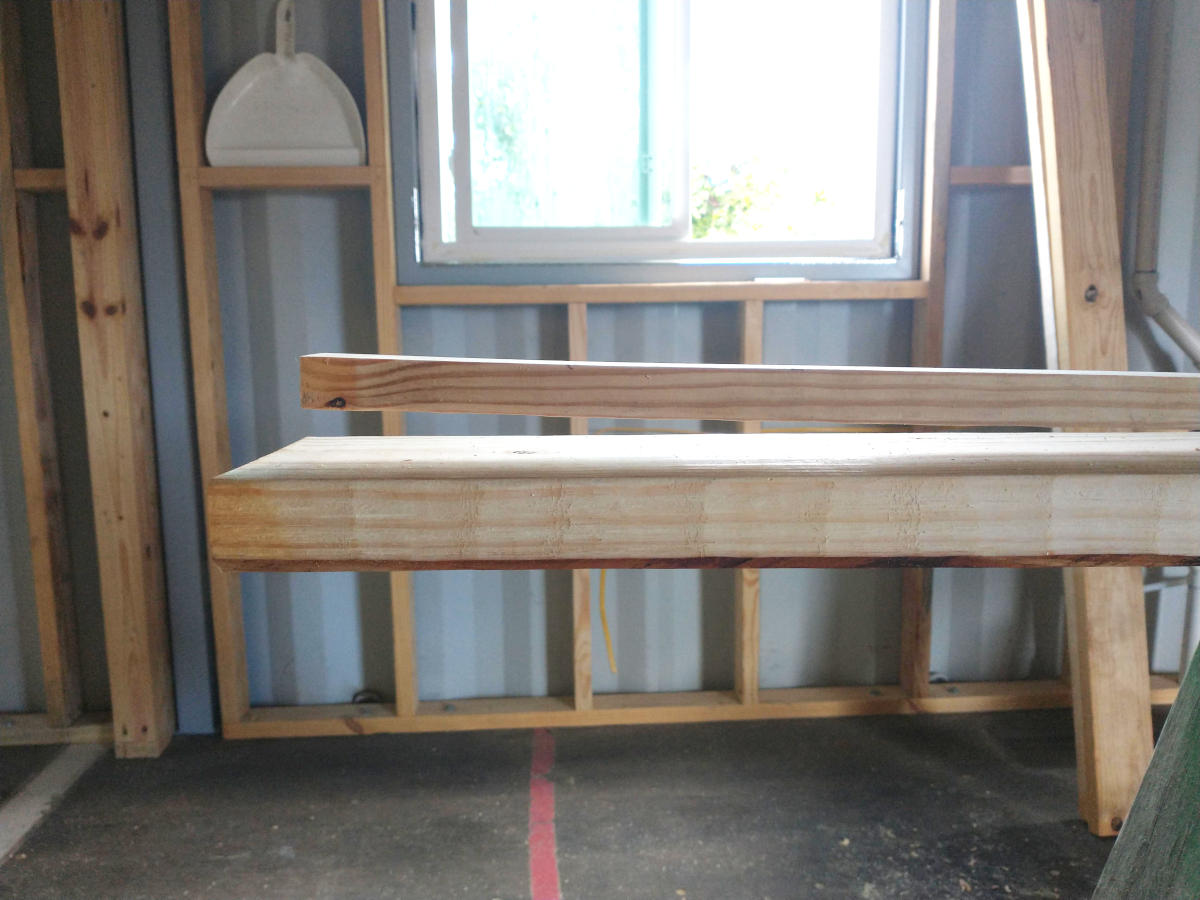
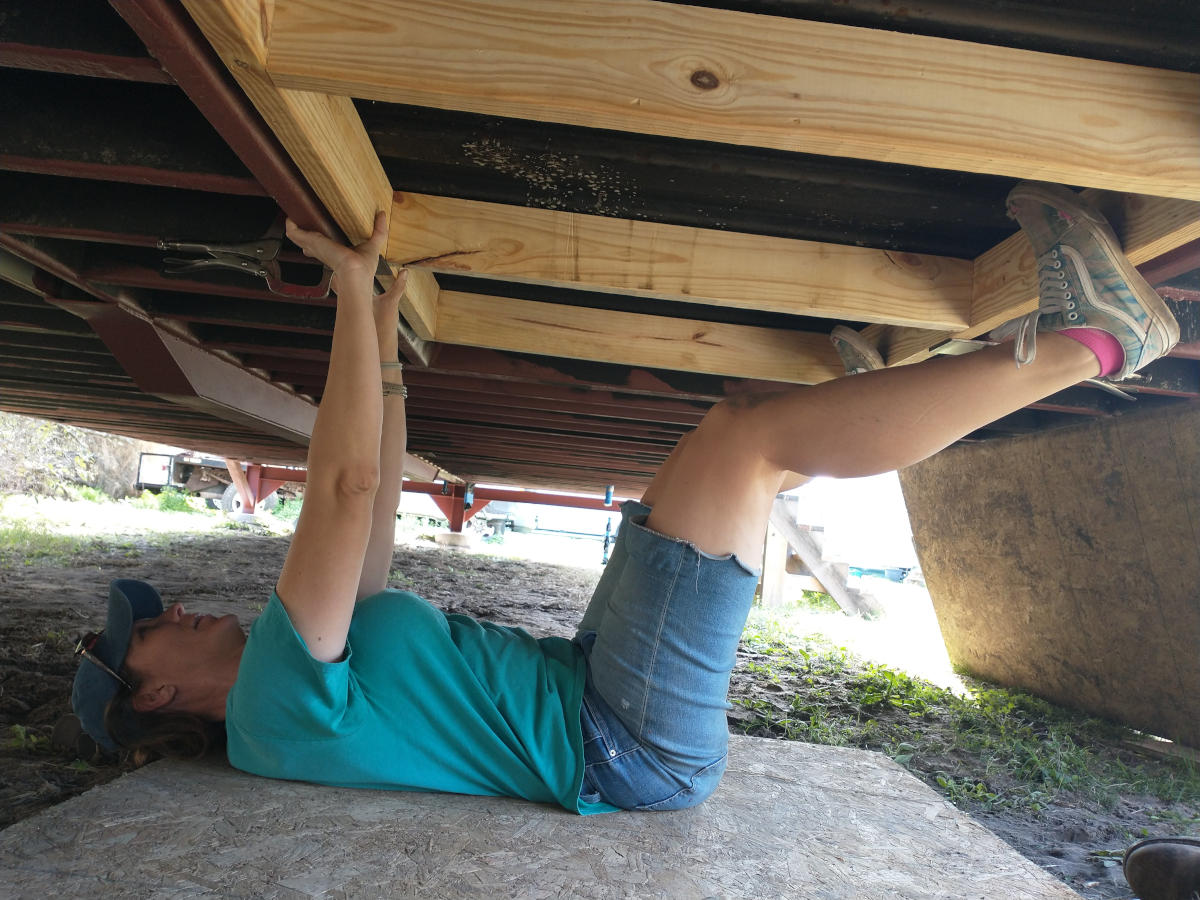
While painting the Planner decided the area under the boxes metal plate should have additional framing for the foam to spray against. Cutting these 2×8 boards into desired width exposed how crappy modern lumber is due to the nature in which trees are grown. Look how much the removed portion warped immediately upon trimming. As I am not capable of running the drill with self tapping screws, I held up the world instead.
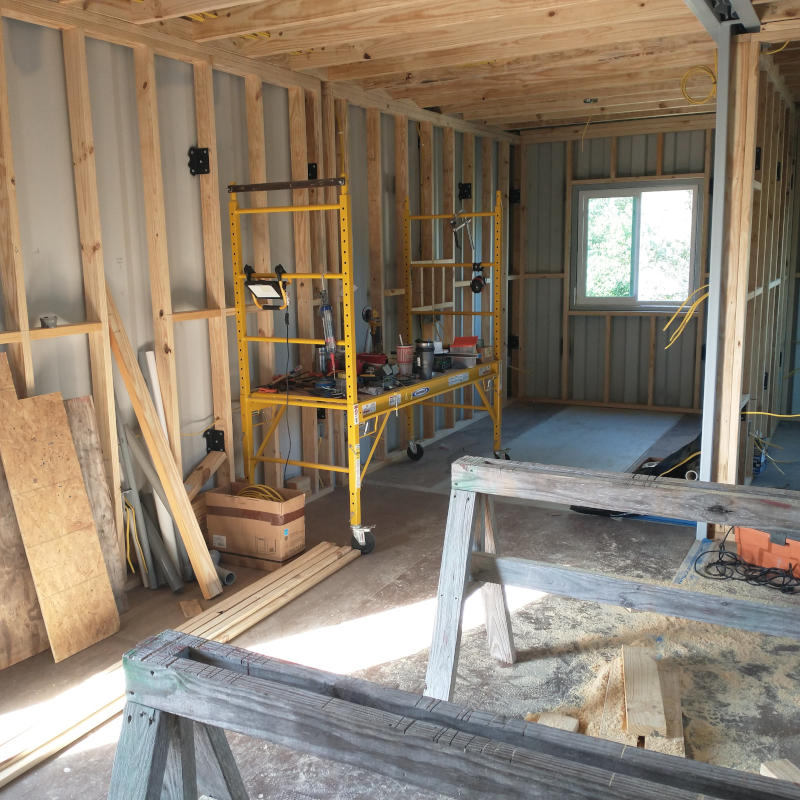

After construction equipment relocation, several sweeps, a vacuum, and some mopping, the Dwelling Box was prepped and ready for spray foam. Now we wait as the crew was delayed for two full weeks! Good grief, what will we do in our free time?

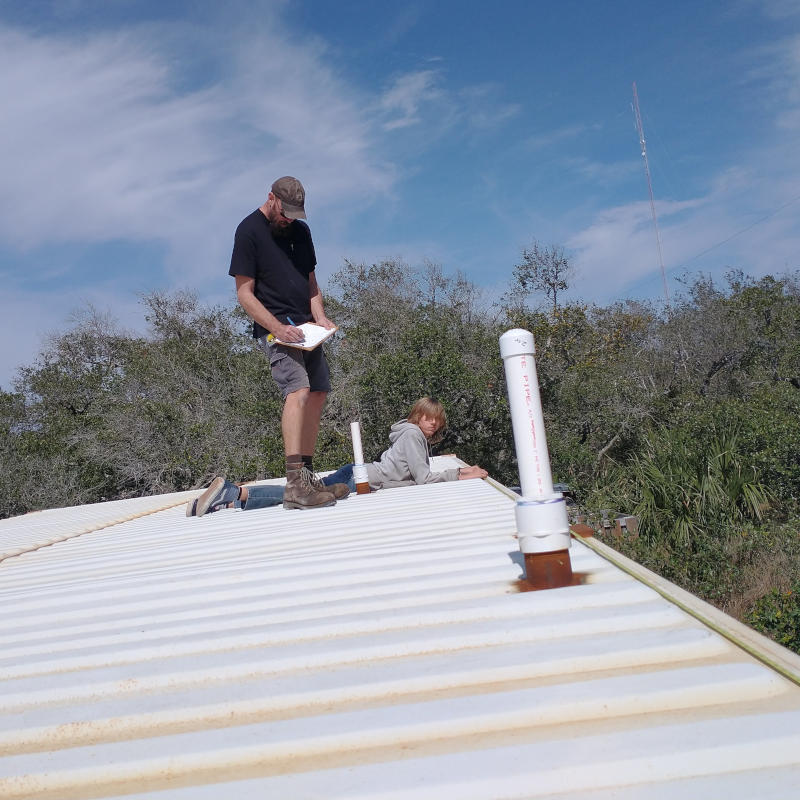
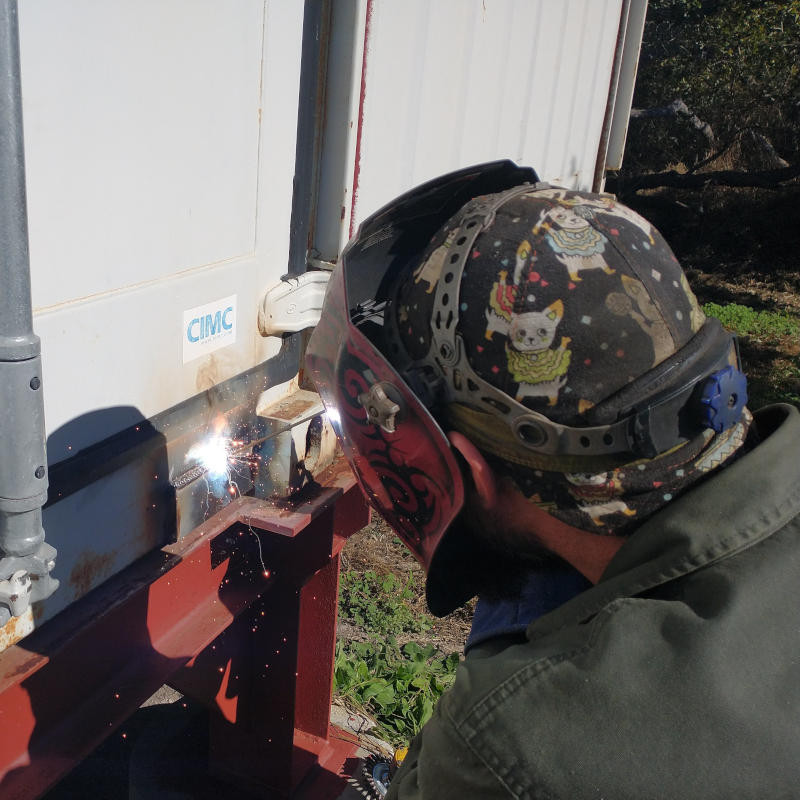
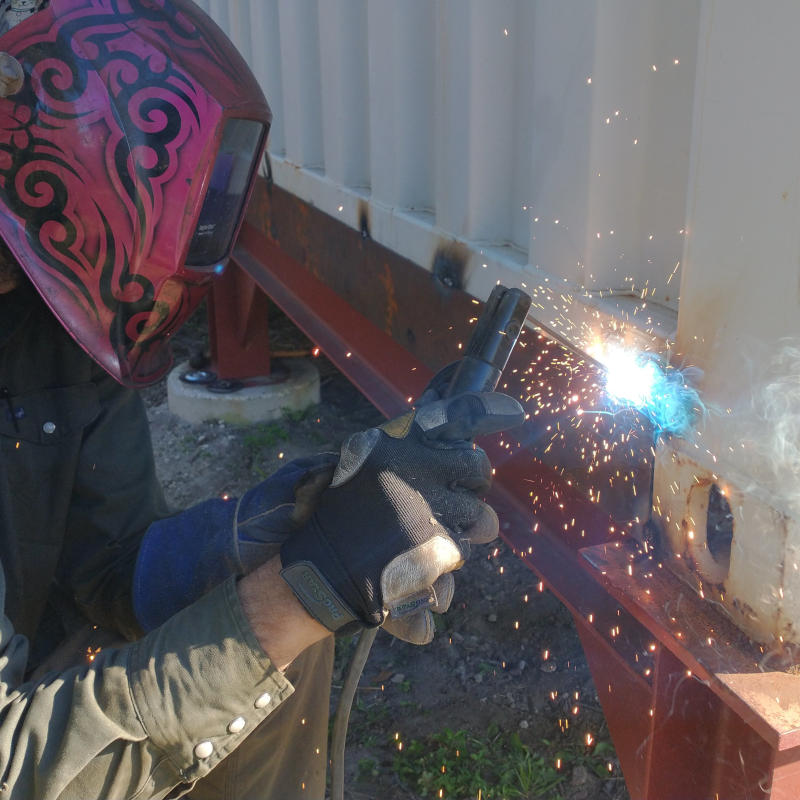
The boys practiced welding and reading a tape measure. Sometimes the Kid amazes me with the things he can do like these welding beads. He dug out the squares, tacked the corners, and then practiced his beads. Pretty good for so little experience. Then he follows those days up with simple tasks made difficult. You know, reading numbers. See that look? That’s the look I received when asked the length. Still not sure if it was “I am having trouble reading the tape” or “ugh, my parents are such idiots”. Teenagers. Same facial expressions with so many meanings.
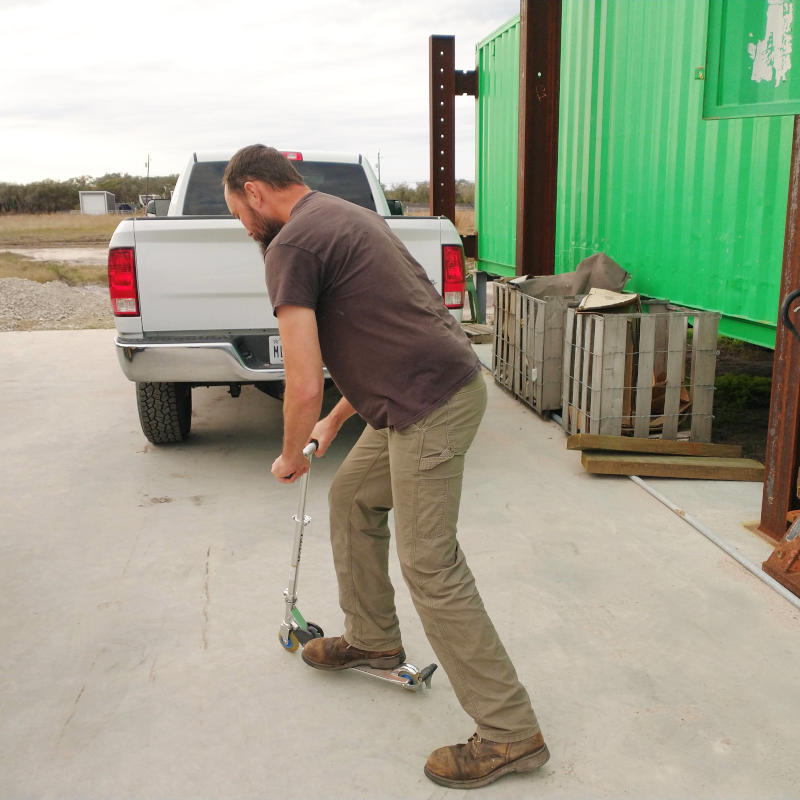
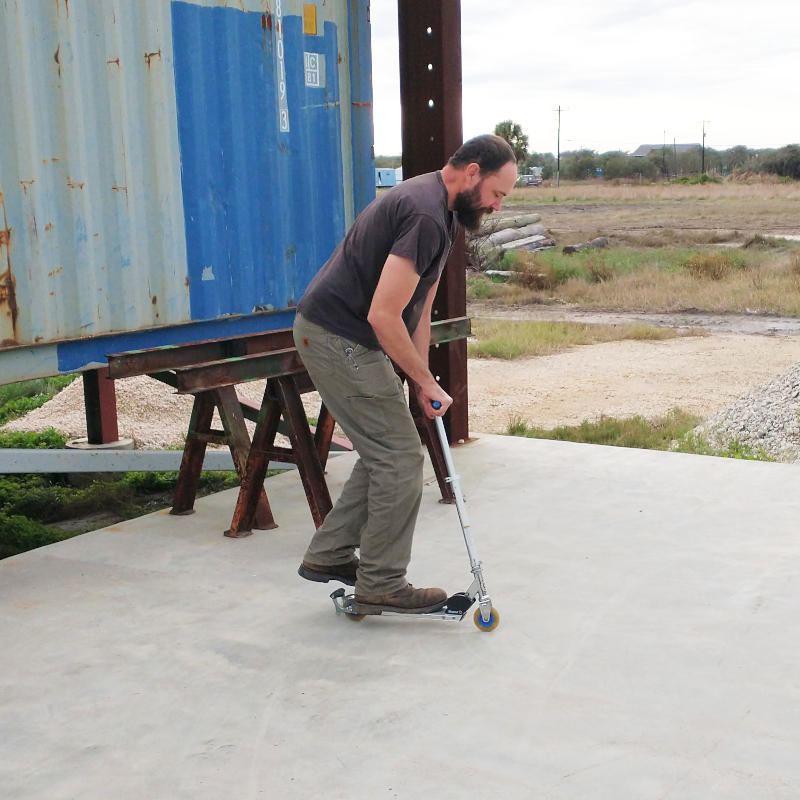
With the learning done it was time for play. And no, you will not see me on a scooter. Apparently it is because I am boring.