
Shower Base
According to silly weather sayings, March is supposed to be “windy”, or “in like a lion out like a lamb” “or if you prefer the quote by Ralph Waldo Emmerson instead “….savage and serene in one hour” which is really about life and nothing really to do with the weather. Whatever cute little saying you like, March is supposed to be the gateway to spring, not the dead of summer. But I guess straight up summer is to be excepted since winter never came this year. Oh sure, there were a couple of cold days but not cold enough for freezing temperatures, not cold enough to stop wearing shorts, and definitely not cold enough to break the heat cycle and kill the bugs. At this rate summer will be another record setter. We. Are. Going. To. Die.

But wait what was that, a cool front came mid month. Not a moment to soon because the heat was ridiculous. Cool fronts are necessary evils. They drop the temperatures to something workable while simultaneously dropping the humidity causing all residents to become mummifed. One simple cannot drink enough water to offset the lack of humidity. Drying out is a chance we are willing to risk for temperatures in the lower 80’s. Once the cool front passes and the wind returns out of the south the humidity comes right back making the temperatures feel colder than they actually read. Lake Michigan has snow effect, the coastal bend has wet cold and if the winter snow birds from Canada are to believed the wet cold is worse than any snow cold. Worse is when the “cool” front blows across dropping the humidity to desert levels without enough force to drop the temperatures resulting in an increase in temperature. This happens a lot actually. Ugh. So much for said cool front.


While wishing for cooler temperatures, the walls were finished taped and floated. This is something that takes a significant amount of time to complete when A) the person installing does not have loads of experience and B) the walls were not straight due to the framework not being plum with the world. Note to self, ensure framework is flush. It is better to lose space in the main living space to ensure the walls are flush, flat, straight, even, level, square, workable.
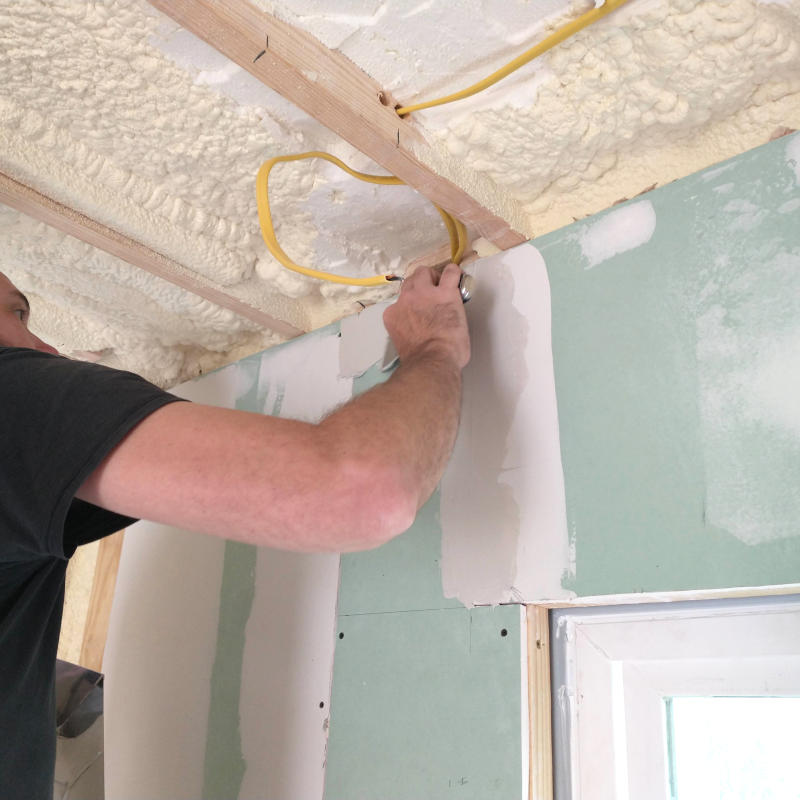

After completing the bathroom, the pantry, and the one bedroom wall, the Planner was still very unhappy with the kitchen wall and is debating removing the sheetrock and starting over. He says if it looks like crap now, then adding tile will not hide the faults but instead exacerbate the errors. His goal was to have the kitchen look as good as the pantry or the bedroom. Luckily there is time to debate this as kitchen tile is one of the very last steps to dwelling completion. Deciding to remove is important as the kitchen wall is the focal point when entering the Dwelling. I want my guests to be amazed at our hard work, not shy away from comments with meaningless nothings about the color of the floor.

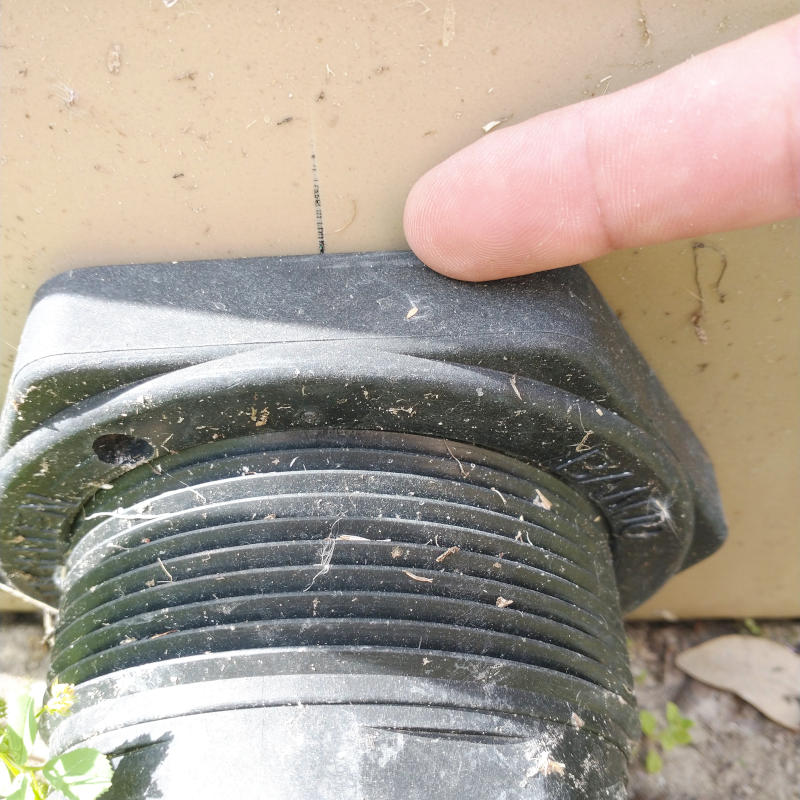
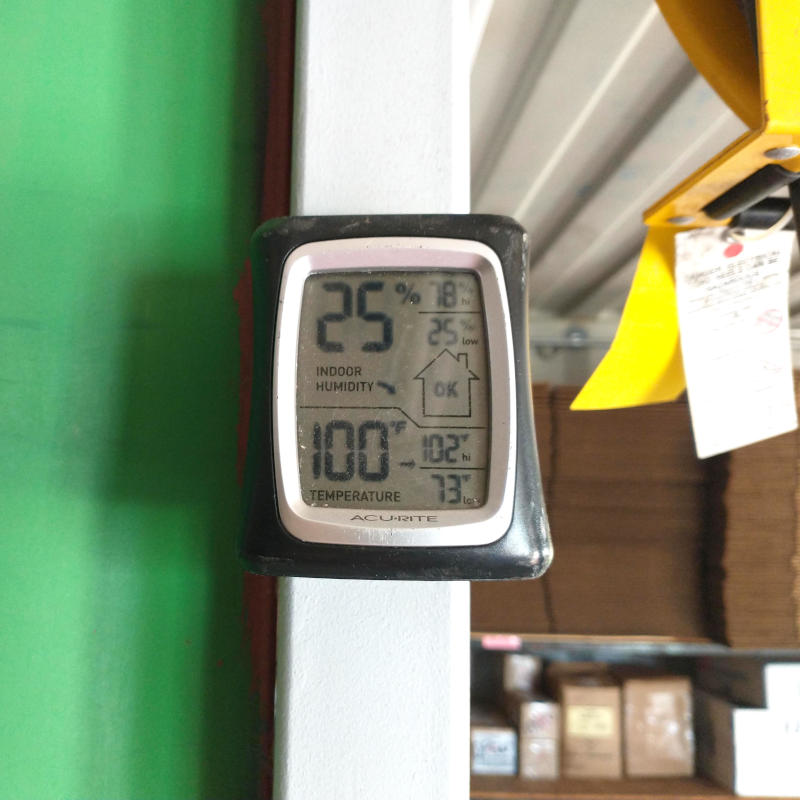
As I was saying, taking a few weeks to tape and float and work on various other projects that reared their ugly head such as a busted window in the bathroom resulting in the gas seal leaking out and a crack at the water tank fitting resulting in the loss of hundreds of gallons of water, the Planner finally got back to working on the bathroom.
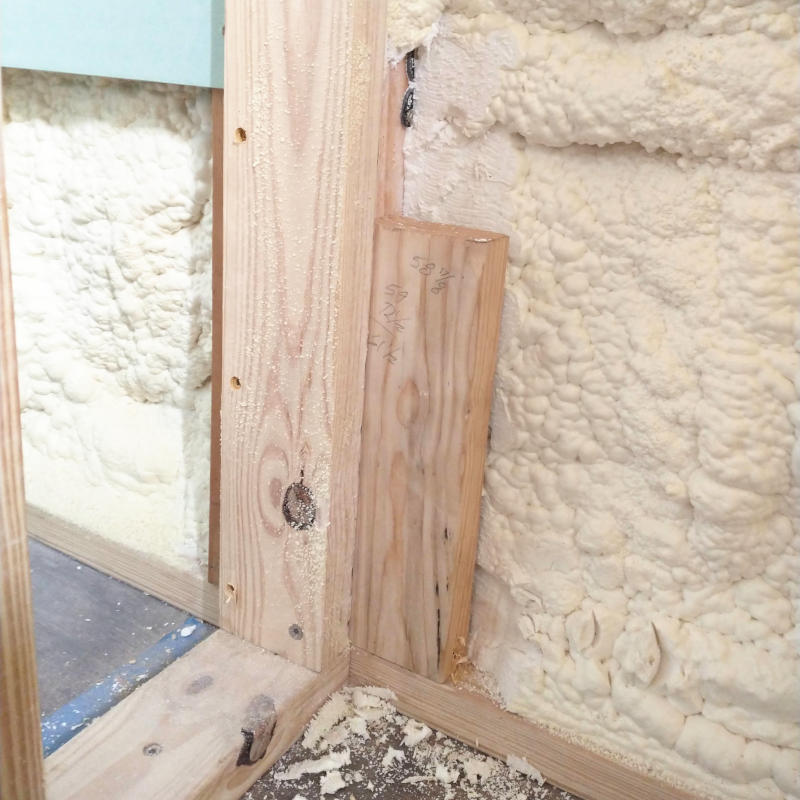

The shower base to specific. First more foam was removed to allow for the placement of a modified 2×6 the entire length of the shower wall. A backing board was needed to support the hardibacker and there was not any support for the wall. With foam removed the sections of 2×6 were installed and the 3/4″ plywood was attached to the wall. Second, the floor under the shower base it at the intersection of two sections of flooring that have become unlevel over time. Using a flapper disk on the hand grinder, the floor was leveled. Some areas was just a quick brush across, others required the floor to be sanded some distance away from the intersection.

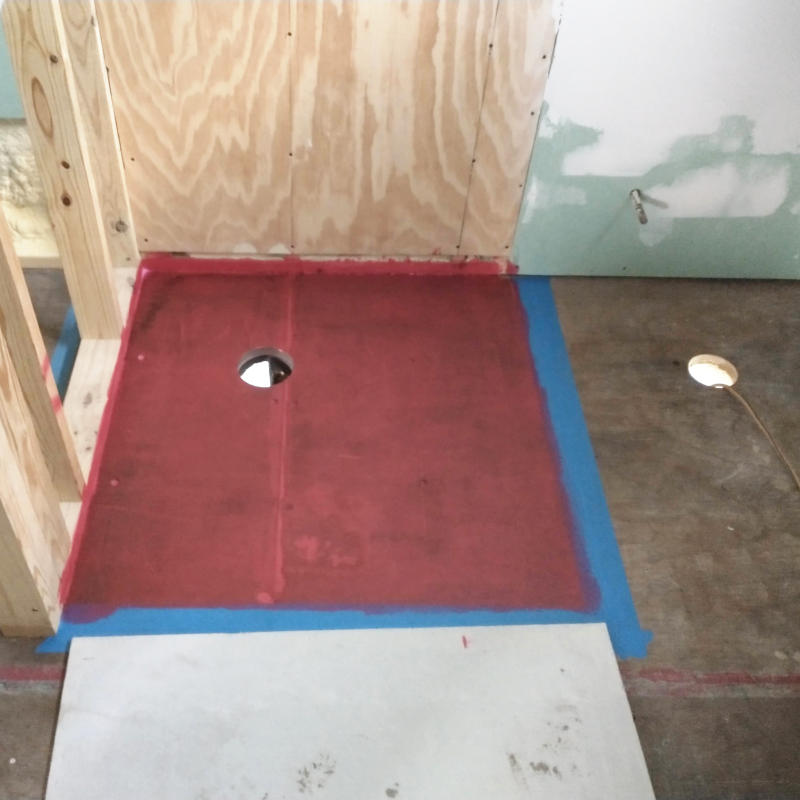
Next, the section under the shower base was measured out and then Red Guard was applied to help against moisture on the wood floor. Several layers of Red Guard were applied over a couple days to ensure the correct thickness was achieved.
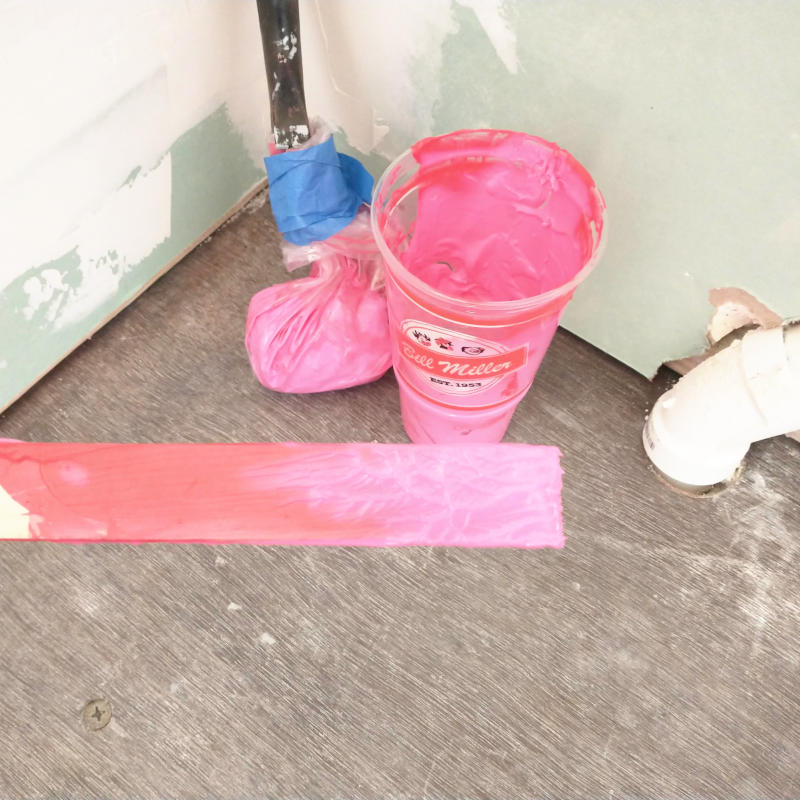
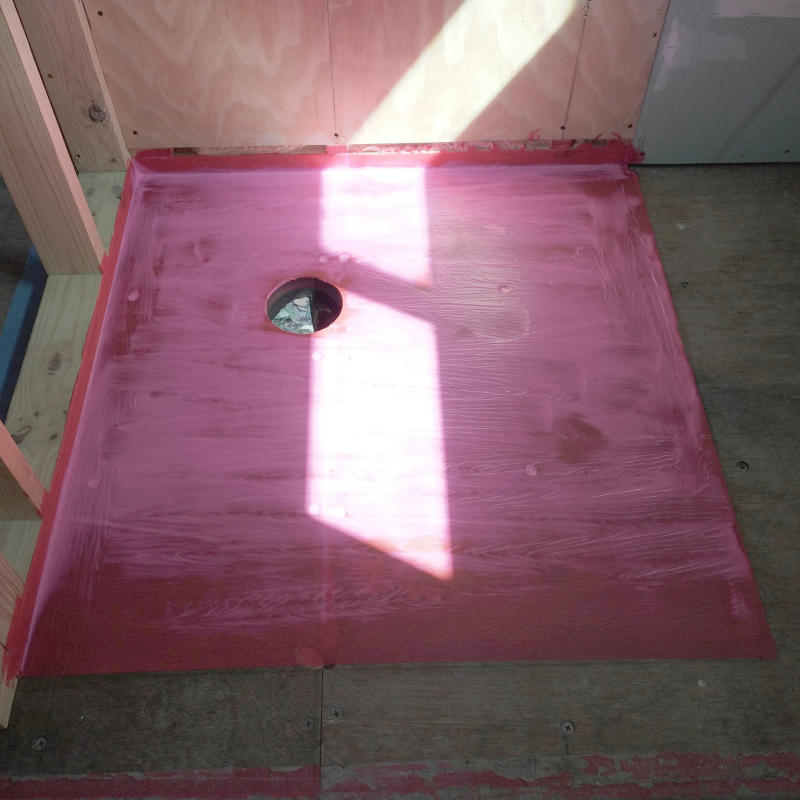
This stuff was crazy hot pink and thick like Elmer’s paste when applied and then dried into rubberized, dark red coating. It could be painted on, rolled on, our poured and spread out with a trowel. And for all the chemical product this is, it didn’t really have a smell.

And guess what? A cold front came while needing the warm temperatures to apply the Red Guard. Not a cold, cold front but one that dropped the night temps into the mid 40s and kept the day temps in the low 70’s. Not cold enough for winter clothes as the boys didn’t even put on a long sleeve shirt just pants. Unlike me who had on pants, t-shirt, long sleeve shirt, vest, and a fuzzy hat. Or the cat who had to be wrapped in a blanket. Poor kitty.

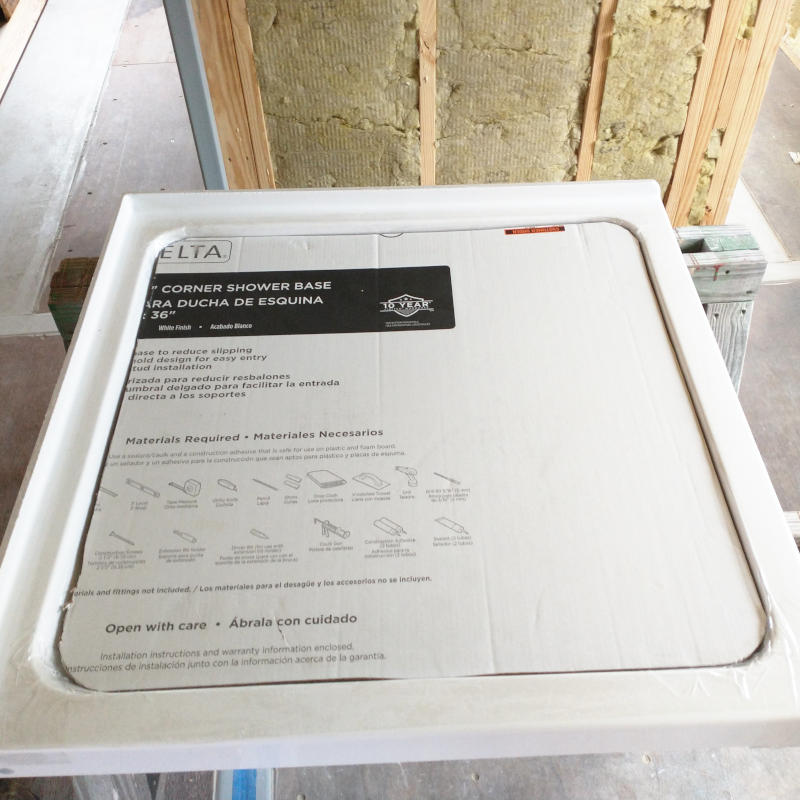
Needing a way to protect the base from installation work, I came up with the idea of cabinet liners. Back in the days when I taught at a learning center, we used this plastic covering to keep the toddlers from tearing up and destroying their monthly name tags. I figured if this could handle 12 two year old children for 12 hours a day then it could handle our feet. For extra protection, I cut the cardboard box the base came in to fit just inside.

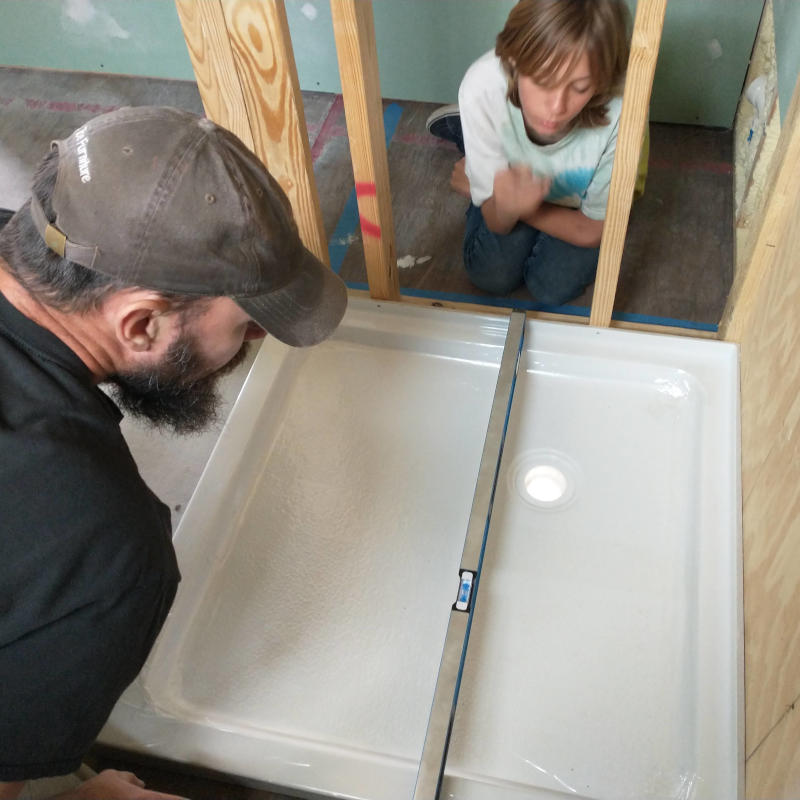
Motar was mixed and placed on the now dry Red Guard. Setting the base down and pushing into place then revealed where additional motar was needed. Once placed to the Planners satisfaction with motar, the base was checked for level left to right and front to back.
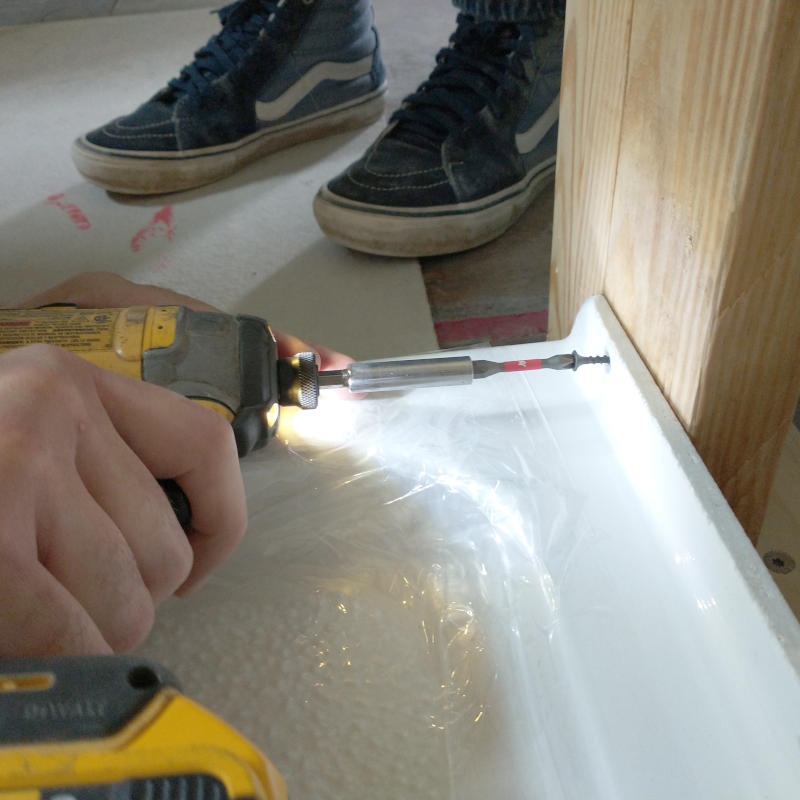

Happy with the level line, the base was screwed into the plywood in three locations and into the framework in an additional three locations. Six screws, a 3×3 base of motar, a recheck of the level line in all directions, and the base was done.

Now we wait. The motor takes several days to dry and there is plenty to do in the meantime.