
Bathroom Ceiling Shellac
After hours of reading old home building catalogs, fine craftsman journals, musical instrument repair websites, and of course watching hours of YouTube on the debate, the Planner finally decided upon dewaxed shellac for sealing the ceilings.
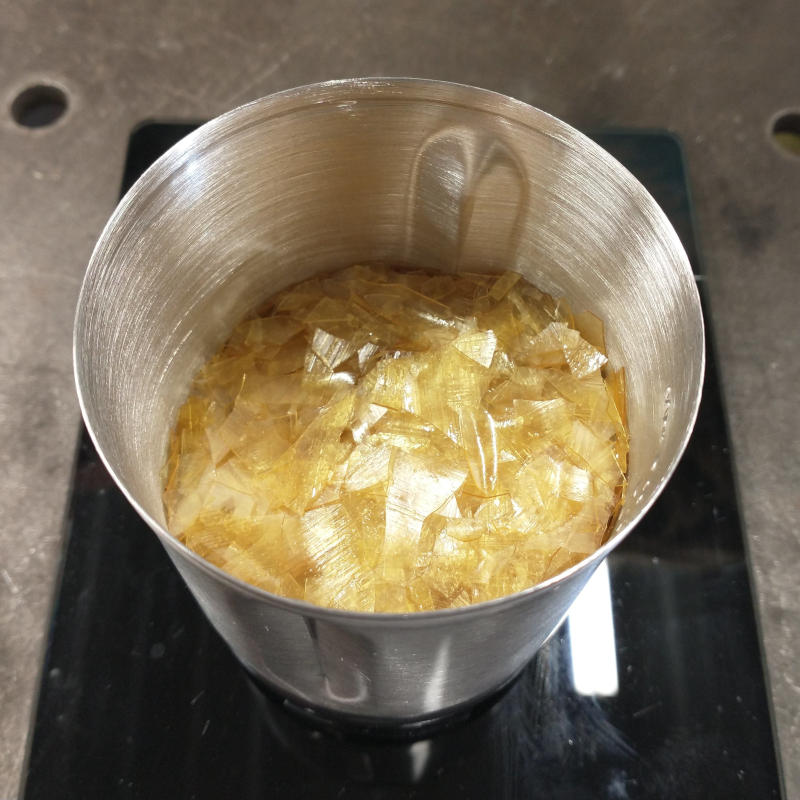
Since the durability nor the high gloss provided by wax shellac was wanted, Dewaxed Platina Shellac Flakes were purchased. A light amber shade was chosen as to highlight the color of the ceiling without trying to hide that the ceiling is standard yellow southern pine. But to err on the side of caution, only 1lb was purchased. If we don’t like the results, there is still time for a change.
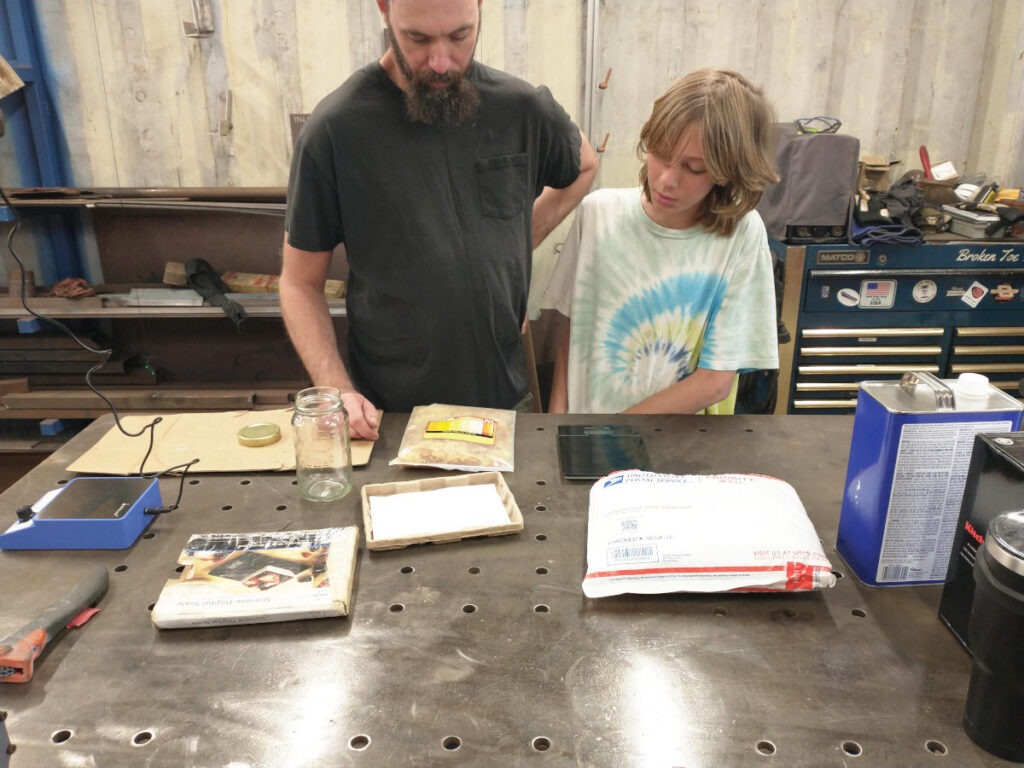
You will not be surprised, instructions were precisely followed. Measurements, mixing procedures, applications. This required yet again the purchase of new tools. Nothing fancy this time just a run of the mill coffee grinder and a standard lab stirrer. Neither of these were needed as the flakes will dissolve over time provided enough shaking is given at regular intervals. Say what! There is not time in my day to walk by every few hours or so to shake a jar of flakes. If I am going to shake something it will be the Kid for driving me crazy.
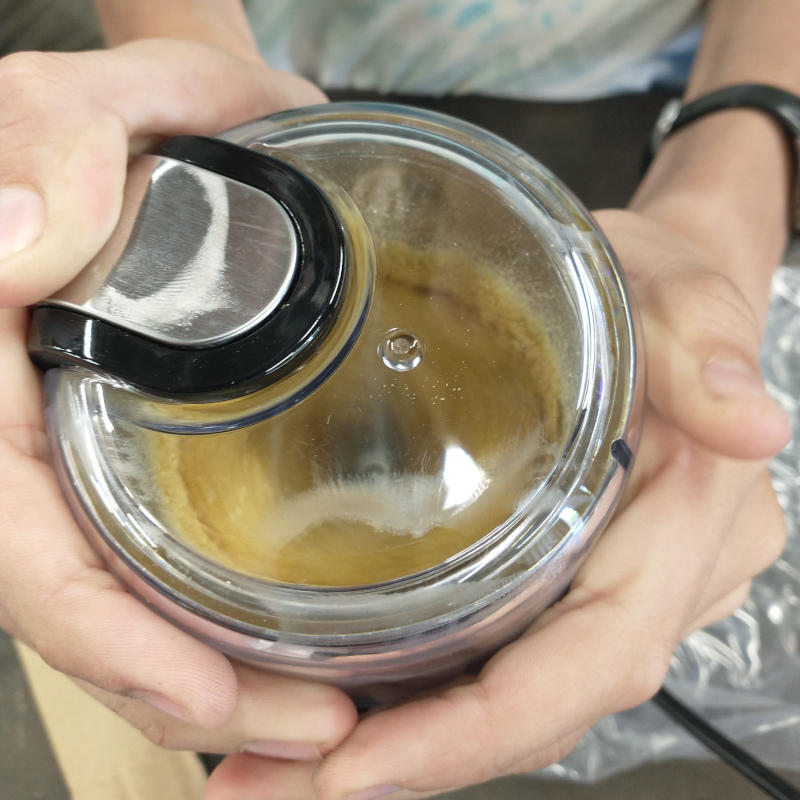
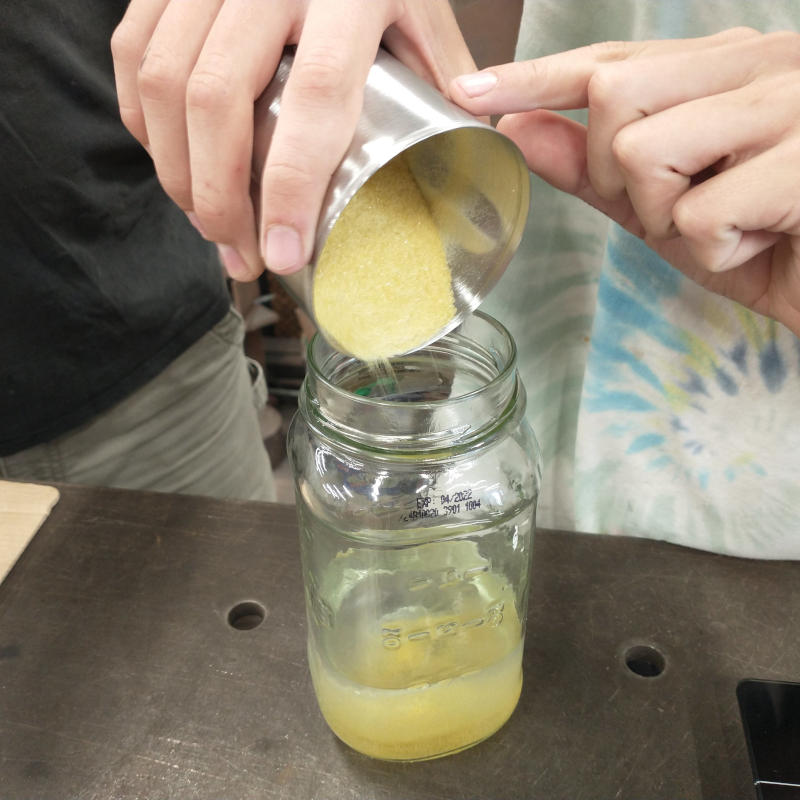
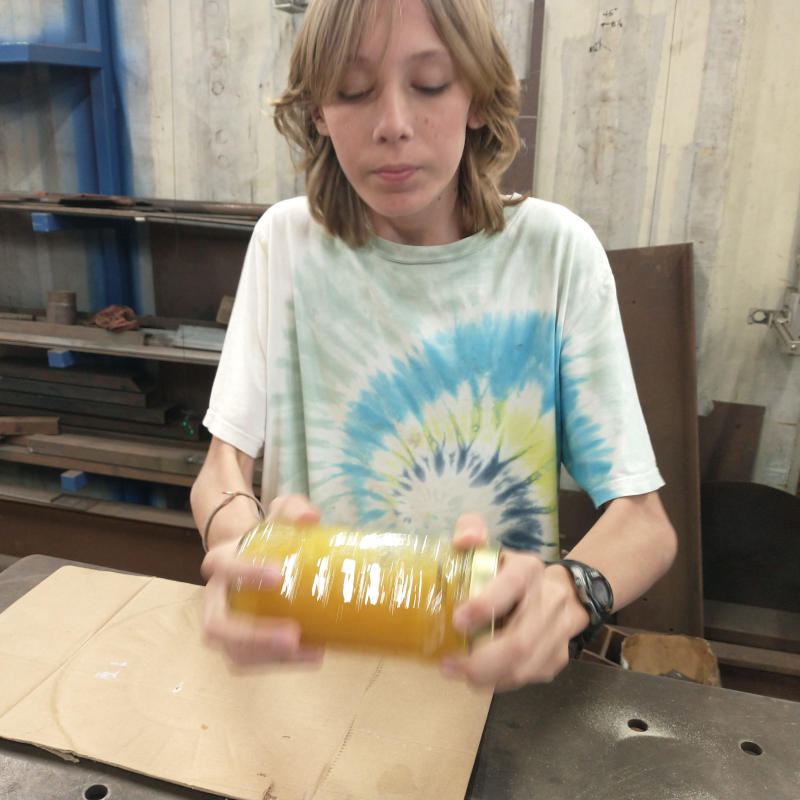
Flakes were ground in a coffee bean grinder, the powder poured in isopropyl alcohol, and shaken vigorously to suspend the powder into the liquid. Once shaken, the jar set onto a magnetic stirrer and spun on medium tornado until completely dissolved. Dissolvement takes between 8-12 hours depending upon the coarseness of the shellac powder and how much is being done at one time. Being limited to these recycled spaghetti jars, batches could only be made in 12 ounce intervals. And yes, it always seems that when I am trying to film for Boxes in Fields, the Planner and the Kid are having a giggling fest without me.
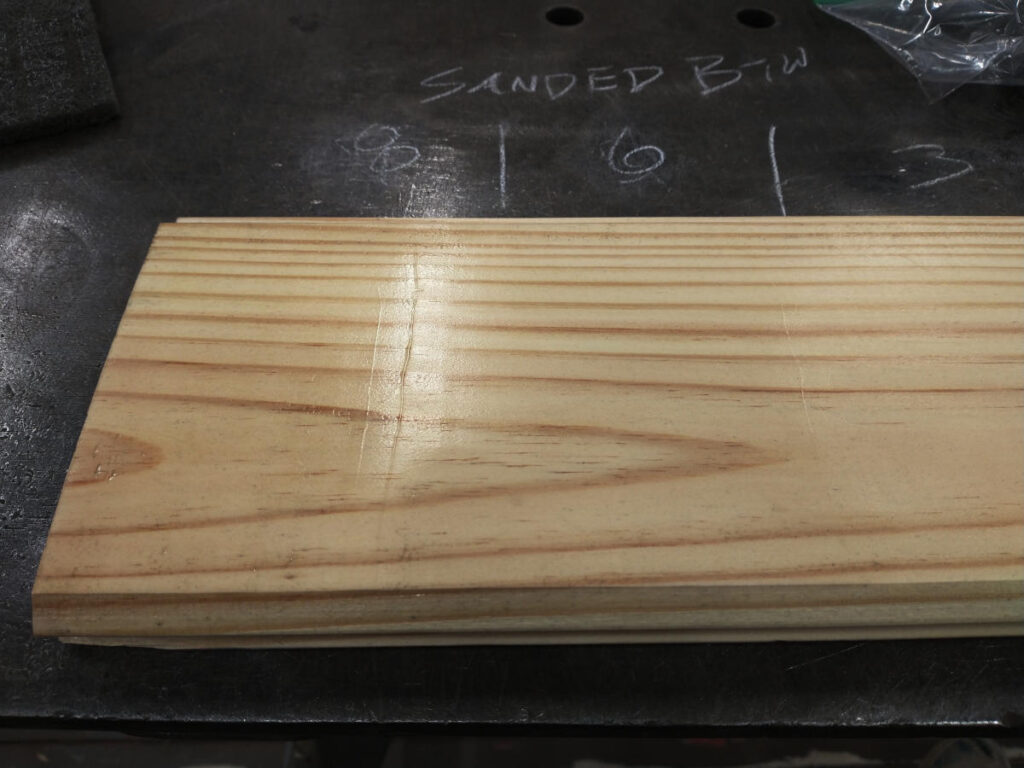
Leaving the magnetic stirrer running overnight, the next morning a drop section of ceiling was sanded and several layers of shellac were applied. This was totally a Goldilocks and the Three Bears moment. Three was not enough, eight was too many, but six applied layers seemed just right. For me, anyways. The Planner and the Kid both though eight layers were better but I was afraid for the ceiling being too shiny with that many layers. Warmth and comfort, not bold and cold.


As with all new projects, I declined the initial test run. Applying the shellac in nice, even strokes the Planner started on the east wall where the bathroom ceiling is split working towards the door. Shellac was applied to one board at a time in three foot sections. By the time the Planner worked his way across the room, the first board was dry and the process could be started over again.
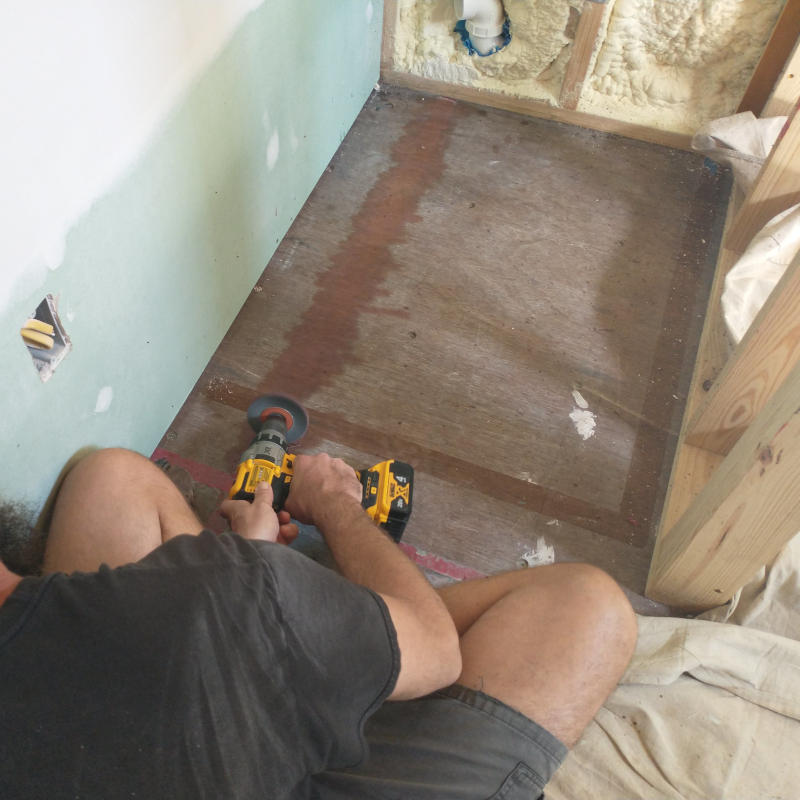
Already loving the results, I wanted to see what the floor was going to look like when it was finished with shellac. Before a test sample could be applied, the floor was cleaned. The red tape that came in the box when purchased left a ridiculously sticky mess when pealed up and needed the grinder with a braided wheel to remove. The blue painters tape came up with no residue even though it had been left in place for over the allotted six months. Finally, the floor was vacuumed, mopped, and left to dry.
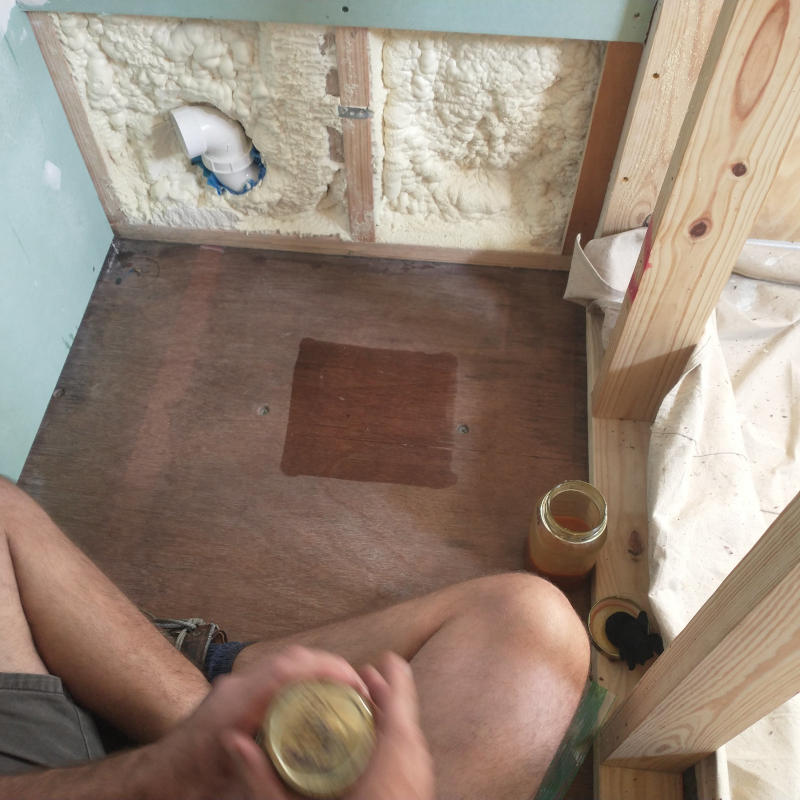
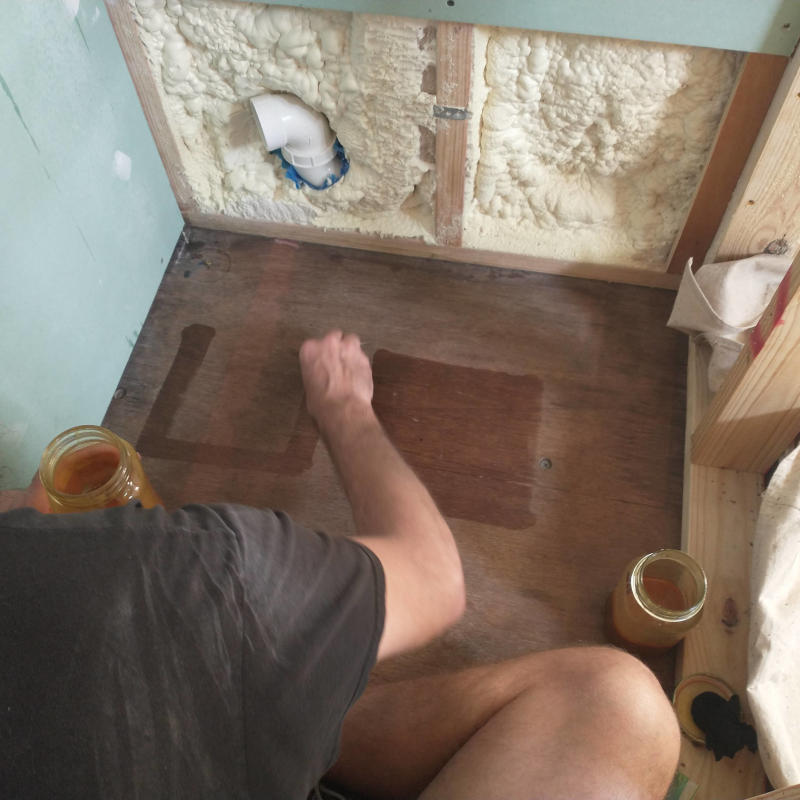
If trying to decide on ceiling color was difficult, drying to decide on the floor was impossible. Having purchased two different shades of shellac chips, the Planner mixed up two batches of chips and two sample squares were tested. Each with six layers of shellac.
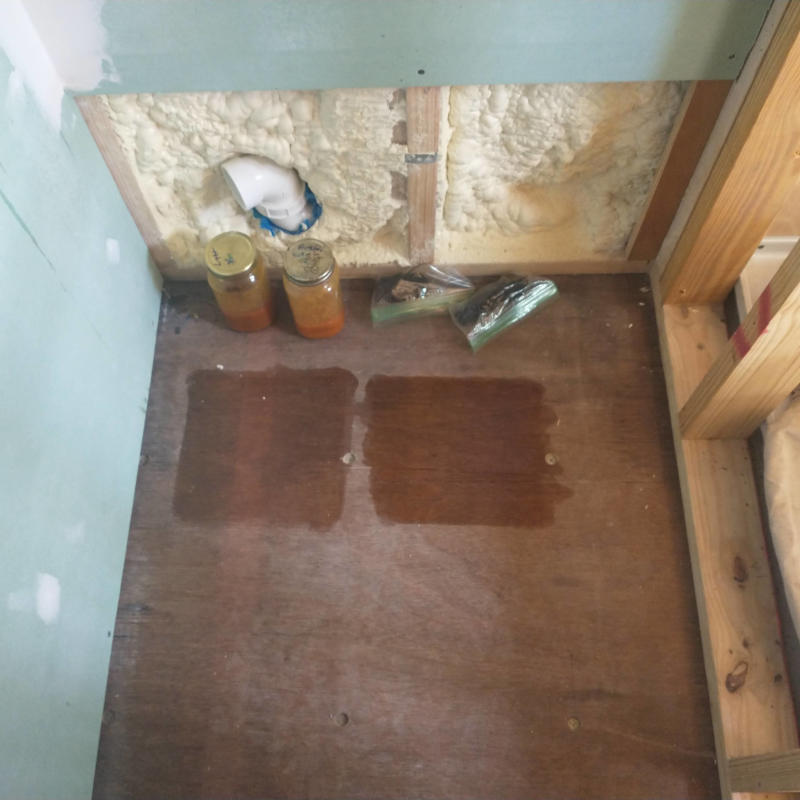
When comparing the shellac colors in their respective jars, the colors are vastly different. One a brown, the other an orange. However, when applied the shellac looked exactly the same. In the long run, I guess the shellac color doesn’t really matter as the floor contains so many colors it would be difficult to settle on one shellac color anyways. Shellac on the floor is just as warm as it is on the ceiling and I can’t wait to finish out the entire bathroom floor. Who knew a bathroom could be so warm and inviting instead of cold and harsh like so many modern bathrooms are with their tile floors and marble countertops?