
Shower Tile
Ooh-wee, tiling the shower took some major time and effort. Or maybe it was effort and time. Either way it was a learning process with trail and errors. Starting on March 23 and ending on April 27, there were times when the Planner thought the job would never be finished (day 1) and there were times that the process proceeded too quickly resulting in more work. Major work. Let is be said, after having every major mistake occur, I feel confident tiling the kitchen will be much, much easier even though the space is four times as big.


Day One. March 23 and it is hot, hot, hot. Only two boards into hanging Hardiebacker fiber cement with moldblock boards and things are not going well. Tempers are short, patience is frazzled. If looks could kill the red faced sweaty kid would be dead with those laser beams being shot out of the Planner’s eyeballs. Yikes!

There really was no reason for the drama just the weather and maybe the need for a break. A real break. Working on the dwelling every second of every day when not at the physical monetary paying job can be exhausting. With an exception to a long weekend in December, there has not been a break since camping back in November. Maybe once the tile is complete, a break can be arranged. Maybe.
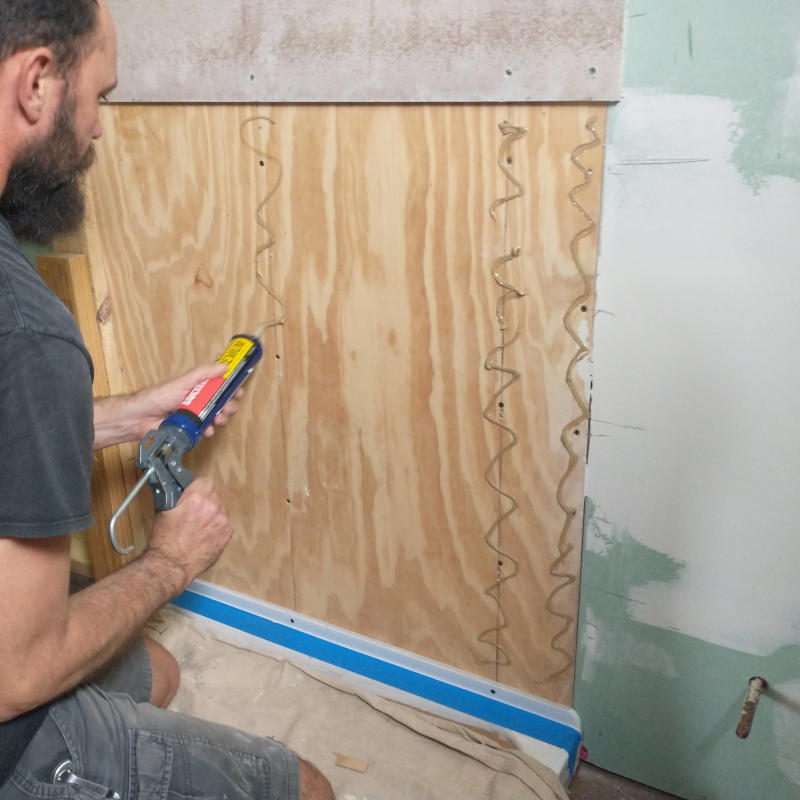

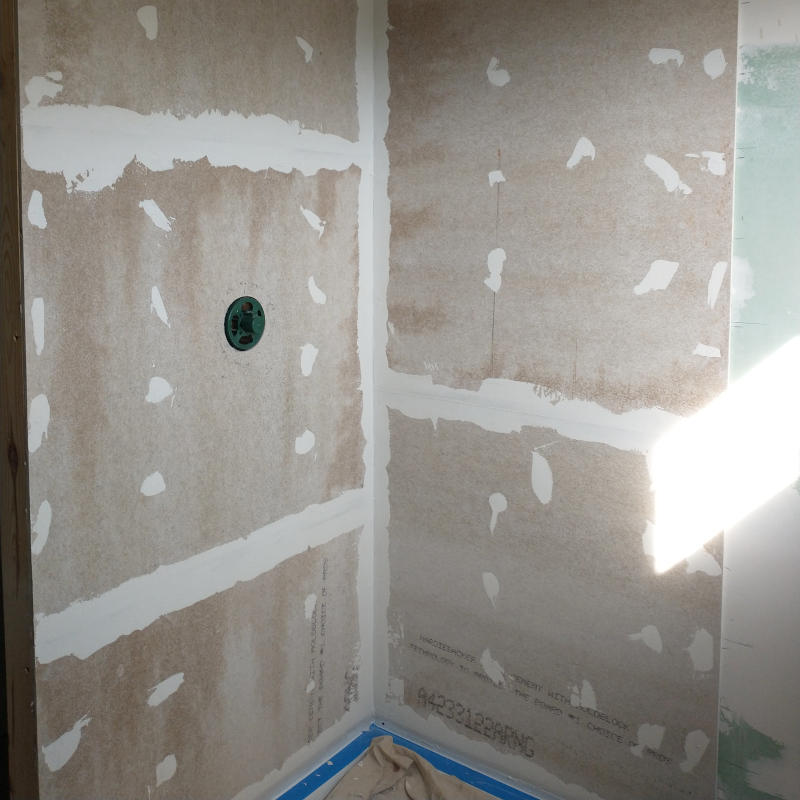
Hardie boards are messy to cut, loud on the ears, but easy to work with. Cut, glue, screw, caulk at edges, and thinset over any holes for water protection.

The job looks good even without the crazy Planner sticking his big head in the way. Between the Kid and the Planner, there are hundreds of photo bombed pictures. I should create a montage or maybe a B-Side movie reel. Bombs through the Ages or Don’t I Nose You? or Can You See Me Now? Yup, a movie. In my spare time. Not right now. Maybe when the Dwelling Box is complete as a celebratory movie.


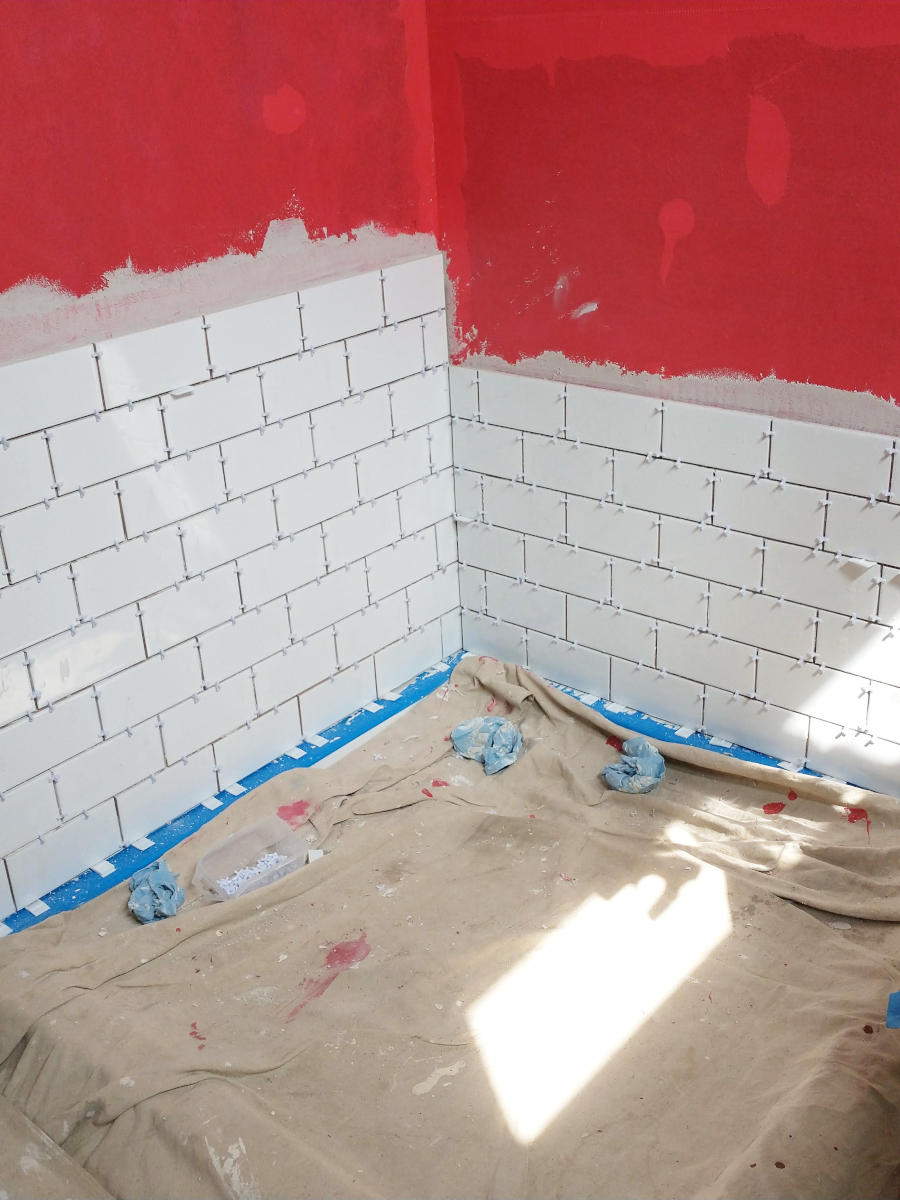
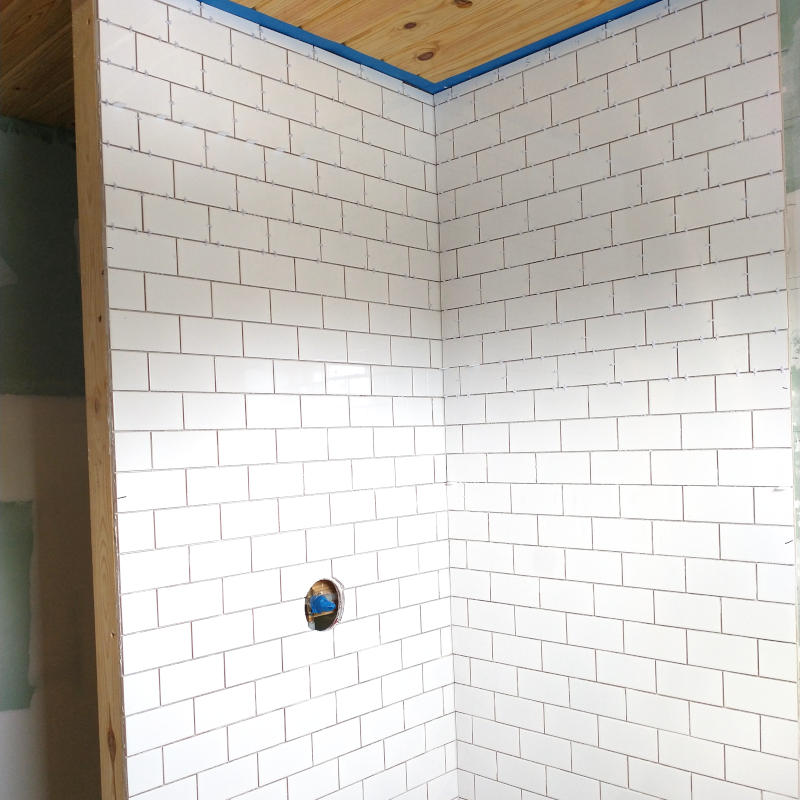
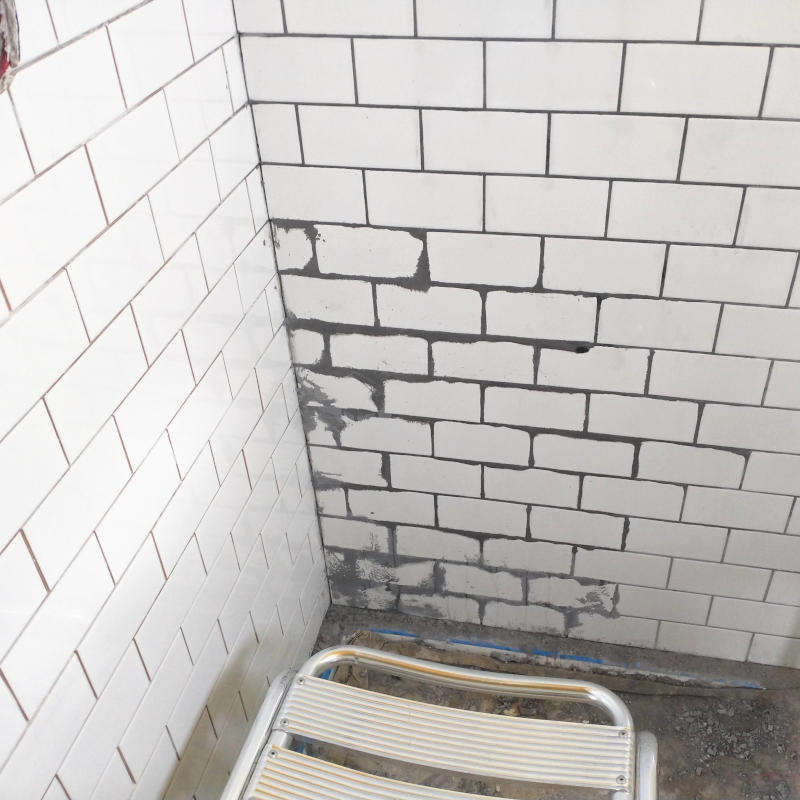
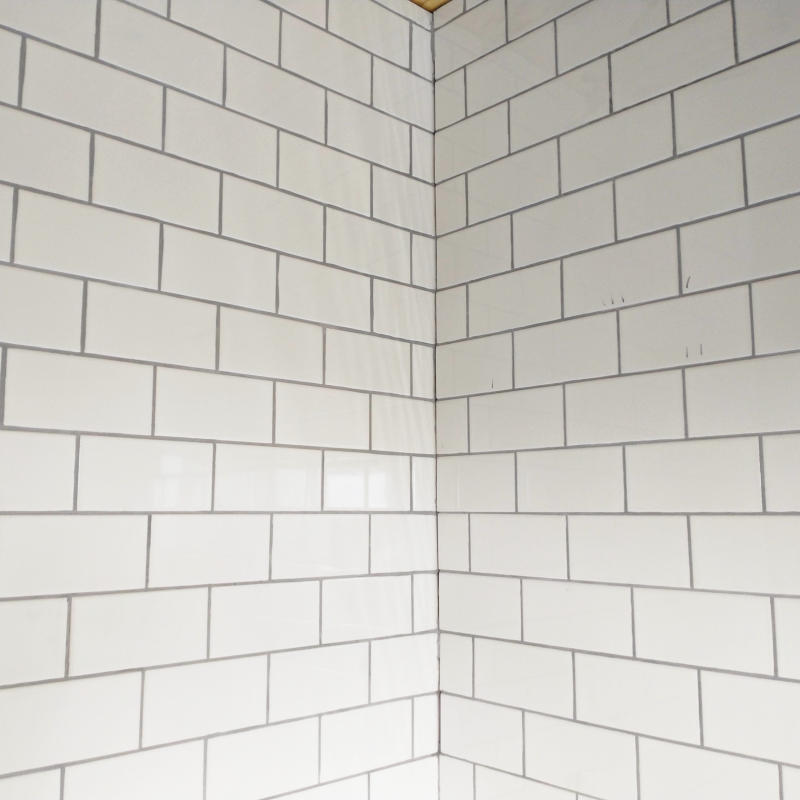
Applying Red Guard on a wall was just as easy as it was when laying it on the floor. A couple of layers later and a rest for at least 12 hours there was plenty of time to setup for tile work. Not having a clue as to the direction of tile desired, the three of us played with random designs and then gave a pros/cons list. This was done with herringbone both vertically and horizontally, horizontal with vertical bands at chest height, vertical with horizontal bands at chest height, vertical with two horizontal bands, horizontally with straight grout lines, horizontally starting in the corner working outward before deciding the tried and true subway tile pattern. Being limited to a small space all other patterns seemed too busy and the subway tile works best with tiles of this dimension pulling the eye out from the shower making it look larger. Classic. Simple. Easy.
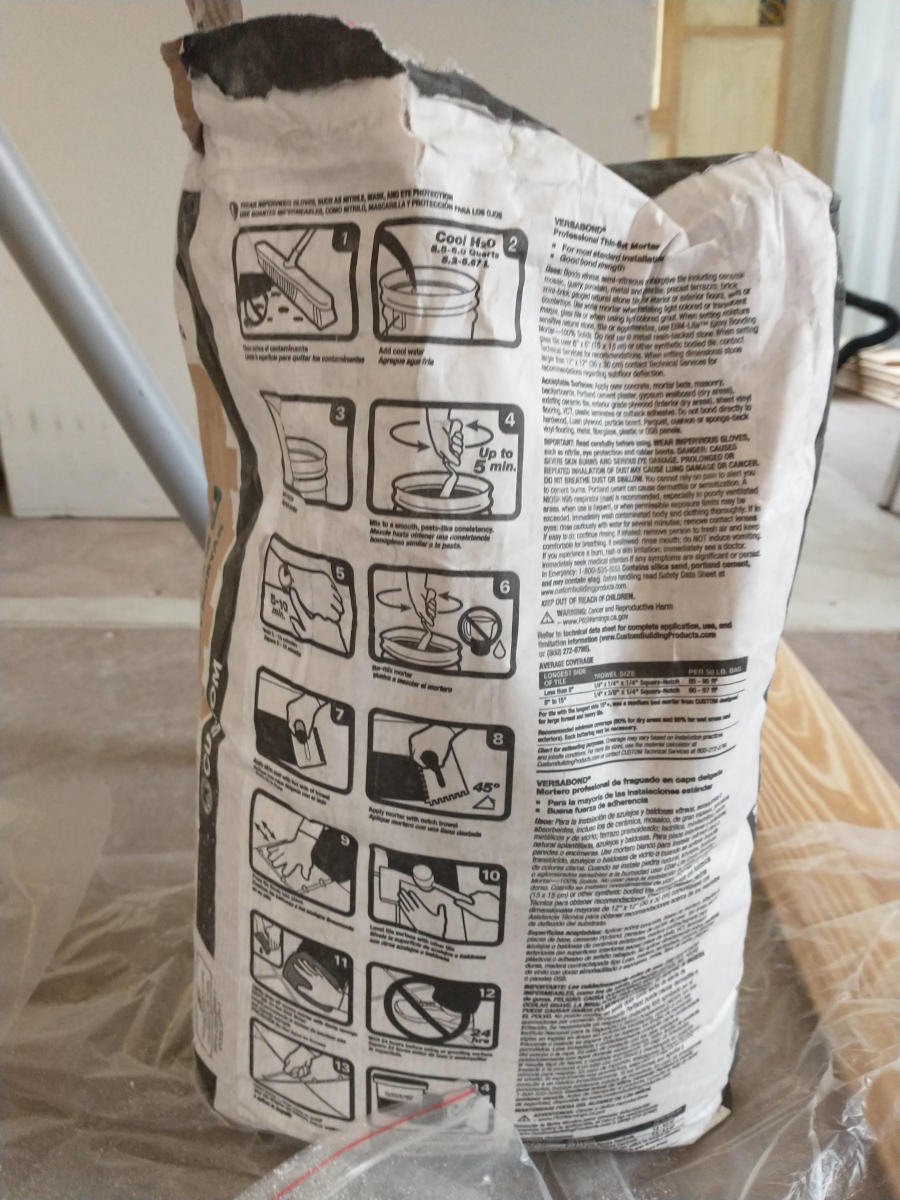
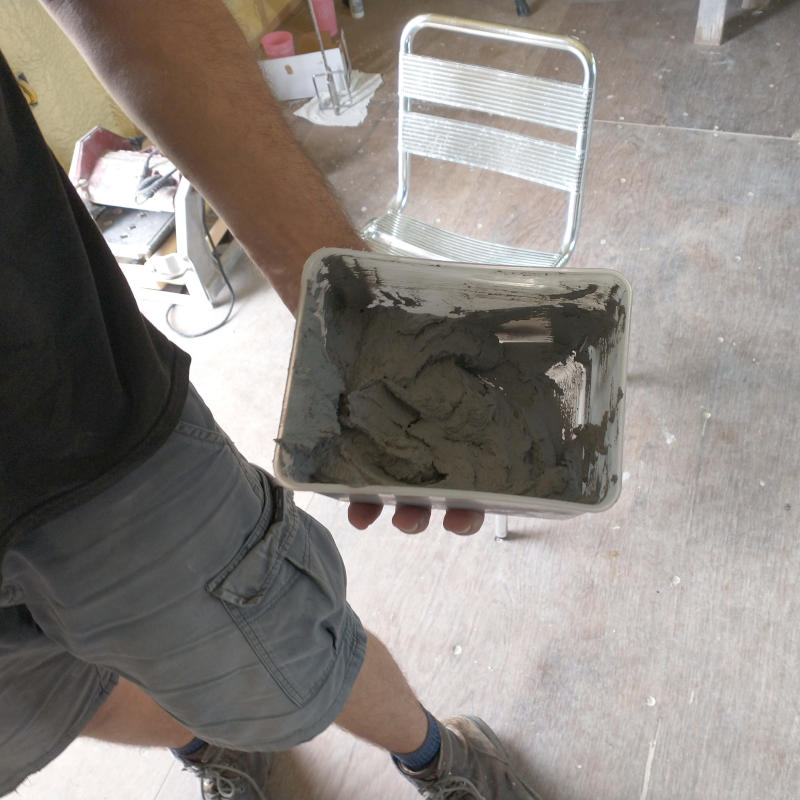
Yes, easy. Even the instructions on the thinset bag say so as they are designed in Lego fashion. And Lego instructions make putting together the World Art Map with its 11,000 pieces or the beloved Millennium Falcon and all its mere 7500 pieces seem like child’s play. Everyone knows this, right? Thinset instructions simply show mix, apply, grout.
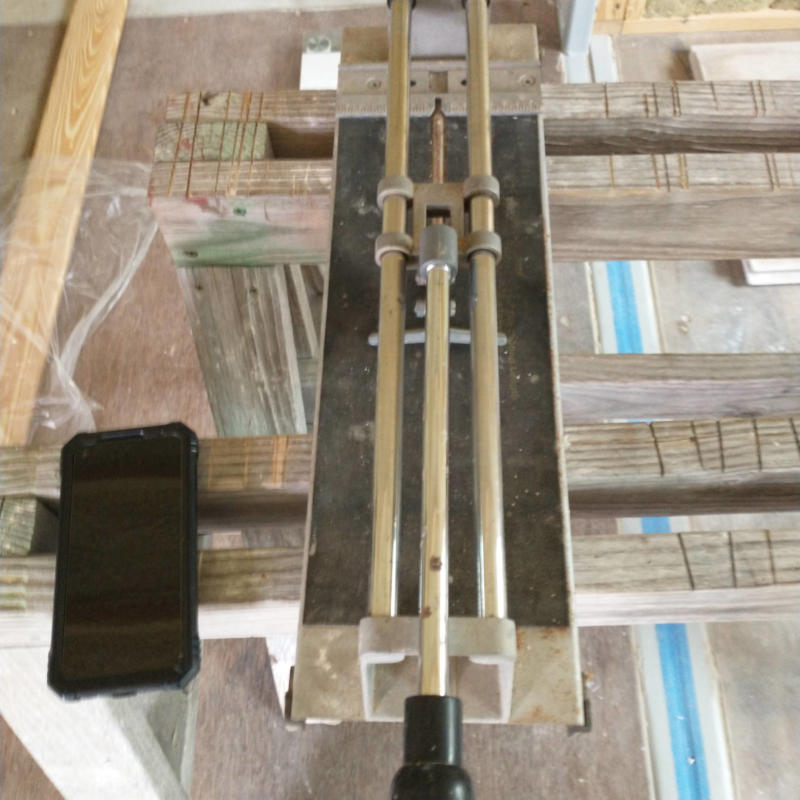
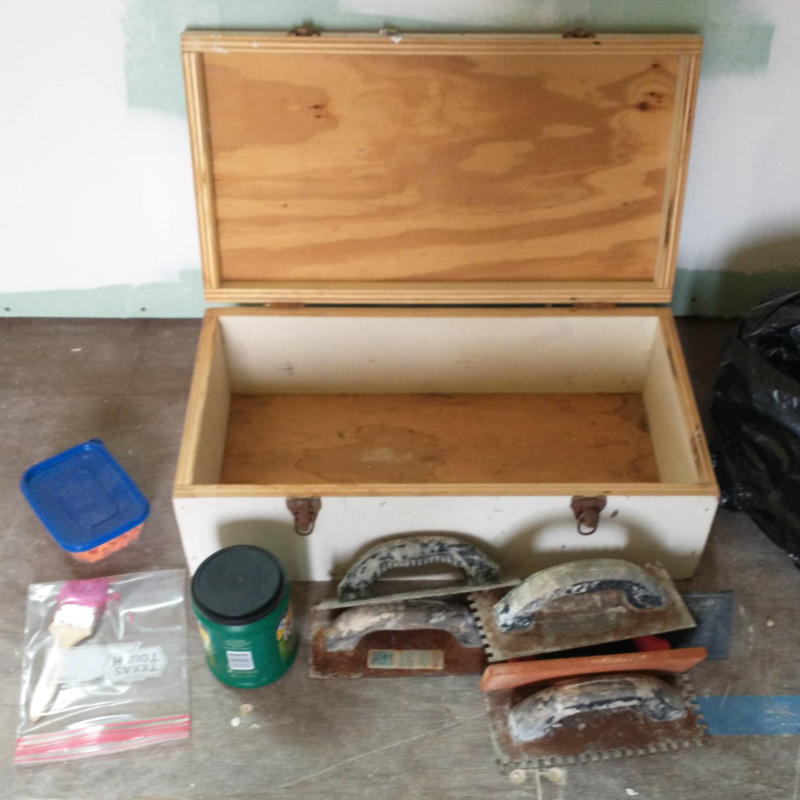
what the thinset instructions fail to mention are the tools needed. There are of course the long time standard tile cutter and thinset notched trowel. Both of these tools along with several specialty tools not needed were loaned to us by the Sailor from his handy man days 50 years ago. Some tools never age but do wear out. For example, the Planner’s favorite, anvils. The classic anvil design has not changed in 1000 years but this does not mean the anvil itself does not wear out on the edges. Banging metal on metal with a hammer does cause friction and friction does round out the edges. His other favorite “this tool is 50 years old and still good” is a common straight head screw driver. THEY. WEAR. OUT. Edges become rounded or broken and the sharpness that bites into the screw is lost to years of using that same screwdriver to pry open beer bottles, door jams, and remove stickers from the garden. The tile cutter was good, the trowels were bypassed for a new one that wasn’t rusty. Don’t need to rant about Boxes in Fields and rust.


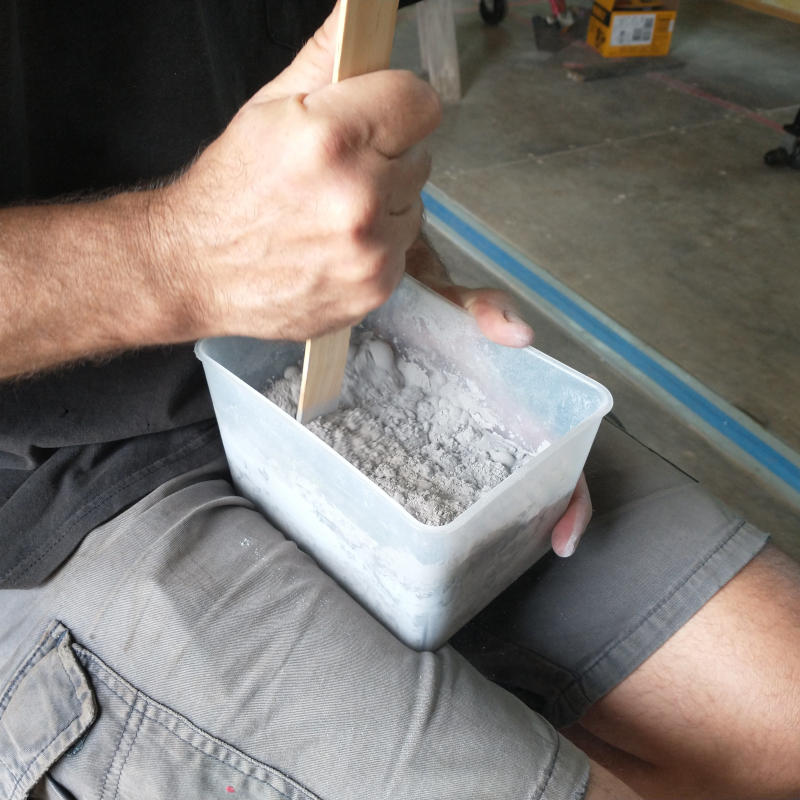
Other modern tools needed were a power drill to mix the thinset for the required time instead of wearing out your arms with the use of a setter’s trowel. Another required tool was a level (both laser and bulb) because I don’t know about you but “level” is relative to the viewer and to floor itself. In this case, a ladder was needed to move the laser level upwards as the tile was placed ensuring the line did not run off in one direction or another.
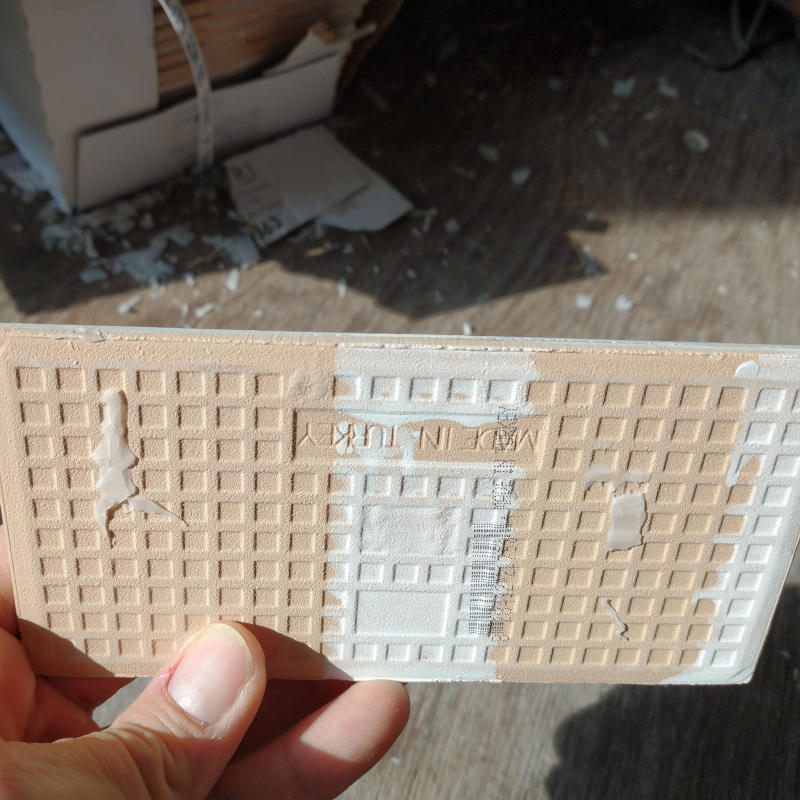
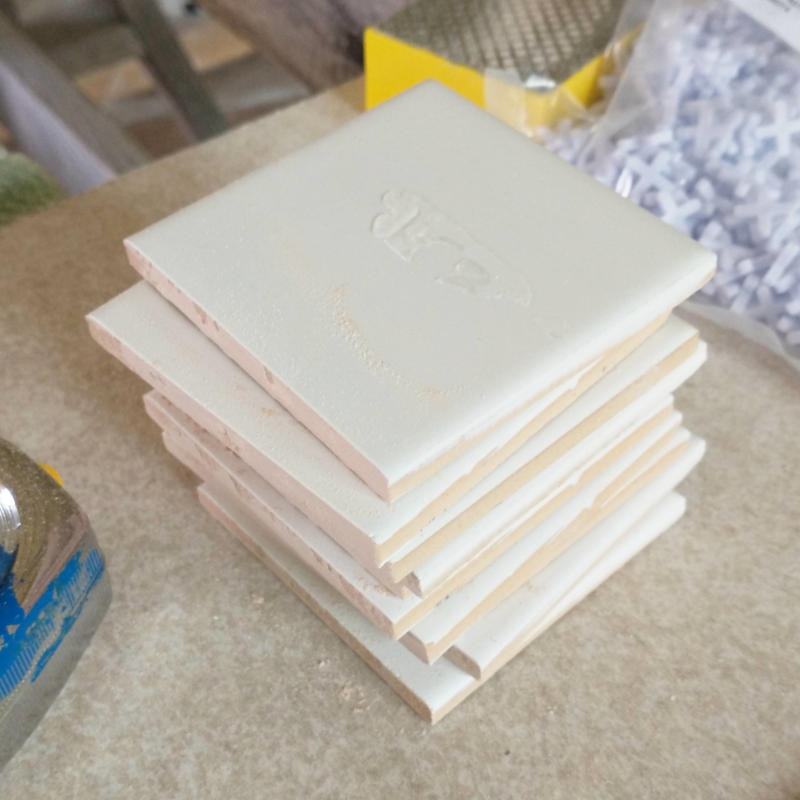
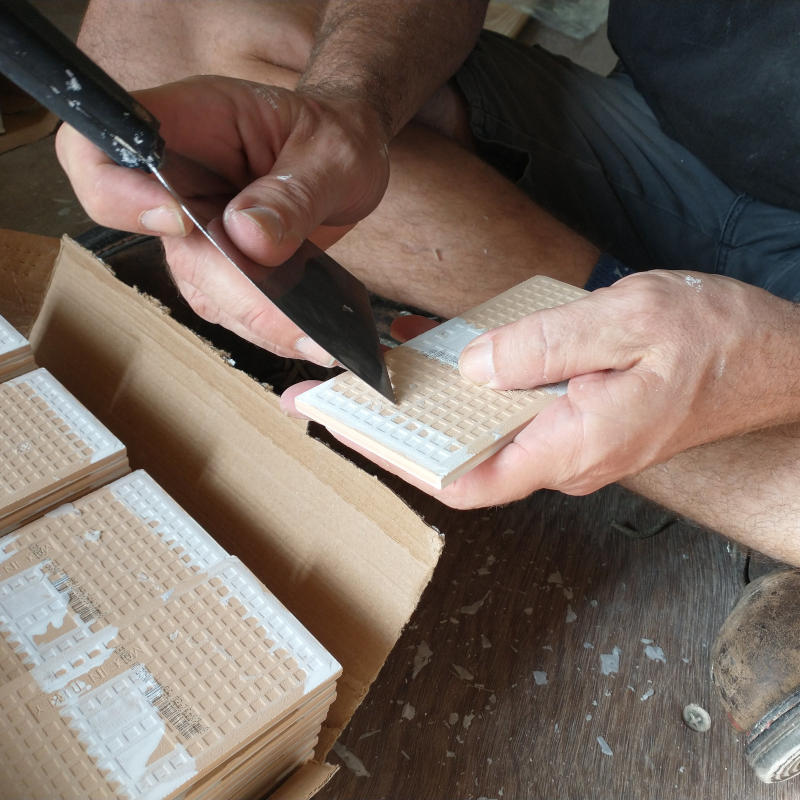
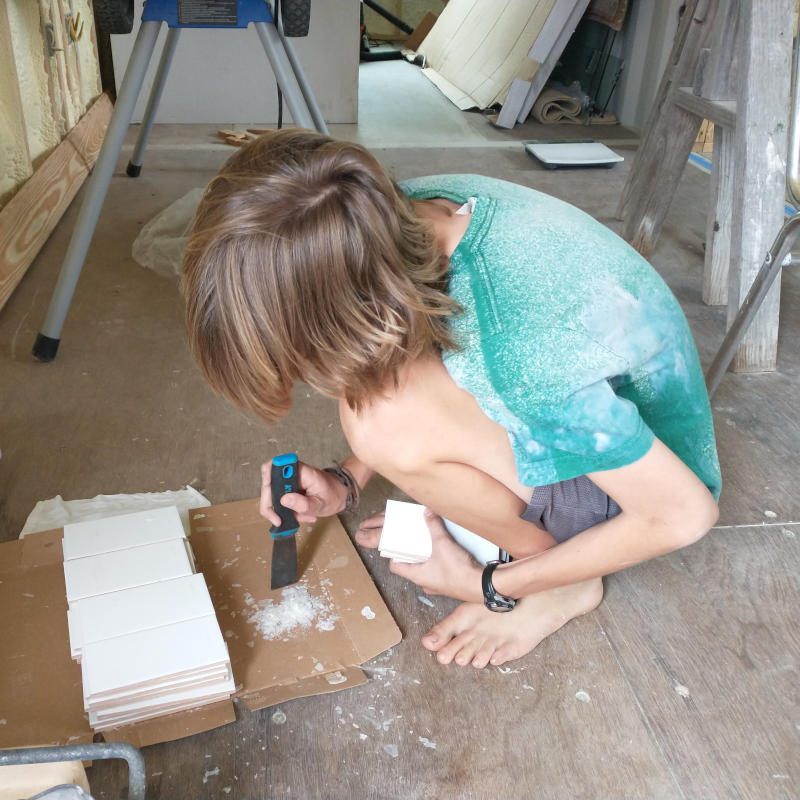
Then once all the tools are in place there is additional prep work. Boxed tile is separated with plastic or glue, something to keep the tiles from vibrating against each other during shipment. This separator pops off easily but if not careful, the scrapper will chip the edge of the tile resulting in a time consuming step requiring yet another tool.

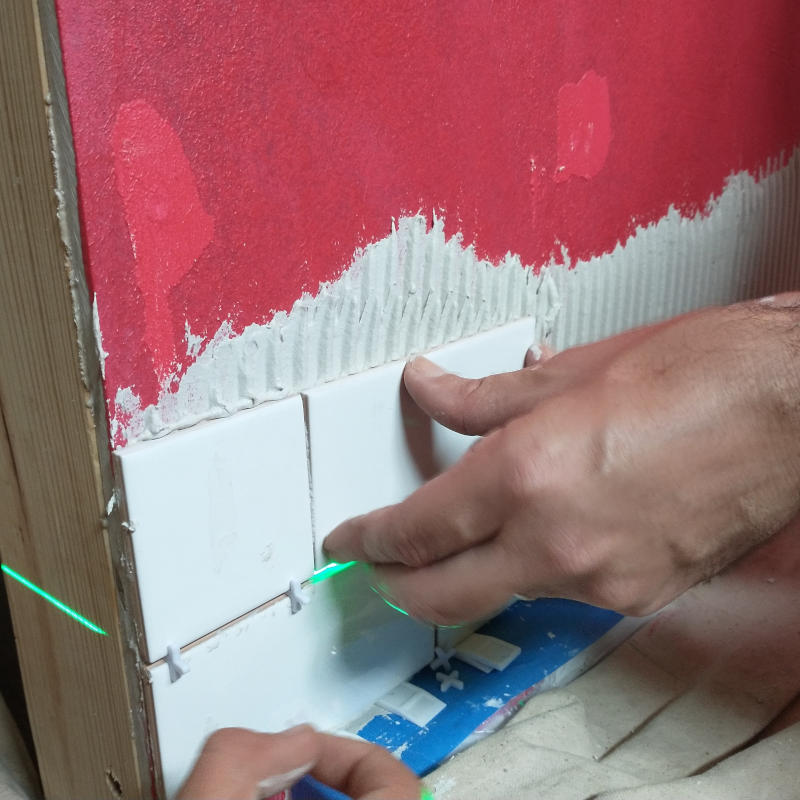
Only then after the tile is cut, cleaned, and applied with a thin layer of thinset are the tiles ready to be applied to the wall. Oh, wait. Then there are the tiles spacers determining the grout line thickness and tile levelers which we did not need as the Hardie board was installed correctly. Now, we are ready. Thinset walls and tiles, push into place, repeat until first row complete. Move laser, repeat. The trick is to apply a thick enough layer of thinset to push the tile into with pushing out between the tile all while not running to far above or ahead of the tile line as the thinset dries out.


By the time the sixth row, the Planner has worked out all the nuisances and by the time he got to the 14th row he had his grove going. Thinset half the wall, thinset 3.5 tiles, set, space, repeat.

By the time he got to the last five rows, he needed a helper to clean and pass tiles. Sadly his main helper was at the vet job and the part time helper was playing in the garbage. Again.
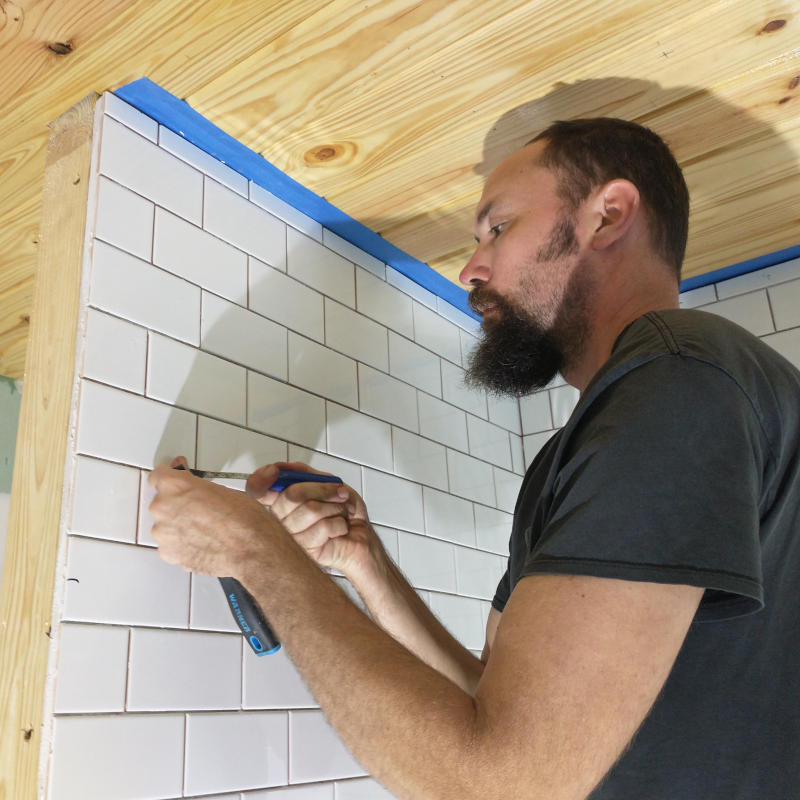
Good grief, as it turns out, there are lots of tools needed to complete a simple, easy tile job. With a grout saw, any visible or touchable thinset was removed from between the tiles and while feeling each and every tile the surfaces were checked for residual packaging glue. Removing thinset excess would turn out to be a learned skill that was honed out over the course of several days, buckets of swear words, and long aching nights.
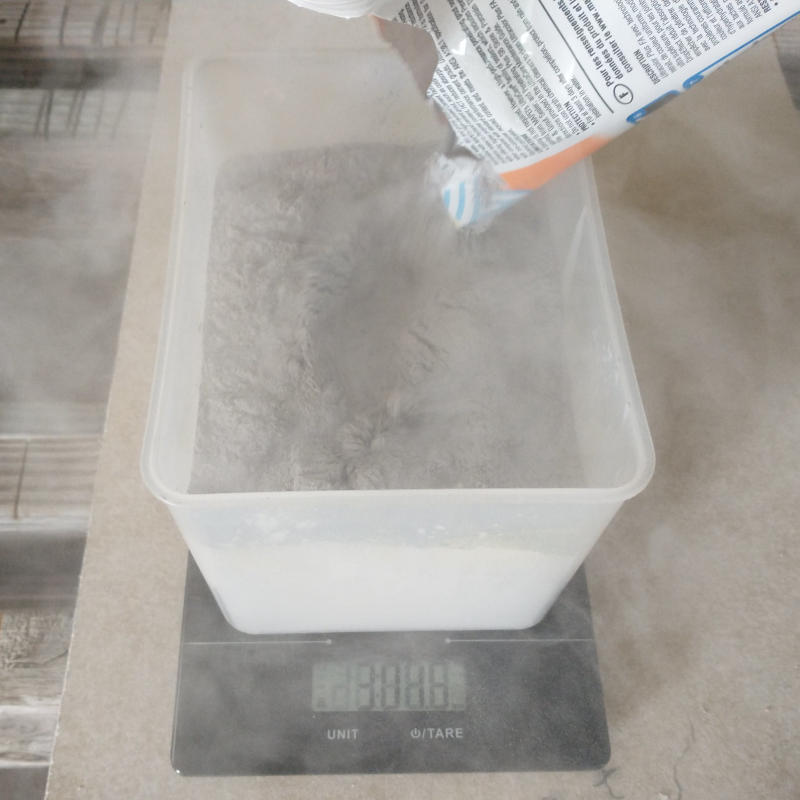

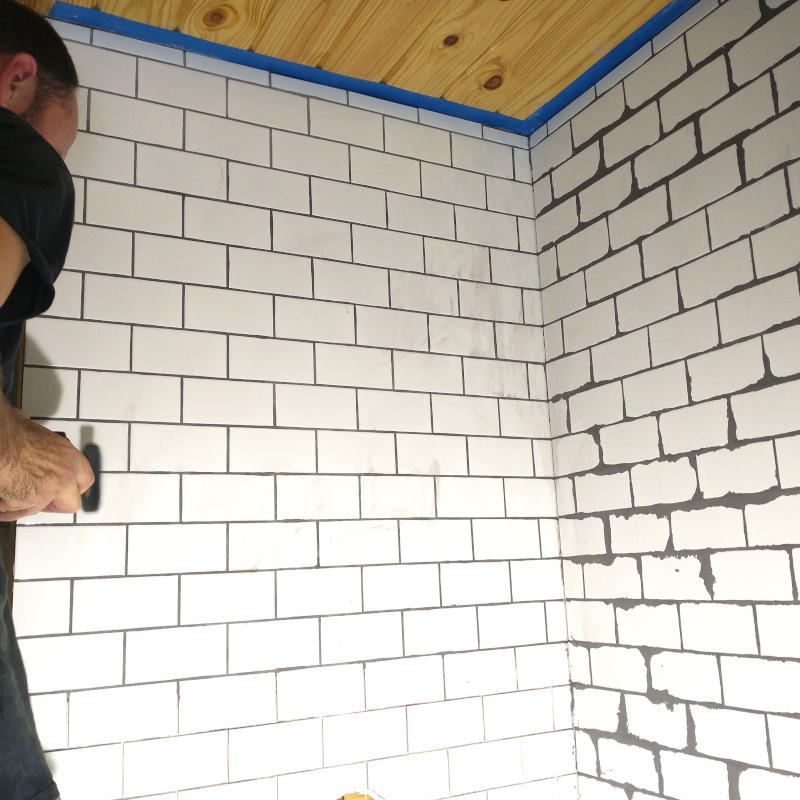
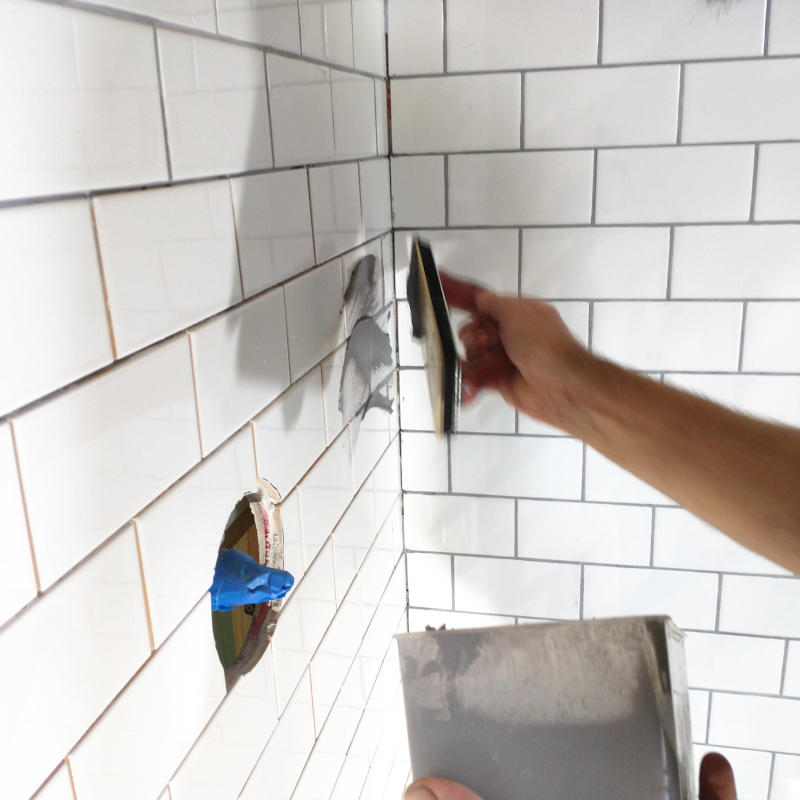
Following the directions on the grout bag, powder was weighed, water was measured, and the two were mixed for correct amount of time and not one second over. Grouting was the simplest of all procedures. Wipe on in one direction, wipe on in the opposite direction, wipe off.


Wipe on, wipe off. Yeah, right. Apparently with our heat and humidity the working time of the grout should be have been reduced by half of the stated time on the bag directions. Half! Before the excess grout could be properly wiped off, the grout had already set.
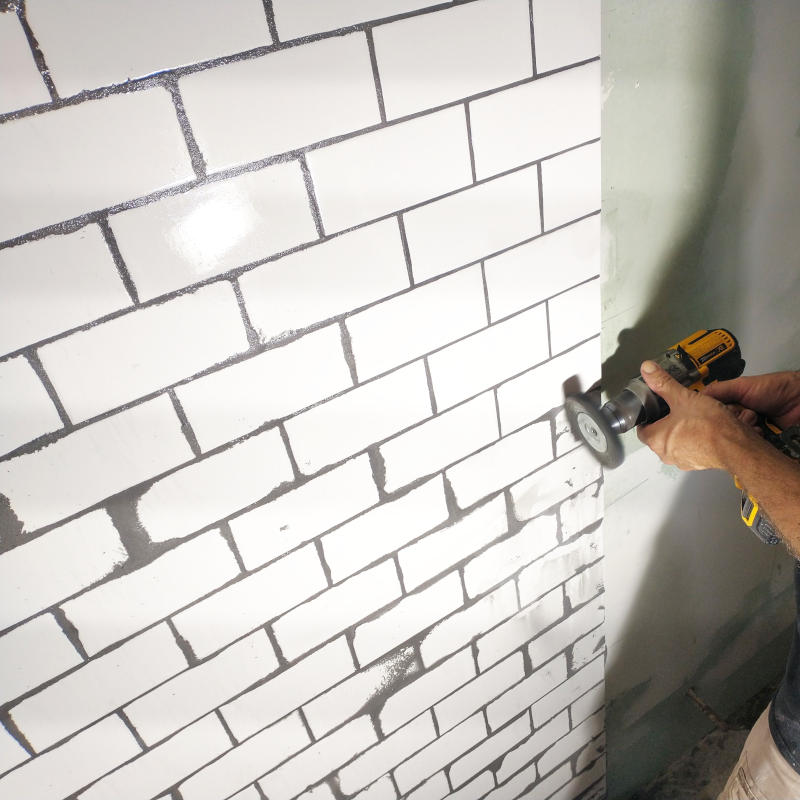
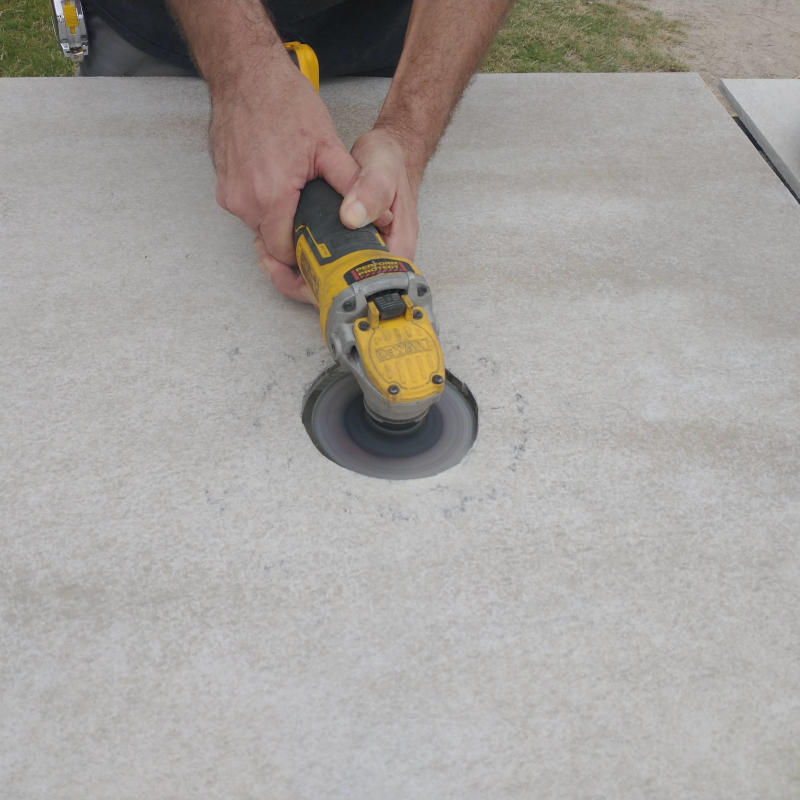
When wiping was not longer removing and the grout had harden to the fingertips, a grinder with a wire wheel was used to remove the excess. However, there was major concern over catching a tile edge causing it to break or crack. A soft sided flapper wheel was tried and that worked great on the areas where the grout had not hardened to concrete. Everything that could be removed with this soft wheel was removed and the rest was left for the night. It is not like the grout could get any harder!

Comparatively speaking there was very little to complete in grout removal on the second day. Unfortunately, as it turns out the grout did get harder and this small section took hours to clear using a razor knife, a putty knife, a stiff putty knife, and nail file, and a grout saw. My fingers numb, eyes bleary, and backside sore from bending over, the wall was finally cleaned of its mistake.

Using fresh eyes and bright morning light, the tiles were reviewed a second time for residual grout. The Planner then completed the second batch of grout using small, miniscule batches of grout, a softer and smaller rubber backed grout applicator, and only allowed one minute to wipe on before all excess was wiped off. One minute from the time the grout was mixed to clean state does not give much time to grout tiles. Lots of wasted grout was tossed as the batches could not be made smaller and we were not tempting fate with larger areas.
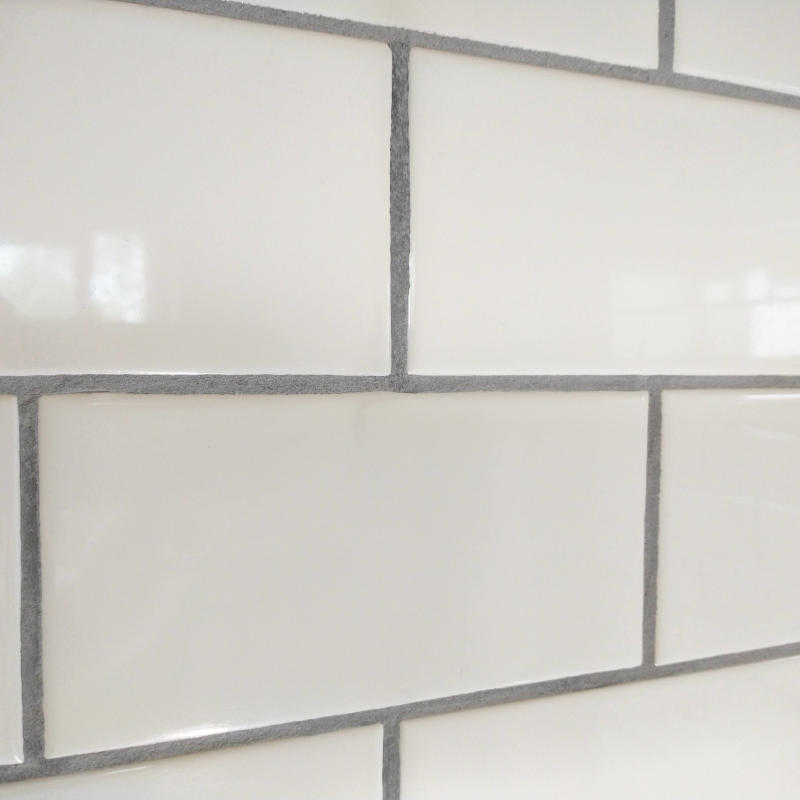
April 27, after some final touch ups using a sharpie to mark the rough spots on the tile, the tile was cleaned again and left to dry. I really wanted to wipe sit all down with water again but until cured, every time the tile is washed some of the grout is washed away. It took too much effort to get the grout on correct just to have it washed away especially since it didn’t want to wash off in the first place! Simple, the instructions said.